Amish Friendship Bread
Your folders
Your folders
Ingredients
Export 3 ingredients for grocery delivery
Instructions
Step 1
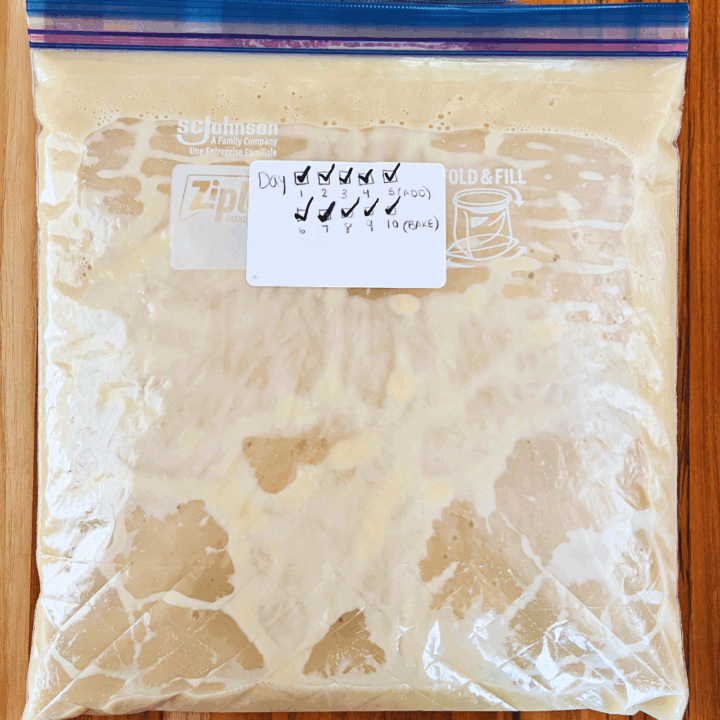
First, write your directions on the Ziploc bags with a Sharpie.This makes it easier later on! If you don’t want to use a baggie, you can always make the starter in a glass jar or shallow bowl with a loose cover.
Step 2
Pour warm water into a small glass bowl.
Step 3
Sprinkle the yeast over the water and allow it to proof for 5 to 8 minutes.
Step 4
In another bowl, mix together your flour and sugar.
Step 5
Pour in the milk and stir well.
Step 6
Blend in your yeast mixture.
Step 7
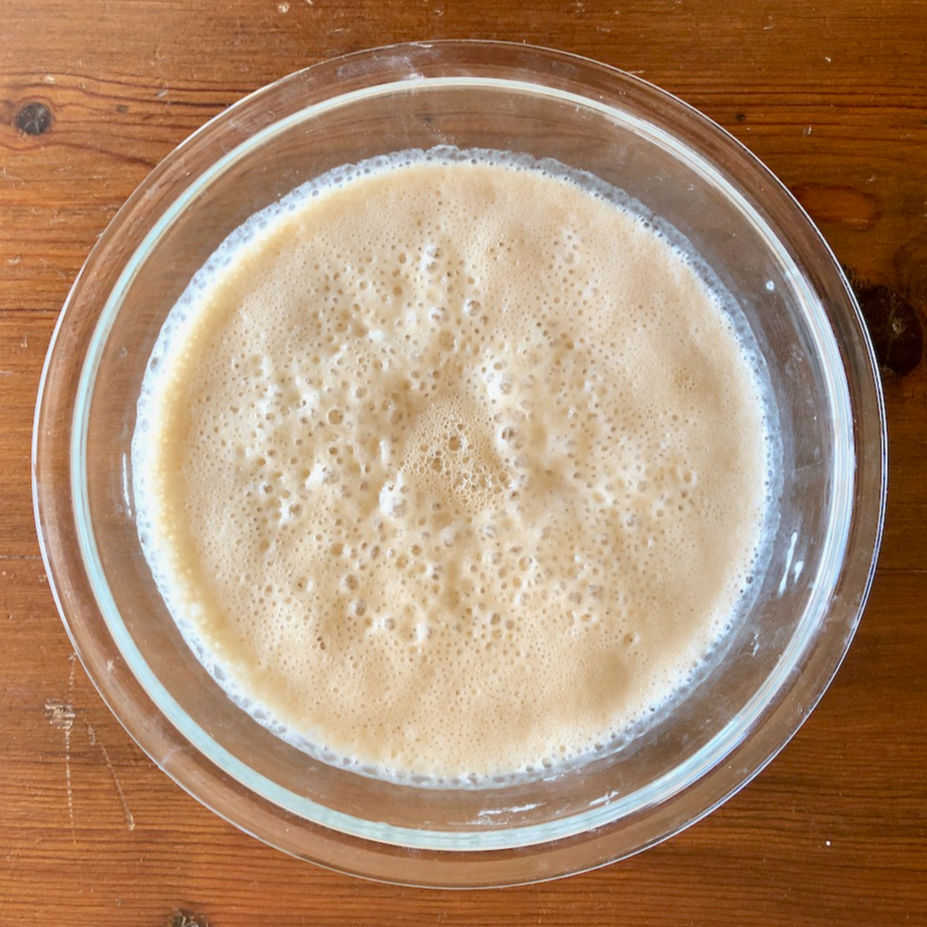
Cover loosely and allow the mixture to stand until it gets bubbly.
Step 8
Pour the contents into your prepared baggie and seal it tightly so it doesn’t spill. Keep the sourdough mixture at room temperature but out of direct sunlight. This is day 1.
Step 9
Day Squeeze or massage the bag to mix it up. My bag was full of gas as the starter fermented. Just open the bag, let the air out, and seal it up again as often as needed.
Step 10
Day Squeeze the bag to mix it up.
Step 11
Day Squeeze the bag to mix it up. My bag got a little bit wet on the outside and the ink came off on my countertop. Try to keep your bag dry or set it on a paper towel if you are worried about this happening to you.
Step 12
Day Squeeze the bag to mix it up.
Step 13
Day It’s time to feed your starter so it can keep on growing.In a glass bowl, mix up 1 cup of flour, 1 cup of sugar, and 1 cup of milk. Then pour it into your plastic bag. Squeeze the bag to mix it up.
Step 14
Day Squeeze the bag to mix it up.
Step 15
Day Squeeze the bag to mix it up.
Step 16
Day Squeeze the bag to mix it up.
Step 17
Day It’s time to feed and divide the starter.
Step 18
Pour your starter into a glass bowl. Add ½ cup flour, ½ cup sugar, and ½ cup of milk. Mix it all well with a wooden spoon. You will get 4 to 6 servings of starter from this bag.
Step 19
Write the directions on new bags and place 1 cup of starter mixture in each one. This becomes day Seal well and pass them along to friends! Make sure to keep one bag for yourself to grow a new starter.
Step 20
You can begin baking with your starter if you don’t want to give away the bags. You can also freeze any unused bags. You should be able to thaw the bags, allow them to return to room temperature, and begin feeding again if desired.
Step 21
Don’t use metal utensils or bowls.
Step 22
You may want to write the date of Day 1 on the front of the bag so you don’t forget what day it is.
Step 23
Be careful to keep the outside of the bag dry so the writing doesn’t come off on your countertop.
Step 24
If gas fills your bag, you can just ‘burp’ it and let it out. Make sure you keep the bag sealed tightly so it doesn’t spill.
Step 25
Remember to keep your growing starter at room temperature.
Step 26
Your starter should be bubbly and ‘active’ – if it isn’t, you might try giving it an extra feeding to give it a jump start. If you are storing your starter close to a window, sunlight or cold air can make it unpredictable. Generally, a nice warm counter is the best place to keep it safe. Starters are hard to kill and most of the time they can be resurrected if they aren’t bubbly enough.
Step 27
Your starter will have a fermented smell, but it shouldn’t smell rancid or look an off-color. If that happens, you’ll want to dump it and start again.
Top similar recipes
Curated for youYour folders

 234 views
Amish Friendship Bread
ohsweetbasil.com
60 minutes
Your folders
 227 views
Amish Friendship Bread
friendshipbreadkitchen.com
4.2
(202)
60 minutes
Your folders

 262 views
Amish Friendship Bread
friendshipbreadkitchen.com
4.3
(204)
60 minutes
Your folders

 275 views
Amish Friendship Bread
amymariecole.com
55 minutes
Your folders

 144 views
Amish Friendship Bread
friendshipbreadkitchen.com
4.4
(260)
60 minutes
Your folders
 222 views
Amish Friendship Bread Starter
friendshipbreadkitchen.com
3.9
(169)
Your folders
 89 views
Amish Friendship Bread Starter
friendshipbreadkitchen.com
Your folders
 258 views
Amish Friendship Bread Starter
amymariecole.com
5.0
(3)
Your folders
 59 views
Amish Friendship Bread Starter
naturalhomeapothecary.com
Your folders
 36 views
Amish Friendship Bread Recipe
amish-heritage.org
5.0
(4)
65 minutes
Your folders
 951 views
Amish Friendship Bread Starter Reci...
tastesoflizzyt.com
4.8
(39)
Your folders
 311 views
NO-STARTER AMISH FRIENDSHIP BREAD
thecountrycook.net
5.0
(16)
45 minutes
Your folders
 79 views
NO-STARTER AMISH FRIENDSHIP BREAD
thecountrycook.net
Your folders

 274 views
Lemon Poppy Seed Amish Friendship B...
allrecipes.com
4.5
(64)
Your folders
 238 views
Amish Friendship Bread Starter (Low...
friendshipbreadkitchen.com
4.7
(45)
Your folders
 172 views
Blueberry Walnut Amish Friendship B...
friendshipbreadkitchen.com
4.6
(33)
60 minutes
Your folders

 142 views
Chocolate Friendship Bread
tastesoflizzyt.com
4.7
(17)
57 minutes
Your folders

 356 views
Amish Cinnamon Bread
allrecipes.com
4.6
(59)
1 hours
Your folders

 380 views
Amish Cinnamon Bread
thesimpleparent.com
5.0
(1)
50 minutes