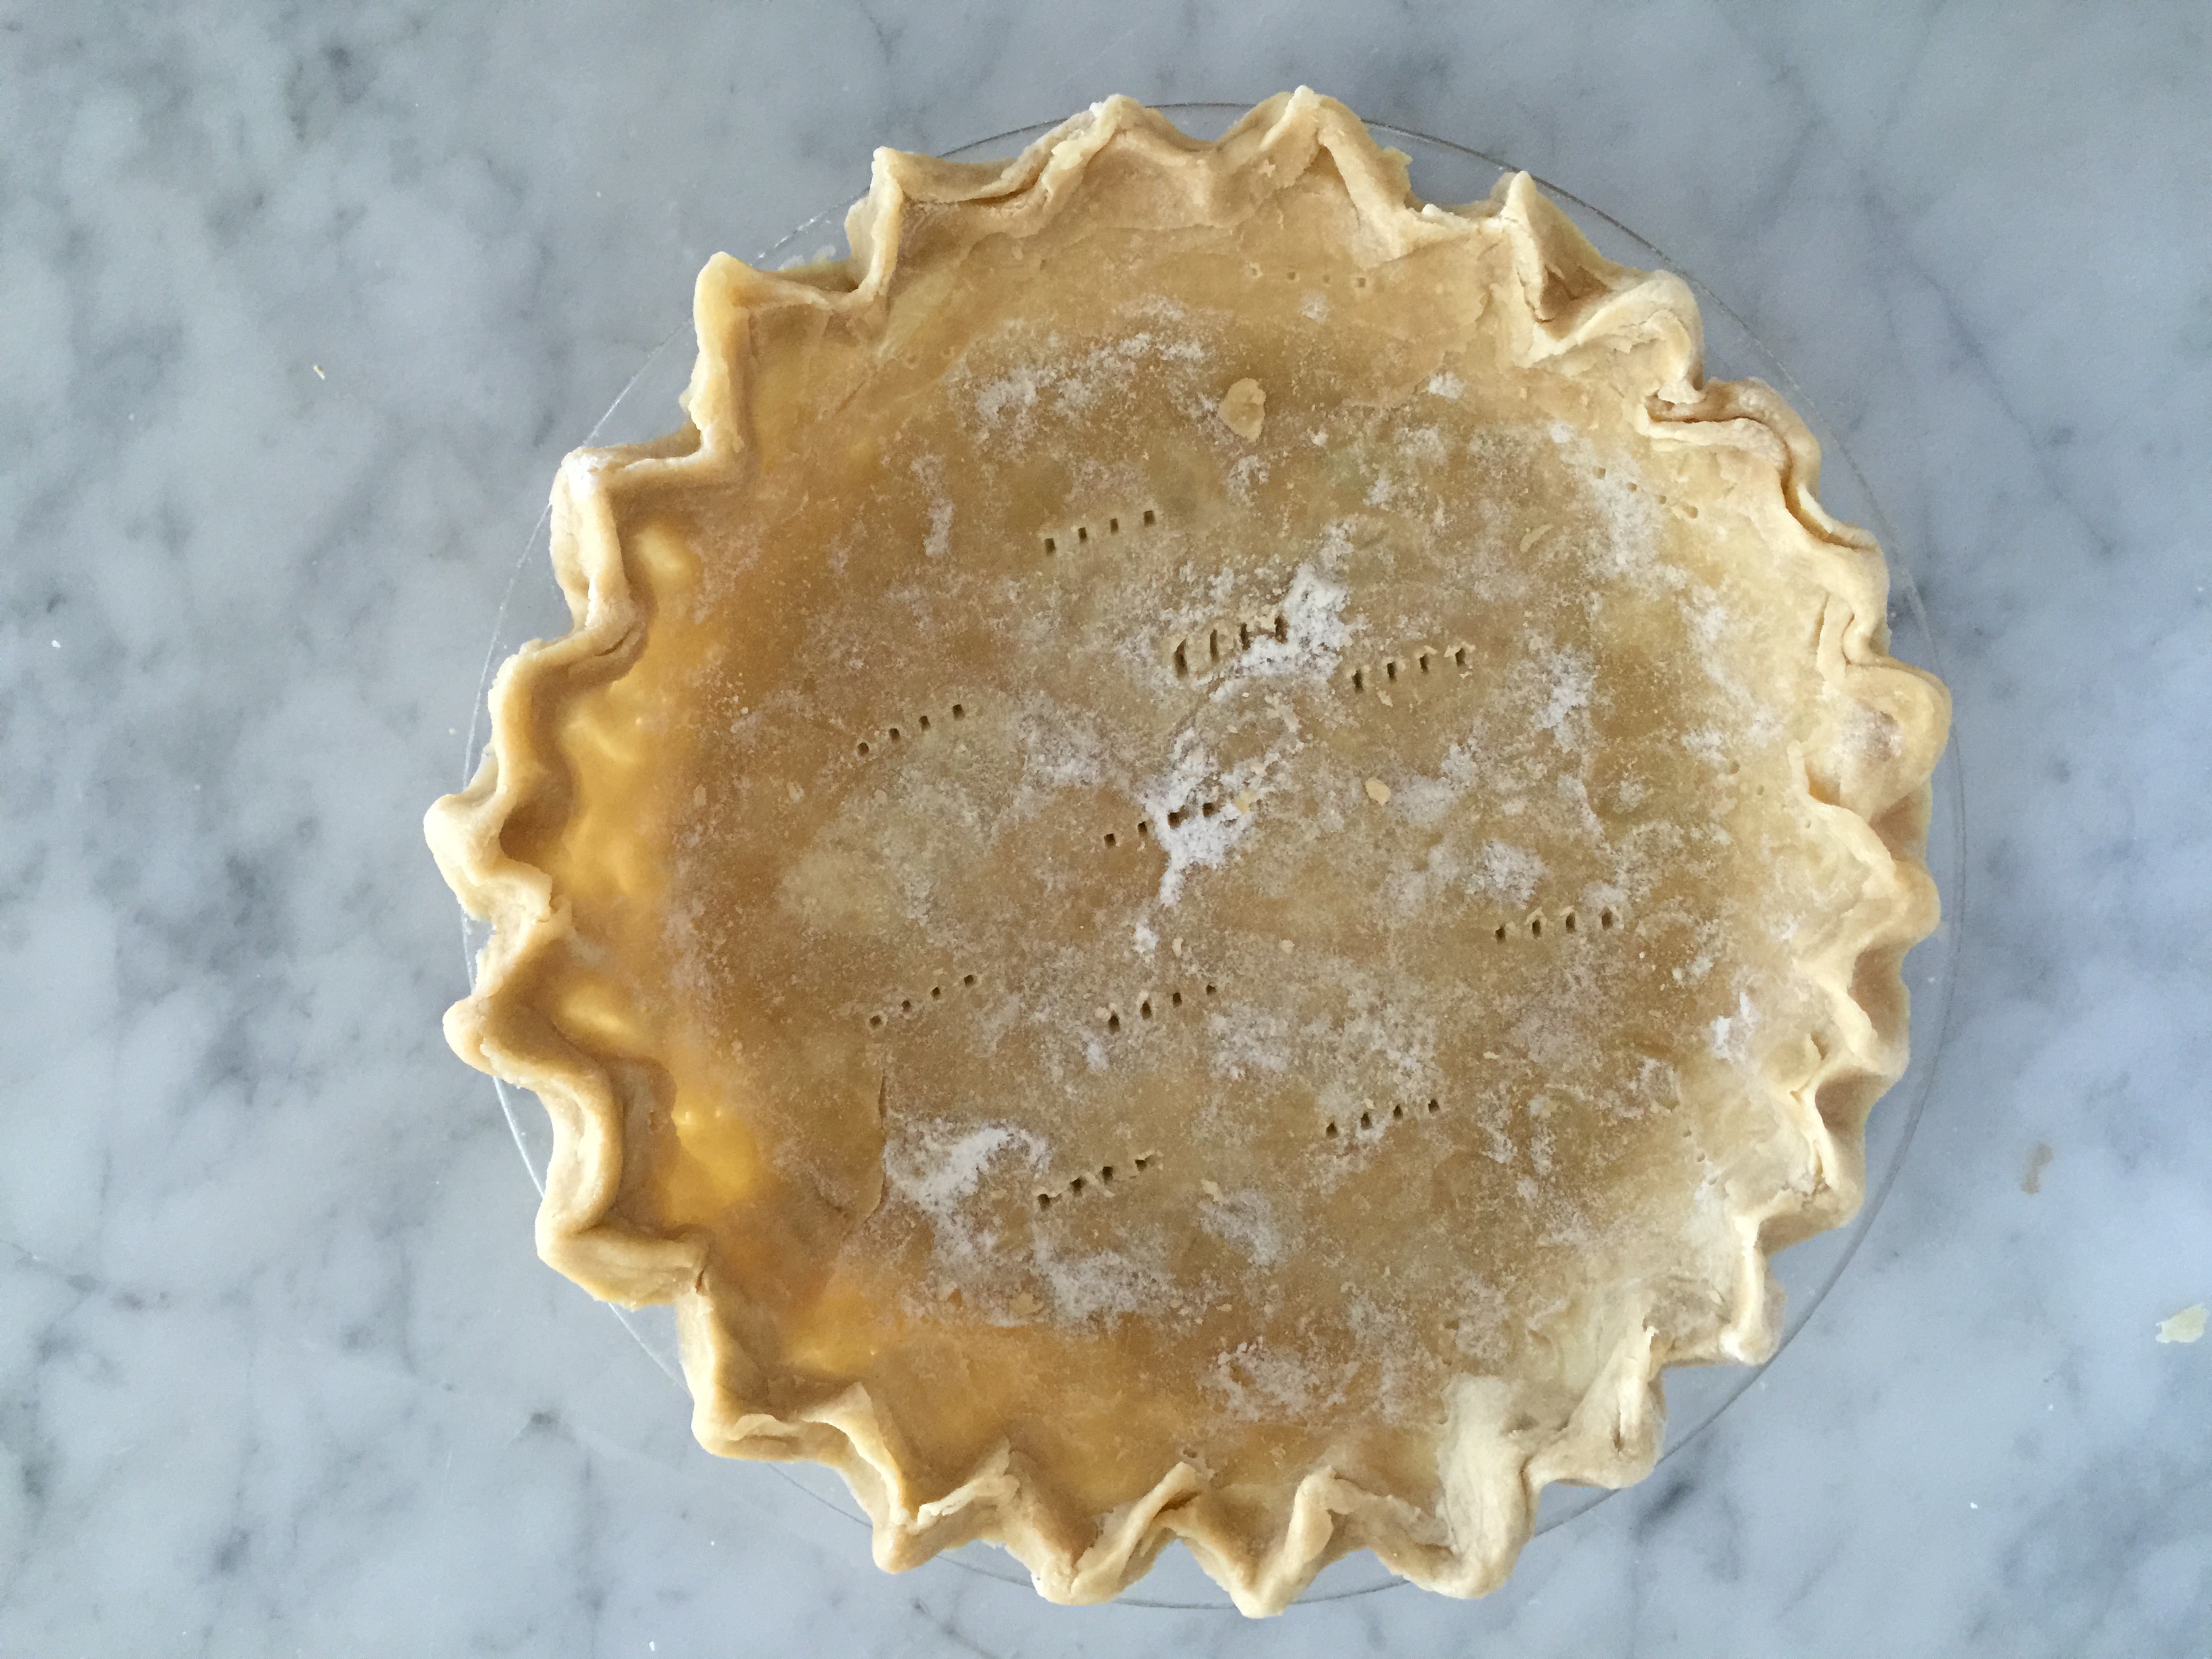
Best Basic Flaky Pie Crust
5.0
(30)
Your folders
Your folders
Prep Time: 10 minutes
Cook Time: 8 minutes
Total: 48 minutes
Servings: 8

Ingredients
Export 2 ingredients for grocery delivery
Instructions
Step 1
Mix flour and salt.
Step 2
Cut in shortening with pastry blender or knives using a cutting motion, no stirring, only a short cutting motion to form small pebble like pieces with flour, shortening and salt.
Step 3
Add 1/2 cup water all at once.
Step 4
Fold ingredients with fork until flour is absorbed and dough comes together. If needed, add more cold water, a tablespoon or two at a time, until the dough resembles something similar to biscuit dough. It should be damp, but not sticky. Do not add too much water.
Step 5
Divide dough in half for two pie crusts. The dough should be soft and not sticky. If sticky, roll in a bit of flour.
Step 6
Flour surface and rolling pin well. I use about 1/4 or more cups of flour on surface and spread in circle. Keep the rolling pin floured.
Step 7
Flatten dough with hand to make round disc shape.
Step 8
Roll out from center to about 1/8” thickness. Place the pie plate on top of the dough. The dough should be rolled out approximately 2 1/2 inches past the edge of the pie plate, to allow for the dough to sink into the corner of the pie plate, and also extend over the edge of the plate so an outer crust is easily formed.
Step 9
Fold dough in half, lift onto pie plate.
Step 10
Open and shape to pan, make sure to gently press the pastry into the corner of the pie plate.
Step 11
Cut off excess dough if making a single pie crust. If making a pie to be baked with filling, fill the pie shell, top with crust if desired (if making apple or other fruit pies). Follow pie recipe directions.
Step 12
Alter the recipe above to use 5-6 tablespoons of Crisco, instead of 8 tablespoons. This will help your crust to stay in place and not shrink! The crust will still be flaky and easy to handle, but your shrinkage will be less.
Step 13
It is important when baking a single crust to form the edges of the pie to the very edge of the pie plate. Do not skimp on dough on the edge of the crust. You want to have a thick layer of crust in order to prevent shrinkage. I sometimes use about 3/4 of the crust recipe for a single pie crust if I want to make a crust with a pronounced edge.
Step 14
Poke holes in the bottom and sides of the crust to prevent bubbles from forming in crust.
Step 15
Turn oven to 500 degrees. Yes, 500! The oven should be very hot when you place the crust into the oven. Preheat for at least 15 minutes. (I like to preheat for 30 minutes).
Step 16
Place the formed pie shell into your refrigerator (or better yet freezer) for 30 minutes, uncovered.
Step 17
After the crust has been refrigerated or placed in freezer, bake for 7-10 minutes in preheated oven on CENTER rack. I bake on center rack for a single crust.
Step 18
Keep an eye on your crust through the window in your oven( if you have one) after about the 5-6 minute mark. The crust is done in about 8 minutes in my oven if I am baking two single crusts at once. Baking time will vary depending on the oven. YOu may need a little more or less baking time.
Step 19
Remove from oven and let cool completely after baking. This crust will stay fresh for 2 days on the countertop in a dry climate.