Butter Mochi
4.7
(42)
Your folders
Your folders
Prep Time: 15 minutes
Cook Time: 45 minutes
Total: 60 minutes
Servings: 24

Ingredients
Export 6 ingredients for grocery delivery
Instructions
Step 1
Gather all the ingredients. Arrange a rack in the middle of the oven and preheat the oven to 375ºF (190ºC). For a convection oven, reduce the cooking temperature by 25ºF (15ºC).
Step 2
First, melt the butter: Place the butter in a liquid measuring cup and microwave for 60-70 seconds (W1000). Alternatively, you can melt it in a pot on the stovetop. Set the melted butter aside. Keep the butter wrapper for the next step.
Step 3
Grease a 9 x 13-inch baking pan (or two 8 x 8 x 2-inch pans) with butter; you also can use neutral-flavored oil, if you'd like. I use the leftover butter on the wrapper first, then use additional butter if needed. Later, once you pour the melted butter into the batter, you also can use the leftover butter in the measuring cup to grease the pan with a pastry brush.
Step 4
In a medium bowl, combine the mochiko, baking powder, and salt and whisk to combine. It's important to equally distribute the baking powder and salt into the mochiko flour. Set it aside.
Step 5
In a stand mixer bowl or a large bowl, crack the eggs and add the sugar. Tip: You will stir the batter at low speed (Speed 2 on the stand mixer), so you can use a hand whisk, electric hand mixer, or stand mixer for this job.
Step 6
Whisk at low speed (by hand or on mixer Speed the eggs and sugar together until creamy.
Step 7
Add the unsweetened coconut milk and stir to combine.
Step 8
Add the evaporated milk and stir to combine.
Step 9
Add the vanilla extract and mix. Then, slowly add the melted butter to the mixture while mixing.
Step 10
Whisk well to combine everything.
Step 11
Next, add the dry ingredients all at once to the mixing bowl and whisk to incorporate everything.
Step 12
Stop mixing and scrape down the sides and bottom of the bowl with a silicone spatula to make sure there are no lumps. Then, start mixing again until the batter is homogeneous and smooth.
Step 13
Pour the batter into the center of the prepared pan. Using the silicone spatula, draw a zigzag around the center of the pan to smooth out the batter. Tap the pan on the counter a couple of times to bring any air bubbles to the surface. Tip: If you don't smooth out the batter, the finished butter mochi may have a ripple mark or air bubbles on the surface. Note: If you like to add unsweetened coconut flakes, sprinkle them on top.
Step 14
Bake at 375ºF (190ºC) for 45 minutes, or until an inserted skewer comes out clean. The mochi should be set and golden brown on top.
Step 15
Set the baking pan on a wire rack and let the butter mochi cool. You can either slice it into clean-cut pieces or serve it directly from the baking pan. To serve from the pan, leave it to cool completely on the wire rack for about 1 hour before slicing and serving. To slice clean pieces, let the mochi cake cool for 30 minutes. Remove it from the pan while it's still warm by running an offset spatula or butter knife along the edges to release it.
Step 16
Then, invert the butter mochi cake onto a tray or cookie sheet lined with parchment paper.
Step 17
Next, flip the butter mochi right side up: Place another sheet of parchment paper on top of the cake, followed by a cutting board. Then, hold the cookie sheet and the cutting board together, with the butter mochi sandwiched in between, and flip it over onto the cutting board. Remove the cookie sheet and parchment paper and save it for wrapping the butter mochi later.
Step 18
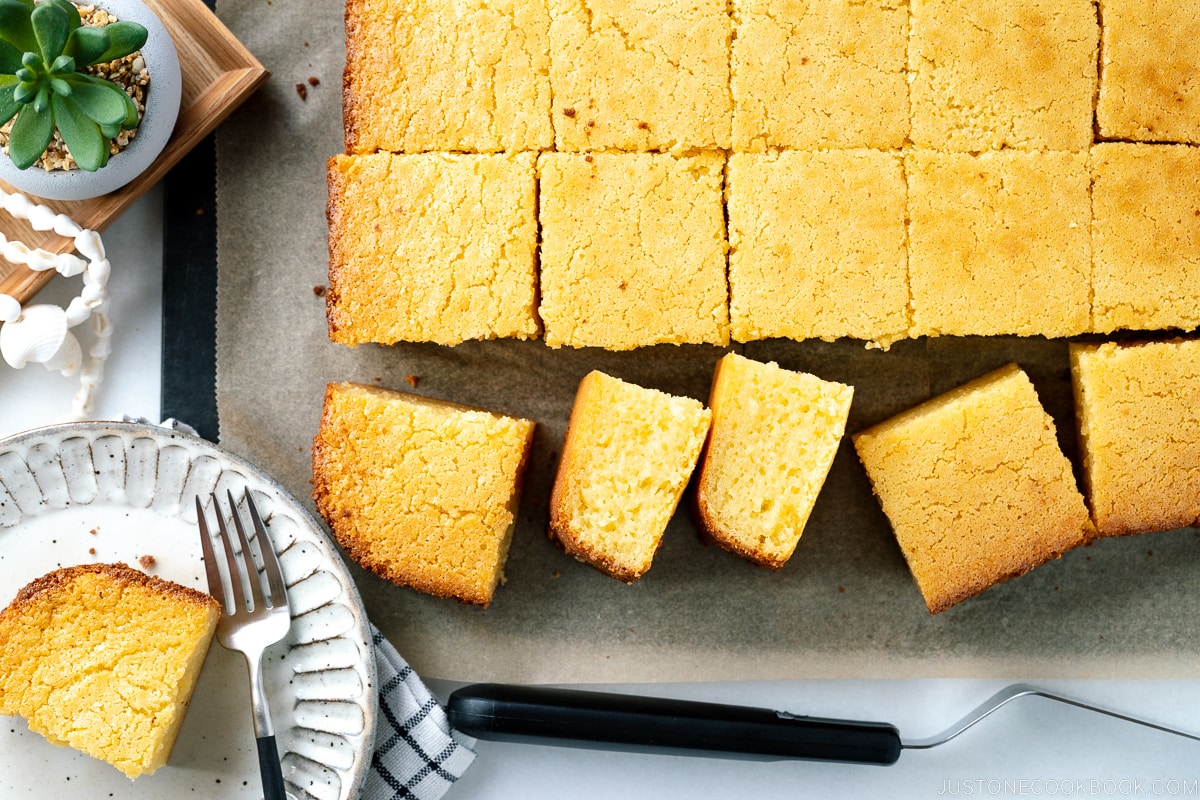
Slice the mochi cake into small pieces. I cut 6 columns and 4 rows to make 24 pieces that are about 2 x 2 inches (5 x 5 cm). I read that a plastic knife won't stick to the butter mochi, but I don't have one, so I just rinsed my knife once halfway through slicing.
Step 19
I usually cut the 2 x 2-inch pieces in half because it's easier to eat. To keep them from sticking to each other, I separate each piece on the bottom and sides with small squares of parchment paper that I cut using the two sheets I repurposed from flipping over the butter mochi cake.
Step 20
Enjoy the butter mochi at room temperature. I personally like mine slightly warm, so I microwave it for 5-10 seconds before eating.
Step 21
Keep the butter mochi in an airtight container and store it at room temperature for up to 3 days. If you'd like to keep it longer, wrap each piece (or the portion you will serve at one time) in plastic wrap to avoid freezer burn and drying out. Then, place them in a freezer bag or airtight container and freeze for up to 1 month. Thaw overnight in the refrigerator or at room temperature before serving. Serve at room temperature or heat in a microwave for 5-10 seconds, if you'd like.