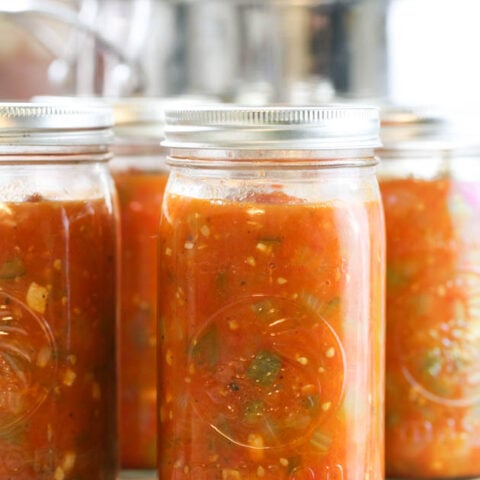
Canning Stewed Tomatoes
4.5
(8)
Your folders
Your folders
Prep Time: 20 minutes
Cook Time: 45 minutes
Total: 1 hours, 35 minutes
Servings: 3
Author : Lady Lee

Ingredients
Export 8 ingredients for grocery delivery
Instructions
Step 1
Set a large pot on the stovetop, add 1/4 cup of olive oil, turn the heat to high.
Step 2
When the oil is hot, add the diced onions, lower the heat to medium/high and cook 5-10 minutes stirring frequently so the onions don't burn.
Step 3
Add the diced garlic and cook an additional 2 minutes until fragrant.
Step 4
Add the celery and green peppers, stir and cook for 5 minutes.
Step 5
While the vegetables are cooking, add the salt, black pepper, paprika, and oregano and stir.
Step 6
Add the tomatoes and stir.
Step 7
Cook for approximately 45 minutes (pot uncovered) or until the mixture reaches your desired thickness.
Step 8
While the tomatoes cook, wash your jars, lids, and bands with hot water and soap and set aside.
Step 9
Add 3 quarts of water to your pressure canner (leave rack at the bottom of the canner), set on the stovetop, turn the heat to high and bring to a simmer.
Step 10
When your stewed tomatoes are ready, set a canning funnel on the jar and ladle the stewed tomatoes into the jar. Make sure to leave 1'' headspace.
Step 11
Remove the funnel and use the bubble remover to remove air bubbles.
Step 12
Use a clean paper towel to clean the rim of the jar before centering the lid on it and closing the jar with the band. Do the same with the rest of the jars.
Step 13
Add the jars of stewed tomatoes to the pressure canner. Set them on the rack and make sure they don't touch each other.
Step 14
Close the canner (heat is on high). After a few minutes steam will start coming out of the vent. Set your timer to 10 minutes and let the canner vent steam.
Step 15
After 10 minutes, place the weight on the vent and watch the gauge. If you live below 1000 feet in elevation and are using a dial gauge canner like me, process your stewed tomatoes on 11 psi. Once the gauge shows 11 psi, lower the heat a little bit to keep it there. Process for 20 minutes. ** If you are using a weighted gauge canner or live in elevations higher than 1000 feet make sure to check the post for the adjustments that you'll have to make.
Step 16
When the processing time is done, turn the heat off and let the canner be for a couple hours. Do not try to open it.
Step 17
When the canner is cooled completely, open the lid but do not remove the jars. Let them stay in the hot water for about 10 minutes (we want temperature changes to be very gradual).
Step 18
After 10 minutes, use the jar lifter to lift the jars out of the canner. Set them on a wooden cutting board or on a kitchen towel on the counter. Let them cool completely undisturbed for 10-12 hours.
Step 19
Once the jars are completely cool, check that they all sealed by pressing the center of the lid. If there is no movement there your jars are sealed (if a jar didn't seal you can store it in the fridge and use it, freeze it, or replace the lid and process it again. Usually they all seal though).
Step 20
Remove the band, wipe your jars, label them, and store them in the pantry or a kitchen cabinet for up to a year.