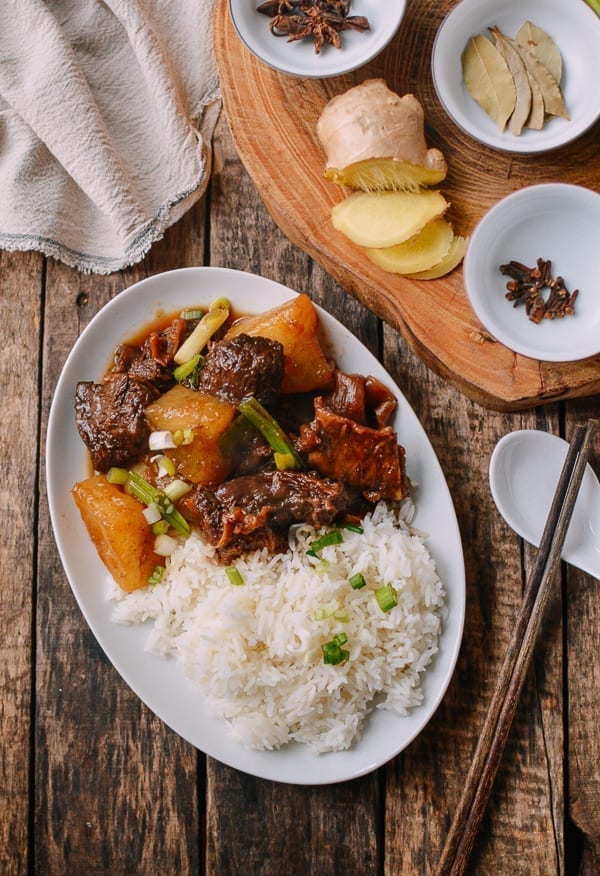
Cantonese Instant Pot Braised Beef with Radish
4.9
(19)
Your folders
Your folders
Prep Time: 15 minutes
Cook Time: 105 minutes
Total: 105 minutes
Servings: 8
Author : Sarah

Ingredients
Export 12 ingredients for grocery delivery
Instructions
Step 1
Fill your wok with cold water, and add the beef. Place over high heat, bring to a boil, and cook the beef for 1 minute to remove any impurities. Use a slotted spoon to remove the beef to a colander, and rinse. Set aside.
Step 2
Heat 2 tablespoons vegetable oil in your Instant Pot on the saute setting. Add the ginger slices, and cook for 2-3 minutes, until fragrant and slightly crisped at the edges.
Step 3
Add the blanched beef, Shaoxing wine, light soy sauce, dark soy sauce, oyster sauce, 3 star anise, 5 cloves, 3 bay leaves, and 1 tablespoon sugar.
Step 4
Seal the Instant Pot, make sure the valve is set to “sealing,” and turn on the meat/stew for 45 minutes. The float valve on the top of the Instant Pot will raise when under pressure.
Step 5
Once finished, allow the Instant Pot to release pressure naturally. Once the Instant Pot is safe to open (pressure is fully released when the float valve has dropped back into the lid), open it and add the radish chunks. Stir to combine with the beef.
Step 6
Replace the lid, seal the Instant Pot, move the valve back to the sealing position, and put it back on manual high pressure for 10 minutes. Once done, allow the pressure to release again using Quick Pressure Release this time (be careful moving the valve, as the steam released will be very hot. Use an oven mitt!).
Step 7
Open the pot when safe. Turn on the Saute setting and bring the stew to a simmer. Mix together chicken stock or water and cornstarch into a slurry and stir into the stew to thicken. Simmer for 2 minutes, season with salt to taste, and stir in the scallions.
Step 8
Serve with rice!