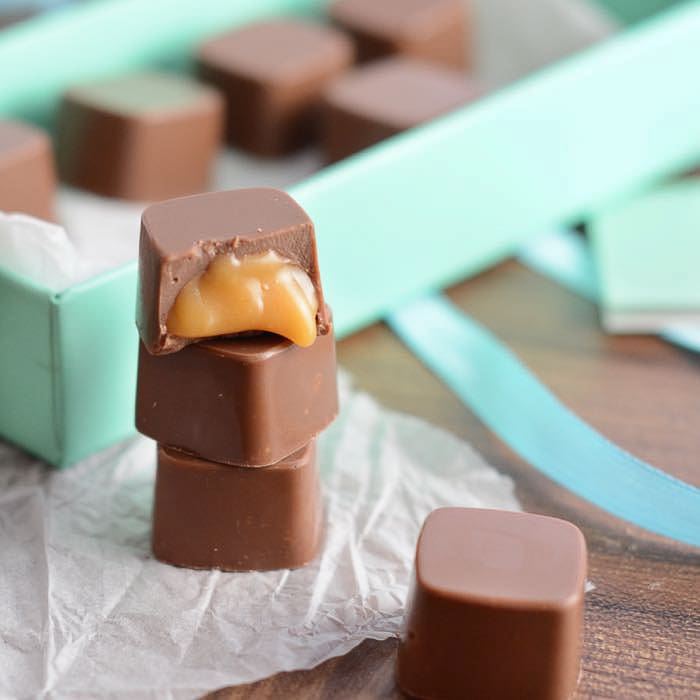
Caramel Filled Chocolates
Your folders
Your folders
Servings: 10
Cost: $1.07 /serving
Author : Charlotte Oates
Ingredients
Export 2 ingredients for grocery delivery
Instructions
Step 1
Place about half of your chocolate into a small pan over a very low heat (or bain marie if you prefer) and heat the chocolate until it reaches a temperature of 45ºC – Don’t worry if not all of the chocolate has melted, it will continue to melt after it’s removed from the heat.
Step 2
Decant the melted chocolate into a bowl and add a piece of the unmelted chocolate you set aside before. Stir the chocolate in until it has melted.
Step 3
Keep adding pieces of the unmelted chocolate until the temperature of the chocolate has been reduced to 32ºC. At this point it’s ready to use.
Step 4
Remove any lumps of chocolate and set aside to use later – I like to put in onto greaseproof paper as then it’s easy to peel off and use again (it can be difficult to remove hardened chocolate from a bowl).
Step 5
Pour the melted chocolate into the mould (or pipe if you prefer). Fill each of the squares you’re using to the top. Once filled, tip the mould upside down over the bowl you stirred the chocolate in and tip out any excess – you’re trying to create a hollow shell.
Step 6
Once the excess has tipped out have a quick check for any holes in the shells (the moulds are clear so these should be easy to spot if you hold it up to the light). If there are any holes then add in a little extra chocolate and tip again to remove any excess.
Step 7
Once you’re happy with the shells, use a sharp knife to scrape any excess chocolate from the top of the mould.
Step 8
Put the mould into the fridge for at least half an hour to set.
Step 9
Scrape any leftover chocolate from the bowl back into the pan you used to melt the chocolate originally (this can then be used to make the base of the chocolates).
Step 10
If you haven’t got pre-made caramel sauce then now’s the time to make it. You can find the recipe here.
Step 11
Put your caramel sauce into a piping bag and make a small hole (about 2mm) in the bottom.
Step 12
Remove your mould from the fridge.
Step 13
Carefully pipe about ½ tsp of caramel sauce into each chocolate. You want to leave a gap of about 2mm at the top of each one for adding the chocolate base.
Step 14
Put to one side while you temper the chocolate for the base.
Step 15
Add about half of any unused chocolate you have in the packet to the chocolate you put back into the pan earlier and repeat steps 1-4 (above) to temper the chocolate. You can use the same bowl you used earlier even if it has some hardened chocolate in the bottom as it will melt in and help the tempering process.
Step 16
Once the chocolate has tempered, spoon or pipe it carefully over the top of the caramel – you want the chocolate to come above the top edge of the mould.Once all of the chocolates are covered, use a sharp knife to scrape off any excess chocolate.
Step 17
Put the chocolates into the fridge for at least half an hour to set.
Step 18
Once the chocolate has completely set, turn the mould over on a work surface and give it a pretty sharp bang against the edge of the surface (make sure your work surface is not too delicate you don’t want to damage it!) the chocolates should drop out. You might need to repeat this a few times to encourage them all out. If any are being stubborn then pop the mould back into the fridge for a while longer to give them a bit more time to set.