Clay Christmas Tree
Your folders
Your folders

Ingredients
Export 3 ingredients for grocery delivery
Instructions
Step 1
Gather your supplies and materials.
Step 2
Print our free clay Christmas tree template on cardstock. This template allows you to make 3 different sizes of trees.To make more than one size of tree, print multiple copies of the pattern. You'll need one template page per tree.
Step 3
Cut along the line for the size of tree you'd like to make.
Step 4
Place the ball of clay between two pieces of plastic wrap. This will stop the clay from sticking to your rolling pin and work surface.
Step 5
Roll the clay, creating an oval shape, until it's just under 1/4 inch thick.
Step 6
Peel off the top layer of plastic wrap and place the template on top of the clay. Cut around the template with a craft knife.
Step 7
Remove the template and the extra clay around the template.
Step 8
Press the side of the craft knife into the clay along one straight edge to score it.
Step 9
Use your finger to push down the clay along the other straight edge. This will help join the two sides together.
Step 10
Roll the cardstock template into a cone shape.
Step 11
Secure the cone in place with a couple pieces of tape.
Step 12
Cover the cone in plastic wrap. Tuck any extra at the bottom inside the cone.
Step 13
Pick up the clay and place it on the tree form. Place the point at the top of the tree and align the curved bottom of the clay with the bottom of the cone.
Step 14
Wrap the clay around the cardstock tree, and press in the sides to help it stay in place.Starting at the top of the tree, press the two sides of clay together until it stays securely on the cone shape.
Step 15
Then to join the rest of the edges together, dip your fingertip in water and rub it along the scored side of the tree.
Step 16
Place the thin side of the clay on top of the scored side and carefully push them together against the cardstock template.
Step 17
Use water and your fingertip to smooth out any bumps in the clay, especially at the seam.
Step 18
If needed, trim the clay along the bottom to make the base even and straight.
Step 19
Push a straw into the clay to make a decorative light hole in the tree.Once you've pushed the straw into the clay, wiggle it a little bit, and then remove it.
Step 20
Continue using the straw to add holes all over the tree, either in a pattern or randomly.After about 4 or 5 holes you'll need to remove the clay from inside the straw. You can either cut the straw, or blow or squeeze out the clay from the end.
Step 21
Once you're happy with your design, allow the clay Christmas tree to dry for at least 24 hours.Check on the tree and leave it for another day if it isn't completely dry. Drying times may vary depending on the type and thickness of clay that you use.
Step 22
Remove the clay Christmas tree from the cardstock cone. Push the edge of the cone in at the bottom and twist it to help the clay tree slide off more easily.
Step 23
Your clay Christmas tree is complete!
Top similar recipes
Curated for youYour folders
 453 views
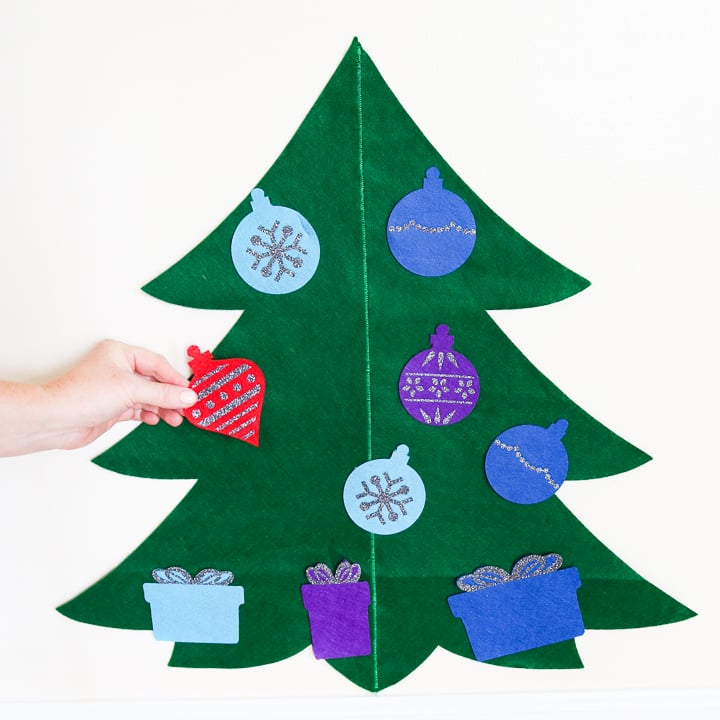
Felt Christmas Tree
thecountrychiccottage.net
Your folders
 339 views
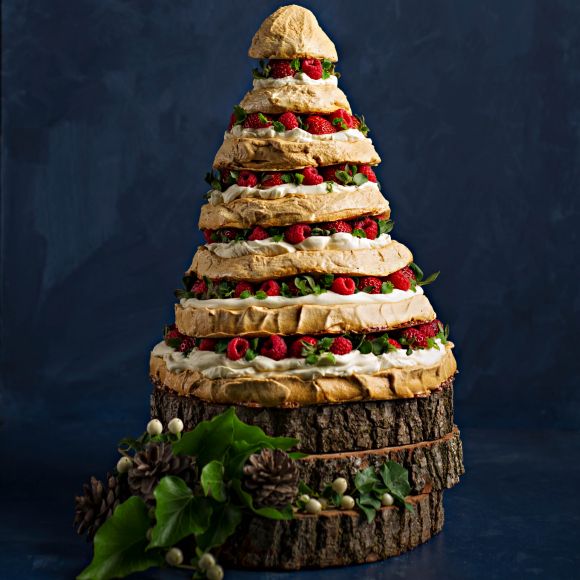
Christmas Meringue Tree
simplysibodiet.com
Your folders
 448 views
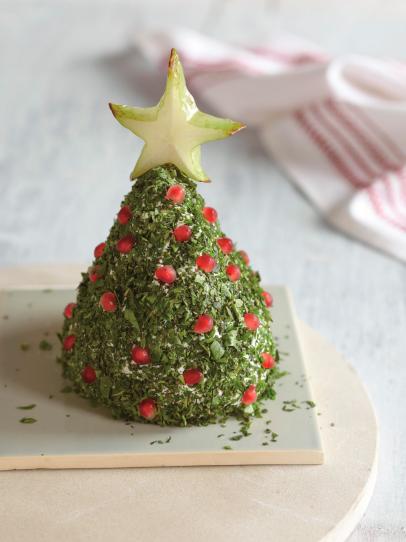
Christmas Tree Cheeseball
inspiredbycharm.com
5.0
(2)
Your folders
 541 views
Christmas Tree Cookies
thissillygirlskitchen.com
4.6
(19)
120 minutes
Your folders
 416 views
Christmas Tree Tarts
foodnetwork.com
4.2
(13)
30 minutes
Your folders
 282 views
O Christmas Tree
foodnetwork.com
4.0
(2)
30 minutes
Your folders
 294 views
Christmas Tree Cake
hungryhealthyhappy.com
5.0
(2)
30 minutes
Your folders
 284 views
Christmas Tree Appetizers
helloyummy.co
Your folders
273 viewsChristmas Tree Cupcakes
foodnetwork.com
5.0
(2)
40 minutes
Your folders
 220 views
Christmas Pastry Tree
mingleseasoning.com
5.0
(1)
15 minutes
Your folders
 154 views
Christmas tree pavlova
womensweeklyfood.com.au
120 minutes
Your folders
 159 views
Christmas Tree Cupcakes
dessertsonadime.com
4.8
(5)
25 minutes
Your folders
 131 views
Christmas tree meringues
bbcgoodfood.com
1 hours
Your folders
 250 views
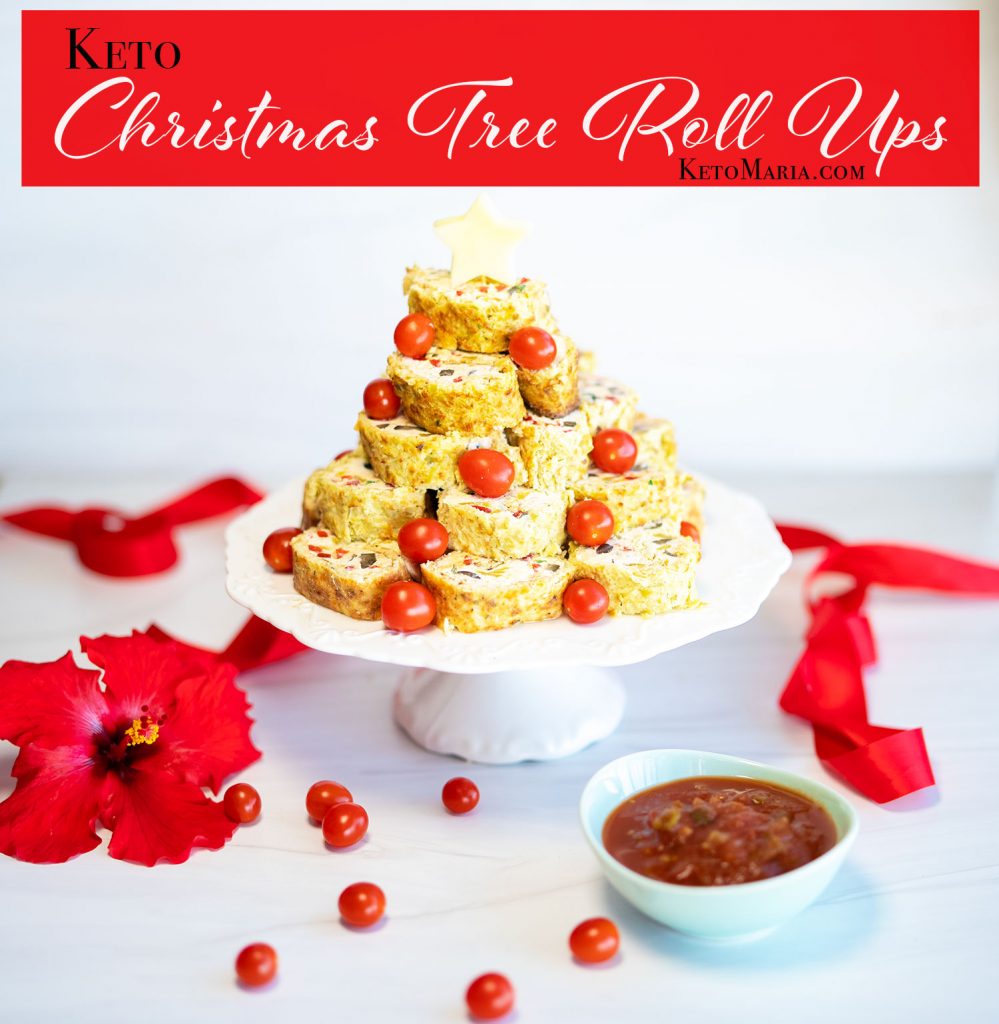
Keto Christmas Tree Roll UpsKeto Ch...
mariamindbodyhealth.com
Your folders
 267 views
Christmas Tree Pull-Apart
recipes.chebe.com
25 minutes
Your folders
 369 views
Chocolate Christmas Tree Forest
mrfood.com
35 minutes
Your folders
 432 views
Gingerbread Christmas Tree Cookies
skinnytaste.com
4.0
(8)
10 minutes
Your folders
 721 views
Pull-Apart Christmas Tree
delish.com
4.7
(7)
20 minutes
Your folders
 454 views
Christmas Tree Of Cookies
leitesculinaria.com
5.0
(2)