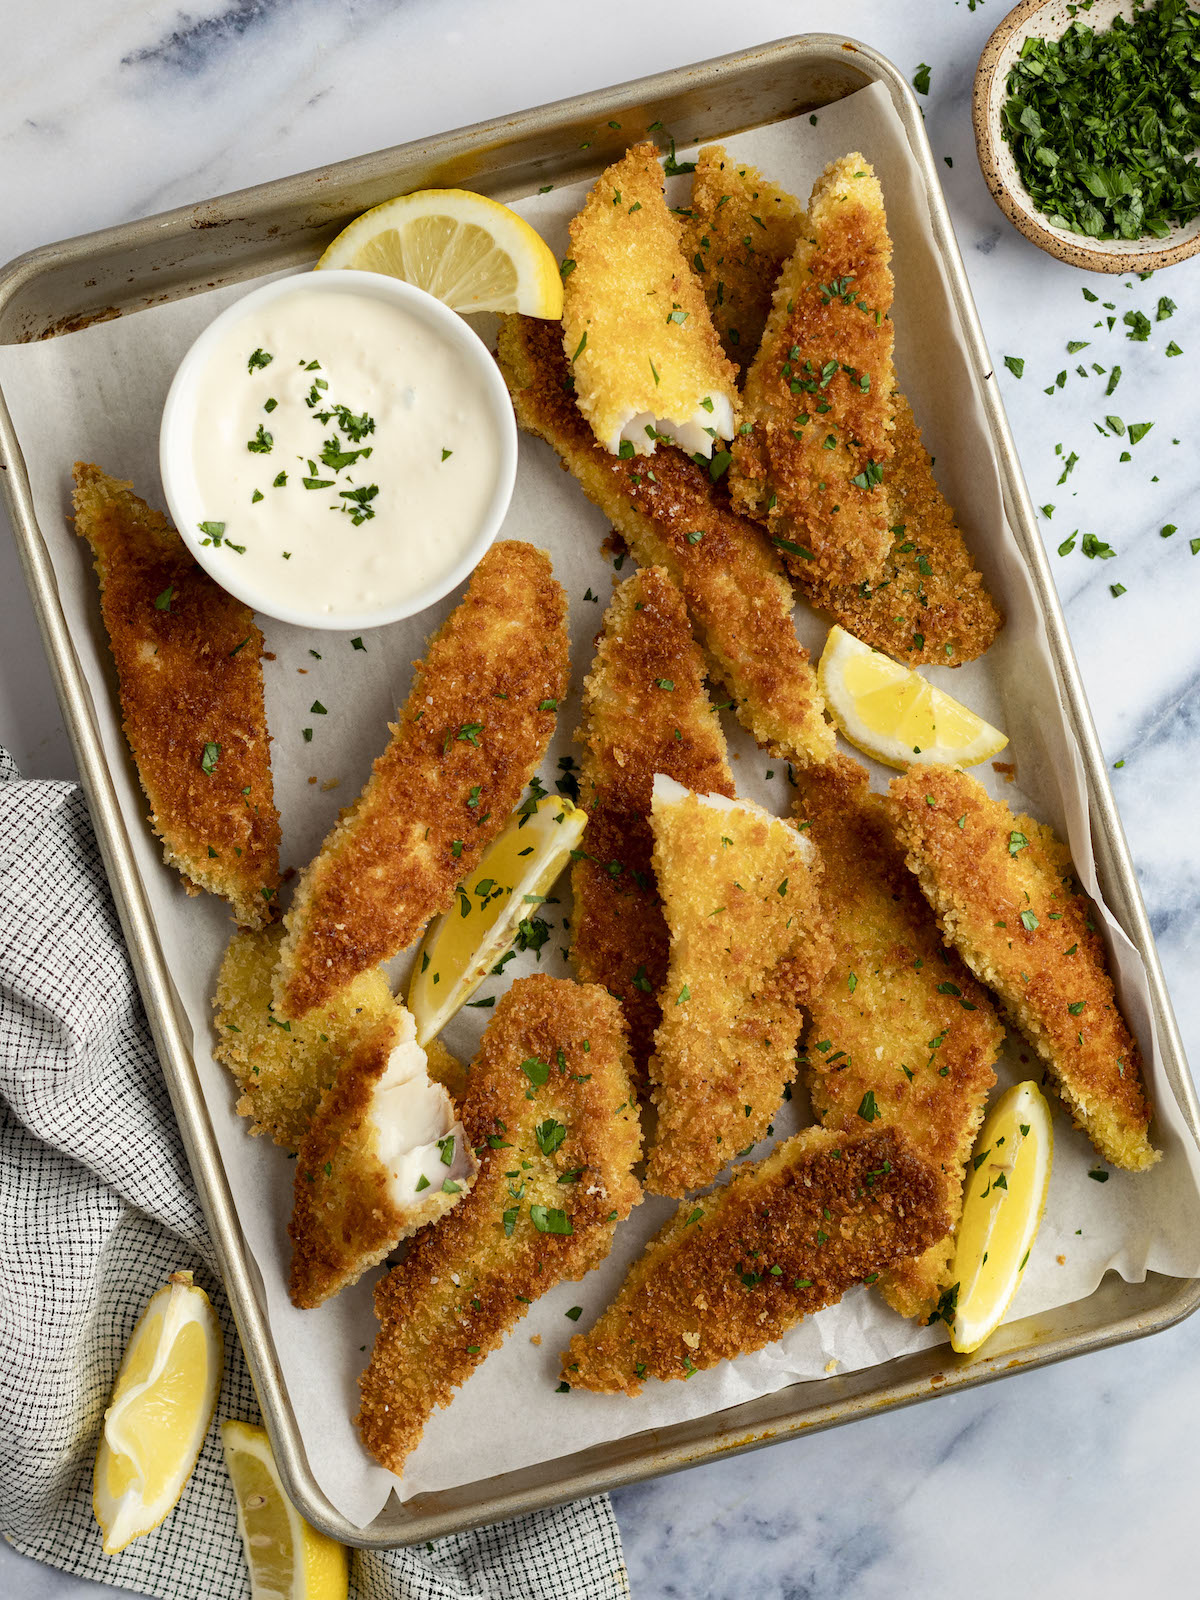
Crispy Pan Fried Fish Fingers
5.0
(57)
Your folders
Your folders
Prep Time: 45 minutes
Cook Time: 15 minutes
Total: 1 hours
Servings: 5
Author : Jennifer Segal
Ingredients
Export 9 ingredients for grocery delivery
Instructions
Step 1
Cut the tilapia into "fingers" by first cutting the fillets in half. Leave the thin sides long, then cut the thicker sides in half on a diagonal so they appear longer.
Step 2
Set up three large shallow bowls in an assembly line. Put the flour in the first bowl; the beaten eggs in the second; and the panko in the third.
Step 3
Line a baking sheet with aluminum foil. Dredge the fish fingers in the flour mixture, shaking excess into the bowl so just a light coating remains; dip in the eggs and turn to coat evenly; then dredge in the panko, turning several times to coat evenly. (This can be a messy job...it's best to use one hand for the flour and eggs and the other for the panko.) Set the breaded tilapia fingers on the prepared baking sheet and season with salt and pepper. Cover and refrigerate until ready to cook (this can be done several hours ahead of time).
Step 4
Line a plate with 3 paper towels and set by the stove. Coat a large non-stick sauté pan generously with olive oil and place over medium heat. When the pan is hot, place the first batch of tilapia fingers in the pan (do not crowd) and cook until the first side is golden brown, 2 to 3 minutes. Flip and continue cooking until done, about 2 minutes more. Transfer the fish fingers to the plate with paper towels and let sit for a minute to drain any excess oil. Remove any brown bits out of the pan, add more oil if necessary and continue to cook the fish in batches until done. Season the cooked tilapia fingers with more salt if desired. Serve with lemon wedges and Lemon-Garlic Mayonnaise.
Step 5
Mix the mayonnaise, garlic and lemon juice in a small bowl. Add salt and pepper to taste.
Step 6
Freezer-Friendly Instructions: You can freeze the fish sticks both before and after frying for convenience. To freeze before frying, bread the fish sticks according to the recipe, lay them out on a parchment-lined baking sheet to freeze solid, then transfer to a freezer-safe bag or container and store for up to 3 months; allow them to thaw slightly so they'll lay flat in the pan, then fry them according to the instructions. If you prefer to freeze them after frying, let the fish sticks cool completely, then freeze them on a baking sheet before transferring to a freezer bag. Reheat frozen, pre-fried fish sticks in an oven preheated to 350°F until they are hot and crispy.