Crochet Freesia Flower – Free Pattern
Your folders
Your folders

Ingredients
Export 4 ingredients for grocery delivery
Instructions
Step 1
R1: Start with 4 ch, then from 1st st of the hook, work 3 dc and turn.
Step 2
R2: 3 ch, then work (3 dc in same st) *3 times and turn.
Step 3
R3: 3 ch, then work ( 2 dc in same st) *9 times and turn.
Step 4
R4: Big petal of Freesia Flower: Start with ( in same st: 4 ch, 1 tr), and followed by ( in same st: 2 tr in next st, and 1 picot st); 1 tr in next st; ( in same st: 1 tr, 4 ch, 1 ss).
Step 5
Middle petal: Start with {( in same st: 1 ss, 4 ch, 1 tr); followed by ( in same st: 2 tr in next st, 1 picot st, 1 tr ); ( in same st: 1 tr, 4 ch, 1 ss )} *2 times. and work 2 ss.
Step 6
Small petal: Start with {( in same st: 1 ss, 4 ch, 2 tr in next st, 1 picot st ), and followed by( in same st: 1 tr, 4 ch, 1 ss )} *3 times. 1 ch, cut and weave the ends.
Step 7
R1: start with 4 ch, from 1st st of hook, 3 dc, turn
Step 8
R2: 3 ch, (3 dc in same st) *3 times, turn
Step 9
R3: 3 ch, ( 2 dc in same st) *9 times, turn
Step 10
R4: Big petal: Start with ( in same st: 2 ch, 1 dc ); followed by ( in same st: 2 dc in next st, 1 picot st ); 1 dc in next st, and ( in same st: 1 dc, 2 ch, 1 ss).
Step 11
Middle petal: Start with {( in same st:1 ss, 2 ch, 1 dc), followed by ( in same st: 2 dc in next st, 1 picot st, 1 dc ); ( in same st:1 dc, 2 ch, 1 ss )} *2 times. and work 2 ss.
Step 12
Small petal: Start with {( in same st: 1 ss, 2 ch, 2 dc in next st, and 1 picot st ); followed by( in same st: 1 dc, 2 ch, 1 ss) } *3 times. 1 ch, cut and weave the ends.
Step 13
R1: start with 4 ch, from 1st st of hook, 3 dc, turn
Step 14
R2: 3 ch, (3 dc in same st) *3 times, turn
Step 15
R3: {( in same st: 2 ch, 1 dc); ( 1 dc and 1 picot st); ( in same st: 1 dc, 2 ch, 1 ss)} * 2 times;
Step 16
( in same st: 1 ss, 2 ch, 1 dc); (1 dc, 1 picot st); ( in same st: 1 dc, 2 ch, 1 ss). work 1 ch, cut and weave the ends.
Step 17
Start with a magic ring.
Step 18
R1: Work ( 2 ch, 2 dc, 3 ch, 1 ss in the ring) *2 times. 1 ch. cut yarn and close the loop tightly.
Step 19
Step 1: Take out a piece of wire and fold it in half, tie a knot in the middle with pink yarn, and then wrap it around to make a bud.
Step 20
Step 2: Wrap green yarn from the middle of the bud to the stem, and fix the tail with hot melt glue.
Step 21
Start with the foundation chain: 30 ch;
Step 22
Add a wire and then start with the second chain from the hook, crochet 4 sc, 21 hdc, 3 sc; (3 sc in same st); work on the other side, 3 sc, 21 hdc, and 4 sc. 1 ss in the first st, cut and leave a tail.
Step 23
Step 1: Gather the crocheted Freesia Flower and the sepal.
Step 24
Step 2: Take a wire and place it at the center of the flower. Arrange the crocheted Freesia flower evenly around the wire. Use a hot melt glue to securely attach the flower to the wire.
Step 25
Step 3: Attach the flower sepals to the bottom of the crocheted Freesia flower. Make sure they are evenly positioned. Use hot melt glue to secure the sepals in place.
Step 26
Step 4: Use the same yarn as used for crocheting to wrap around the wire. This will give it a neat and finished look.
Top similar recipes
Curated for youYour folders

 200 views
Crochet Lily Flower- Free Pattern
hookok.com
Your folders
 178 views
Crochet Androsace flower Pattern
hookok.com
Your folders
 151 views
Crochet Floyd Rose – Free Pattern
hookok.com
Your folders
 198 views
Crochet Plaid Dishcloth- Free Patte...
hookok.com
Your folders
 172 views
Crochet Plaid Coaster- Free Pattern
hookok.com
Your folders
 74 views
Free Sunflower Crochet Bookmark Pat...
easybreezycrochet.com
Your folders
 52 views
Crochet Alocasia Leaf Free Pattern
hookok.com
Your folders
 218 views
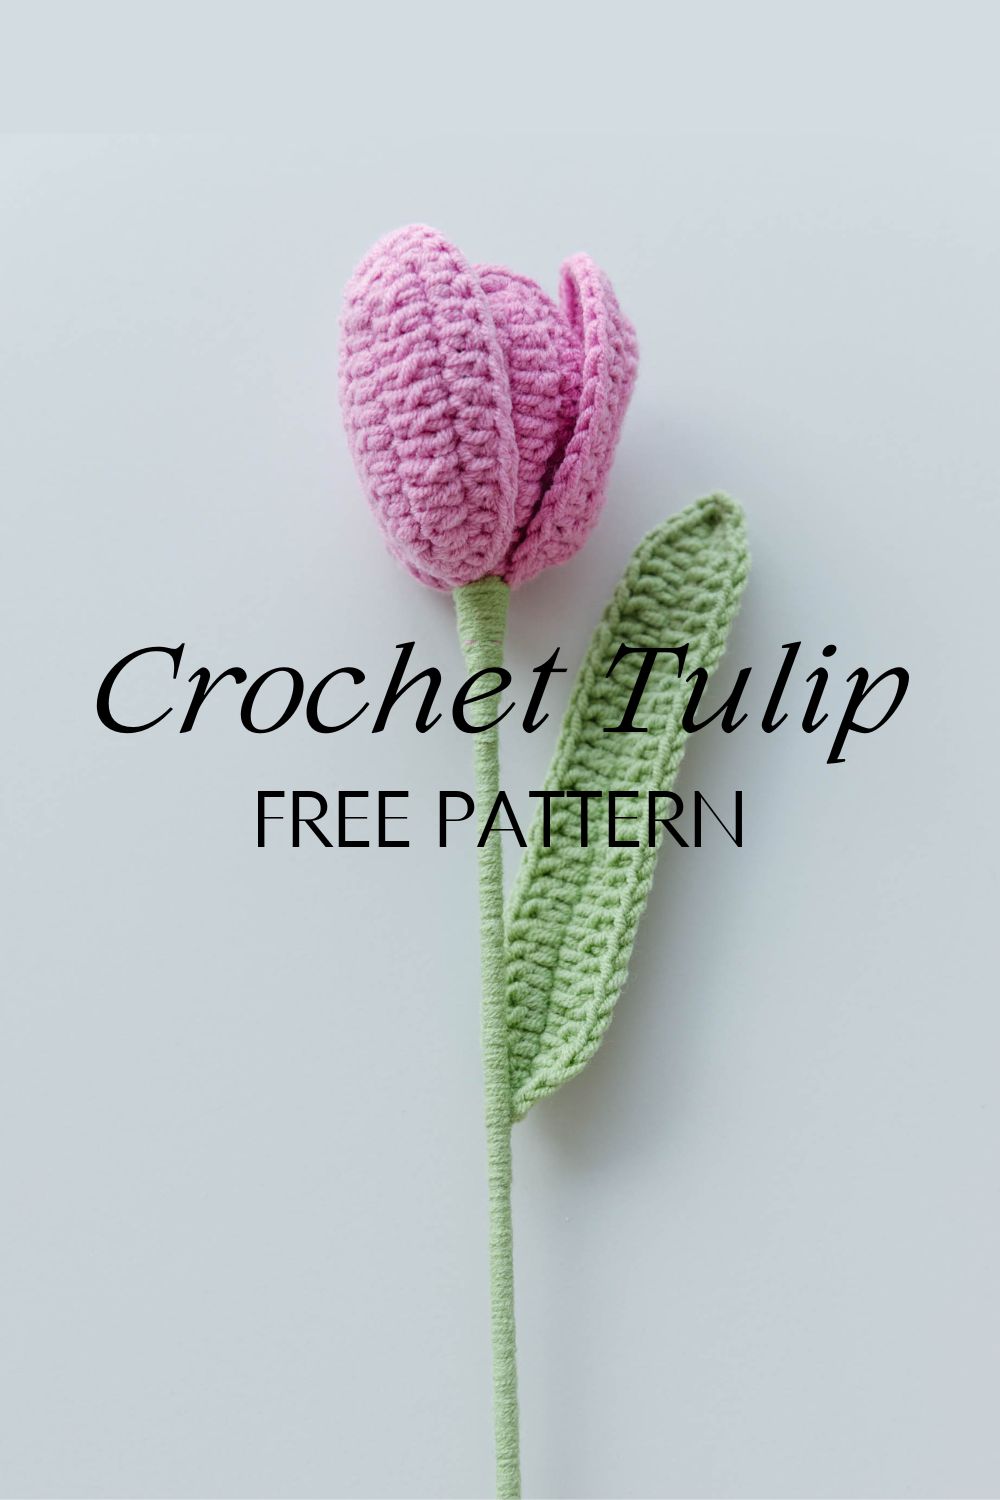
Crochet Tulip Pattern
hookok.com
Your folders
 57 views
Crochet Crow Pattern
thecaffeinatedsnail.com
Your folders
 243 views
Crochet Crow Pattern
thecaffeinatedsnail.com
Your folders
 252 views
Crochet Flower Bookmark
easybreezycrochet.com
Your folders
69 viewsCrochet Flower Bookmark
easybreezycrochet.com
Your folders
 84 views
Crochet Christmas Tree Dishcloth – ...
hookok.com
Your folders
 66 views
Classic Halter Top Free Crochet Pat...
makeitcrochet.com
Your folders
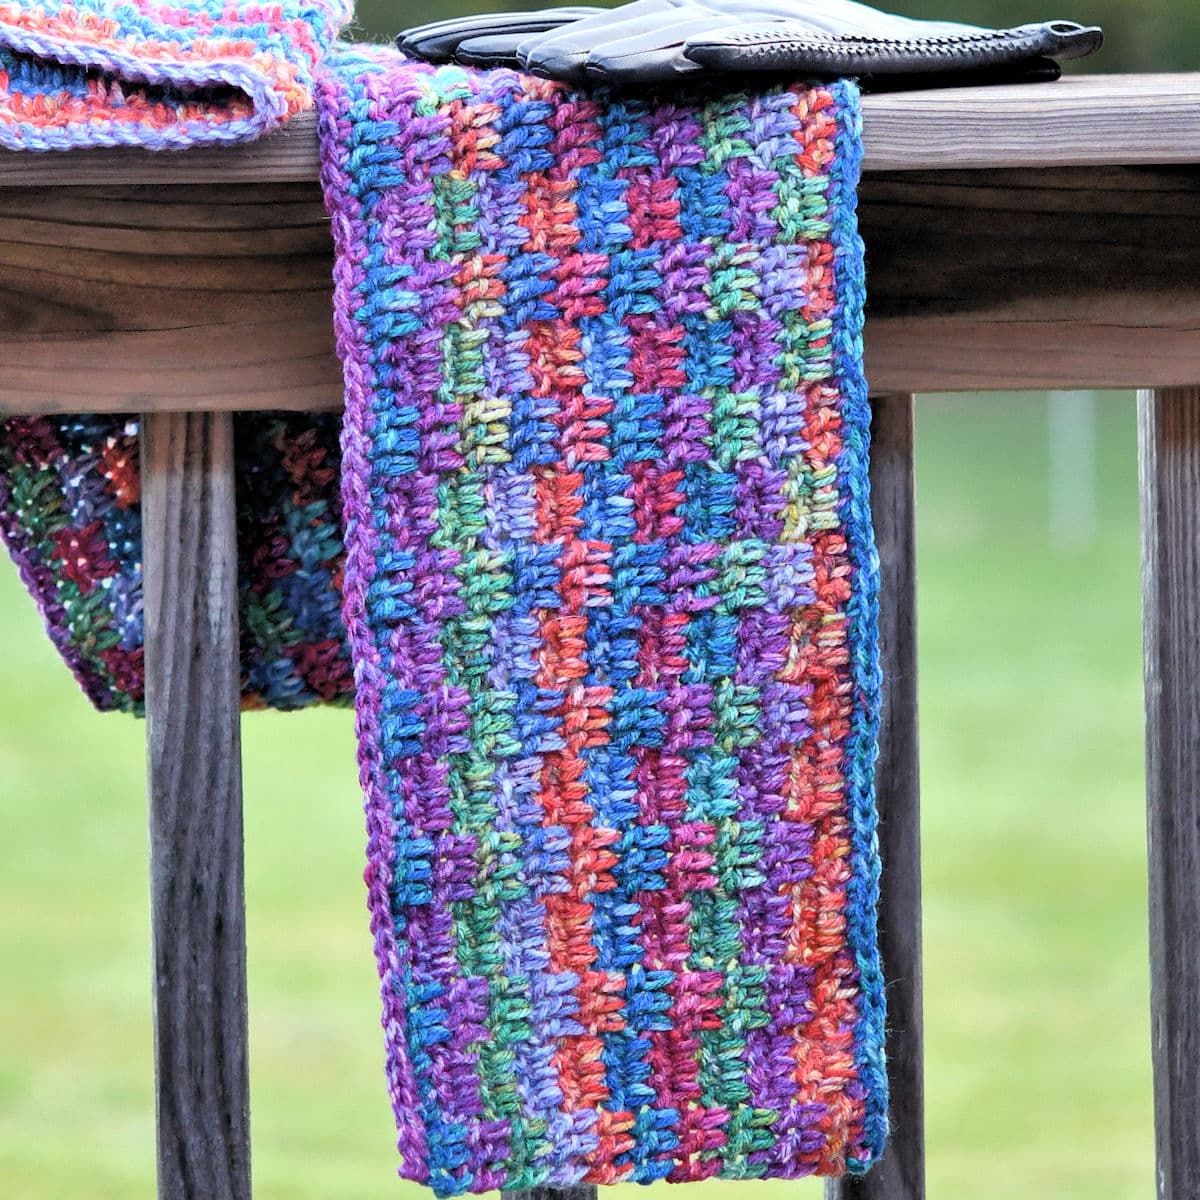 49 views
Bitty Blocks Scarf Free Crochet Pat...
makeitcrochet.com
Your folders
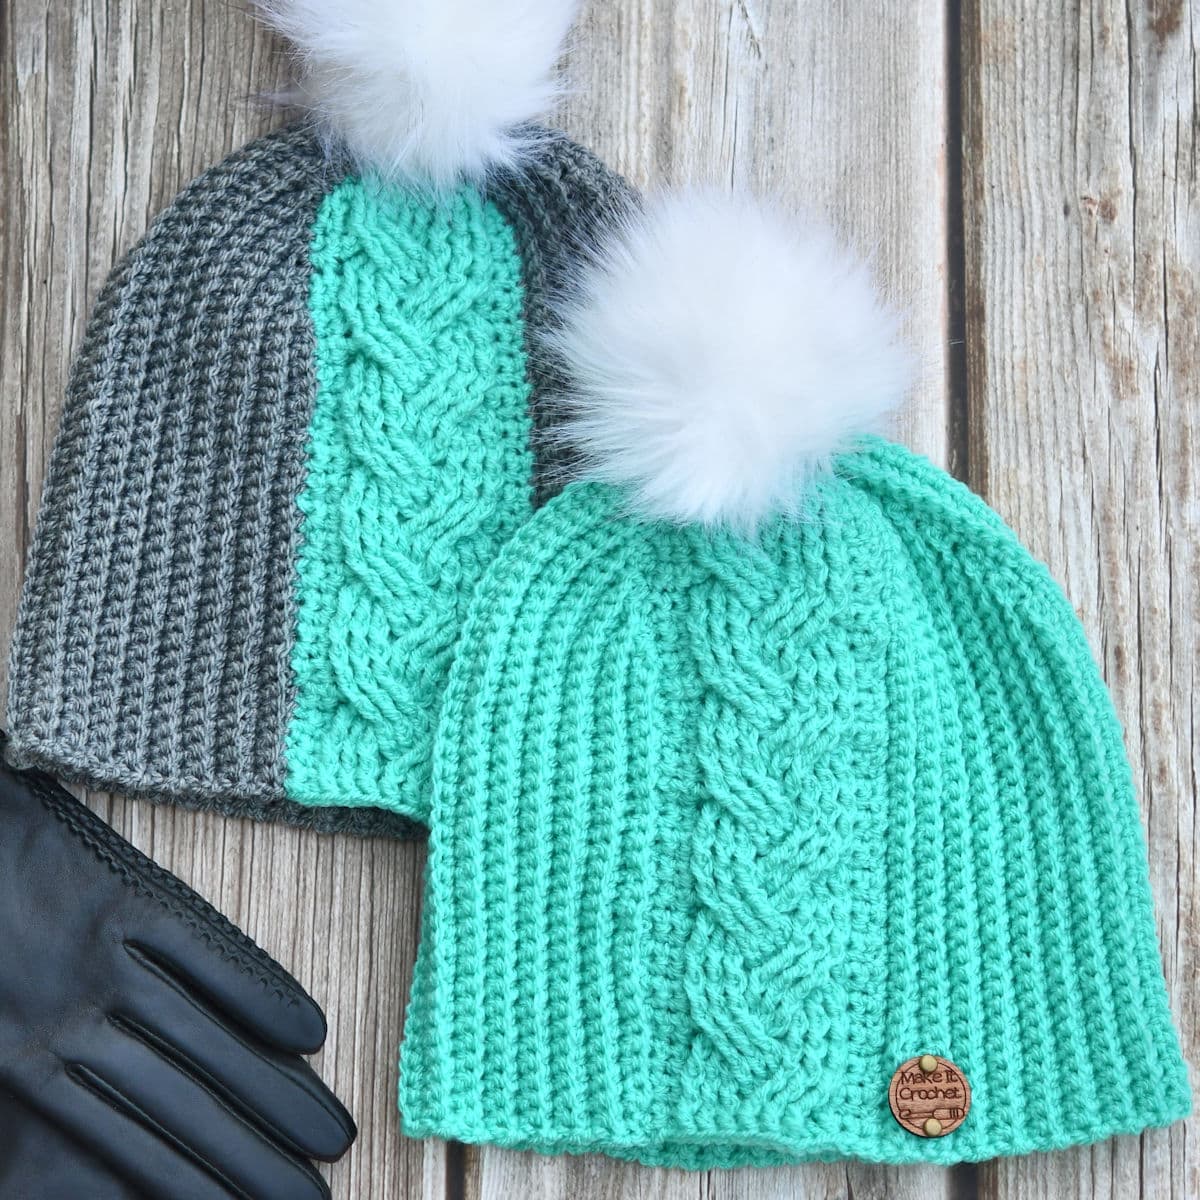 23 views
Braided Cable Beanie Free Crochet P...
makeitcrochet.com
Your folders
 64 views
Dragon Tail Scarf Free Crochet Patt...
makeitcrochet.com
Your folders
 164 views
Crochet Granny Rectangle Pattern
blog.treasurie.com
Your folders
 231 views
Crochet Dish Cloth Pattern
crochetncrafts.com