Free Sunflower Crochet Bookmark Pattern
Your folders
Your folders
Servings: 1

Ingredients
Export 26 ingredients for grocery delivery
Instructions
Step 1
Foundation, color A - MR, or ch6, sl st into 1st ch to join.
Step 2
Round 1 - Ch2 (not counted as a stitch), 12 dc in ring, sl st into top of 1st dc to join. [12dc]
Step 3
Round 2 - Ch2 (not counted as a st), 2dc in each of the 12 sts, sl st into top of 1st dc to join, ch1, cut yarn, and fasten off. [24dc]
Step 4
Round 3, color B - Sl knot yarn to hk, sl st into any st.Ch2, in same st make 1dc, 2tr, picot, 2tr, 2dc, sk 1-st, 1sc in next, * in next st (sc, ch2, 1dc, 2tr, picot, 2tr, 2dc), sk 1-st, 1sc in next st, rpt from * ch1, cut yarn leaving a long tail for sewing later, fasten off.Note: There will be 2 stitches remaining, you will work the leaves and stem into these.) [8 petals]
Step 5
Leaf 1, Color C -Slip knot yarn to hk and sl st into the space between the first and last petal of round 3.Ch10, 1sc in 2nd ch from hk, 1hdc in next, 1dc in each of the next 2-sts, 1tr in next, 1dc in each of the next 2-sts, 1hdc in next, 1sc in next, turn.Sc in next st, 1hdc in next, 1dc in each of the next 2-sts, 1tr in next, 1dc in each of the next 2-sts, 1hdc in next, 1sc, sl st into 1st sc, cut yarn, fasten off, and weave in ends.
Step 6
Leaf 2, color C - Slip knot yarn to hk and sl st into the space between the first and last petal of round 3, then make a leaf the same as leaf 1.
Step 7
Stem, color D - Ch20, sl st into 2nd ch from hk, sl st into next st, 1sc in each of the next 4-sts, 1hdc in next, 1dc in next 2-sts, (1tr, picot, 1tr) in next st, 1dc in next 2-sts, 1hdc in next, 1sc in next 4-sts, sl st into each of the next 2-sts, sl st into 1st sl st to join, chain 60. Do not cut yarn.
Step 8
With the wrong side of the flower facing you, slip-stitch the stem into the stitch between the two leaves on the flower.Then, slip stitch into each stitch back down the 60 chains until you reach the top bookmark end, slip stitch into the top chain 1, cut yarn, fasten off, and weave in the ends.
Step 9
Working from the back of the flower, use a darning needle and the flower yarn tail to close the gap between the first and last petals, and make sure that the leaves and stems are on the wrong side (back) of the flower as you sew.Once the gap is closed, arrange for the leaves and stem to hang down from the back of the flower.Tack the top edges of each leaf to the back of the flower to hold them in place, secure the end, and fasten off.The flower head may not sit flat a first, but pressing and gently pulling it with your fingers will make it sit flat.
Top similar recipes
Curated for youYour folders

 252 views
Crochet Flower Bookmark
easybreezycrochet.com
Your folders
 69 views
Crochet Flower Bookmark
easybreezycrochet.com
Your folders
 151 views
Crochet Floyd Rose – Free Pattern
hookok.com
Your folders
 200 views
Crochet Lily Flower- Free Pattern
hookok.com
Your folders
 198 views
Crochet Plaid Dishcloth- Free Patte...
hookok.com
Your folders
 173 views
Crochet Plaid Coaster- Free Pattern
hookok.com
Your folders
 53 views
Crochet Alocasia Leaf Free Pattern
hookok.com
Your folders
 57 views
Crochet Freesia Flower – Free Patte...
hookok.com
Your folders
 218 views
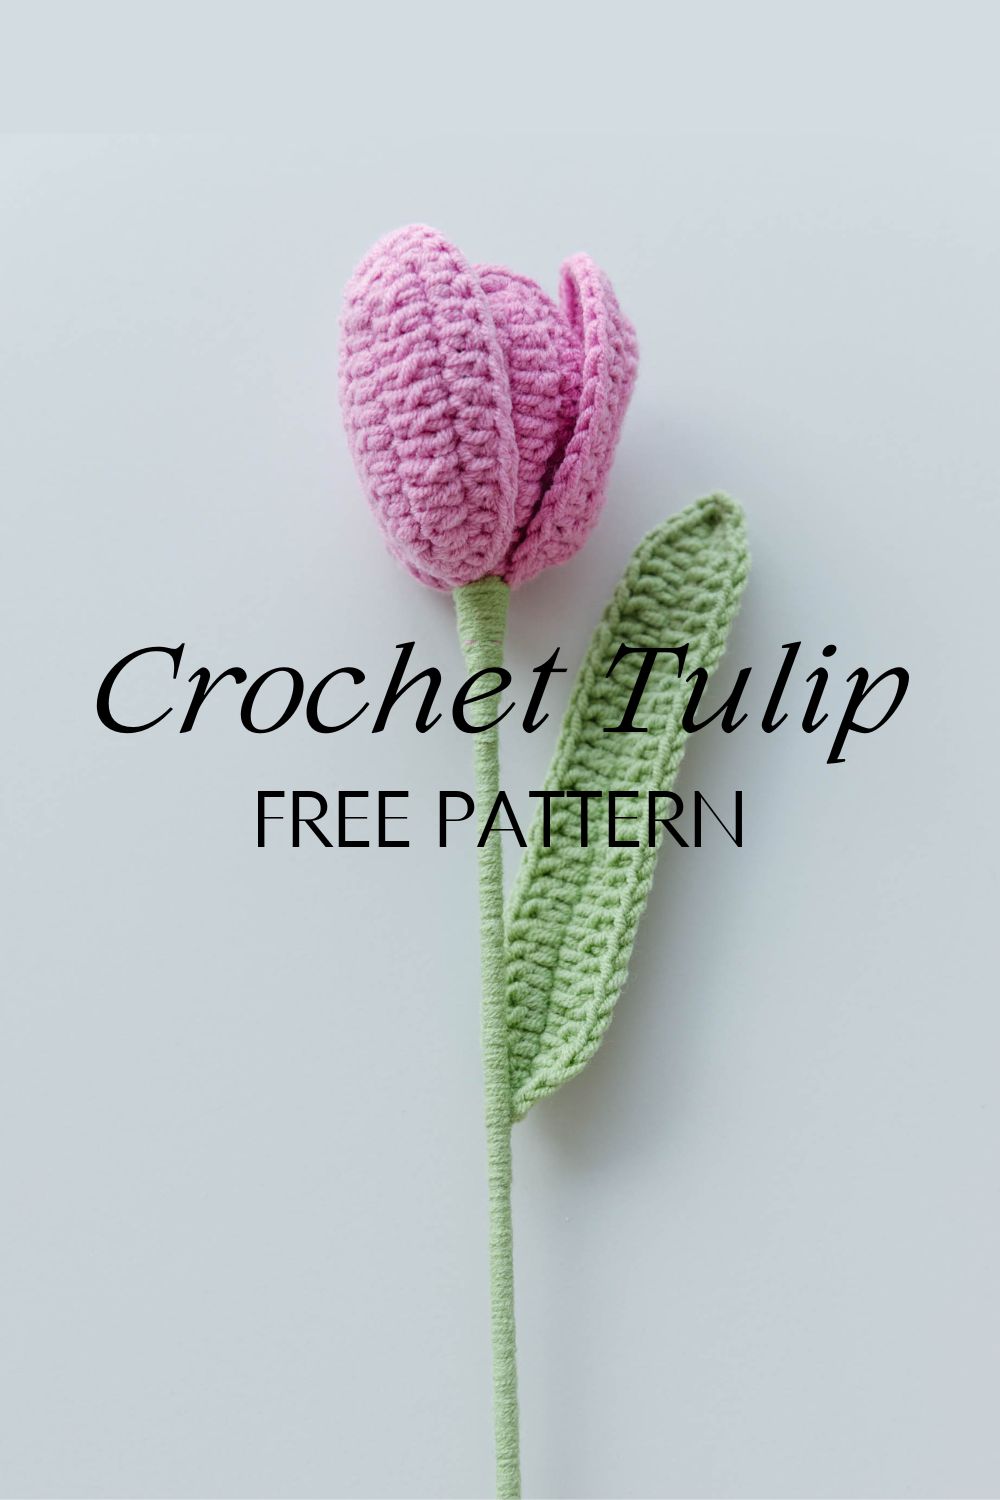
Crochet Tulip Pattern
hookok.com
Your folders
57 viewsCrochet Crow Pattern
thecaffeinatedsnail.com
Your folders
 243 views
Crochet Crow Pattern
thecaffeinatedsnail.com
Your folders
 85 views
Crochet Christmas Tree Dishcloth – ...
hookok.com
Your folders
 66 views
Classic Halter Top Free Crochet Pat...
makeitcrochet.com
Your folders
 49 views
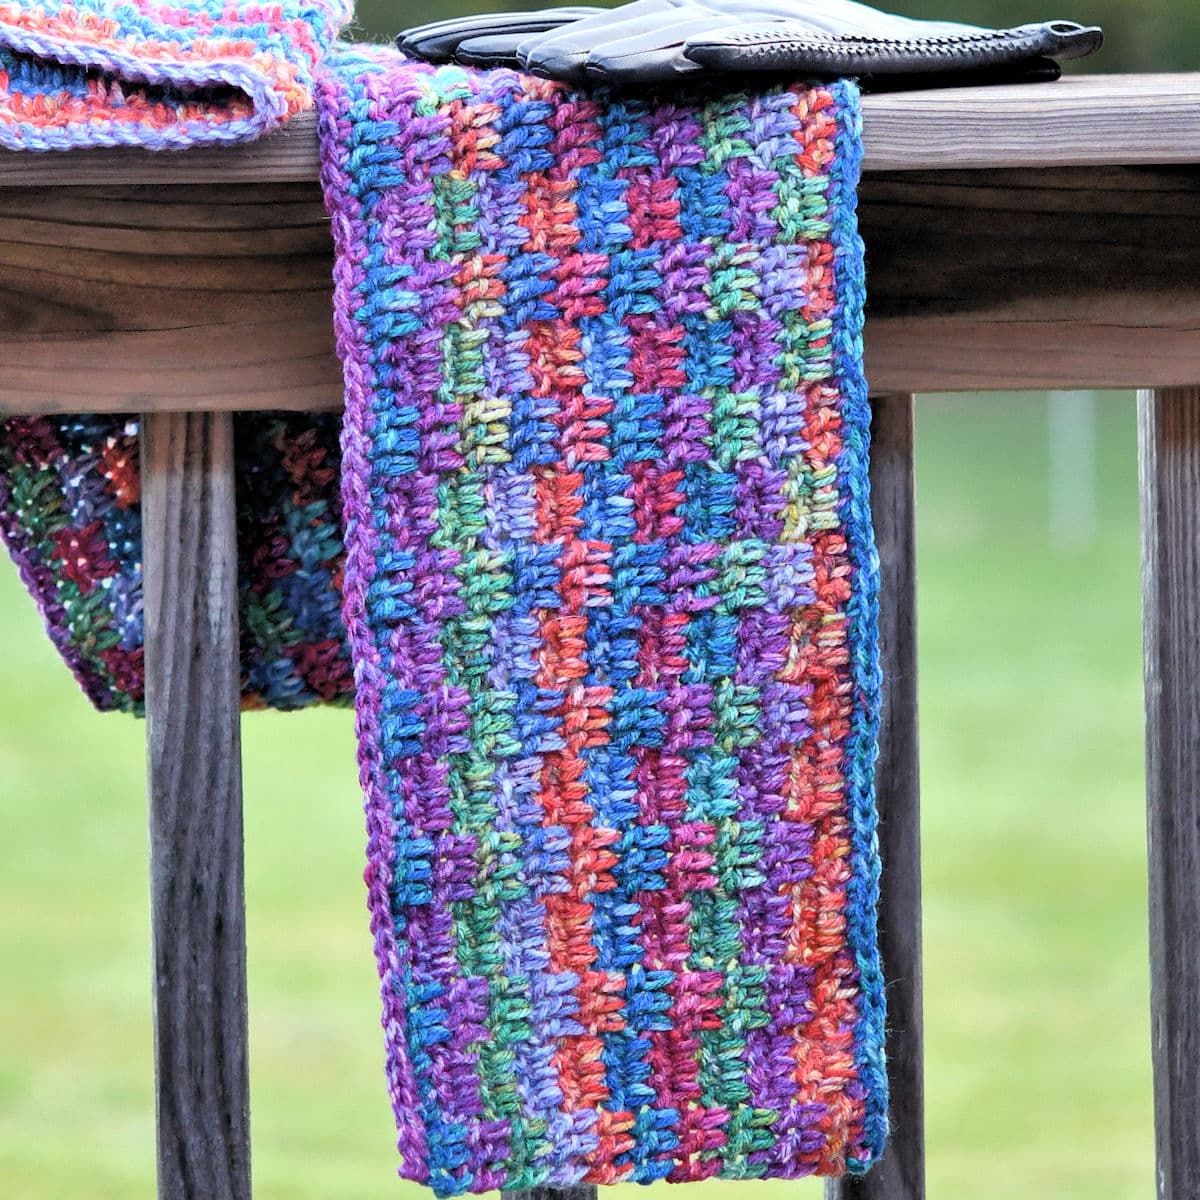
Bitty Blocks Scarf Free Crochet Pat...
makeitcrochet.com
Your folders
 23 views
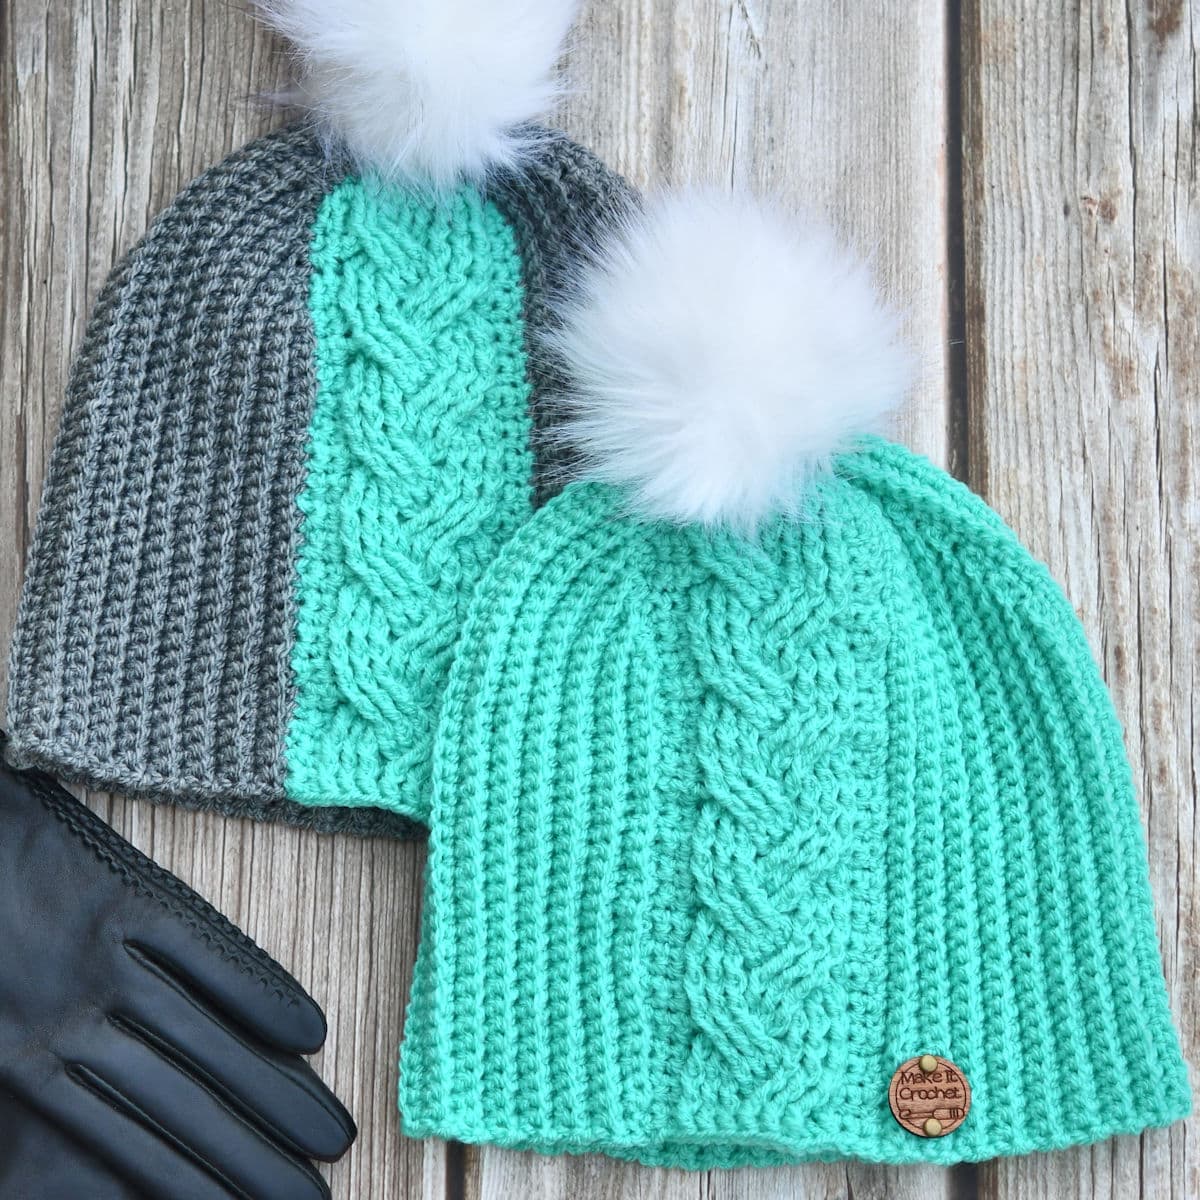
Braided Cable Beanie Free Crochet P...
makeitcrochet.com
Your folders
 64 views
Dragon Tail Scarf Free Crochet Patt...
makeitcrochet.com
Your folders
 283 views
How to crochet Sunflower
hookok.com
Your folders
 164 views
Crochet Granny Rectangle Pattern
blog.treasurie.com
Your folders
 231 views
Crochet Dish Cloth Pattern
crochetncrafts.com