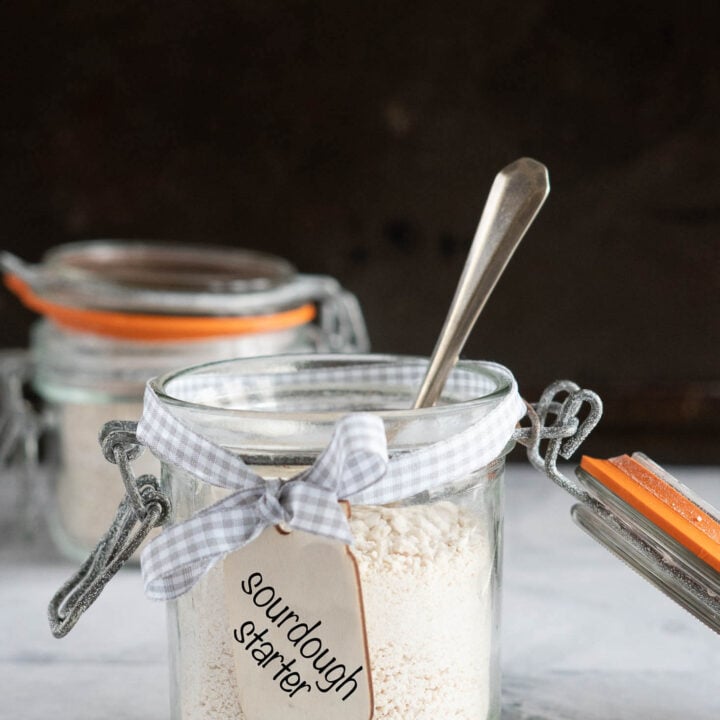
Dehydrated Sourdough Starter
5.0
(1)
Your folders
Your folders
Prep Time: 5 minutes
Total: 5 minutes
Servings: 1
Author : Allyson Letal @ cravethegood.com
Ingredients
Export 1 ingredients for grocery delivery
Instructions
Step 1
Prepare a baking sheet by lining it with a silicone baking mat or parchment paper sheet.
Step 2
Spread a dollop of starter or discard in a thin layer - the aim is to dry the starter quickly, so thin layers are best.
Step 3
Set aside in a safe place to dry naturally, this could take up to 3 days. If the top layer is hard and dried after day 2, peel it from the parchment or silicone mat and flip it over and allow it to dry for another 24 hours to ensure the entire thickness is completely dried.
Step 4
Break the dry starter into chunks or process it in a blender or food processor into a powder before transferring to an airtight container for long term storage.
Step 5
Don't forget to condition. Each day for 7 days, shake the jar and watch for signs of moisture on the outside of the jar. If there are signs of moisture, it needs longer to dry, if there are no signs of moisture, it can be safely stored long term.