DIY Notebooks
Your folders
Your folders
Total: 5

Ingredients
Export 5 ingredients for grocery delivery
Instructions
Step 1
Start by cutting out scrap paper and folding it in half to create the notebook shape you want- using a bone folder to create a crisp fold, like the photo. For the scrap paper, you can use anything...colorful paper, lined paper, graph paper, etc.
Step 2
Sizing note... I really like creating a mixture of standard size and nonstandard size notebooks. The one in the tutorial photos is small and square. I cut paper 10 pieces of scrap paper down to 7 inches long and 3.5 inches wide. When folded in half, it creates a 20 page square notebook that is 3.5 x 3.5. The green and black striped notebook in some of the after photos is 4.5 inches by 5.5 inches when finished - so the initial bundle of scrap paper was 9 inches long and 5.5 inches tall.
Step 3
Fold over again and use the bone folder for creasing, if necessary.
Step 4
If you want to save yourself some steps, another option would be to recover an existing notebook with wallpaper for a fresh new look.All you'd have to do is cut the wallpaper or wrapping paper down to size (like in step 2 of the first tutorial) and glue it to the existing cover, starting with the front and wrapping the paper around to the back.AND if you use peel and stick wallpaper, which I just so happen to have leftover from some previous projects (the yellow bathroom makeover and our family room), it's even easier than that.With wallpaper that already has a sticky backing, all you need is a notebook that's ready to be recovered, the wallpaper, and a pair of scissors. That's it!Just cut down a piece of wallpaper that is 2-3 inches larger all the way around and peel off the sticking backing.Attach the spine of the notebook to the middle of the wallpaper, then the front and back cover.Next, cut the excess overhang of wallpaper from the spine area (top and bottom).Then fold over the remaining excess not the front and back flaps.
Top similar recipes
Curated for youYour folders

 650 views
DIY Latte
amindfullmom.com
5.0
(36)
1 minutes
Your folders
 147 views
DIY pizza
taste.com.au
4.6
(3)
10 minutes
Your folders
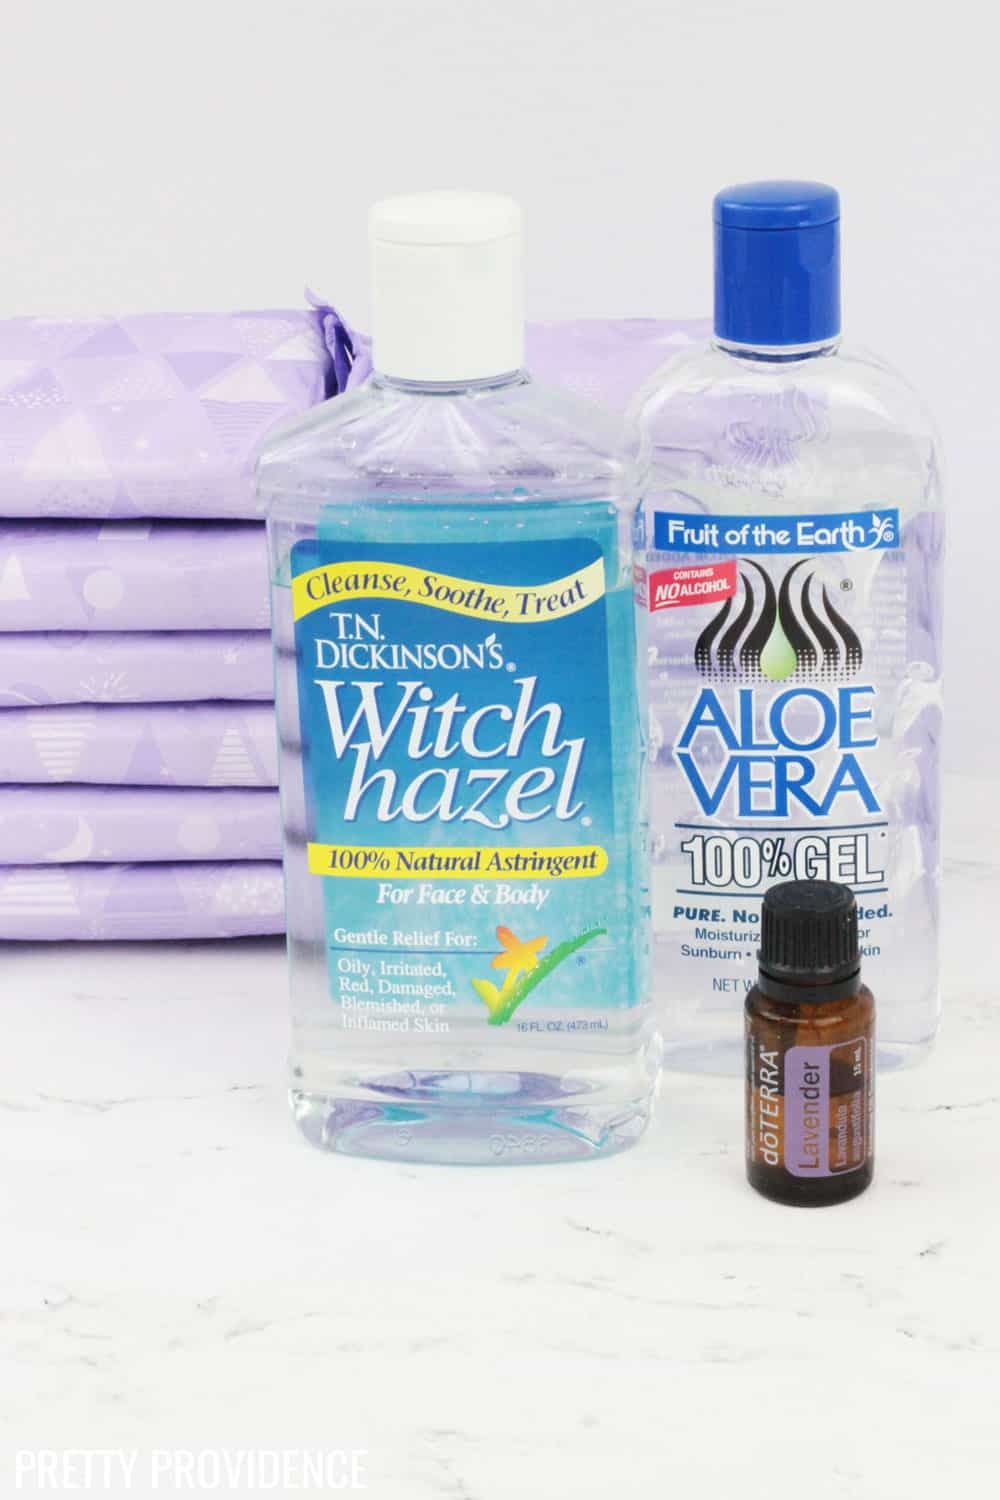 276 views
DIY Padiscles
prettyprovidence.com
Your folders
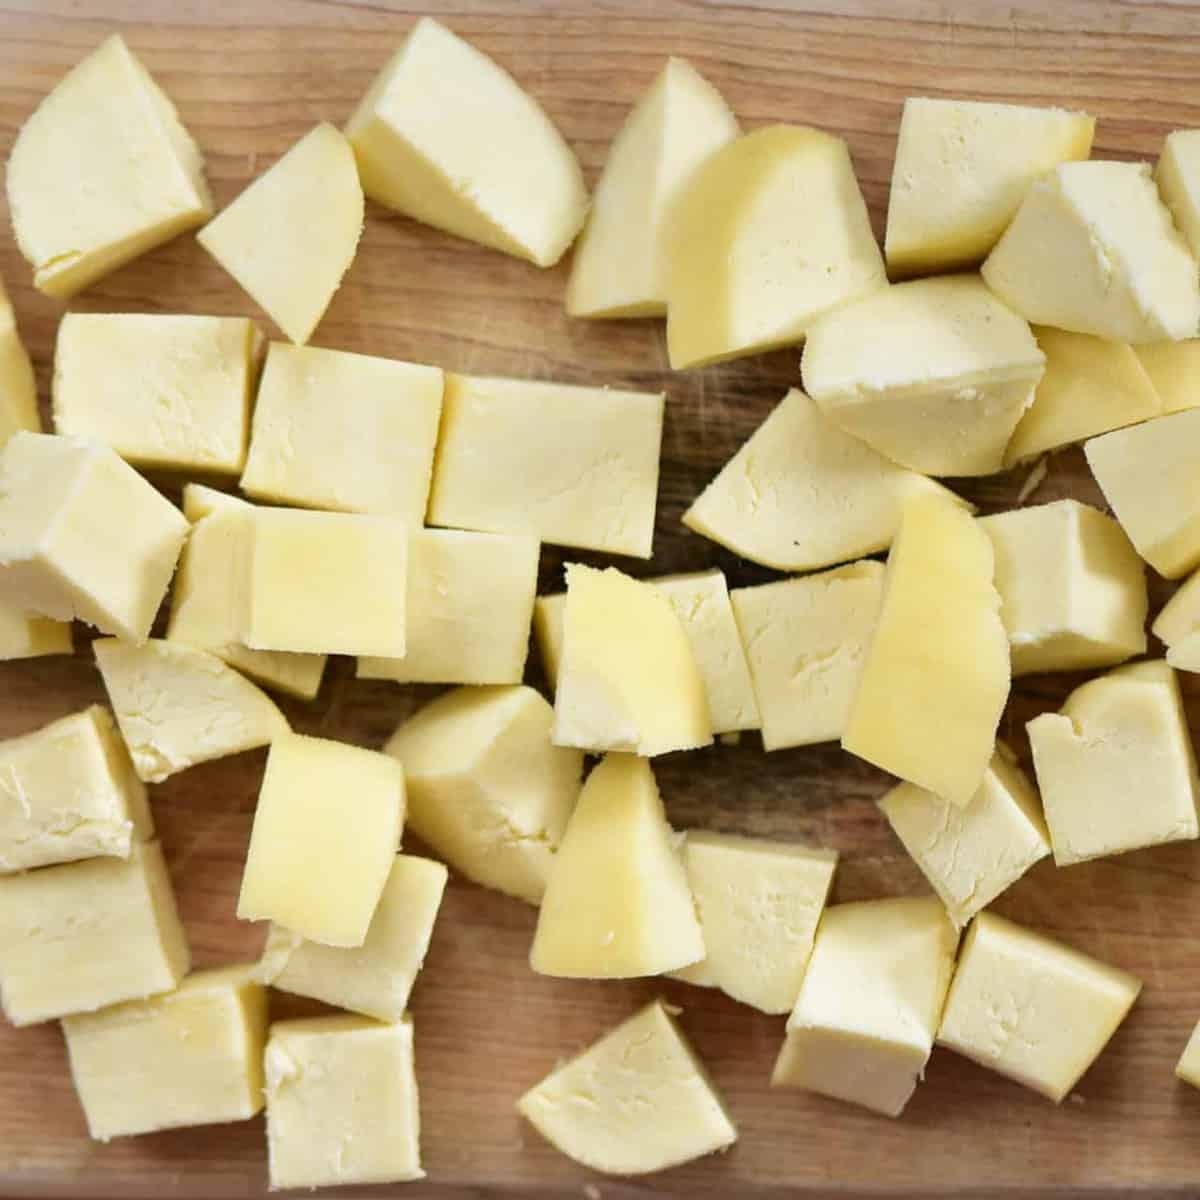 377 views
Paneer DIY
alphafoodie.com
4.9
(16)
20 minutes
Your folders
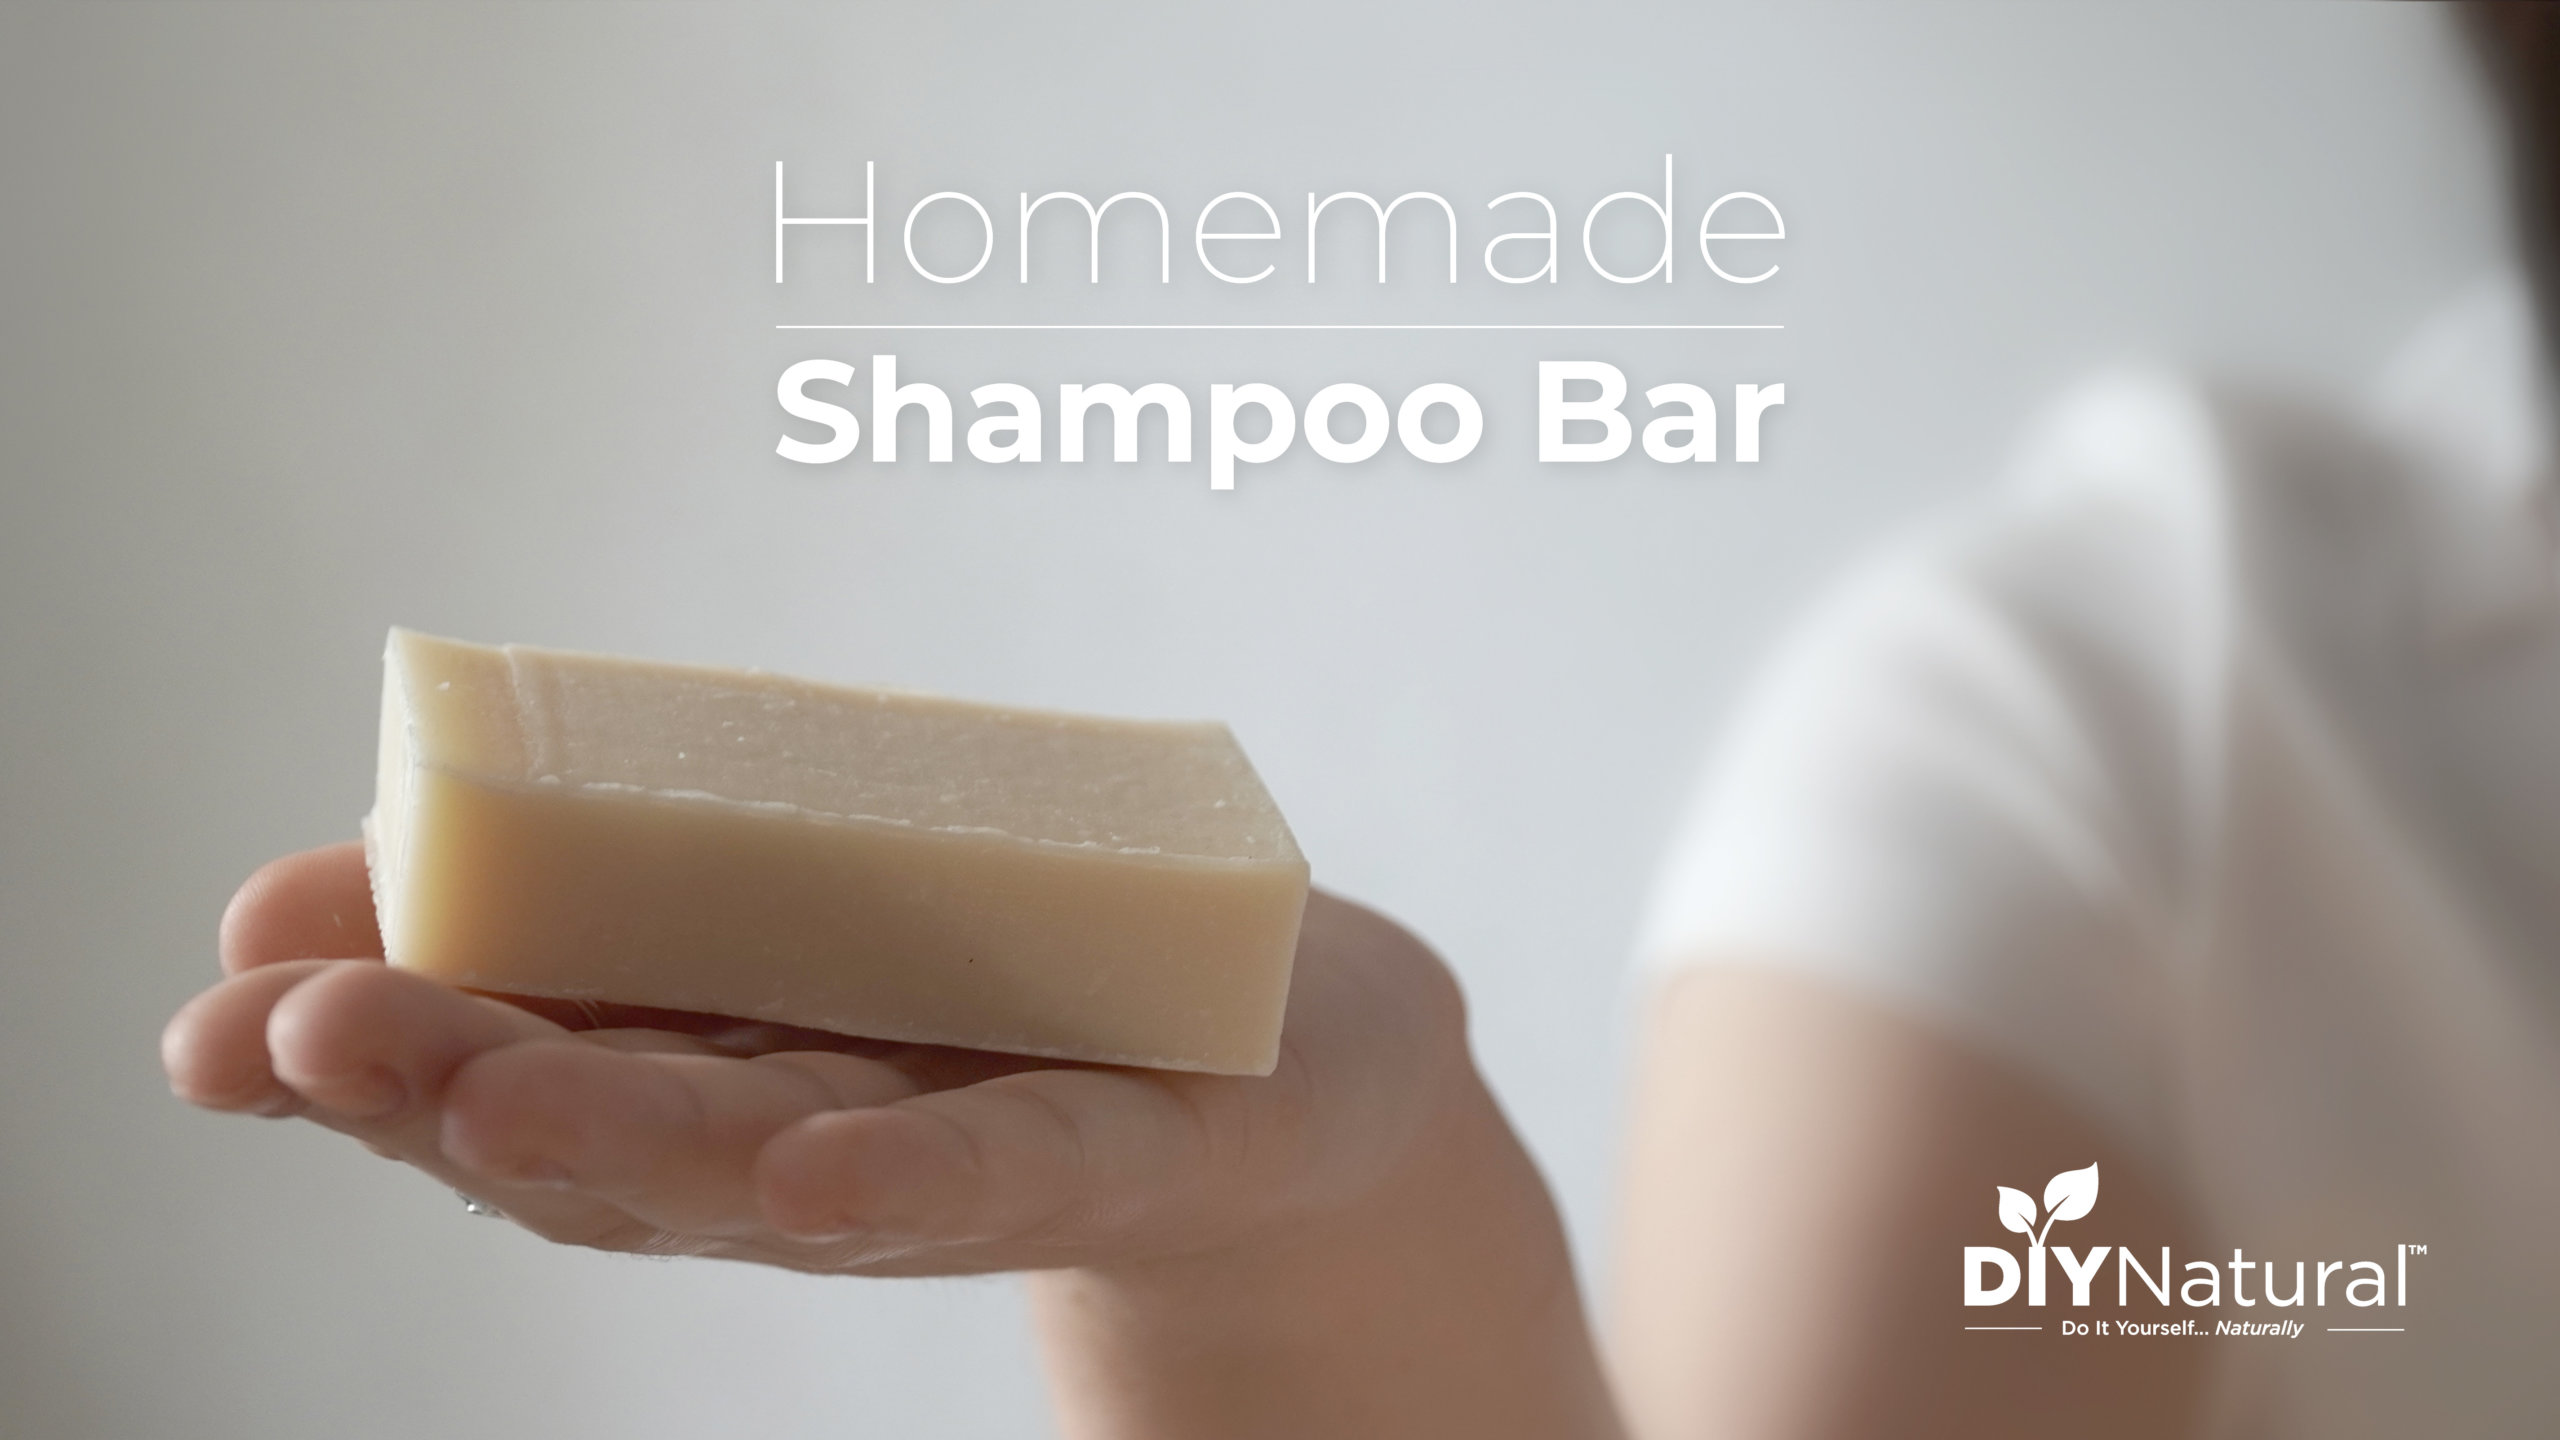 299 views
Homemade DIY Shampoo Bar | DIY Natu...
diynatural.com
Your folders
 212 views
DIY Yarn Wreath
abeautifulmess.com
Your folders
 444 views
DIY Body Lotion
theearthlyedit.com
Your folders
 133 views
DIY Large Gnome
simplemadepretty.com
Your folders
 65 views
DIY Large Gnome
simplemadepretty.com
Your folders
 653 views
DIY Black Garlic
sidechef.com
Your folders
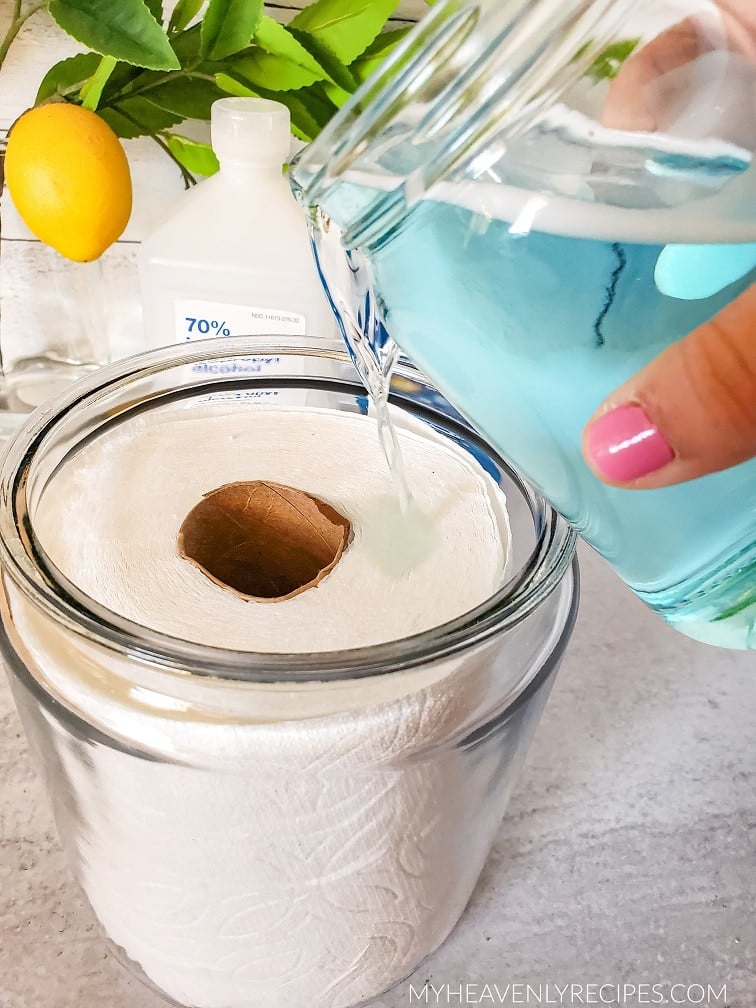 462 views
DIY Disinfecting Wipes
myheavenlyrecipes.com
Your folders
443 viewsDIY Oil Lamp
modernsurvivalonline.com
Your folders
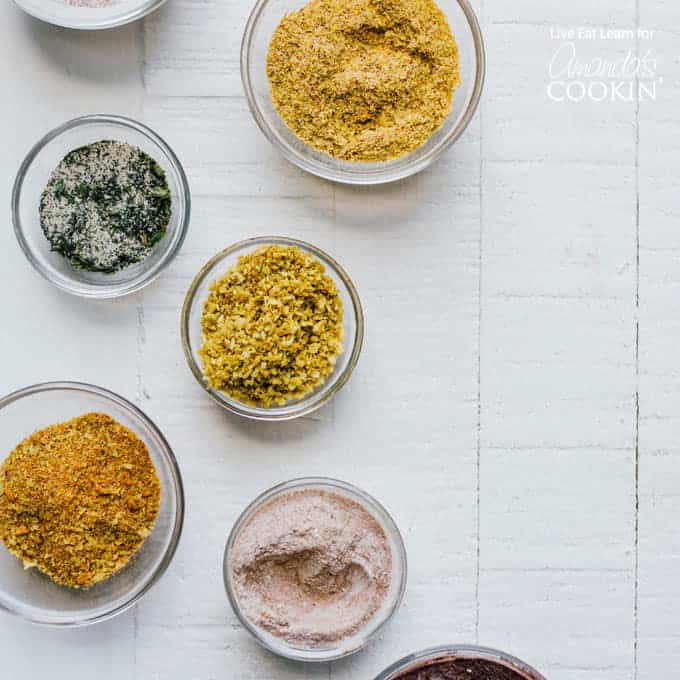 450 views
Diy Popcorn Seasonings
amandascookin.com
5.0
(1)
3 minutes
Your folders
 198 views
Diy Fresh Yogurt
food.com
5.0
(2)
24 hours
Your folders
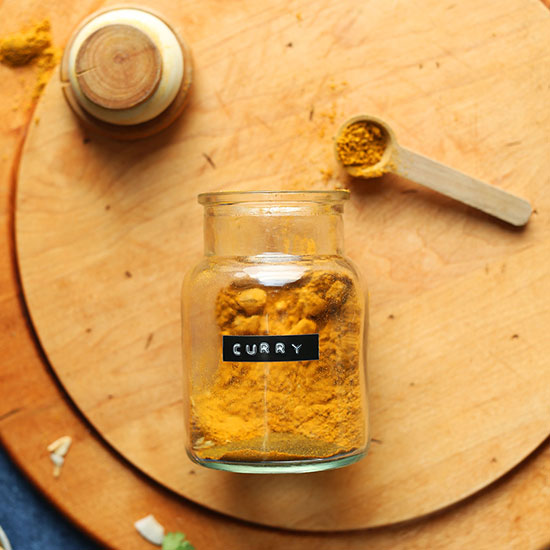 455 views
Diy Curry Powder
minimalistbaker.com
4.8
(27)
Your folders
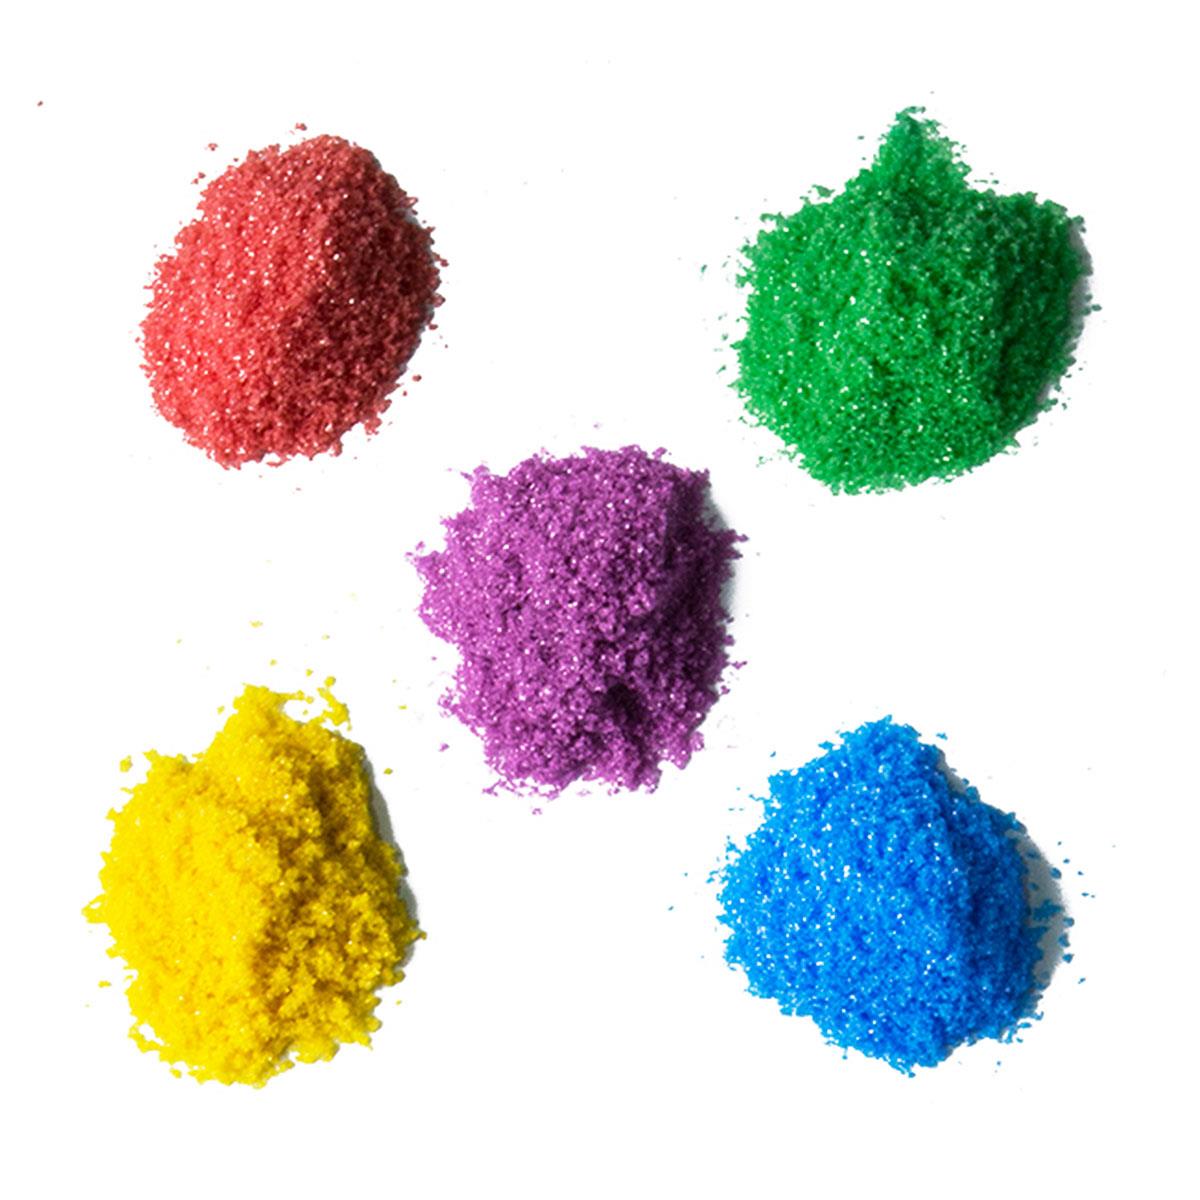 313 views
Diy Colored Sugar
tasteofhome.com
5.0
(1)
Your folders
 589 views
Diy Advocaat Recipe
seriouseats.com
5.0
(1)
Your folders
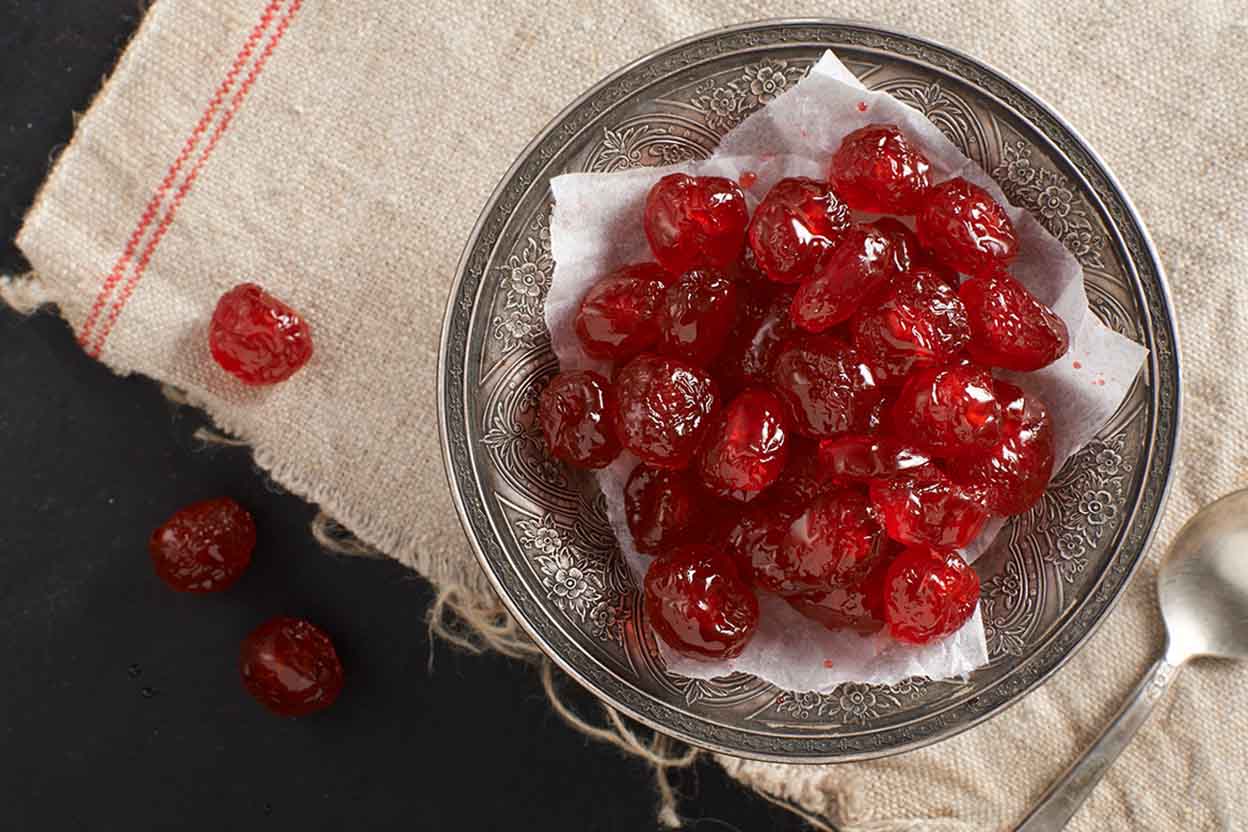 415 views
Diy Candied Cherries
kingarthurbaking.com
4.8
(16)
55 minutes
Your folders
 487 views
DIY Espresso Powder
brighteyedbaker.com
5.0
(13)