Paneer DIY
4.9
(16)
Your folders
Your folders
Prep Time: 5 minutes
Cook Time: 20 minutes
Total: 85 minutes
Servings: 2
Author : Samira
Ingredients
Export 2 ingredients for grocery delivery
Instructions
Step 1
Heat the full-fat milk in a large pan over medium heat. Bring the mixture to a boil and then remove it from the heat.
Step 2
You can now, skim the top of the milk if a thin 'film-like' layer has appeared. If not then add the lemon juice (or vinegar if you prefer).
Step 3
As you pour in the acid of your choice, very gently stir the mixture. It's best to stir in one direction only, to encourage curd growth. You can then continue to slightly agitate the mixture gently in one direction. However, I leave my mixture to rest for a few minutes while the curdling milk separates the curds from the whey.
Step 4
Pour this mixture through a muslin cloth/ cheesecloth or a nut milk bag into a large bowl.
Step 5
You can then either hang the bag above the bowl, allowing the liquid to drain into it naturally. Otherwise, you can squeeze the curd gently, to release as much of the liquid as you can. I've always done the second method - but I've heard that if you leave it to hang and drain naturally you can get a softer cheese. As I prefer mine harder ( for frying), I've never tried the method.
Step 6
Next, it's time to press your paneer cheese. To do this form it in whatever shape you'd prefer ( be it rounded, like mine - or more square) and fold the cloth tightly around it then place a heavy object onto the paneer to press it. Pressing the paneer will push out any excess moisture and make the curds firmer - so you're able to chop it and hold its shape. *
Step 7
Depending on how firm you want your paneer to be, then you can press it for more or less time. I tend to do a minimum of 30 minutes for a softer block that is still choppable. **
Step 8
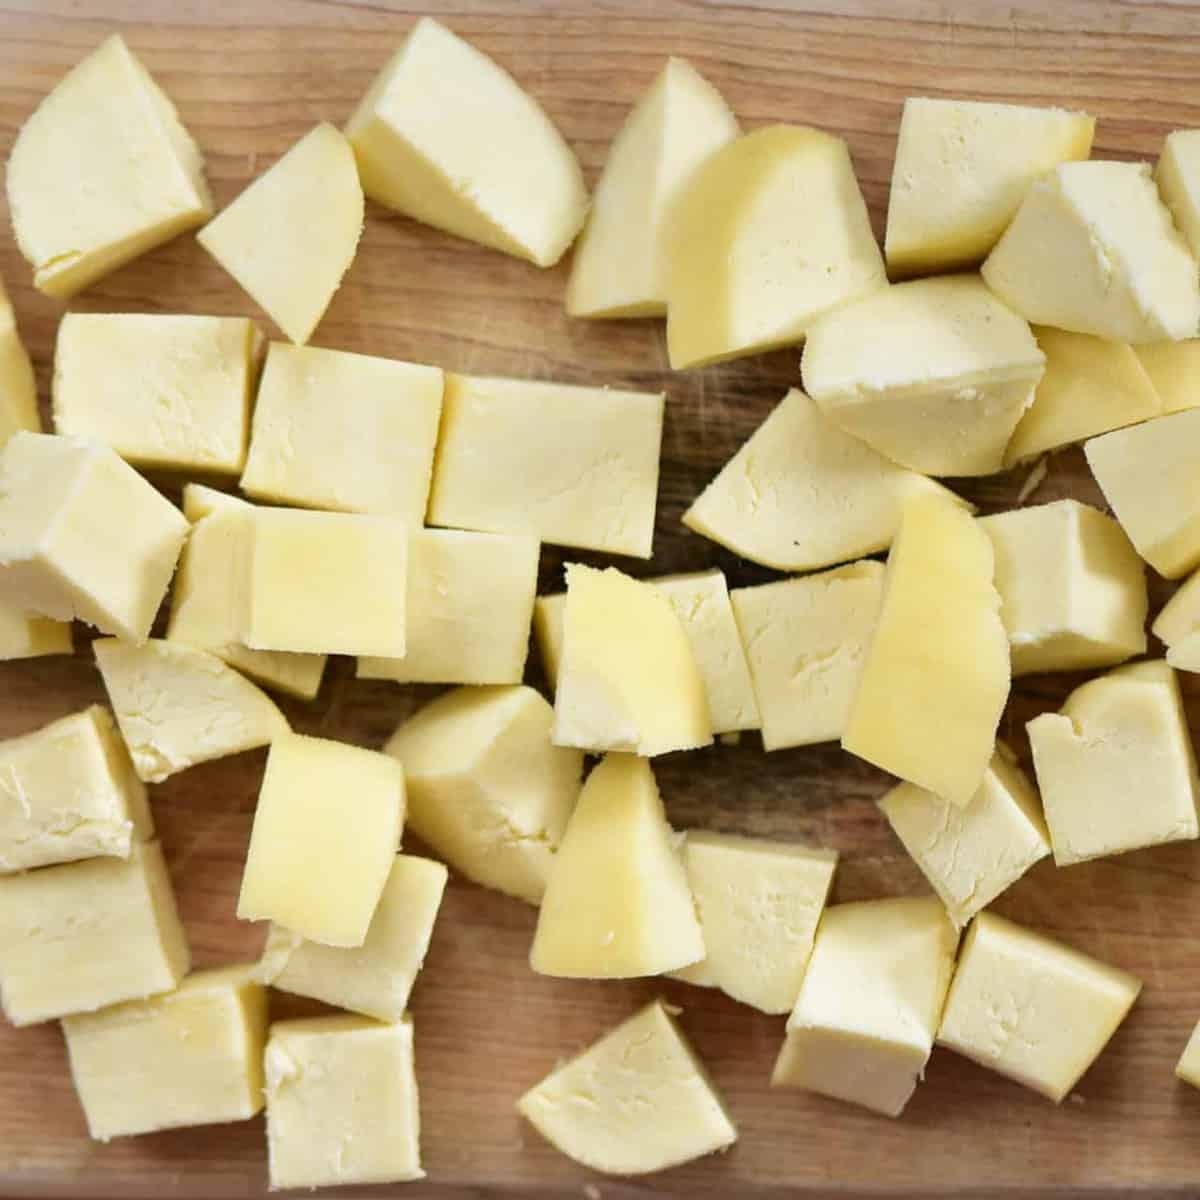
The block of paneer is now ready to be refrigerated. Chop it into cubes and place in a large airtight container in the refrigerator for up to 3 days. I tend to use mine on the same day that I make it since it's such an easy process.
Step 9
If you want to store it for longer then you may be able to within a brine mixture (using some of the leftover whey and some salt). I haven't tried this, so I can't say for sure if it works - but it seems to work for feta so, fingers crossed. You can also freeze it for 2 months, in an airtight container.