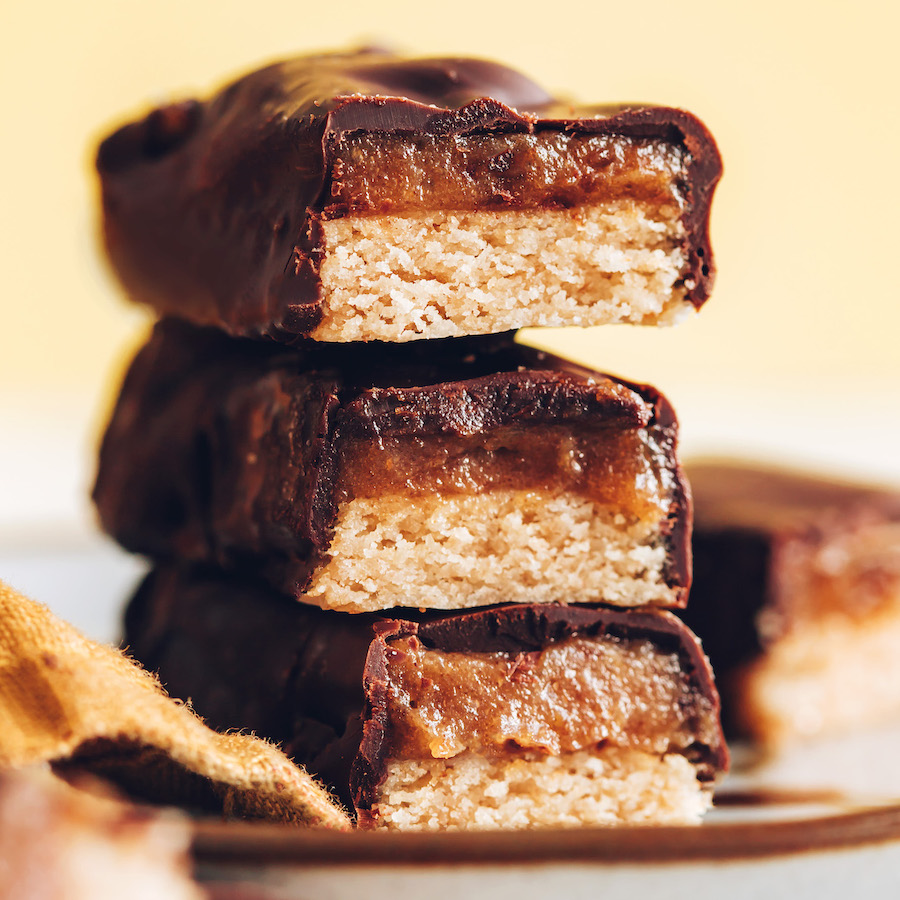
Easy Homemade Twix Bars (Vegan, Gluten-Free)
Your folders
Your folders
Prep Time: 45 minutes
Cook Time: 30 minutes
Total: 75 minutes
Servings: 20
Cost: $2.66 /serving
Author : Minimalist Baker

Ingredients
Export 8 ingredients for grocery delivery
Instructions
Step 1
Preheat oven to 350 F (176 C) and line an 8 x 8-inch baking dish with parchment paper.
Step 2
Remove pits from dates (if not already pitted), and place in a small mixing bowl. Pour boiling water over the dates until they are just covered. Set aside.
Step 3
In a food processor combine almond flour, arrowroot starch, baking soda, and salt. Pulse a few times to fully combine.
Step 4
Add in solid refined coconut oil (if your coconut oil has liquified simply place it into the fridge for a couple of minutes) and pulse until you achieve small crumbs — about 5 pulses. Add the maple syrup and ice cold water and pulse until a dough forms — about 8 pulses.
Step 5
Transfer dough to your parchment-lined baking dish and press into an even layer using a spatula. It will seem like too little dough, but stick with it! You want it to be thin and even. Bake dough in the preheated oven for 25-30 minutes, until the edges begin to turn golden and the center of the dough is pale and firm to the touch.
Step 6
While the dough is baking, make your caramel. Wipe out your food processor bowl. Pour out the water to drain the dates and place your soaked dates in the food processor. Pulse a few times to break up the dates slightly. Add vanilla and turn the food processor on. If all the ingredients are stuck to the sides, scrape them down and begin adding water 1 teaspoon at a time until the mixture blends easily in the food processor. It will be very thick and sticky but should also be spreadable and smooth. You don’t want it too thin or it will be too runny and difficult to work with.
Step 7
Remove your cookie layer from the oven and let cool for about 10 minutes. While the cookie layer is still slightly warm, scrape your date caramel directly onto your cookie layer and spread it evenly into all corners of the baking dish. Then, using the parchment paper, carefully lift and slide the bars onto the counter. Be delicate! The crust cracks easily, so it is best to slide the bars out by lining up the top of your baking dish with the counter and simultaneously lifting and pulling one side of the parchment paper to slide the bars onto a cutting board.
Step 8
With your bars securely on the cutting board, cut your 8 x 8-inch Twix square in half. Then cut each half into 10 even bars, each about 3/4-inch wide.
Step 9
In the meantime, add 1 inch water to a small saucepan and bring to a low boil over medium heat. Once boiling, reduce heat to low / simmer.
Step 10
Add the chocolate chips to a small glass or metal bowl. Carefully place the bowl on top of the saucepan with simmering water. Heat, stirring occasionally with a spatula or spoon, until melted and no lumps remain (~5 minutes). You can also melt the chocolate in a heat-proof bowl in the microwave in 20-second increments until melted. Remove chocolate from heat.
Step 11
Carefully place your Twix bars onto a cooling rack and place the cooling rack over a sheet tray or some parchment paper to catch drips from the chocolate. Using a spoon, carefully scoop a heaping tablespoon of melted chocolate and pour it onto each bar individually. With the back of the spoon, spread the chocolate and encourage it to go down the sides of the bar. Add more chocolate in the spots that need it, and tap the cooling rack on the counter to help the chocolate smooth out. When all the bars are covered in chocolate, transfer them to a plate and place in the refrigerator for at least 10 minutes to set the chocolate.
Step 12
Enjoy! Leftovers are best kept at room temperature for 3-4 days. Or store in the freezer up to 1 month. Let them come to room temperature before enjoying.