Easy Probiotic Kefir Recipe
4.7
(3)
Your folders
Your folders
Prep Time: 5 minutes
Cook Time: 240 minutes
Total: 245 minutes
Servings: 48
Author : Lola Elise, Arbuz.com
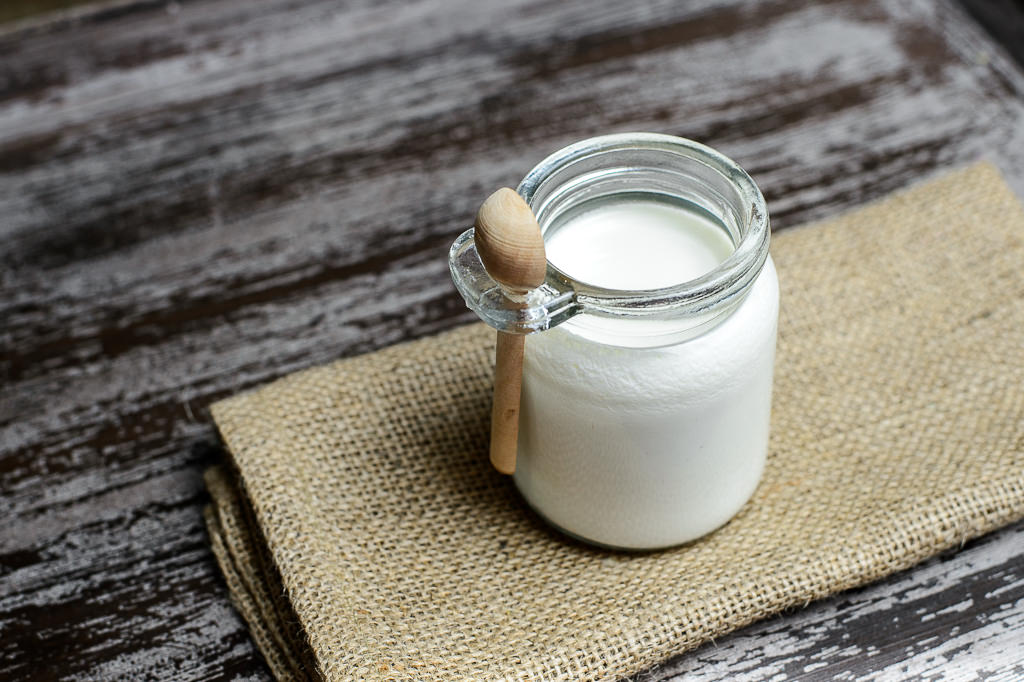
Ingredients
Export 3 ingredients for grocery delivery
Instructions
Step 1
Turn the heat on medium and start warming up the milk. As you make this recipe more and more, you will get used to pinpointing the exact temperature by just touching the milk. For now please use a food grade thermometer to measure the correct temperature. Warm the milk till about 100F (25 1/2 C) and turn the heat off. If your milk got a little warmer than needed, don’t worry, let it cool a little. As long as it is not “running” and ruining your stove top, you are in good shape.
Step 2
Find a glass-wear big enough to accommodate the milk, which also happens to have a lid. It can be anything really. I keep some jars handy for this purpose. Move the milk from the sauce pan to the designated jar. Now it is time to add the starter to the milk. From here you act quickly but gently, as we do not want the milk to get too cold. Otherwise no kefir for us! After you add the starter, gently mix it in into the milk (once or twice).
Step 3
Open up the probiotic capsule and add it to the milk. Again give it a gentle stir.
Step 4
The last step is to half-closing the lid on the jar and bundling it up with a warm blanket or a large towel. The reason why the lid is half closed is, because you still want some oxygen to get into the jar. This process ensures oxidation and fermentation. The reason why the jar is bundled up is, because you will need to keep the temperature at a constant while the process of fermentation takes place. This is the only way you will obtain kefir with this technology. Keep milk in this state for about 4-5 hours before placing it in the refrigerator. I usually make it later in the evening and put it away early in the morning.
Step 5
TIP number 1:
Step 6
What is a kefir starter and how to make it? Since I am not using grains here, using a starter to achieve great results is a must. What did I use for my starter? Simple, 1/4 cup organic greek yogurt, 1/4 of cup organic kefir. Mix these together and keep it ready for when you have time to make the kefir. The reason why I chose Greek yogurt in this starter blend is, Greek yogurt makes the home- made kefir a little on a "chewy" (my son calls it that) side and we love it! Kefir part starter of course keeps it runny and not as thick as Greek yogurt. So, there you go. A perfect blend. You can purchase these at your local grocery store.
Step 7
Tip number 2:
Step 8
Every time you are almost finishing the kefir, please put aside 1/2 cup of it as a starter for the next batch. Better yet, put aside the starter right after you have a ready produce. This is very important as you would want to keep the fermenting process consistent with well "fed" starter, chock full of probiotics. Plus a starter from already successful kefir guarantees successful outcome. However, It is quite alright if you wish to start over with a new starter.
Step 9
TIP number 3:
Step 10
If you wish to turn this into probiotic heaven, you have the option of adding a supplement while prepping the milk. Usually 1 capsule is good for one serving, which is about 8 oz. Considering that this recipe calls for 48 oz of milk, you will need to add lots of capsules of probiotics. Honestly, I do not like doing that. I find that one capsule does the job just fine. Especially with each re-use (refer to tip number of the starter, probiotic strength in this kefir gets better and better. I do add 1 capsule of this every time I make kefir. Please refer to our guide on how to correctly chose probiotic supplements if you have any questions. I personally use the Jarrow brand one for ideal bowel support.
Top similar recipes
Curated for youYour folders
 254 views
Easy Water Kefir Recipe
revolutionfermentation.com
5.0
(1)
Your folders

 201 views
Easy Homemade Kefir
hip2keto.com
5.0
(1)
Your folders
 168 views
Easy Kefir Sour Cream
thethingswellmake.com
4.8
(4)
Your folders
 77 views
Homemade Kefir Recipe
homesteadingfamily.com
Your folders
 681 views
Easy Probiotic-Cultured Vegan Chees...
minimalistbaker.com
4.9
(28)
Your folders

 194 views
Probiotic Sauerkraut
bumblebeeapothecary.com
4.8
(5)
Your folders
 163 views
Probiotic Gherkins
homegrown-kitchen.co.nz
Your folders
 83 views
Probiotic Gherkins
homegrown-kitchen.co.nz
Your folders
 224 views
Probiotic Mayonnaise
butterforall.com
5 minutes
Your folders

 84 views
Easy Homemade Kefir Ranch Dressing
lynnswayoflife.com
5.0
(1)
Your folders

 205 views
Cranberry Water Kefir Recipe
revolutionfermentation.com
Your folders
 349 views
Milk Kefir
twopeasandtheirpod.com
5.0
(9)
Your folders
 296 views
Kefir - Wikipedia
en.wikipedia.org
Your folders
 136 views
Water Kefir
farmhouseonboone.com
4.8
(69)
3 minutes
Your folders

 401 views
Probiotic Rich Sauerkraut
thepetlifestyleguru.com
5.0
(5)
28800 minutes
Your folders
 219 views
Spiced Probiotic Apples
fermentedfoodlab.com
Your folders

 247 views
Probiotic Fruit Leathers
thecoconutmama.com
Your folders
 201 views
"Clean the Garden" Kimchi (Easy, Pr...
commonsensehome.com
Your folders
 264 views
Probiotic pickled onion recipe – la...
padaek.com
5