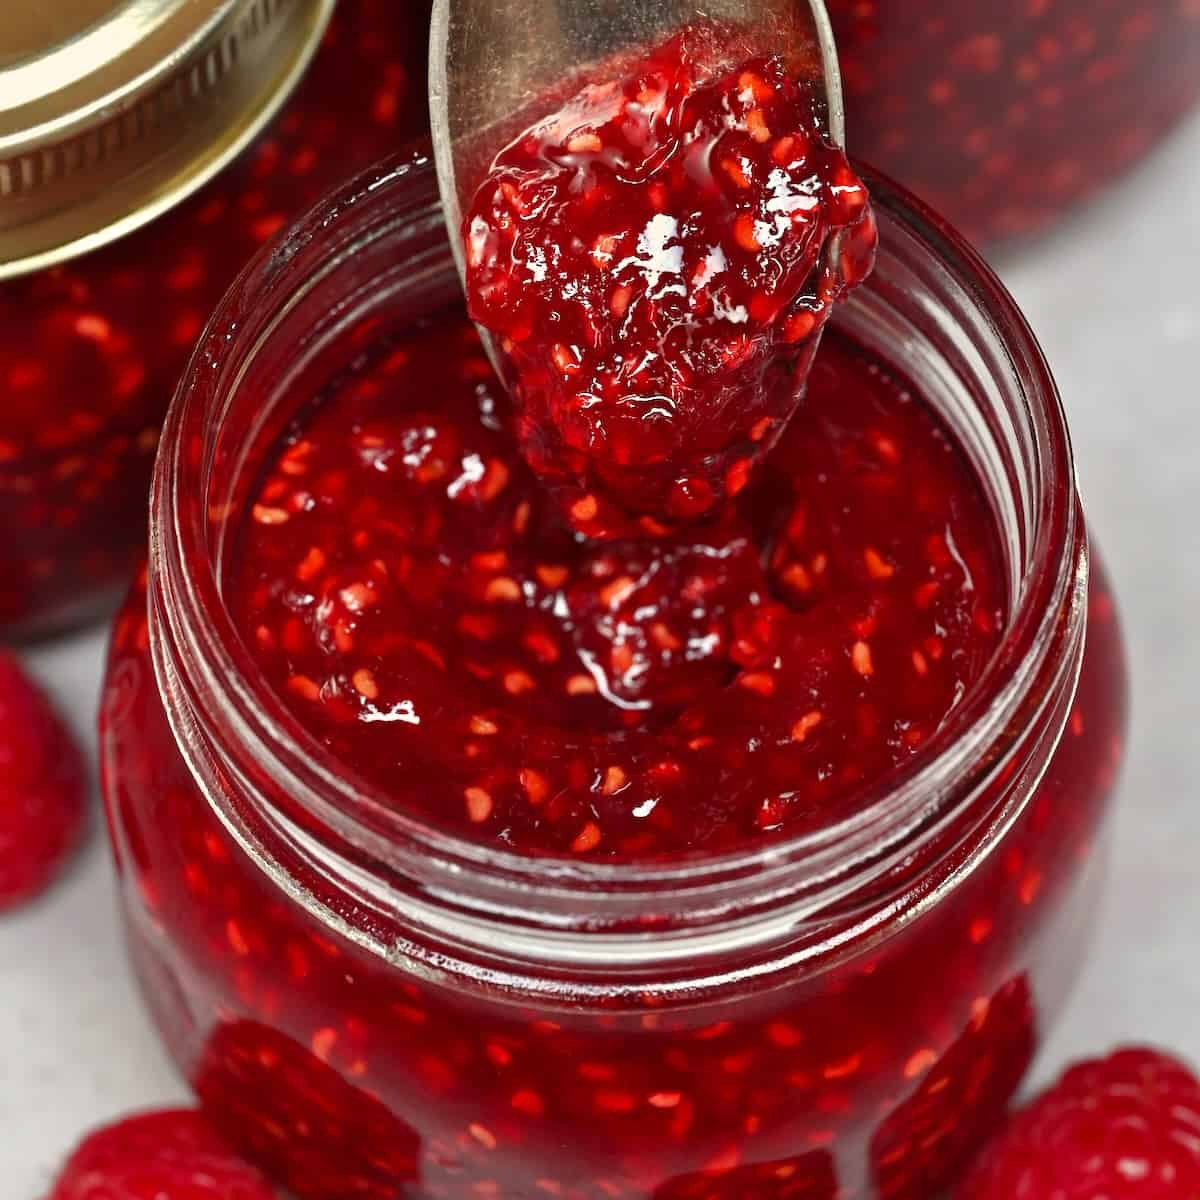
Easy Raspberry Jam Recipe (No Pectin)
5.0
(18)
Your folders
Your folders
Prep Time: 15 minutes
Cook Time: 15 minutes
Total: 40 minutes
Servings: 6
Ingredients
Export 2 ingredients for grocery delivery
Instructions
Step 1
Sterilize all the jars and tools used for this recipe. Wash the jars, lids, and bands in hot, soapy water, rinse them well, and leave them to drain and dry. Or wash them in a dishwasher on the top rack- it’s best if they’re still warm when you go to use them. Also, place 1-2 small plates in the freezer (they'll be used for the gel test).If you’re planning to can the jam, prepare the canner by adding the trivet/rack to the bottom of the canner and filling it with enough water to submerge the jars by an inch.
Step 2
Wash the raspberries well, removing any stems and berries that are spoiled, blemished, etc.
Step 3
Transfer the berries and sugar to a large, deep, heavy-based stainless-steel saucepan. Then use a potato masher (or a fork) to gently crush the berries, leaving some whole if preferred.
Step 4
Add the lemon juice and stir. Bring the mixture to a full rolling boil, stirring constantly to ensure the sugar dissolves and the jam doesn't stick to the pan.
Step 5
As foam appears on the top of the jam, use a spoon to scoop it away, simmering until it thickens enough to coat the back of a spoon (about 15-20 minutes).
Step 6
To test if the jam has reached the correct "set," remove the saucepan from the heat and place about a teaspoon of the jam over the pre-chilled plate (from the freezer). Return it to the freezer for 1-2 minutes, then test the set. It should be set and wrinkle when pressed.Alternatively, use a candy thermometer vertically into the saucepan of jam (don’t touch the bottom!). It should reach 220ºF/104ºC.
Step 7
If it hasn't set, continue to cook for a few minutes and test it again.
Step 8
Place the sterilized, warm jars on a clean kitchen towel/wooden board (this will stop temperature shock from causing cracks).To make the jars hot, heat them up (with the lids on) in the water bath canner while bringing the water to an almost boil. Alternatively, warm the jars (not the lids) in the oven.
Step 9
Ladle the hot jam into the hot jars, leaving about ¼-inch headspace (0.5 cm). Tap the jar against your kitchen surface and/or use a knife to remove any air bubbles in the jam.
Step 10
Wipe the jar rims with a clean kitchen towel and place the lid on the jar, screwing the screw bands until they are fingertip-tight.
Step 11
At this point, the jam is ready to use immediately, transfer to the fridge for short-term storage, the freezer for 6 months, or be water bath canned to keep for up to a year!
Step 12
Place the filled jars in the prepared canner, ensuring they're submerged under at least 1 inch of water.Bring the water to a boil over medium-high heat, add a lid, and allow them to process for 10 minutes (adjust the time based on the altitude of where you live).
Step 13
Remove the canner lid and allow them to sit for 5 minutes before carefully using canning jar tongs to remove the jars from the water and set them onto a clean kitchen towel to drain and cool undisturbed for 24 hours.
Step 14
Once cooled, check the seal - the middle part of the lid should not pop up and down when pressed. Then store them in a cool, dark location (like your pantry) for up to a year and a half.