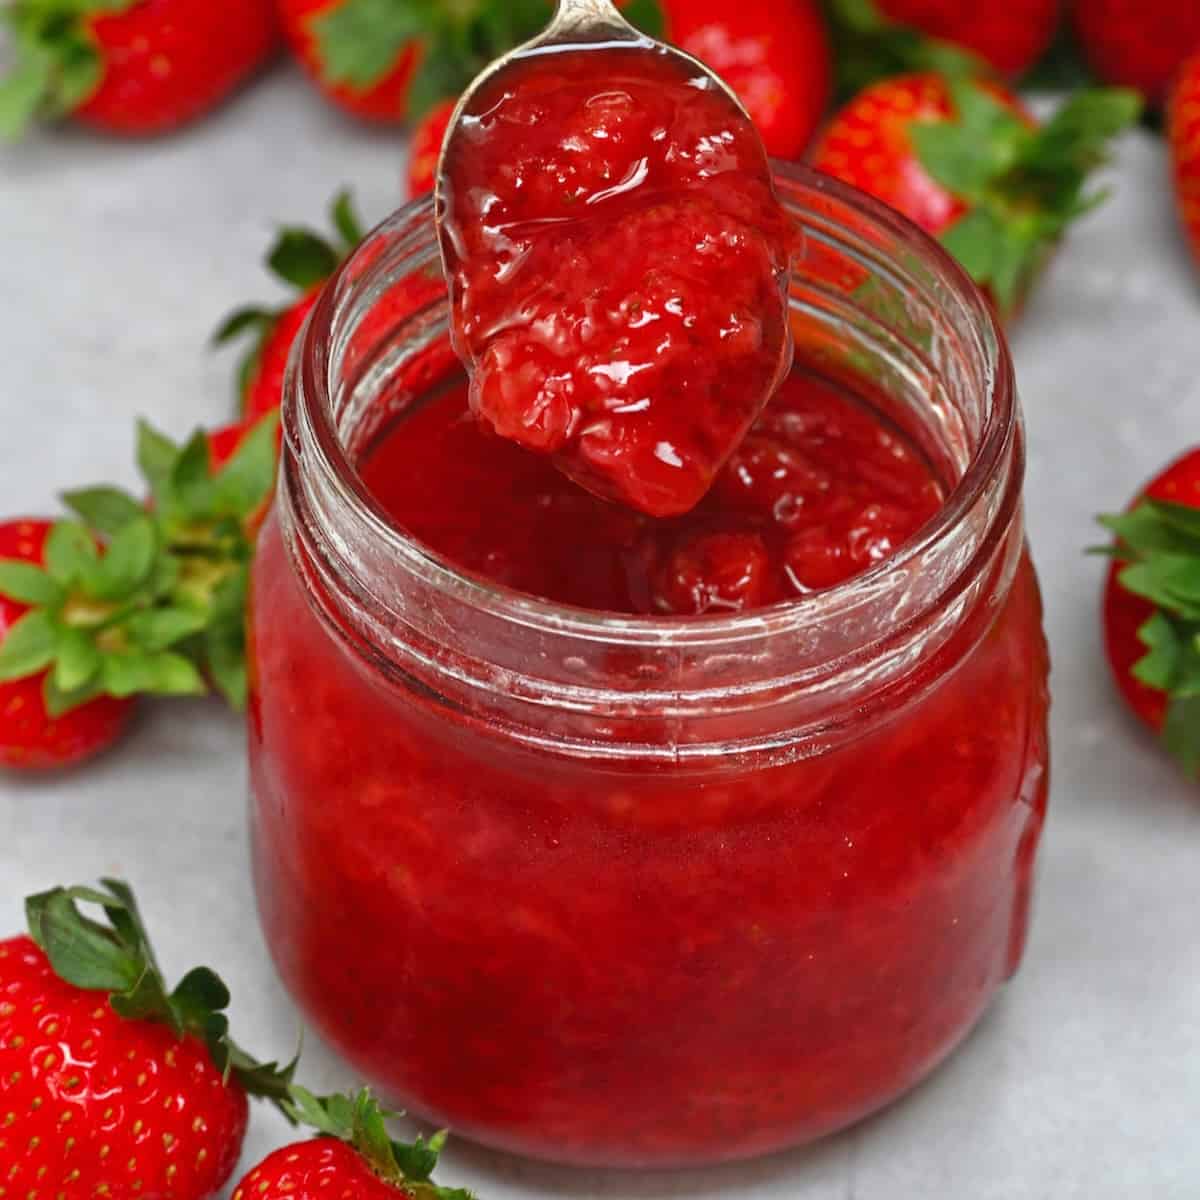
Easy Homemade Strawberry Jam (No Pectin)
5.0
(15)
Your folders
Your folders
Prep Time: 15 minutes
Cook Time: 15 minutes
Total: 40 minutes
Servings: 7
Ingredients
Export 4 ingredients for grocery delivery
Instructions
Step 1
Sterilize the jars/tools - i.e., non-reactive saucepan, spoon, etc.- in hot, soapy liquid. Or do so in the dishwasher, ensuring they're still hot when you use them. Then leave them to drain and dry on a clean, sterilized surface.
Step 2
If you don't have a thermometer, place 2-3 small plates in the freezer for the gel test.
Step 3
If you're planning to water bath can the jam, prepare the canner by adding a trivet/rack and filling it with enough water to submerge the jars by an inch. If you didn’t use the dishwasher to keep the jars hot, place the lidded jars in the water and heat the water to an almost boil while preparing the jam.
Step 4
Wash the strawberries well, then use a small knife (or a straw pushed through the bottom) to remove the stems and leaves. Remove any berries that are blemished/spoiled.
Step 5
Zest and juice the lemon. Optionally keep a few of the lemon seeds, too, as they're packed with pectin and can be fished out of the jam before storing/canning it.
Step 6
Transfer the strawberries and sugar to a large, deep, heavy-based stainless-steel saucepan and use a potato masher to mash them into a pulp (or your desired consistency).
Step 7
Add the lemon juice and zest (and seeds, if using), and stir. Bring the mixture to a boil over medium-low heat, stirring constantly to ensure the sugar dissolves, and the jam doesn’t scorch to the bottom of the pan.
Step 8
Skim any foam that appears (to avoid cloudy jam), simmering until it thickens enough to coat the back of a spoon. This usually takes about 15-20 minutes.
Step 9
Remove the jam from the heat before testing its set. Then, if you have a thermometer, use it to test that the jam has reached 220ºF/104ºC.If not, add a spoonful of jam to one of the freezer plates and return it to the freezer for a minute before testing. It should be set and wrinkle when pressed on the edges. If it hasn’t set, continue to cook the jam for a few minutes and test it again.
Step 10
Place the sterilized, hot jars on a clean kitchen towel/wooden board (to avoid them cracking) and carefully pour/spoon the jam (using a jarring funnel helps avoid mess) into the jars, leaving ¼-inch headspace (0.5 cm) at the top.
Step 11
Wipe the jar rims with a clean kitchen towel and place the lid on the jar, screwing the screw bands until resistance is met, then increase to fingertip-tight.If you aren't canning, your homemade jam is now ready to cool, then refrigerate.
Step 12
Place the filled jars in the prepared canner, ensuring they're submerged under at least 1 inch of water. Bring the water to a boil over medium-high heat, add a lid, and allow them to process for 10 minutes (adjust the time based on your altitude).
Step 13
Remove the canner lid and allow them to sit for 5 minutes before using canning jar tongs to transfer the jars to a clean kitchen towel (to avoid cracking) an inch or two apart to cool undisturbed for 24 hours.
Step 14
Once cooled, check the jar seals (remove the screw band, and the lid should stay in place), then store them in a cool, dark location (like your pantry) for up to a year and a half.Re-process any unsealed jars with new lids/jars (after checking for chips) or transfer them to the fridge to use within a month.