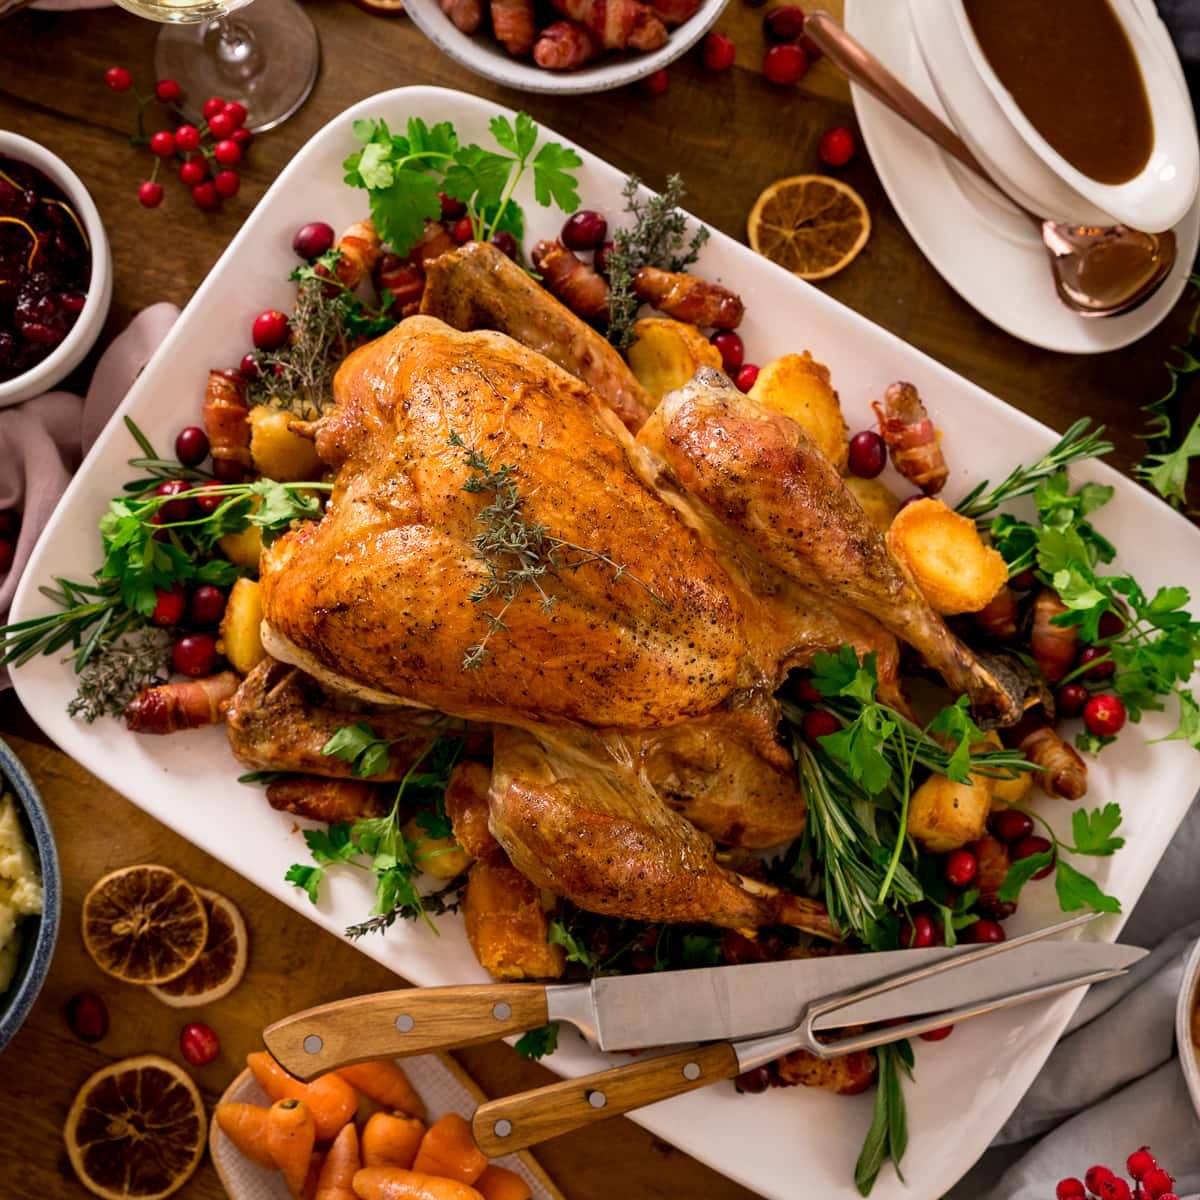
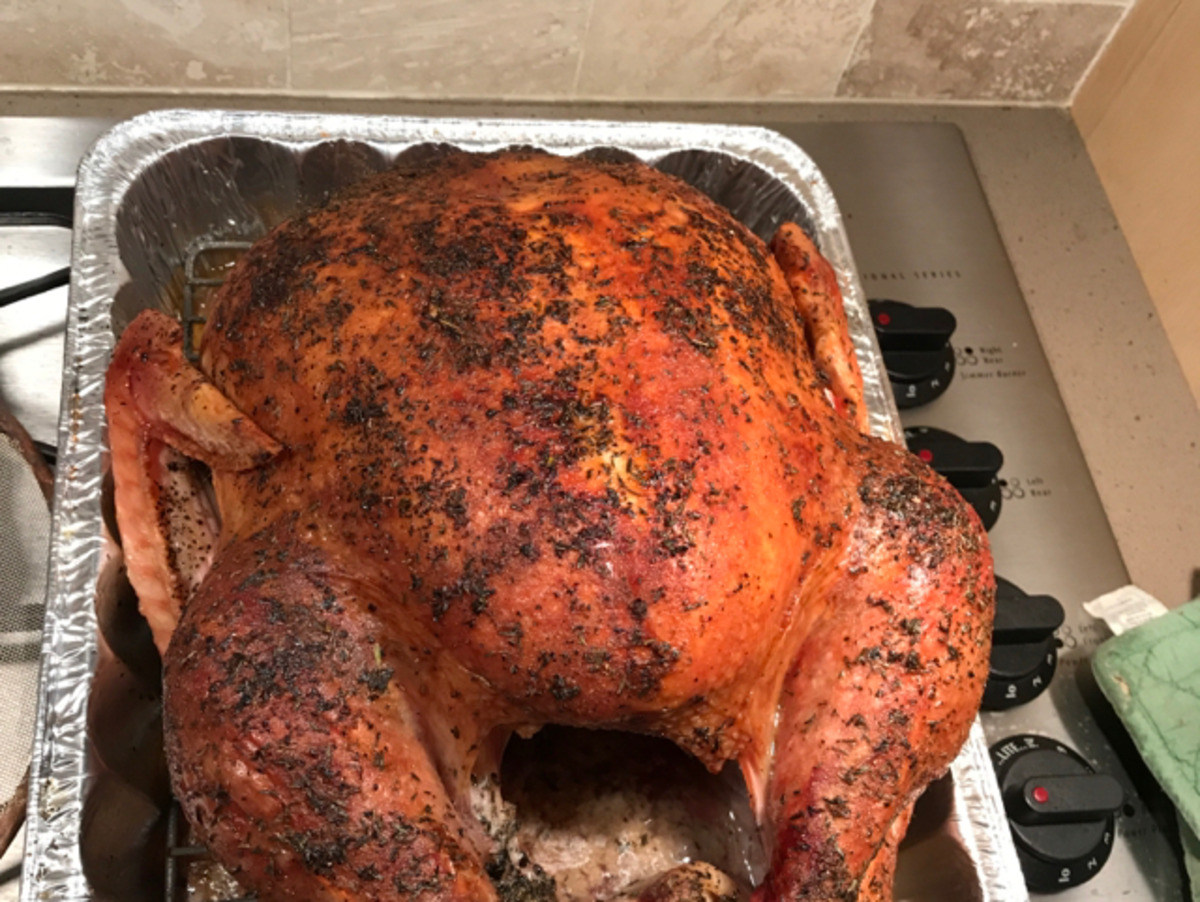
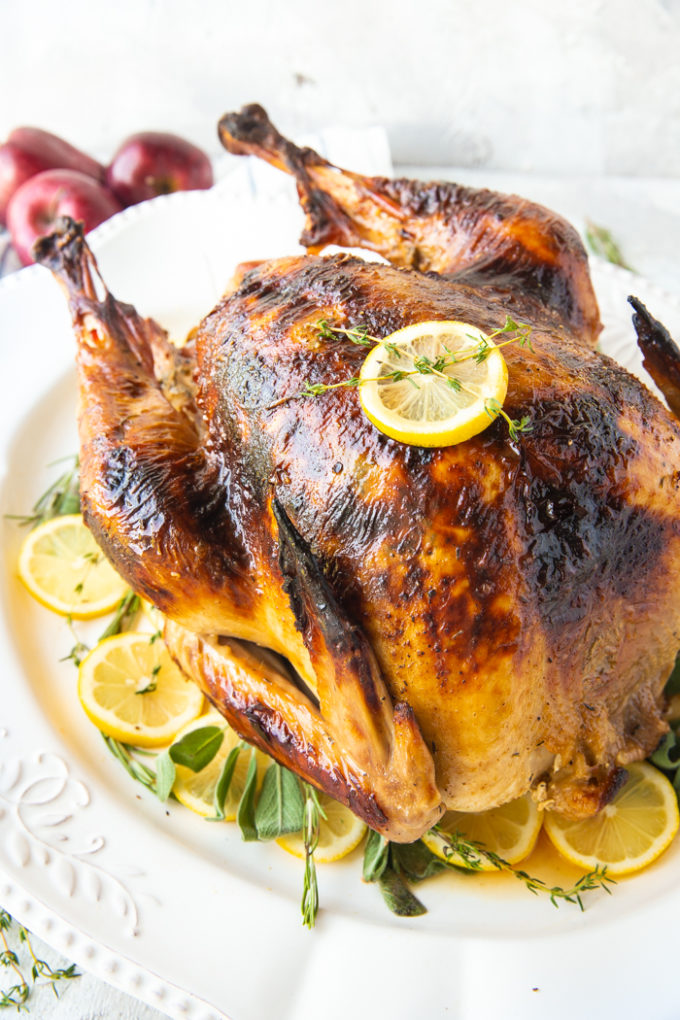
Easy Roast Turkey Recipe
5.0
(6)
Your folders
Your folders
Prep Time: 5 minutes
Cook Time: 180 minutes
Total: 185 minutes
Servings: 8
Author : Nicky Corbishley
Ingredients
Export 3 ingredients for grocery delivery
Instructions
Step 1
Preheat the oven to 160C Fan/180C/350F/Gas mark 4
Step 2
Remove the giblets and neck (you can save these to make stock another time) , tuck the tips of the legs into the cavity and tuck the tips of the wings underneath the bird.
Step 3
Place the turkey on a large wire rack on top of a large roasting tray.
Step 4
Rub the oil all over the turkey, then sprinkle on the salt and pepper.
Step 5
Pour the stock into the base of the roasting tray.
Step 6
Brush or spray the foil with a little more oil, then tent the foil over the turkey and the tray so there are no gaps. Try not to let the foil touch the turkey – this will allow steam to circulate around the turkey as it’s cooking. You will probably need to connect a couple of large pieces of foil together so it will fit – just roll and then scrunch the edges of the pieces of foil together so they stay connected.
Step 7
Place the turkey in the oven and roast for 2 hours.
Step 8
Remove the foil roast for a further hour.
Step 9
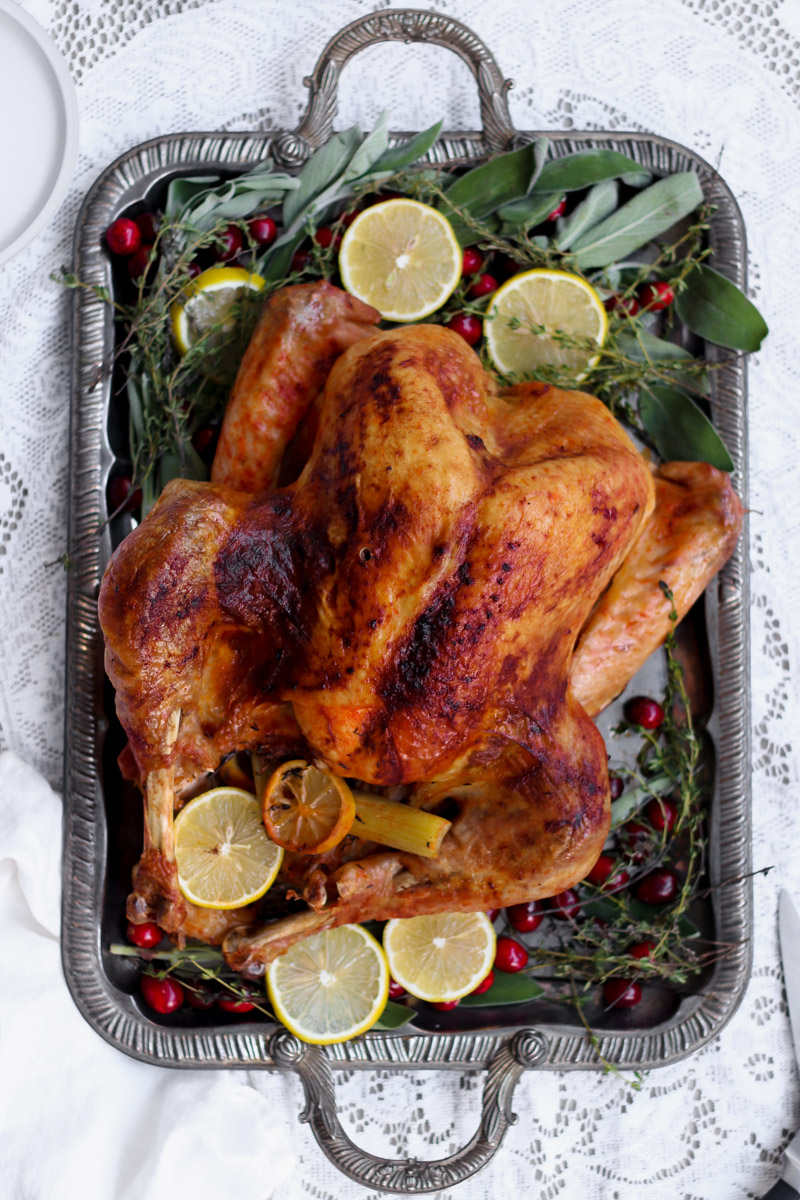
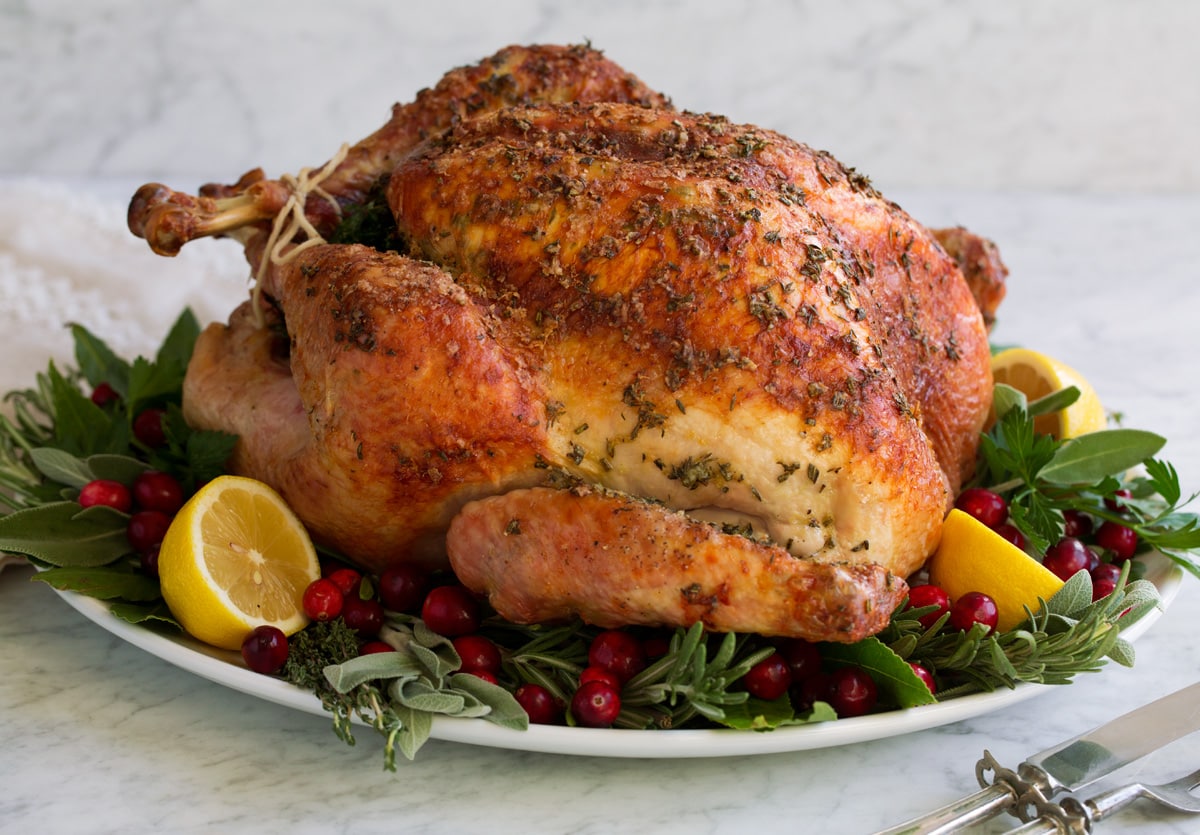
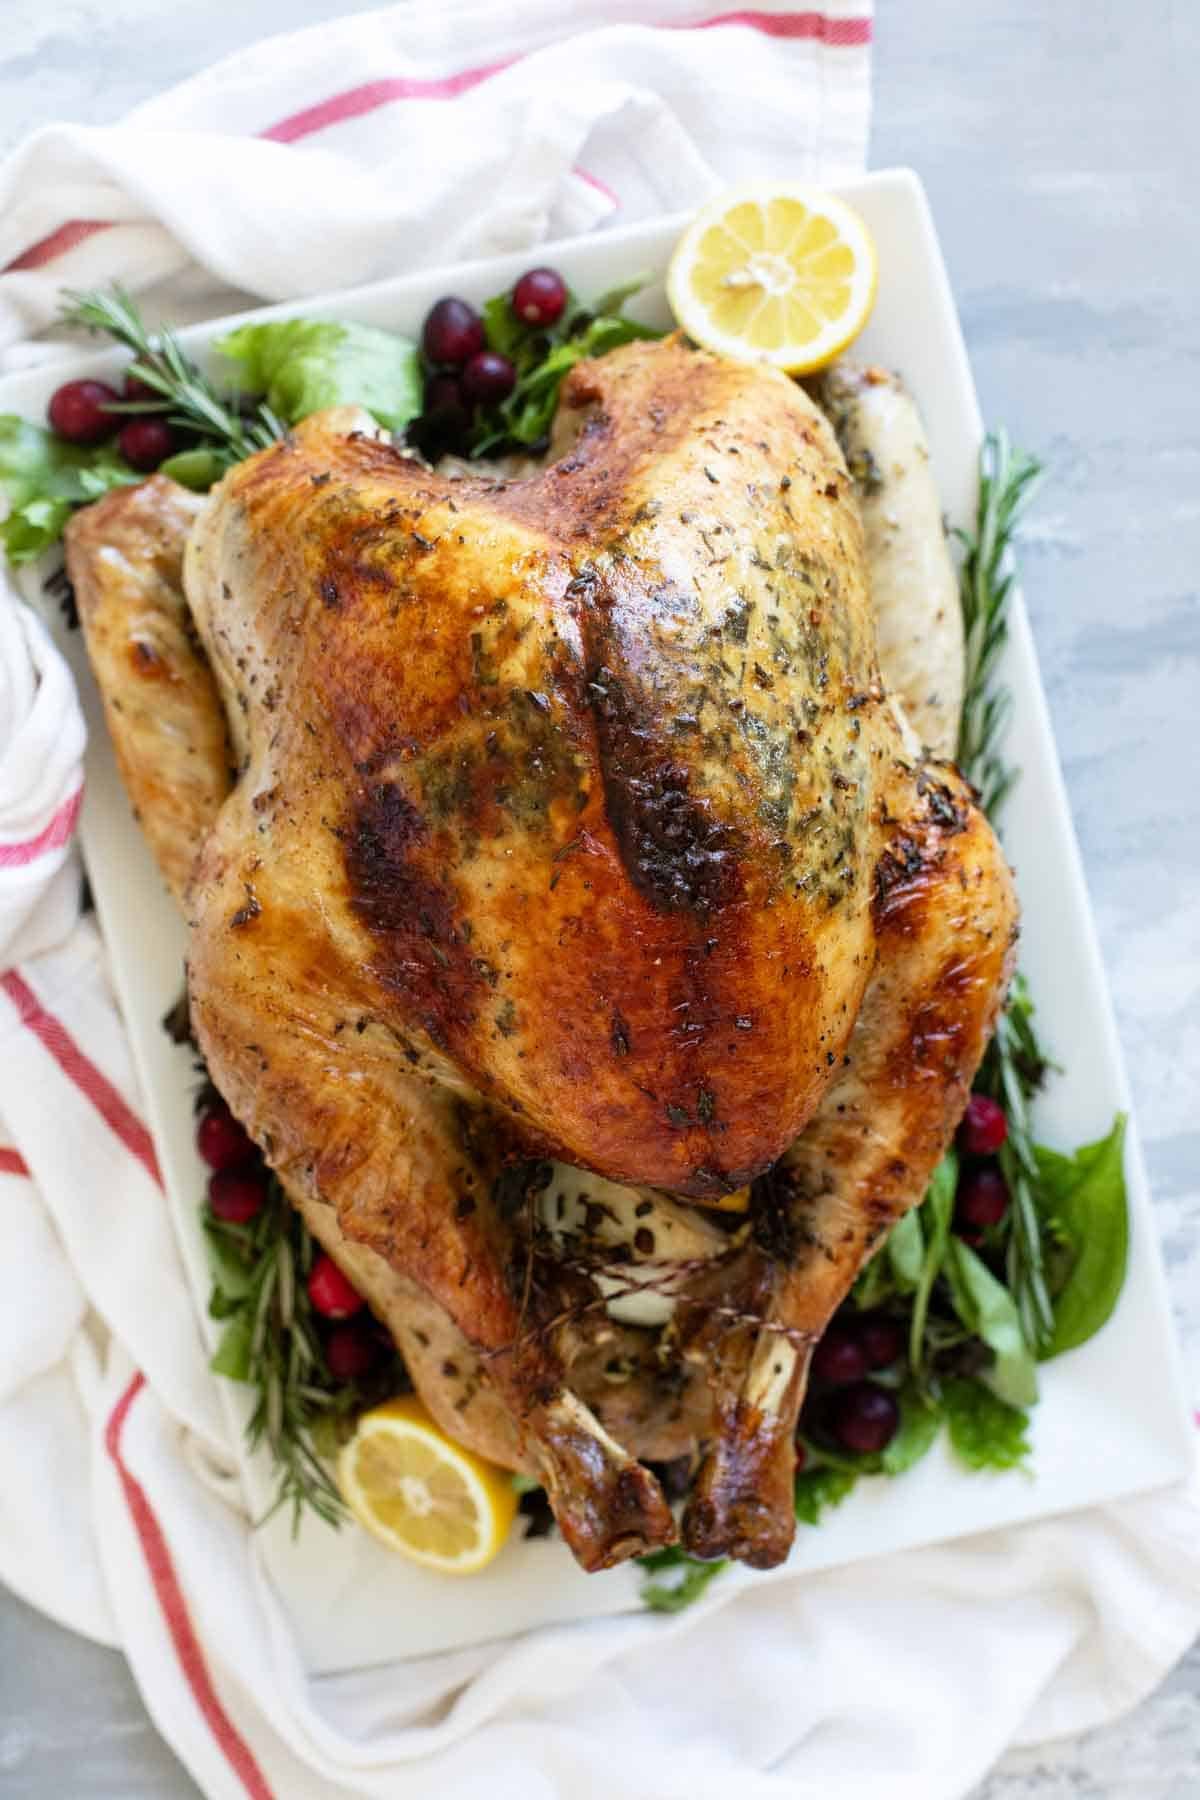
Once the turkey is lovely and golden brown, remove from the oven and transfer to a warm serving plate.
Step 10
Leave to rest for 30-60 minutes (I usually rest mine for about 45 minutes). This is ultra-important if you want a juicy turkey. The turkey will still be warm after this period (plus if you’re serving on warm plates with hot gravy you have nothing to worry about at all). There is no need to cover the turkey (unless you’re in a really cold room) during this time, as the internal temperature tends to rise a little more during the resting period, and covering with foil would just cook the turkey further and the skin will soften.
Step 11
If you need more time to make roasties etc after the turkey comes out of the oven and think you might need to let the turkey rest for 60-90 minutes, then tent foil over the top, leaving space between the turkey and the foil (this is so any trapped steam on the foil isn’t touching the skin – which would make it go soggy).
Step 12
Use the juices in the bottom of the tray to make gravy (or add these juices to gravy you’ve made ahead – check out my video for make-ahead Christmas gravy).
Step 13
Serve with all of those wonderful side dishes for an amazing Christmas dinner.
Top similar recipes
Curated for youYour folders
 128 views
Easy Roast Turkey
savoringitaly.com
5.0
(1)
180 minutes
Your folders
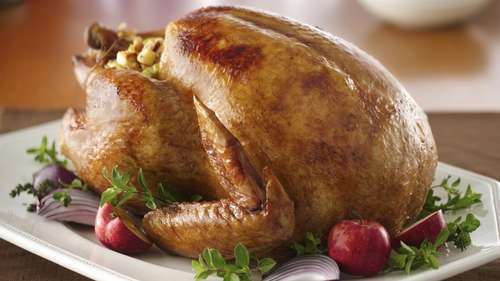
 592 views
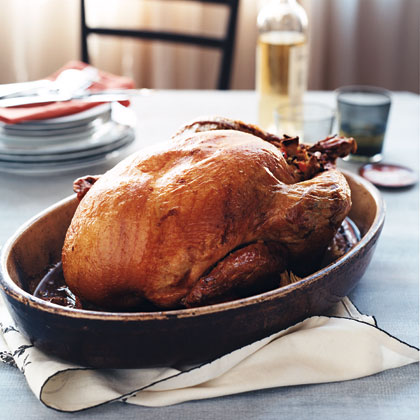
Roast Turkey Recipe
cookingclassy.com
5.0
(1)
150 minutes
Your folders
 304 views
Roast Turkey Recipe
thecozycook.com
5.0
(2)
150 minutes
Your folders
 4 views
Roast Turkey Recipe
tasteandtellblog.com
210 minutes
Your folders
 149 views
Easy Roast Turkey Breast
americastestkitchen.com
4.9
(9)
Your folders
 187 views
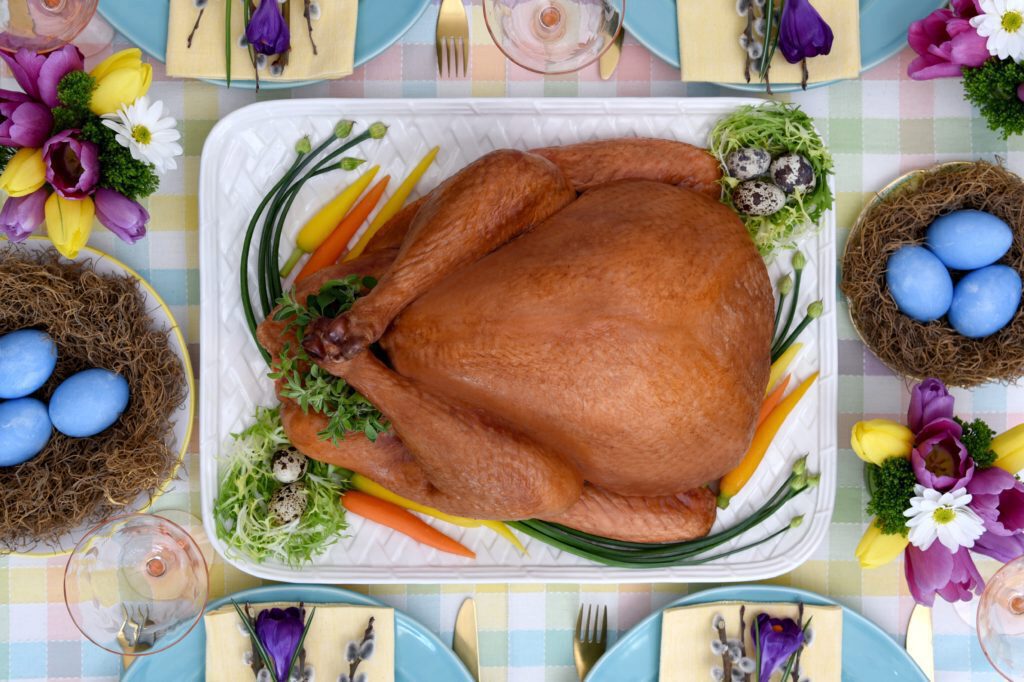
Elegant & Easy Easter Roast Turkey ...
canadianturkey.ca
Your folders
 476 views
Roast Turkey Soup Recipe
seriouseats.com
5.0
(1)
Your folders
 202 views
Juicy Roast Turkey Recipe
natashaskitchen.com
5.0
(702)
170 minutes
Your folders
 251 views
Roast Turkey
food.com
5.0
(131)
3 hours, 30 minutes
Your folders
 225 views
Roast Turkey
bettycrocker.com
4.0
(72)
Your folders
 256 views
Roast Turkey
whatagirleats.com
5.0
(21)
180 minutes
Your folders
 232 views
Roast Turkey
weber.com
Your folders
 145 views
Roast Turkey
eazypeazymealz.com
4.6
(7)
180 minutes
Your folders
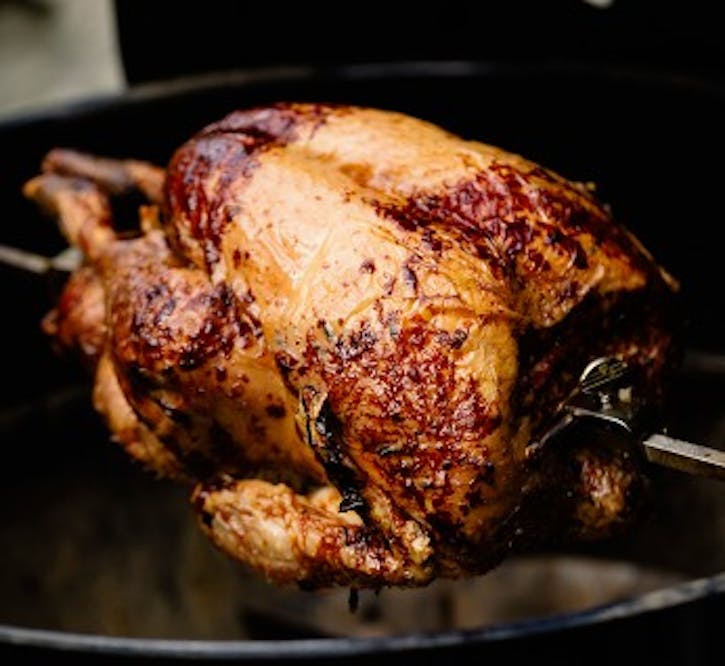
 489 views
Gordon Ramsay Roast Turkey Recipe
thefoodxp.com
210 minutes
Your folders
 387 views
Roast Turkey in Parts Recipe
seriouseats.com
5.0
(2)
Your folders
 361 views
Alton Brown's Roast Turkey Recipe
seriouseats.com
Your folders
 215 views
Classic Roast Turkey
myrecipes.com
2.5
(3)
Your folders
 287 views
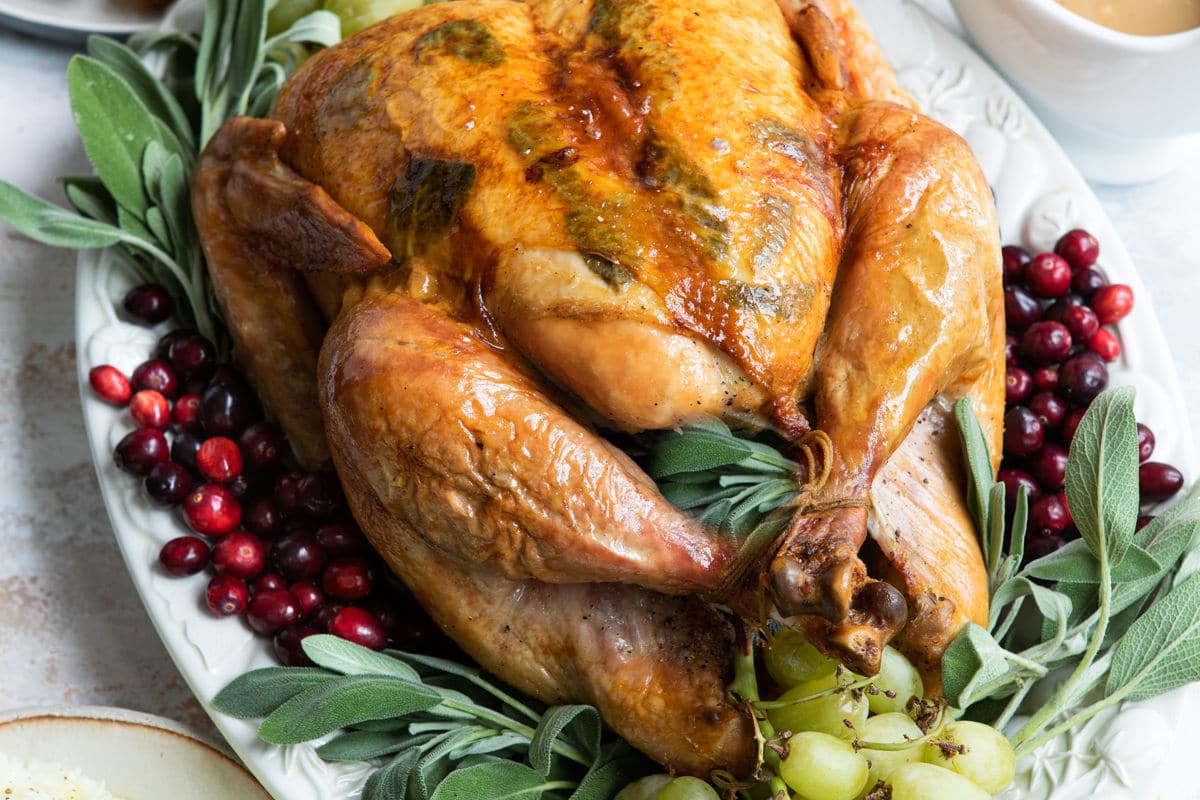
Vegan Turkey Roast
myquietkitchen.com
Your folders
 435 views
Perfect Roast Turkey
culinaryhill.com
5.0
(3)
1740 minutes