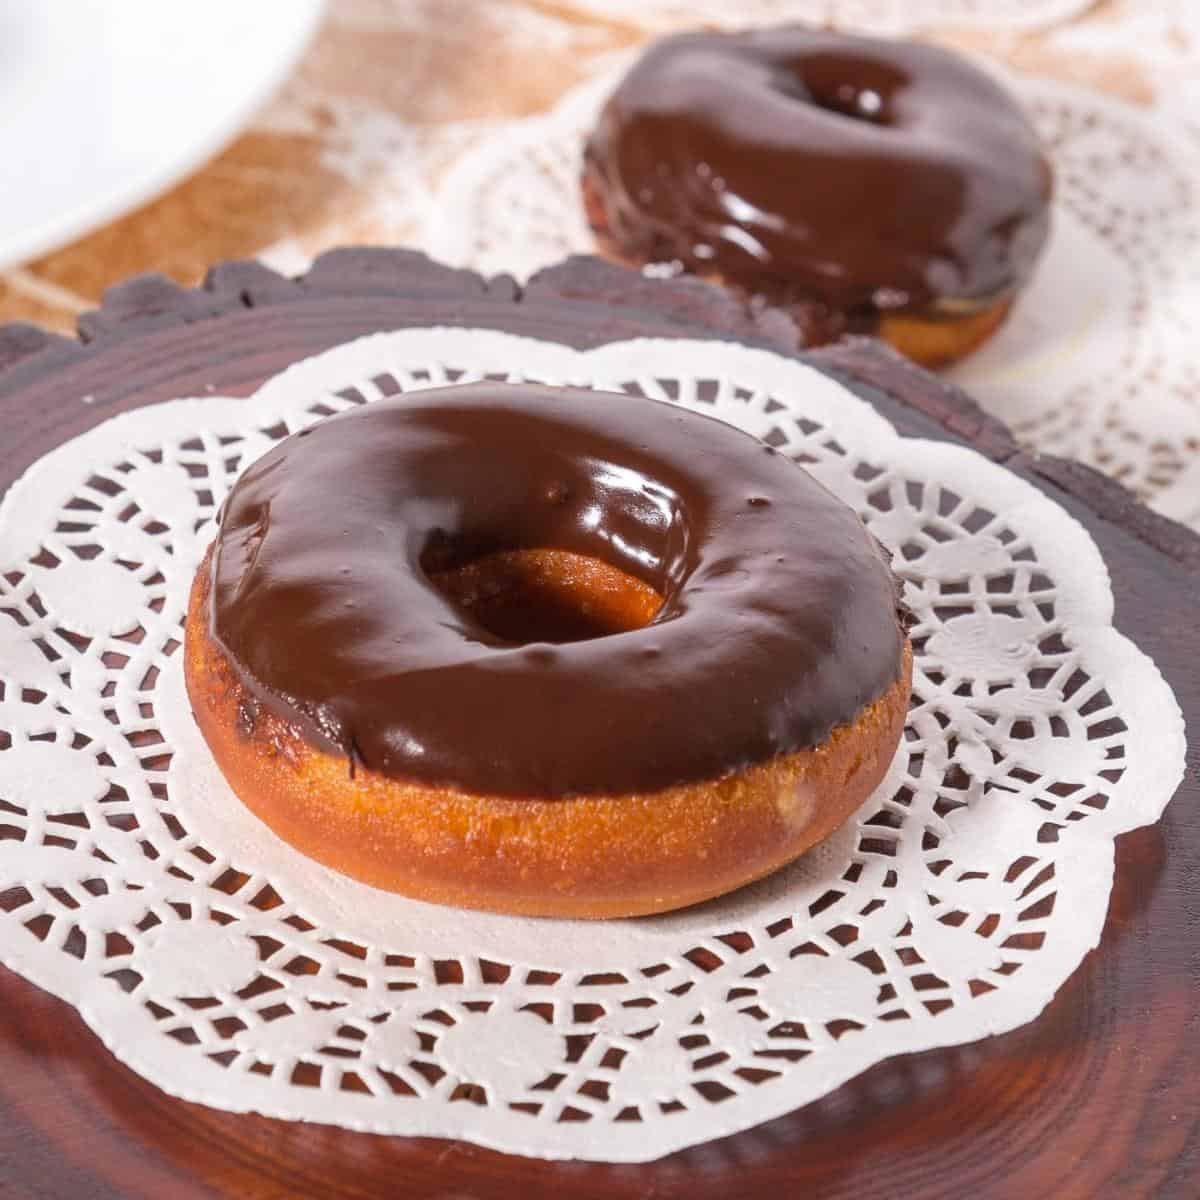
Fried Chocolate Glazed Donuts (yeast-raised)
5.0
(17)
Your folders
Your folders
Prep Time: 10 minutes
Cook Time: 20 minutes
Total: 120 minutes
Servings: 10
Cost: $4.73 /serving
Author : Veena Azmanov

Ingredients
Export 12 ingredients for grocery delivery
Instructions
Step 1
Yeast - In a bowl of a stand mixer with the hook attachment, combine warm milk, sugar, and instant dry yeast (you can also knead this by hand). Let rest for 3 to 5 minutes until foamy.Tip - It is not necessary to activate instant yeast. But I always like to ensure my yeast is good and water is at the right temperature by activating it. This way I don't waste ingredients.
Step 2
Wet Ingredients - To the prepared yeast mixture add the egg, vanilla, and butter.
Step 3
Dry ingredients - In a bowl combine flour, salt, and nutmeg.
Step 4
Next, add the wet ingredients into the dry ingredients - Yeast mixture to flour mixture.
Step 5
Combine well until all the flour is incorporated. Then, knead for 3 minutes on the stand mixer or 5 minutes by hand. Tip - Avoid adding too much flour when kneading. We want a soft, elastic, and slightly sticky dough.
Step 6
Place the dough in an oiled bowl and let rise for 60 to 90 minutes or until double in volume.
Step 7
After an hour, the dough should have been doubled in volume.
Step 8
Transfer to a well-dusted work surface. Degas/delate then shape into a ball again.
Step 9
On a lightly floured surface, using a rolling pin, roll to about 1/4 inch thickness.
Step 10
Using a 3-inch cookie cutter cut out as many discs as you can. Then, use a 1/2 inch cookie cutter to make the center hole. Alternatively, you can also use a donut cutter.Tip - Dust the edges of the cookie-cutter with flour so it will give you clean edges.
Step 11
Transfer the donuts to a baking tray that has been lined with parchment paper and dusted with flour. Tip - The flour will prevent the donuts from sticking to the parchment paper.
Step 12
Gather the remaining dough and cut-outs into a ball. Roll again using as little flour as possible to make the donuts. Tip - Keep some donut holes for testing the temperature of the oil. Alternatively, you can use a thermometer.
Step 13
Cover the baking tray with a clean kitchen cloth to prevent the donuts from drying.
Step 14
Place the donuts in the fridge for about 45 minutes to an hour to prove it again. They will rise and be cold but easier to handle when chilled.
Step 15
Pour oil into a heavy pot or deep fryer and bring to about 350 °F - 360 °F.Tip 1 - Make sure you have enough oil so the donuts will be at least half immersed in oil when puffed.Tip 2 - You want the oil hot, but not too hot. When you drop a donut hole it should come up in about 30 seconds. If it comes up too soon, it means the oil is too hot. Too slow means the oil is too cold. Adjust accordingly.
Step 16
Gently add the cold donuts to the oil.Tip - Add two to three depending on the size of your skillet. If you add too many it will lower the temperature of the oil, which will lead to the donuts becoming too oily.
Step 17
Let the donut cook for 30 seconds, then flip, and cook on the other side for another 30 seconds. This way you will get an even color on both sides.
Step 18
Continue to cook gently turning as necessary until golden brown.Tip - If the oil is too hot the donuts will brown quickly but still be raw inside. So, find that optimum temperature that works.
Step 19
Remove and drain on a paper hand towel.
Step 20
Melt chocolate and cream in a microwave-safe bowl or double boiler.
Step 21
Add the light corn syrup and vanilla extract. Combine until it's smooth and glossy.
Step 22
The glaze should be a thick pouring consistency. If necessary, add a tbsp or two of more cream.
Step 23
Once cooled, dunk each donut in the glaze.
Step 24
Let the excess drip well before you place it on the platter. Tip - Hold the donut upside down for a few seconds longer so the excess chocolate drips off completely. Otherwise, once you turn it over too much excess will drip down creating messy sides.
Step 25
Let the chocolate set for a few minutes before you serve. Tip - If you want to add toppings such as sprinkles, nuts, chocolate shavings, or white chocolate drizzle. Now would be a good time when the chocolate is still melted.
Step 26
Enjoy!