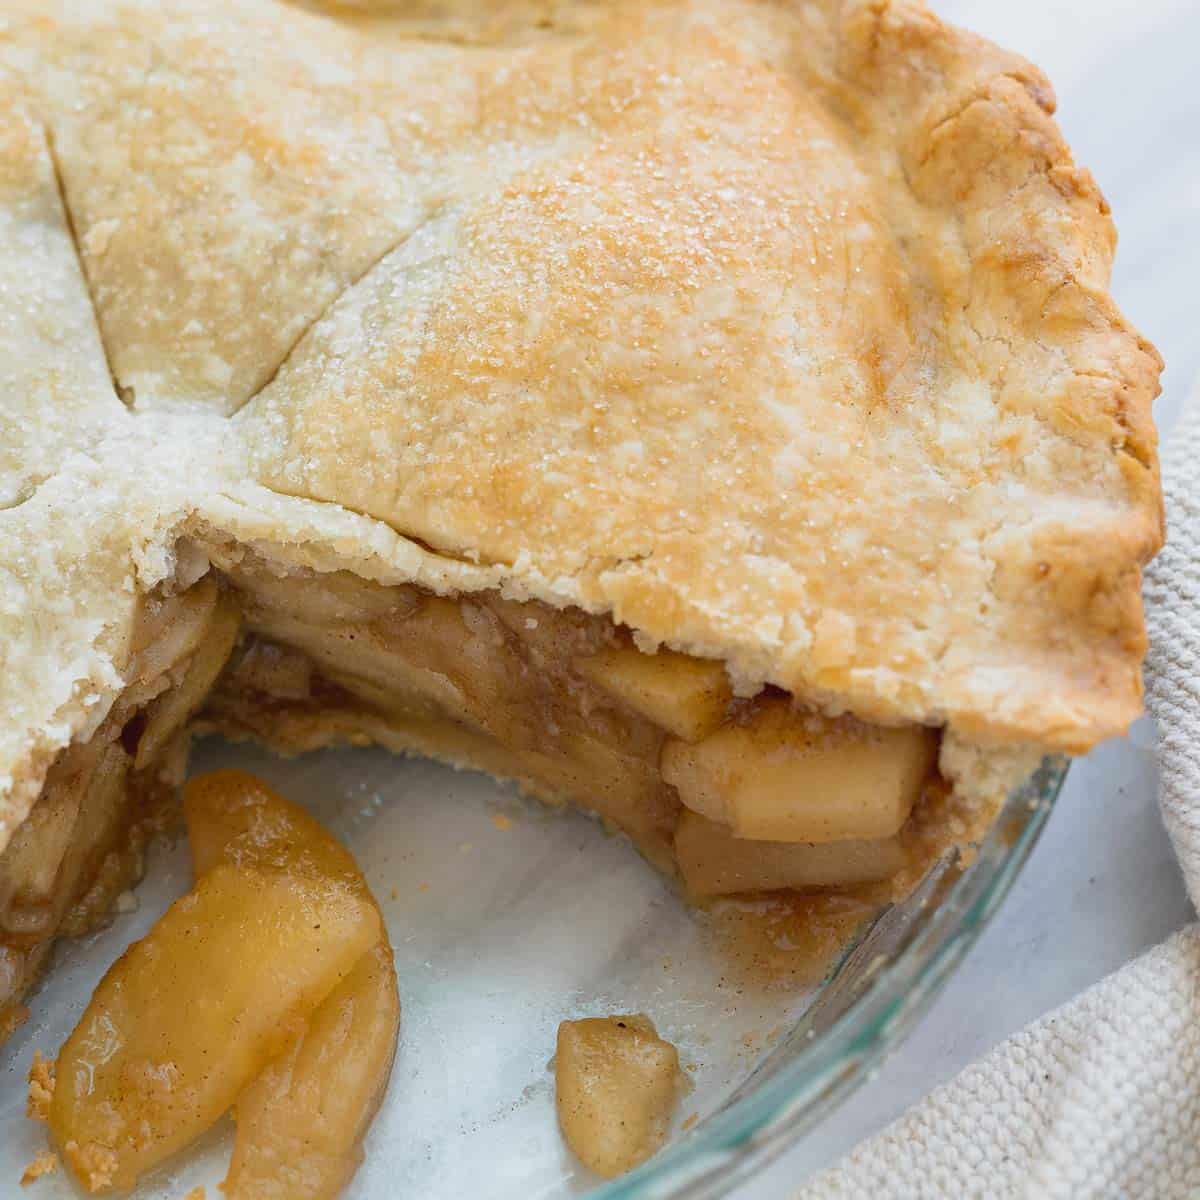
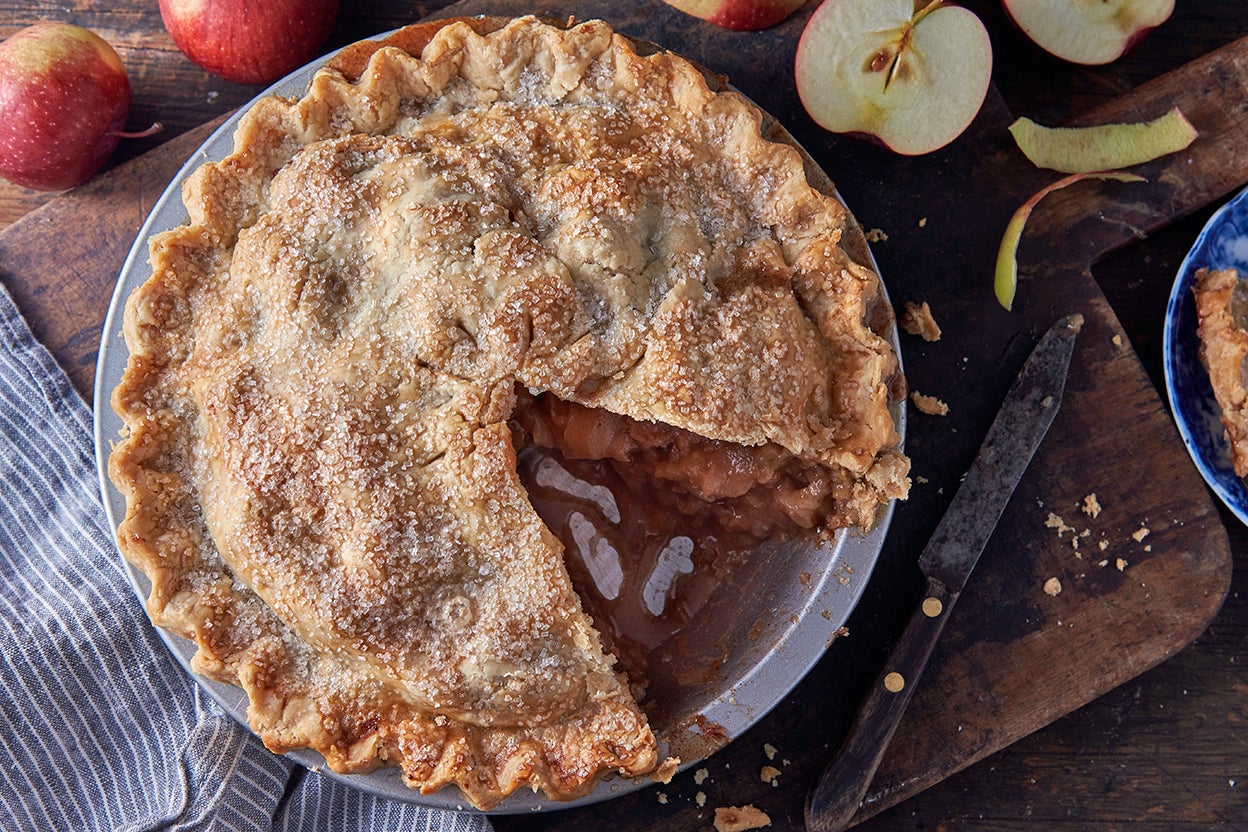
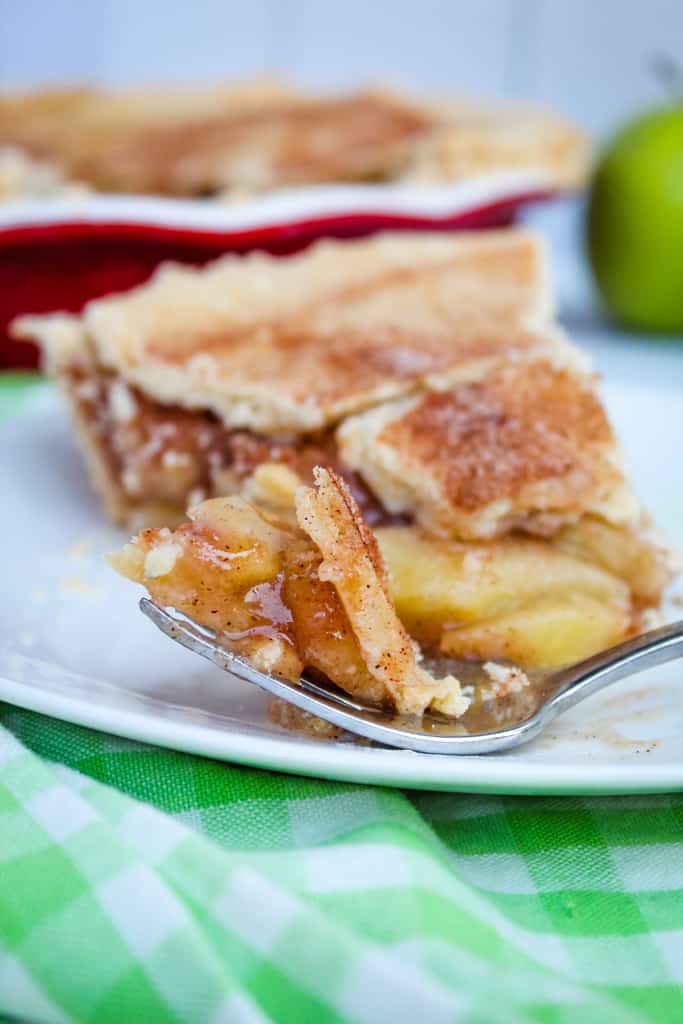
Gluten-Free Apple Pie (Homemade Crust!)
5.0
(19)
Your folders
Your folders
Prep Time: 80 minutes
Cook Time: 60 minutes
Total: 140 minutes
Servings: 10
Author : Erin Collins
Ingredients
Export 12 ingredients for grocery delivery
Instructions
Step 1
Cut the butter into small ¼-inch pieces and freeze for 10-15 minutes.
Step 2
Combine the ice water, sour cream, and vinegar in a small bowl. Whisk until smooth and set aside.
Step 3
Process the flour, sugar and salt in the bowl of a food processor until combined. Scatter the butter over top and pulse until the butter is the size of large peas, about 10 pulses.
Step 4
Add the sour cream mixture and pulse until the mixture begins to clump around the blade, about 10 pulses. If the crust does not clump around the blade after 10 pulses, pour it into a bowl and finish mixing with your hands or a spatula.
Step 5
Divide the dough into 2 balls. Press and shape into flat discs and wrap each disc tightly in the plastic wrap. Refrigerate for 1 hour or up to 2 days.
Step 6
Peel the apples and cut out the core. Then cut into 1/4 inch slices. Be sure to cut the apples the same size so they cook evenly.
Step 7
In a large deep skillet or Dutch oven, combine the sliced apples, butter, brown sugar, granulated sugar, cinnamon, nutmeg, allspice, salt, lemon juice and lemon zest. Cook over medium heat, stirring occasionally for about 10 minutes, until apples have slightly softened but not lost their shape.
Step 8
Mix together the cornstarch and water. Pour into the apple mixture and cook for another 2-3 minutes until thickened.
Step 9
Pour the filling into a bowl and let cool to room temperature. Taste the filling to see if it needs any more sugar or lemon juice to your liking.Tip: To speed up the cooling process, pour the apple filling out onto a baking sheet and place in the refrigerator.
Step 10
If you refrigerated the dough longer than 1 hour, let the dough sit at room temperature for 15 minutes before rolling. Roll the pie crust out between 2 large pieces of plastic wrap to 1/4-inch thickness. Tip: Try to smoosh any cracks that form on the edges together with the rolling pin as you roll. They may form at first, but the crust will meld together as you roll it.
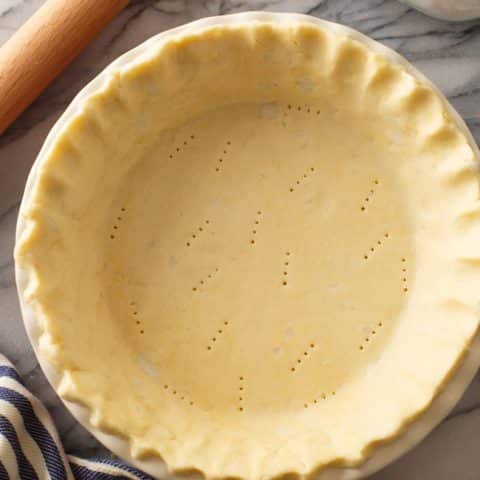
Step 11
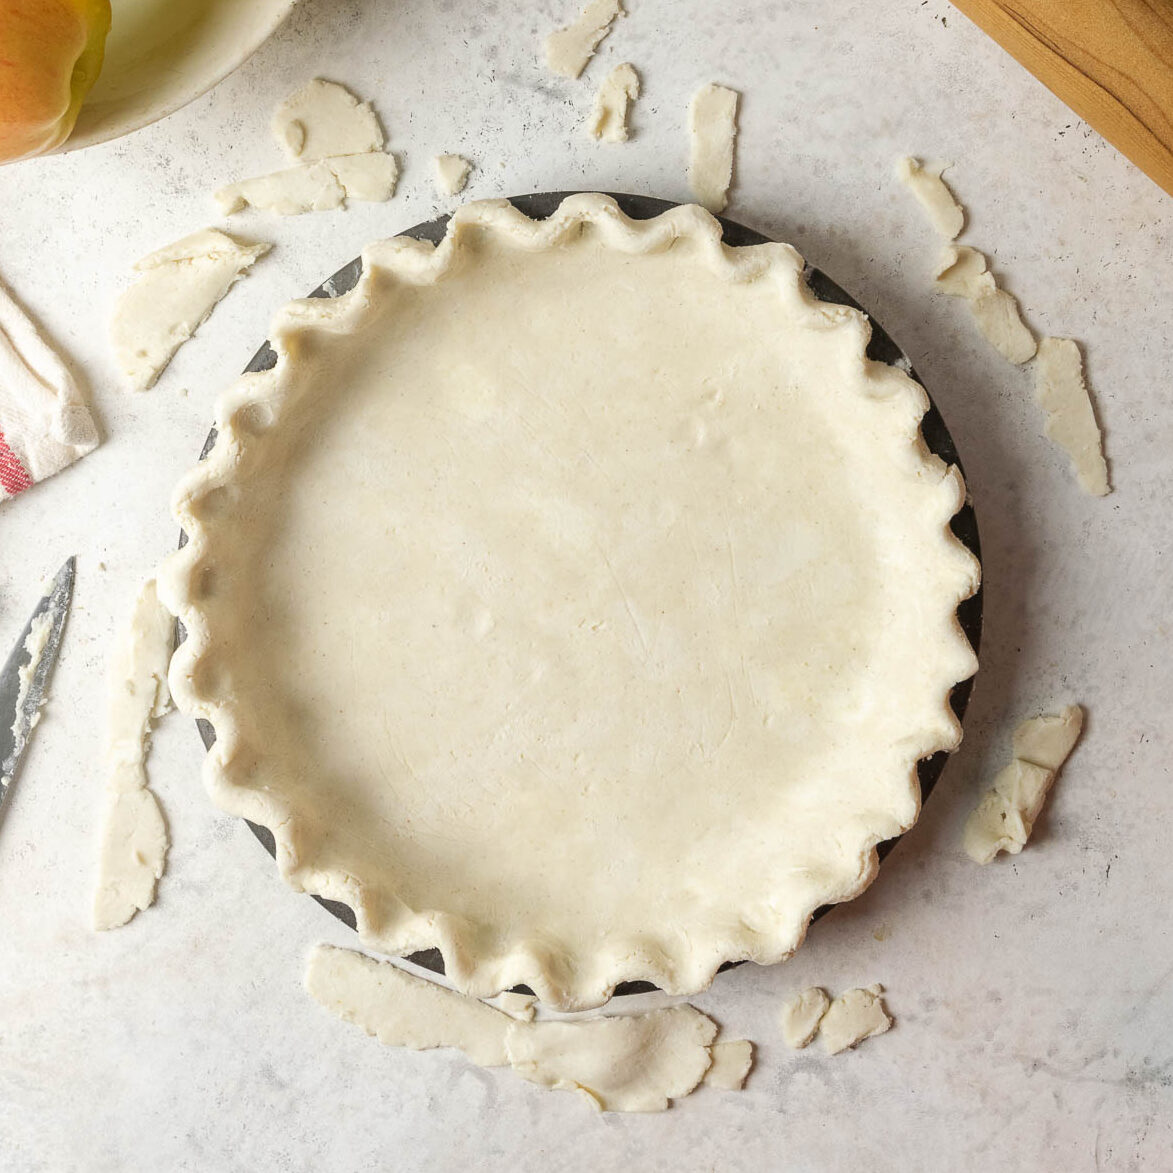
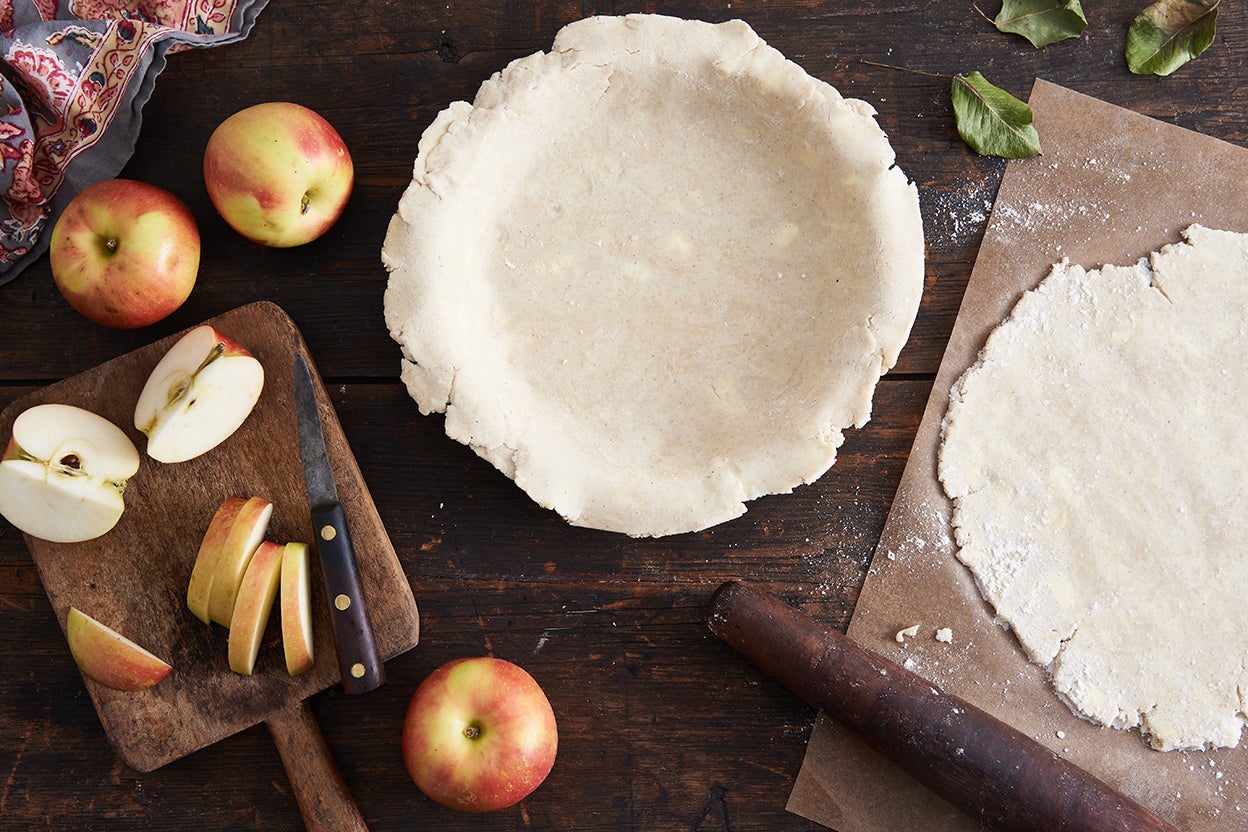
After rolling, remove the top piece of plastic wrap and flip into a 9-inch pie plate. (UPDATE: I recommend a metal pie plate!) Gently ease the dough into the edges of the pan before removing the 2nd piece of plastic wrap. Place the bottom crust in the fridge to keep chilled while you roll out the top crust the same way.
Step 12
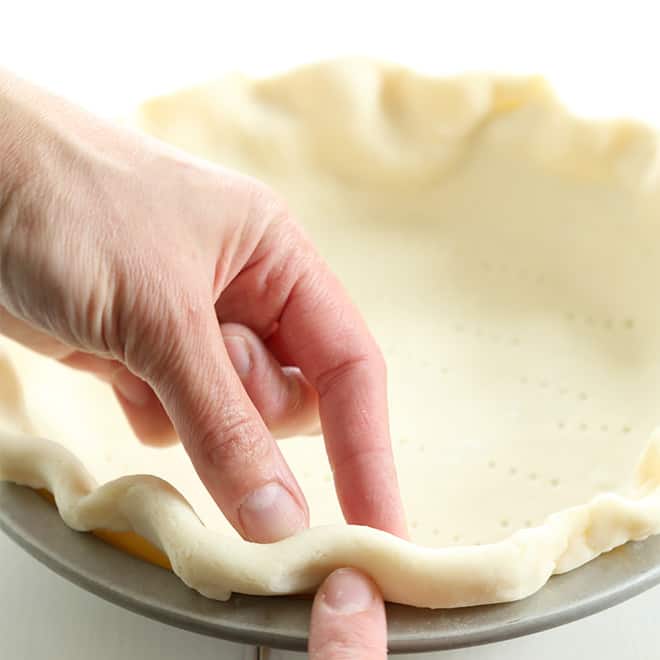
Pour the cooled filling into the prepared crust. Top with the 2nd crust. Trim any overhang or excess dough. Seal edges with a fork or with your fingers. Cut a few slits into the center of the pie for the steam to escape. Place the pie in the freeze for 10 minutes before baking for the dough to chill one last time.
Step 13
Place a baking sheet in the center rack of the oven. Preheat the oven to 400F. Tip: You want the baking sheet to be in the oven as it preheats. You'll place the pie on the hot baking sheet which will help the bottom crust bake.
Step 14
Make the Egg Wash: Whisk together the egg and milk until totally combined. Brush the pie dough with egg wash and sprinkle sugar if desired.
Step 15
Place the pie on the preheated baking sheet and bake for 35 minutes. Lightly place a piece of foil on top of the pie to keep it from over-browning (or use a pie shield), then lower the oven temperature to 375 F. Bake for an additional 35-40 minutes, until golden brown and bubbly.
Step 16
Let the pie cool on a wire rack for 3 hours before slicing. (I know it's hard to wait but this is important!) Enjoy! (Tip: This pie is best eaten the day it's baked. See the notes for make-ahead instructions.)
Top similar recipes
Curated for youYour folders
 243 views
Homemade Gluten Free Apple Pie
gfjules.com
4.3
(4)
55 minutes
Your folders
 541 views
Gluten-Free Pie Crust
kingarthurbaking.com
4.6
(130)
40 minutes
Your folders
 390 views
Gluten Free Pie Crust
thereislifeafterwheat.com
4.4
(70)
20 minutes
Your folders
 29 views
Gluten Free Pie Crust
wellfedbaker.com
5.0
(5)
Your folders
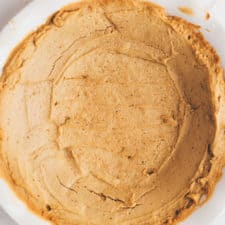
 286 views
Gluten-Free Pumpkin Pie (with Homem...
meaningfuleats.com
5.0
(17)
60 minutes
Your folders
 165 views
Gluten Free Dairy Free Pie Crust
immigrantstable.com
5.0
(56)
Your folders
 169 views
Flaky Gluten Free Pie Crust
asaucykitchen.com
4.8
(48)
Your folders
 366 views
Gluten Free Vegan Pie Crust
healthiersteps.com
5.0
(2)
15 minutes
Your folders
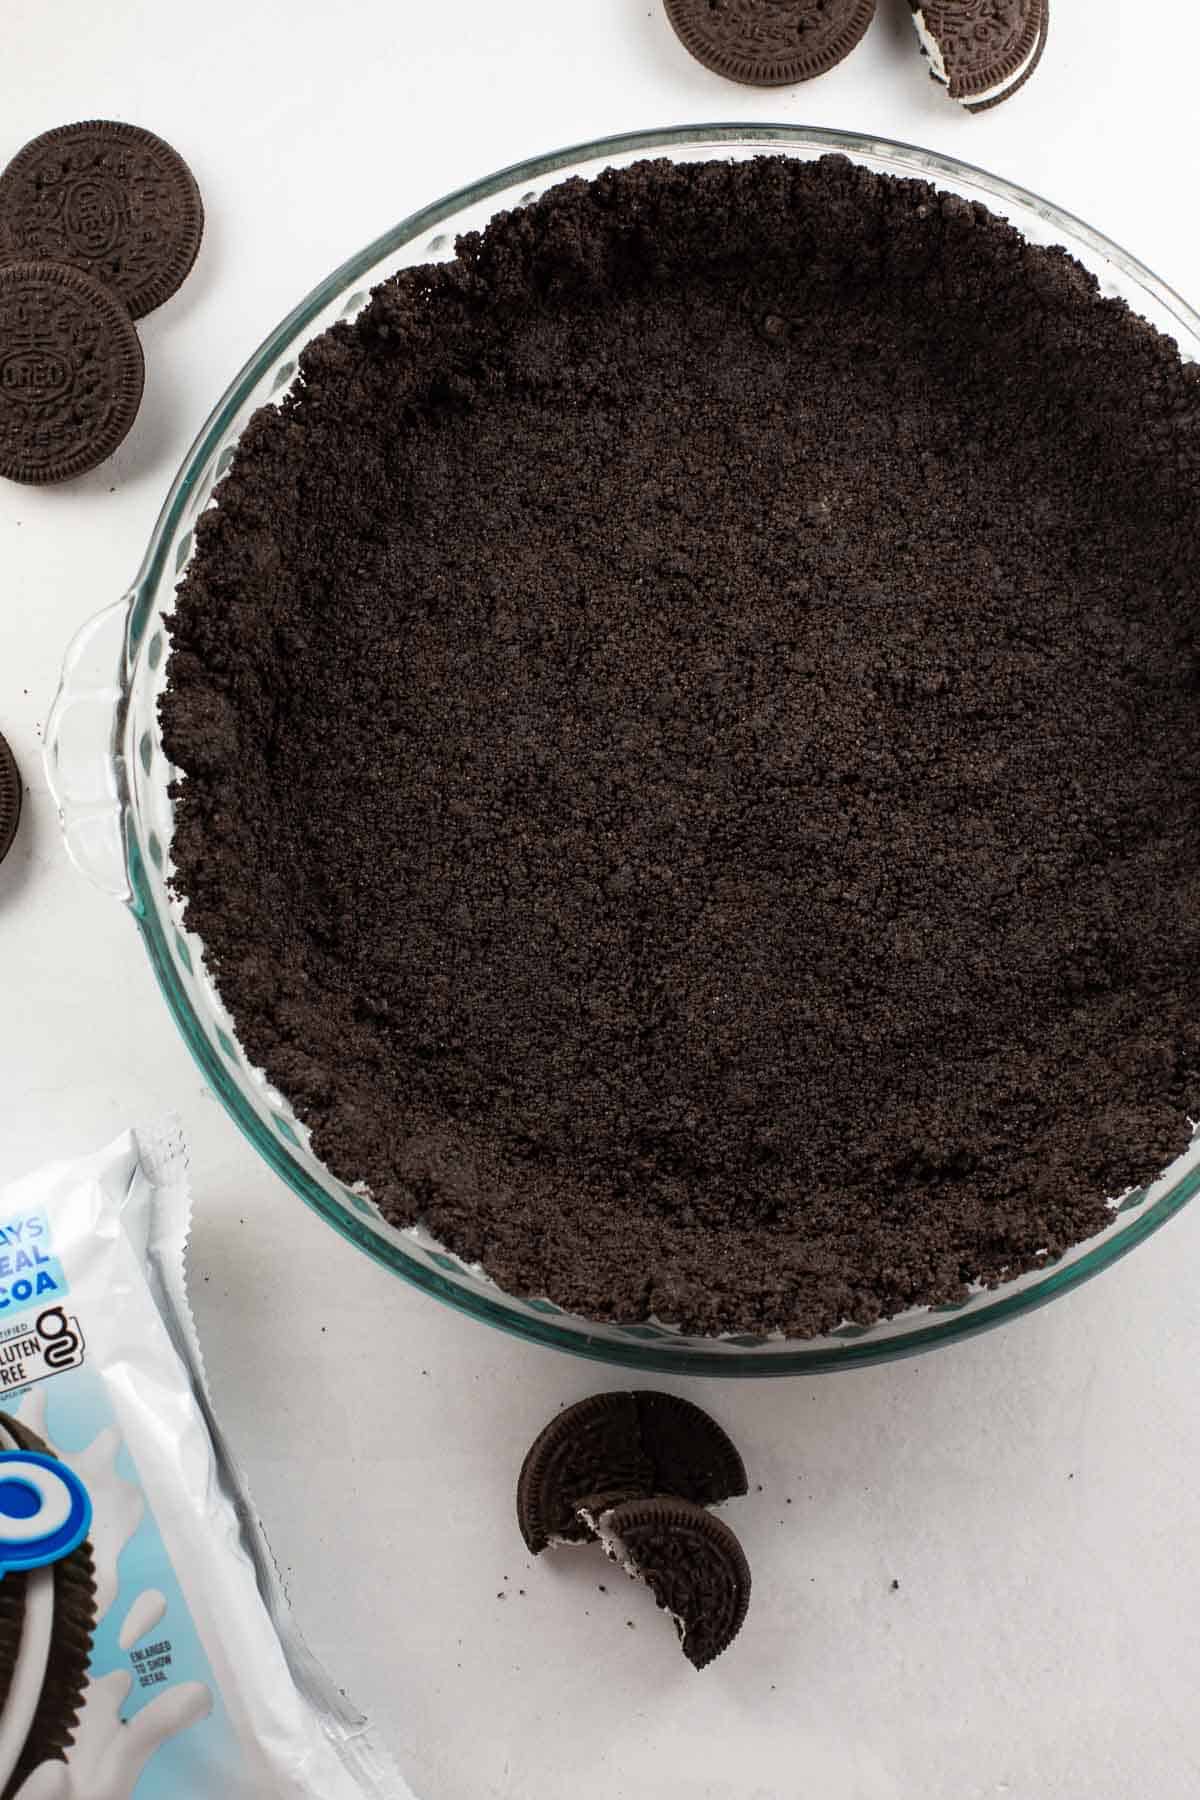 214 views
Gluten-Free Oreo Pie Crust
meaningfuleats.com
5.0
(6)
10 minutes
Your folders
 173 views
Gluten-Free Pie Crust Recipe
draxe.com
15 minutes
Your folders
 263 views
Gluten-Free Pie Crust Recipe
goglutenfreely.com
5.0
(9)
Your folders
 22 views
Gluten-Free Pie Crust Recipe
goglutenfreely.com
Your folders
 215 views
Gluten Free Apple Pie
letthemeatgfcake.com
4.8
(14)
80 minutes
Your folders
 84 views
Gluten-Free Apple Pie
kingarthurbaking.com
4.3
(23)
1 hours, 5 minutes
Your folders
 205 views
Gluten Free Apple Pie {Dairy Free}
zestforbaking.com
5.0
(2)
45 minutes
Your folders
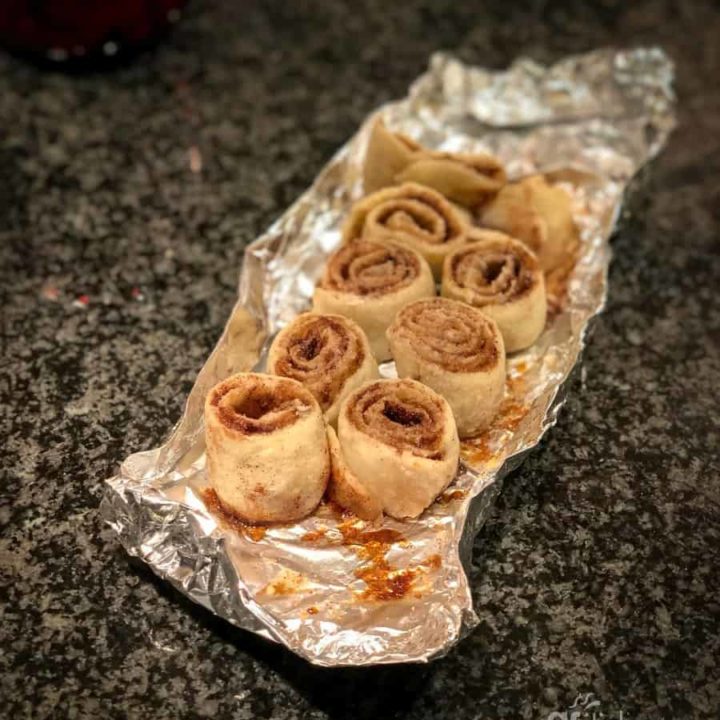 235 views
Gluten Free Pie Crust Cinnamon Roll...
gfjules.com
4.0
(1)
8 minutes
Your folders
 303 views
Extra Flaky Gluten Free Pie Crust
glutenfreeonashoestring.com
5.0
(1.0k)
10 minutes
Your folders
 153 views
Gluten-Free Classic Double Pie Crus...
kingarthurbaking.com
4.5
(8)
Your folders
340 viewsExtra Flaky Gluten Free Pie Crust
glutenfreeonashoestring.com