Gluten Free Berry Tartlets
Your folders
Your folders
Prep Time: 15 minutes
Cook Time: 45 minutes
Total: 60 minutes
Servings: 6

Ingredients
Export 9 ingredients for grocery delivery
Instructions
Step 1
In a bowl, sift together the gluten free flour, powdered sugar, xanthan gum and salt.
Step 2
Add the cubed cold unsalted butter, and use your fingers to rub the flour and butter together until the mixture resembles fine breadcrumbs.
Step 3
Add the egg yolks and mix together with a fork.
Step 4
Add the cold water, 1 tbsp at a time, stirring well with a fork after each addition. After you've added about 3 - 4 tbsp of water, use your hands to bring the dough together in a ball. Knead it together briefly to get a smooth shortcrust pastry dough – if there are too many dried bits, sprinkle with a bit of cold water and briefly knead again.
Step 5
Wrap the finished pastry dough into cling film and refrigerate for 30 minutes to 1 hour.
Step 6
Pre-heat the oven to 355 ºF (180 ºC) and get a 6 mini tart pans with a loose base (affiliate link) ready. To make things easier, place them on a baking sheet, so it will be easier to put them into/take them out of the oven.
Step 7
Roll out the pastry dough about 3 mm thin. Cut it up into smaller pieces to make lining the mini tart pans easier.
Step 8
Carefully transfer the dough into the mini tart pans and ensure that it's snug with the sides of the tart pans. Trim any excess pastry.
Step 9
Prick the dough all over with a fork.
Step 10
Line the dough in each mini tart pan with a small piece of baking/greaseproof paper. (To make this easier, scrunch up the baking paper beforehand, but make sure to mark which is the greased/"non-stick" side beforehand!) Press the paper into the edges of the dough. Fill the paper with baking beans (or some rice, if you don't have those on hand). Chill in the fridge for about 15 minutes.
Step 11
Blind bake the tartlets for 15 minutes at 355 ºF (180 ºC), then carefully remove the baking beans and paper, and bake for a further 10 - 12 minutes at the same temperature, until the tartlet shells are golden brown.
Step 12
Allow to cool, then carefully remove the pastry shells from the mini tart pans.
Step 13
In a saucepan, bring the milk to the boil.Make sure you're using a saucepan that isn't sensitive to scratching – you'll use the same saucepan to make the cream filling, and you'll have to whisk it. So a non-stick saucepan isn't suitable – go for something like stainless steel!
Step 14
In the mean time, in a large bowl, whisk together the egg yolks and granulated sugar until pale. Add the cornstarch and lemon zest and mix well.
Step 15
Slowly pour the boiling hot milk into the egg mixture, whisking constantly. Don't add the milk too quickly, or your eggs will scramble!
Step 16
Return the mixture to the saucepan and start cooking it on medium heat with constant stirring. At this beginning stage, when the mixture is still runny, don't use a whisk! Using a whisk will lead to a foam forming, and that foam is a pain to get rid of.Once the cream has started thickening (after about 2 - 3 minutes), switch to a whisk and whisk well until the cream has thickened completely (a further 2 - 3 minutes).
Step 17
Transfer the cream filling into a heat-proof bowl and allow it to cool to room temperature. Stir occasionally to prevent "skin" formation.
Step 18
Spoon the cooled cream filling into the cooled tartlet shells and smooth out the top.
Step 19
Chill in the fridge until you're ready to serve, then top with berries of choice, dust with a bit of powdered sugar, and enjoy!
Step 20
The gluten free berry tartlets keep well in the fridge for about 3 - 4 days.
Top similar recipes
Curated for youYour folders
 329 views
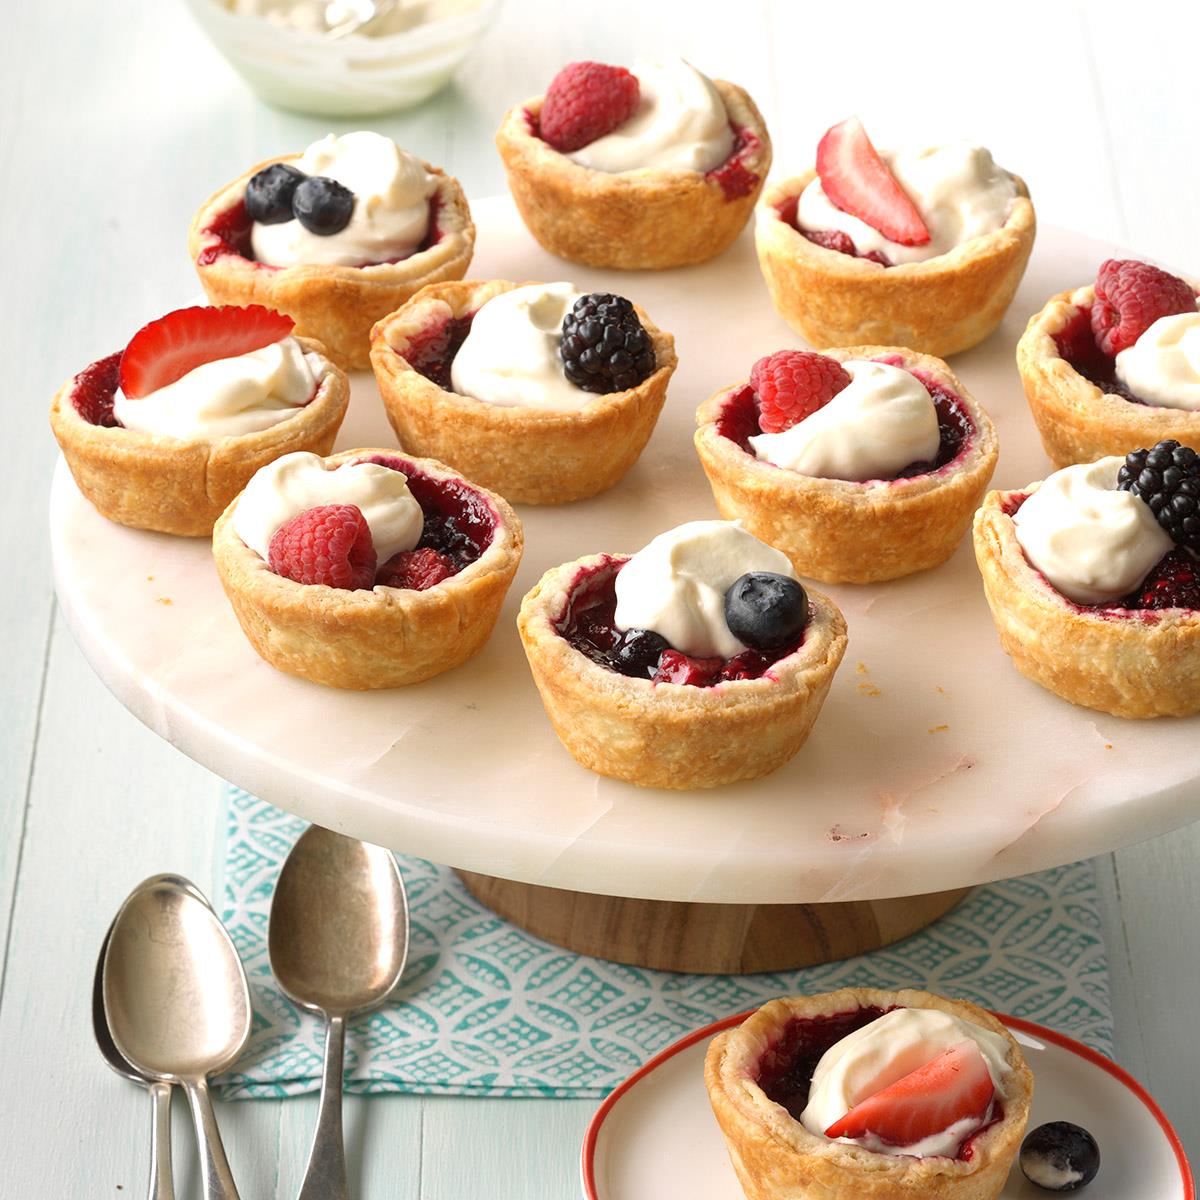
Berry Tartlets
tasteofhome.com
25 minutes
Your folders
241 viewsBerry Tartlets
tasteofhome.com
25 minutes
Your folders
 218 views
Gluten-Free Berry Crisp
foodnetwork.com
4.5
(8)
45 minutes
Your folders
 285 views
Very Berry Cream Tartlets
goodhousekeeping.com
1 hours, 5 minutes
Your folders
 410 views
Mixed Berry Crisp (Gluten Free)
cookieandkate.com
4.9
(14)
40 minutes
Your folders
 558 views
Berry Sheet Cake (gluten-free, dair...
downshiftology.com
5.0
(26)
40 minutes
Your folders
 180 views
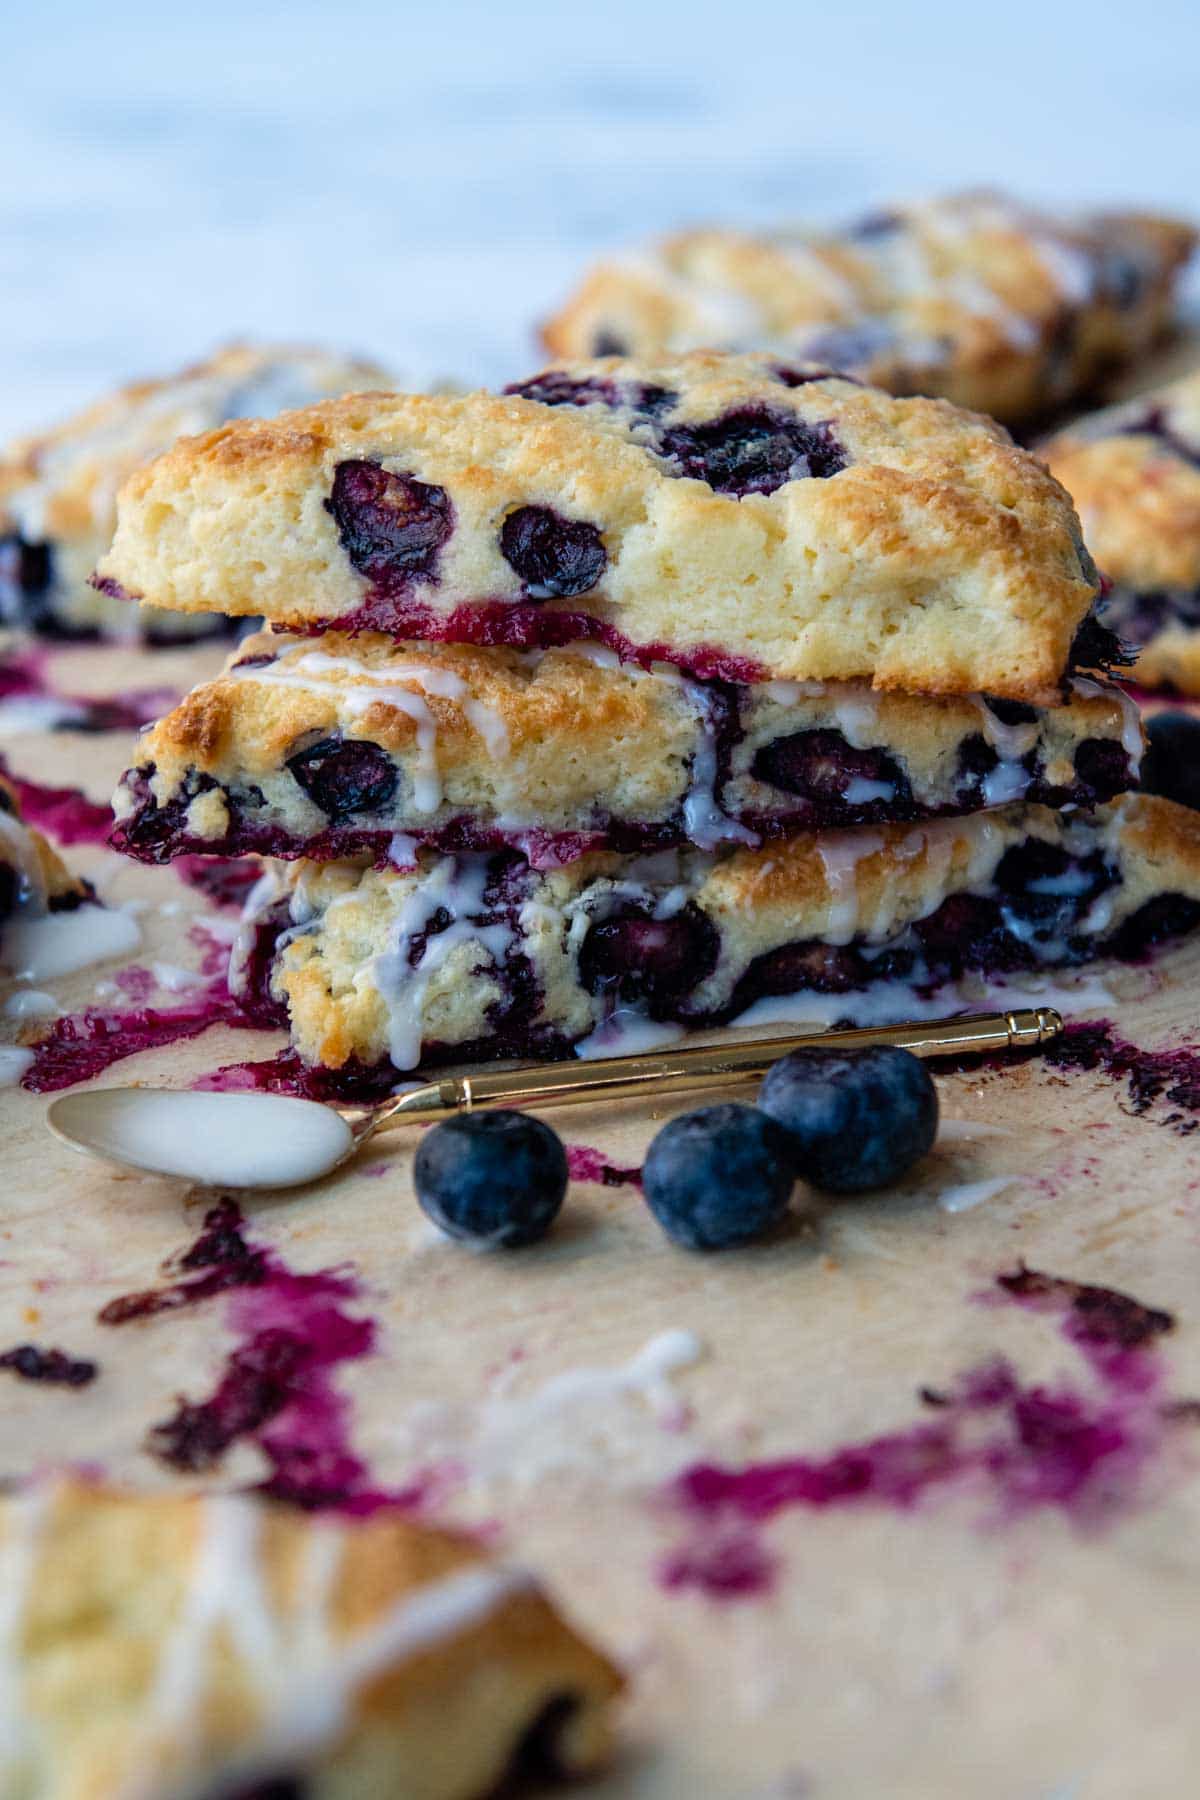
Tender, Fluffy Gluten-Free Berry Sc...
mamagourmand.com
4.8
(6)
17 minutes
Your folders
 106 views
Tender, Fluffy Gluten-Free Berry Sc...
mamagourmand.com
Your folders
 91 views
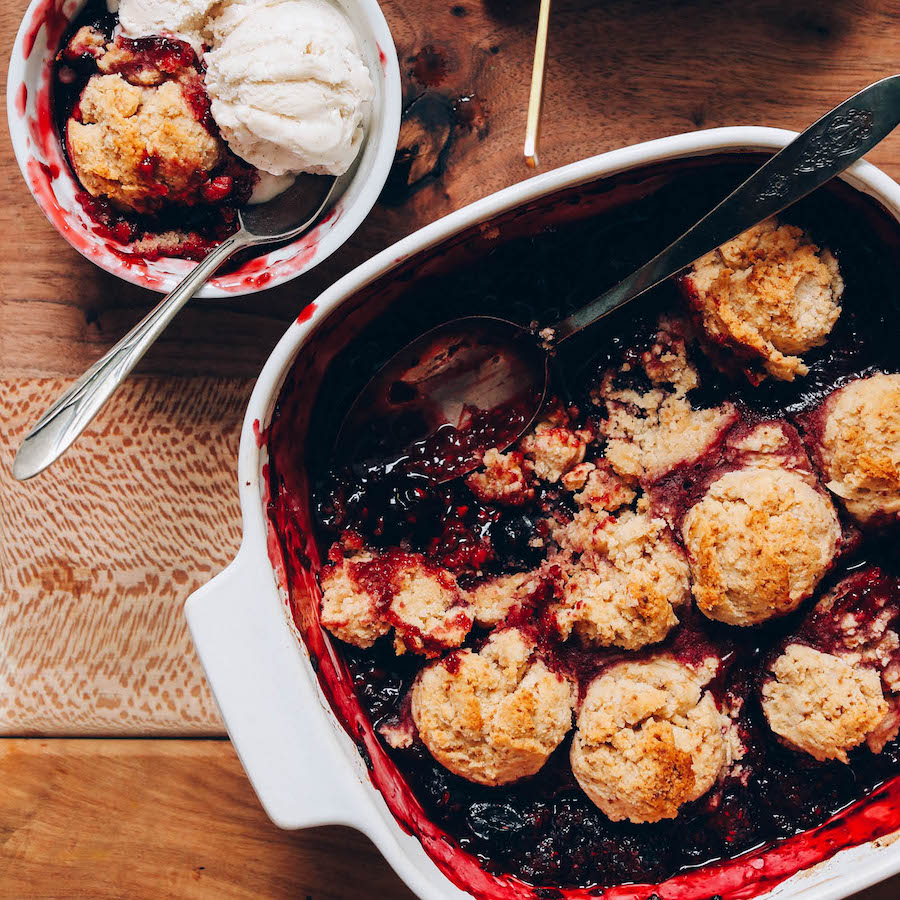
Easy Gluten-Free Berry Cobbler (Veg...
minimalistbaker.com
5.0
(20)
40 minutes
Your folders
77 viewsEasy Gluten-Free Berry Cobbler (Veg...
minimalistbaker.com
Your folders
 290 views
Vegan Berry Chocolate Tart - Gluten...
crumbsandcaramel.com
5.0
(11)
10 minutes
Your folders
 168 views
Berry Banana Baked Oatmeal {vegan, ...
powerhungry.com
5.0
(1)
30 minutes
Your folders
 341 views
Vegan Berry Swirl Cheesecake (glute...
veggiekinsblog.com
3 hours
Your folders
 238 views
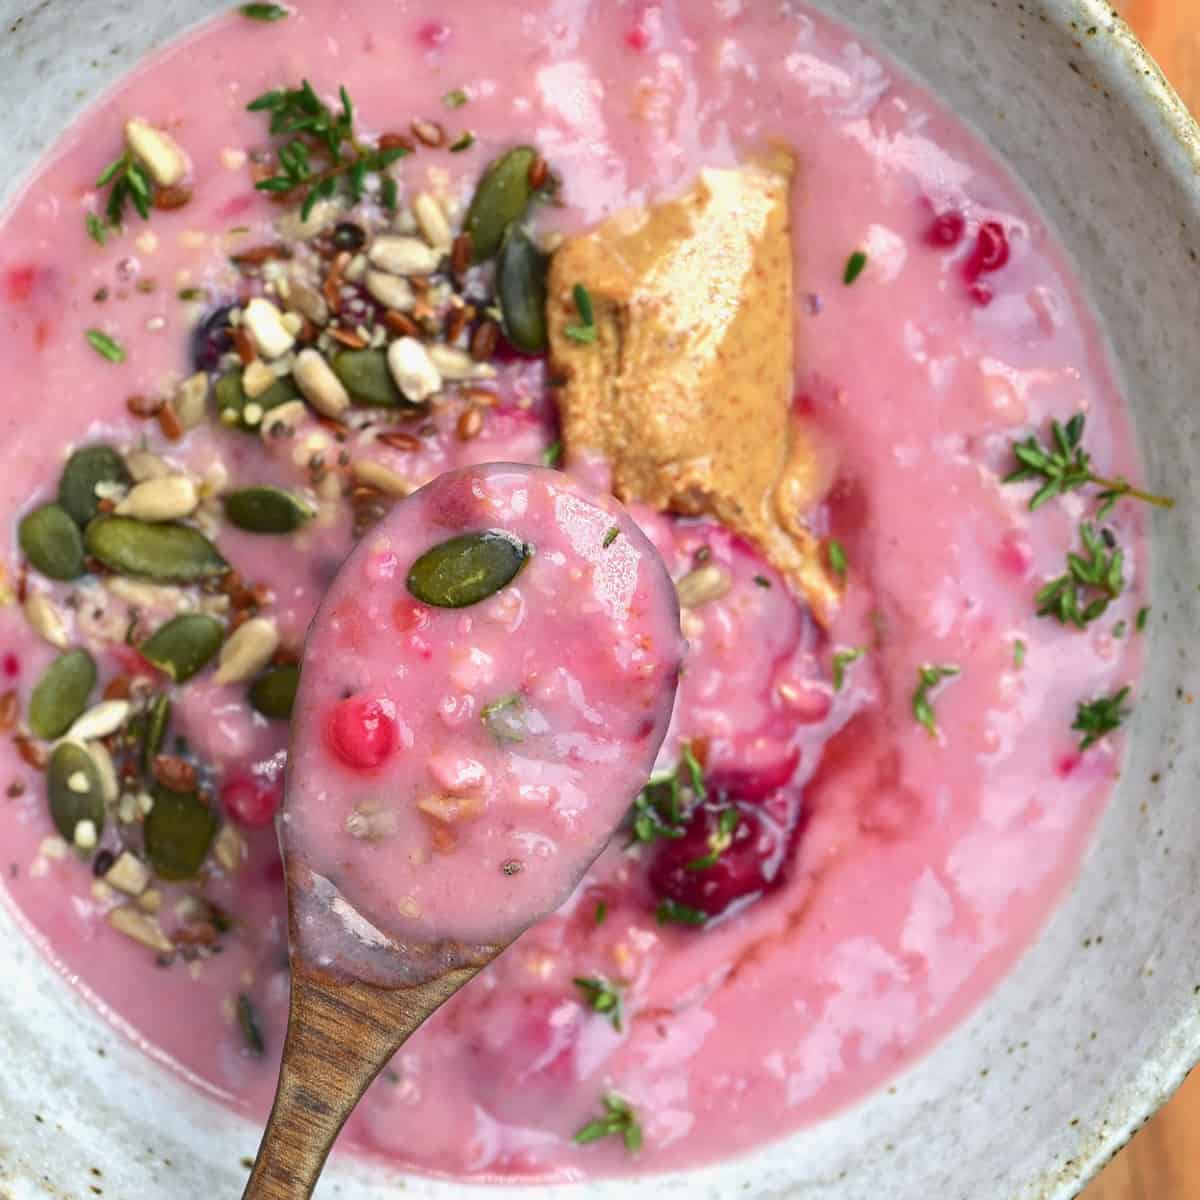
Berry Oatmeal Bowl (Vegan, Gluten-F...
alphafoodie.com
5.0
(11)
5 minutes
Your folders
 95 views
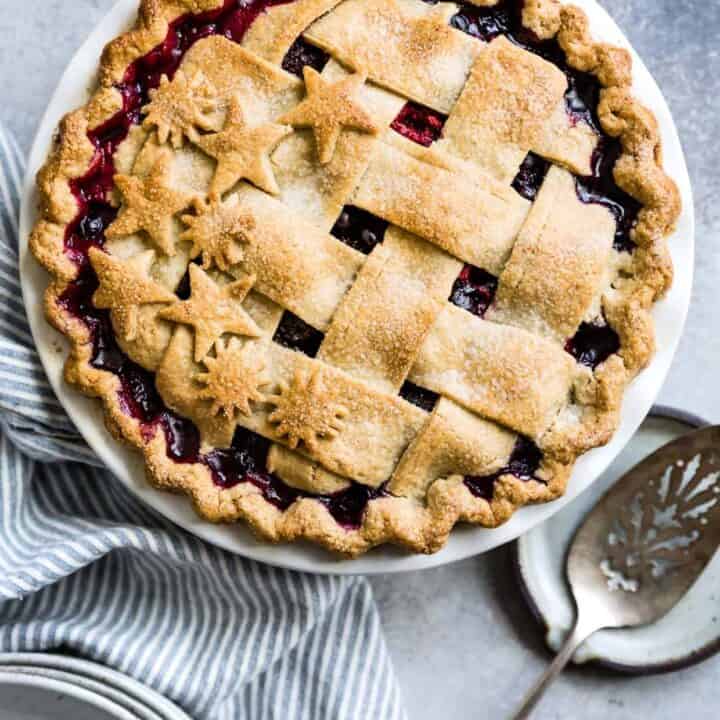
Triple Berry Pie with Gluten-Free C...
snixykitchen.com
4.9
(17)
Your folders
 167 views
Gluten-Free Almond Berry Coffee C...
bettycrocker.com
5.0
Your folders
 157 views
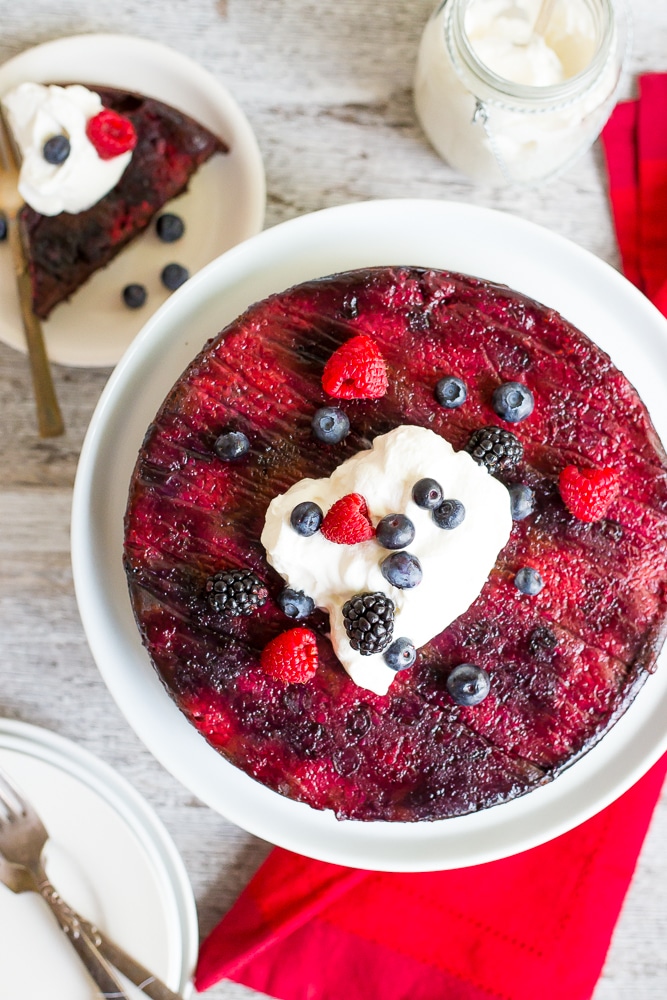
Mixed Berry Upside Down Chocolate C...
shelikesfood.com
5.0
(1)
55 minutes
Your folders
 74 views
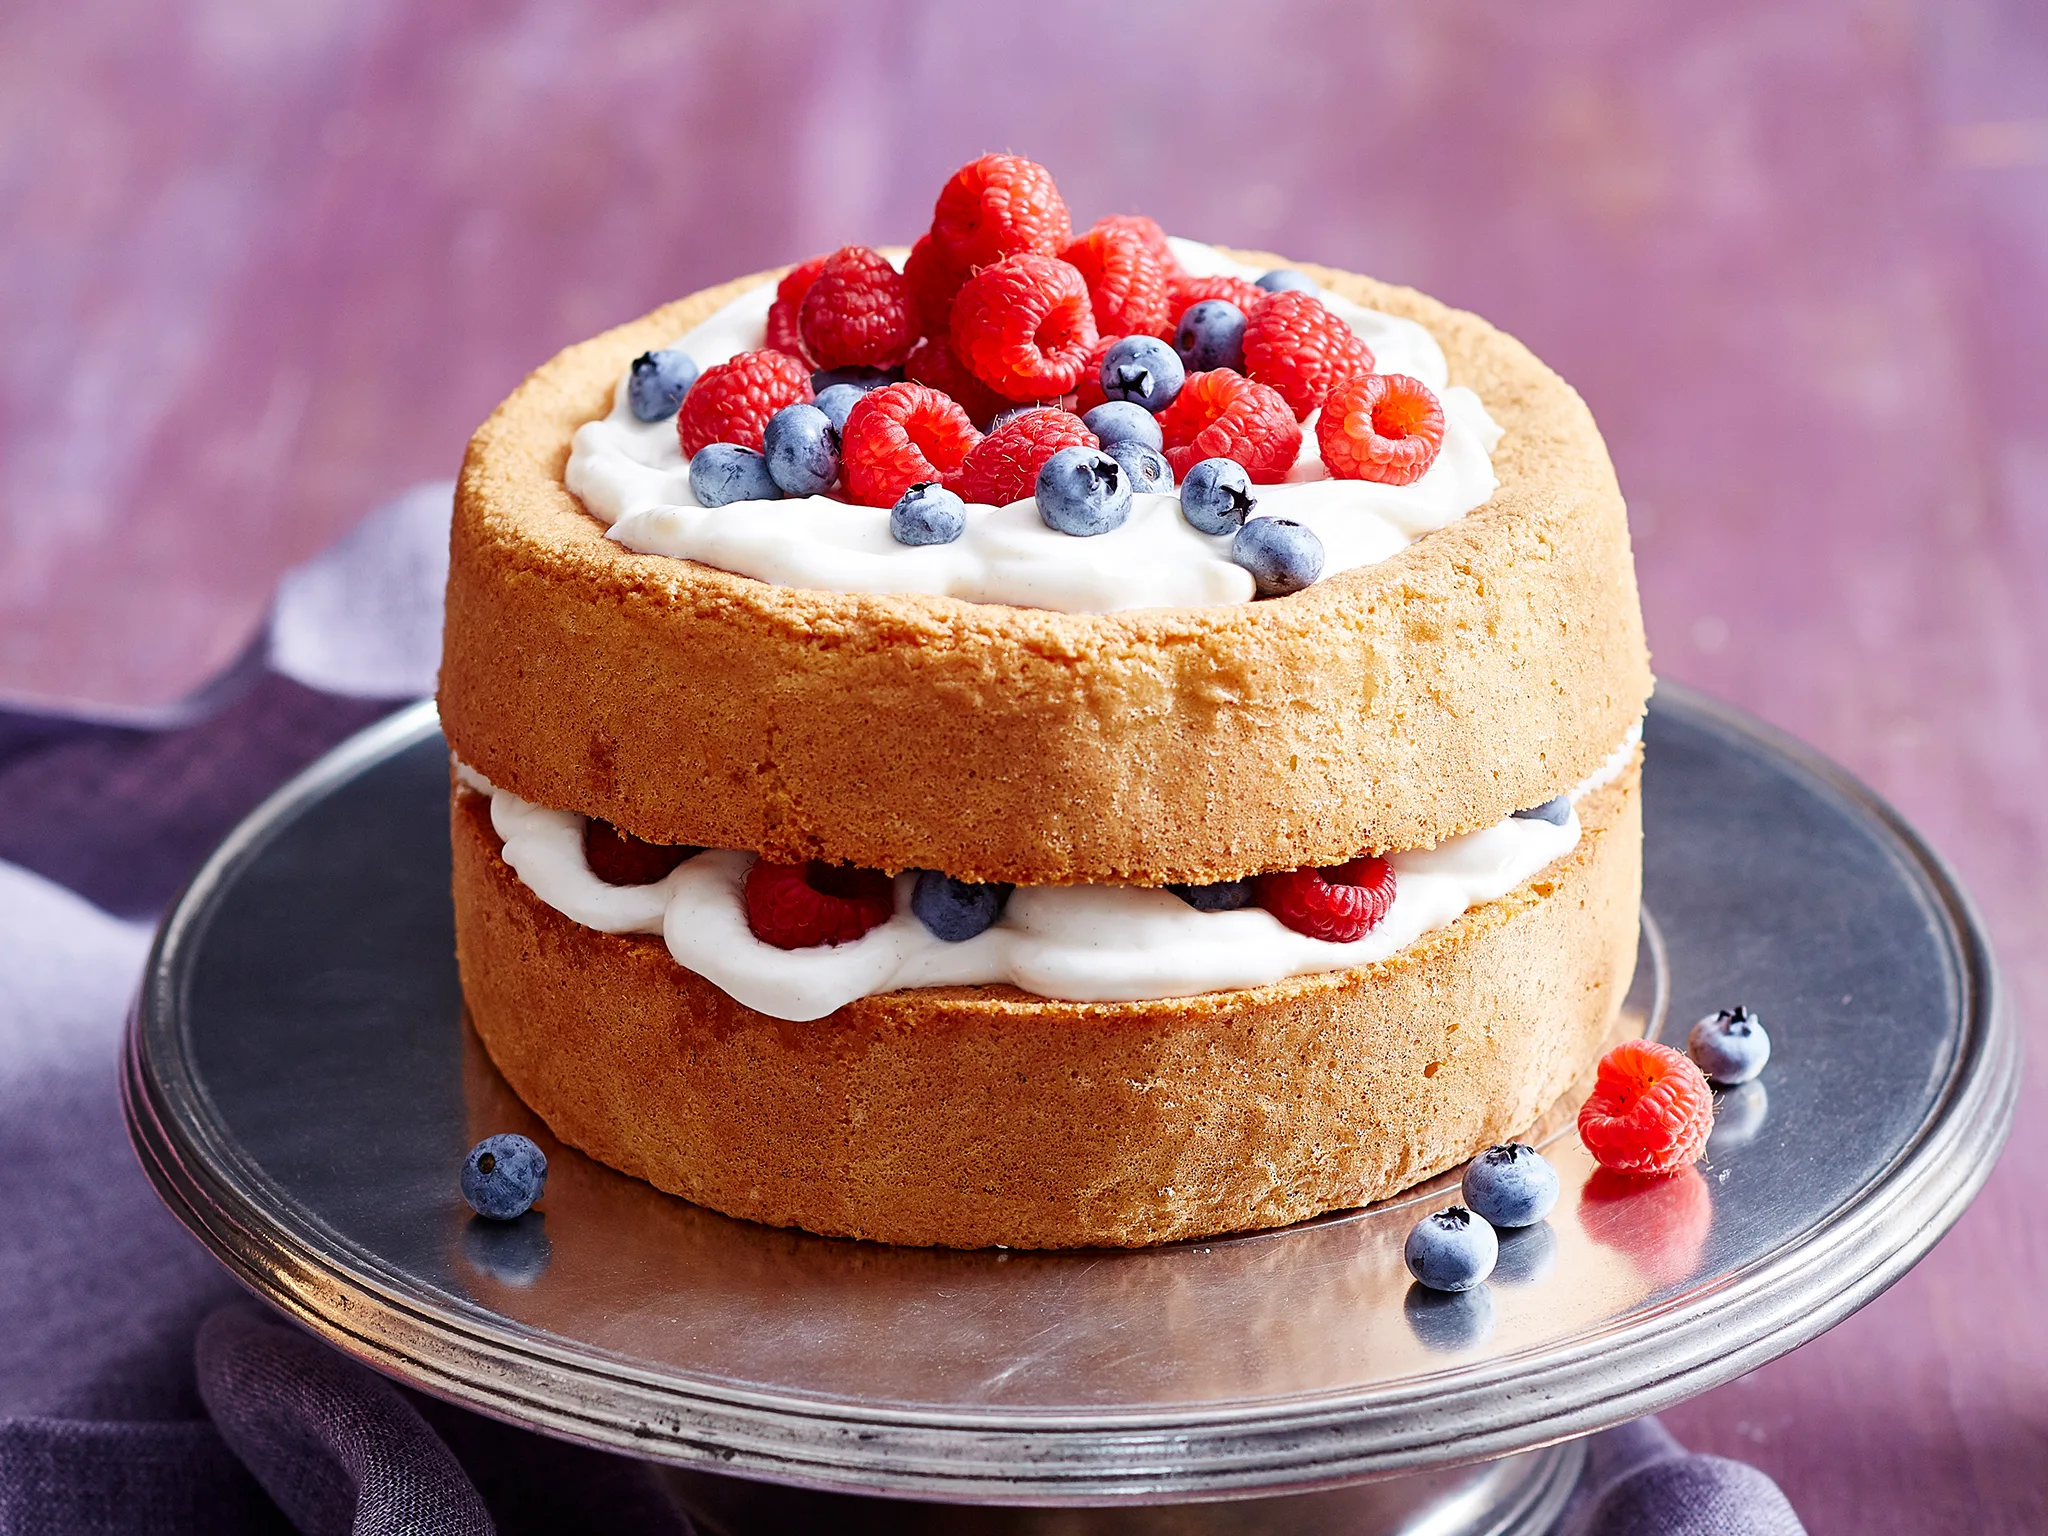
Gluten-free mixed berry and vanilla...
womensweeklyfood.com.au
30 minutes
Your folders
 203 views
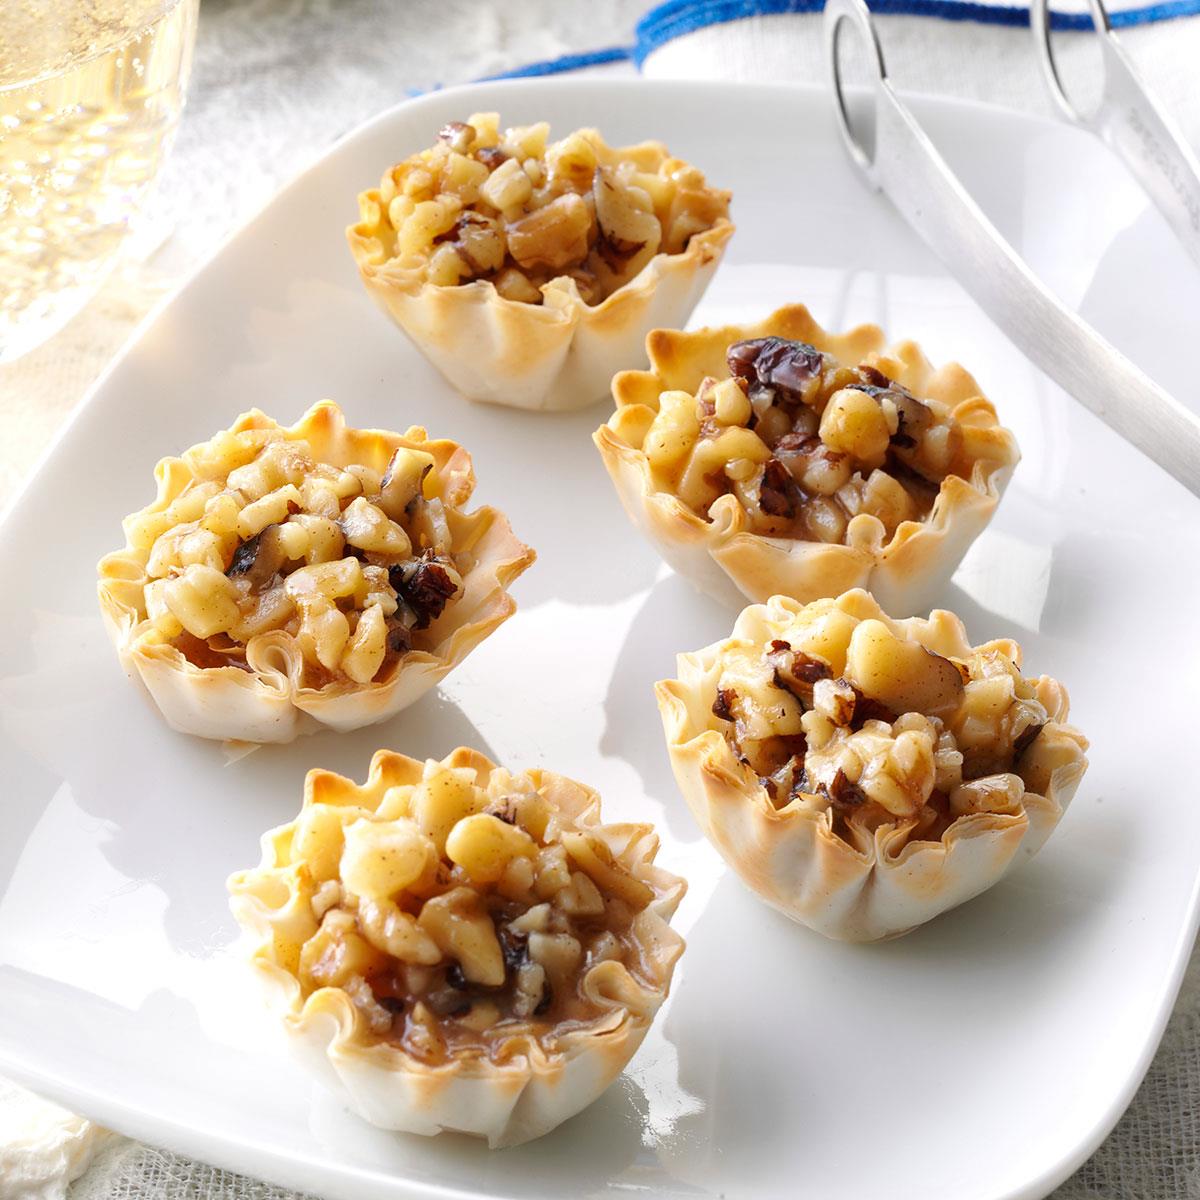
Baklava Tartlets
tasteofhome.com
4.2
(26)