Gluten Free Pie Crust Recipe and Tips
4.6
(31)
Your folders
Your folders
Prep Time: 15 minutes
Total: 35 minutes
Servings: 1
Author : Jules Shepard
Ingredients
Export 3 ingredients for grocery delivery
Instructions
Step 1
To Make the Dough:
Step 3
In a large bowl, whisk together the dry ingredients.
Step 5
Cut in the shortening and cold (not frozen, but very cold) butter using a pastry cutter (or the flat paddle attachment on a stand mixer or a food processor). Add the vodka/water gradually to make the consistency you need to form a ball – err on the side of it being wetter rather than crumbly. Don’t over-work the dough, or it may become tough when baked. Form a disc with the dough, wrap in plastic and set aside on the counter for 30 minutes while you make your filling.
Step 7
Rolling the Dough:
Step 9
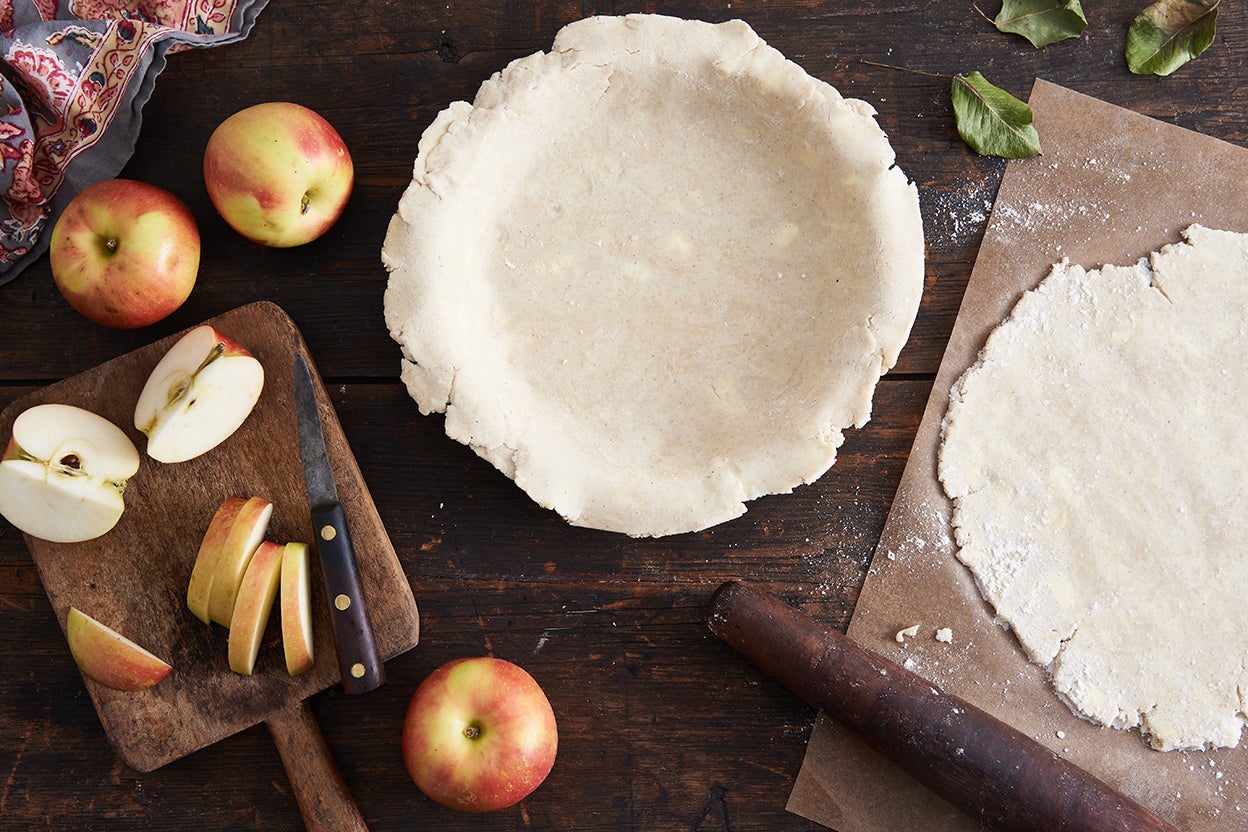
After allowing the dough to rest, roll the pastry out onto a surface dusted well with gfJules™ All Purpose Gluten Free Flour.
Step 11
Use a flexible pastry mat (e.g. Silpat) and rolling pin covers or a pie crust bag for rolling and transferring your gluten free crust easily.
Step 13
Gently roll in each direction — do not press down on the pin while rolling — to a circle with a diameter at least 1 inch larger than that of your pie pan.
Step 15
Click on the picture for this quick video on how to easily transfer a gluten free pie crust into the pan.
Step 17
To Transfer the Crust:
Step 19
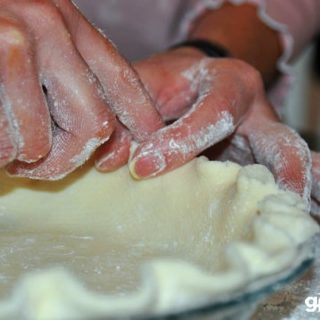
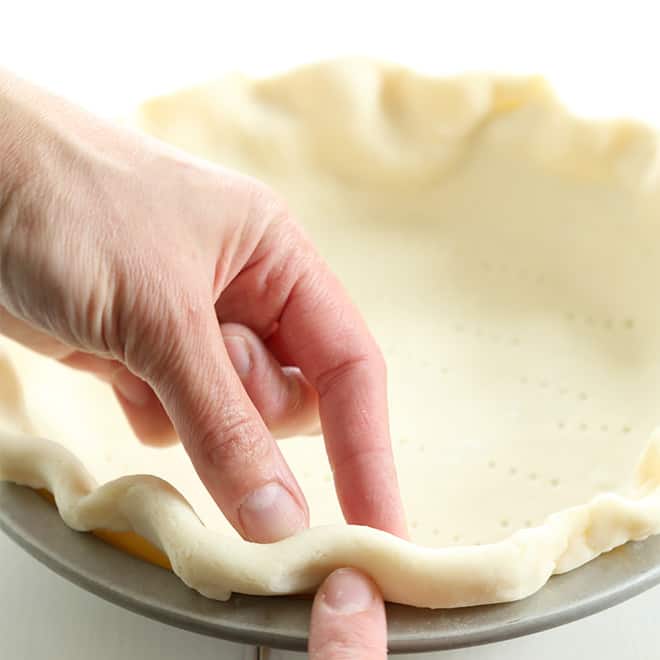
1- Gently lift an edge of the rolled out crust over your rolling pin. 2 -With one hand under the baking mat, use the pin in the other hand to lift the crust so that it is supported by the rolling pin as you pull the crust gently off of the baking mat. 3- Transfer gently over the pie plate to center. 4- Drop gently into the plate and press in with floured fingers. 5- Pat into your pan.
Step 21
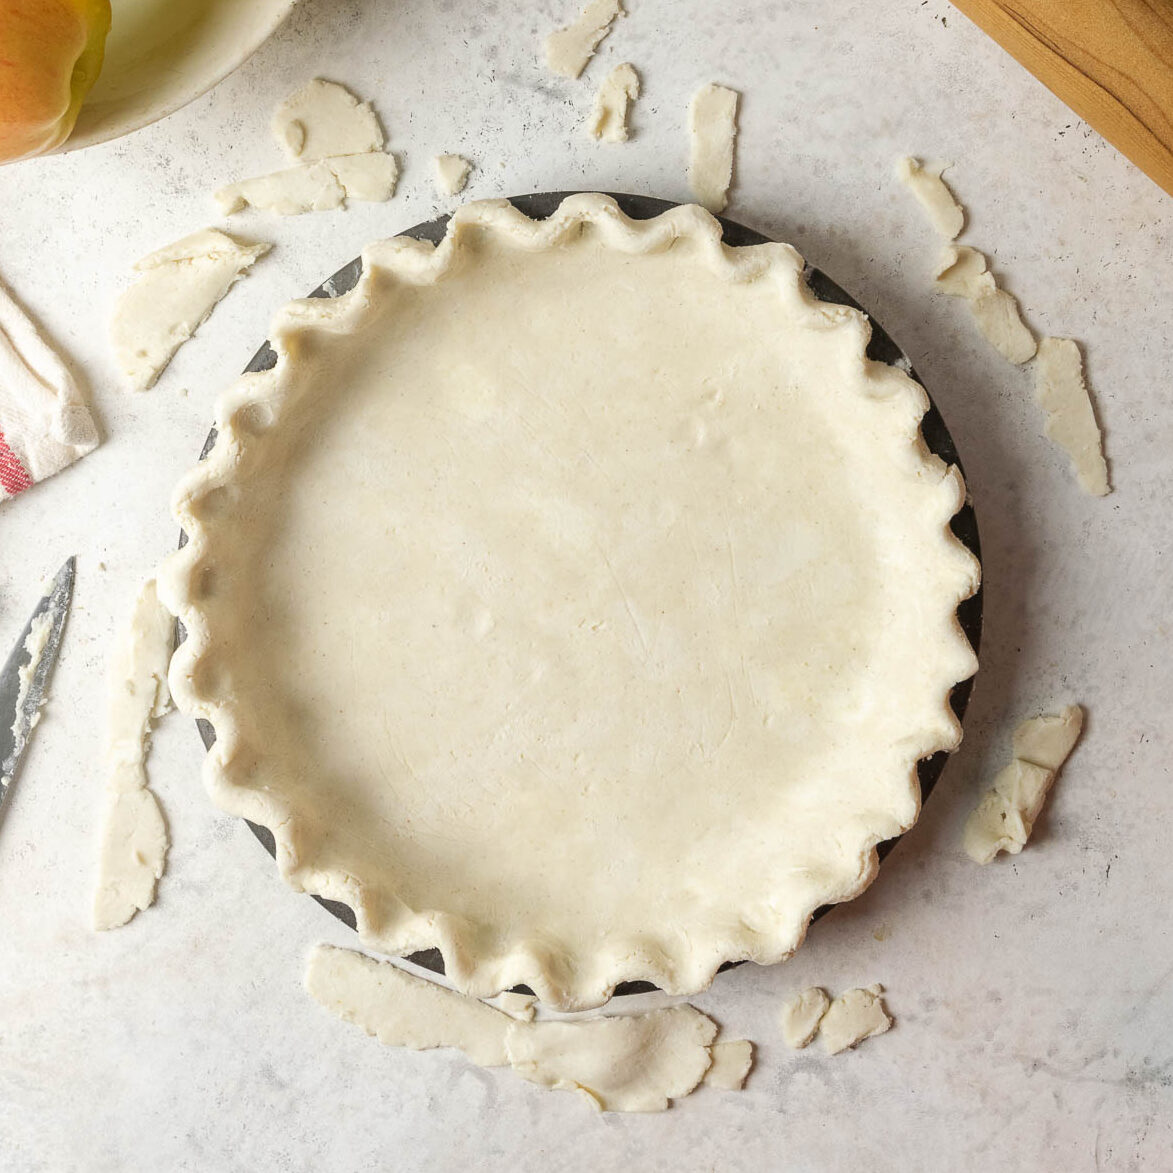
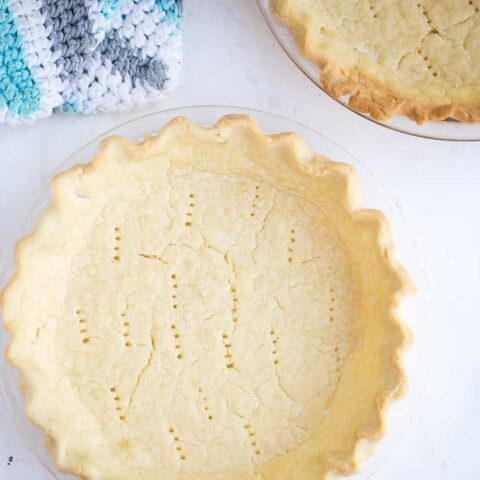
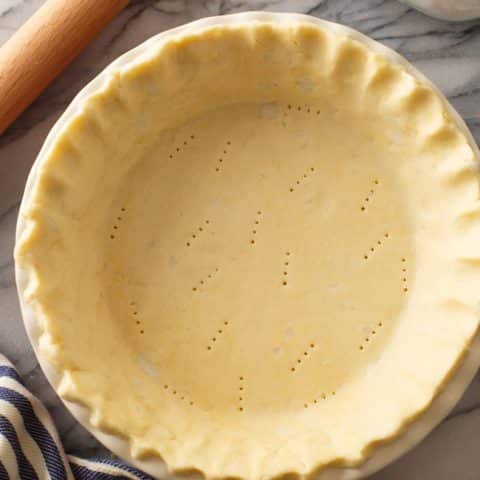
For a One Crust Pie, cut the edges of the crust to an even length of approximately 1-inch larger than the diameter of your pie plate.
Step 23
Gently fold the edges under, then press with a fork or pinch into a fluted design between your fingers. Cover with plastic wrap and freeze while you make your fillings.
Step 25
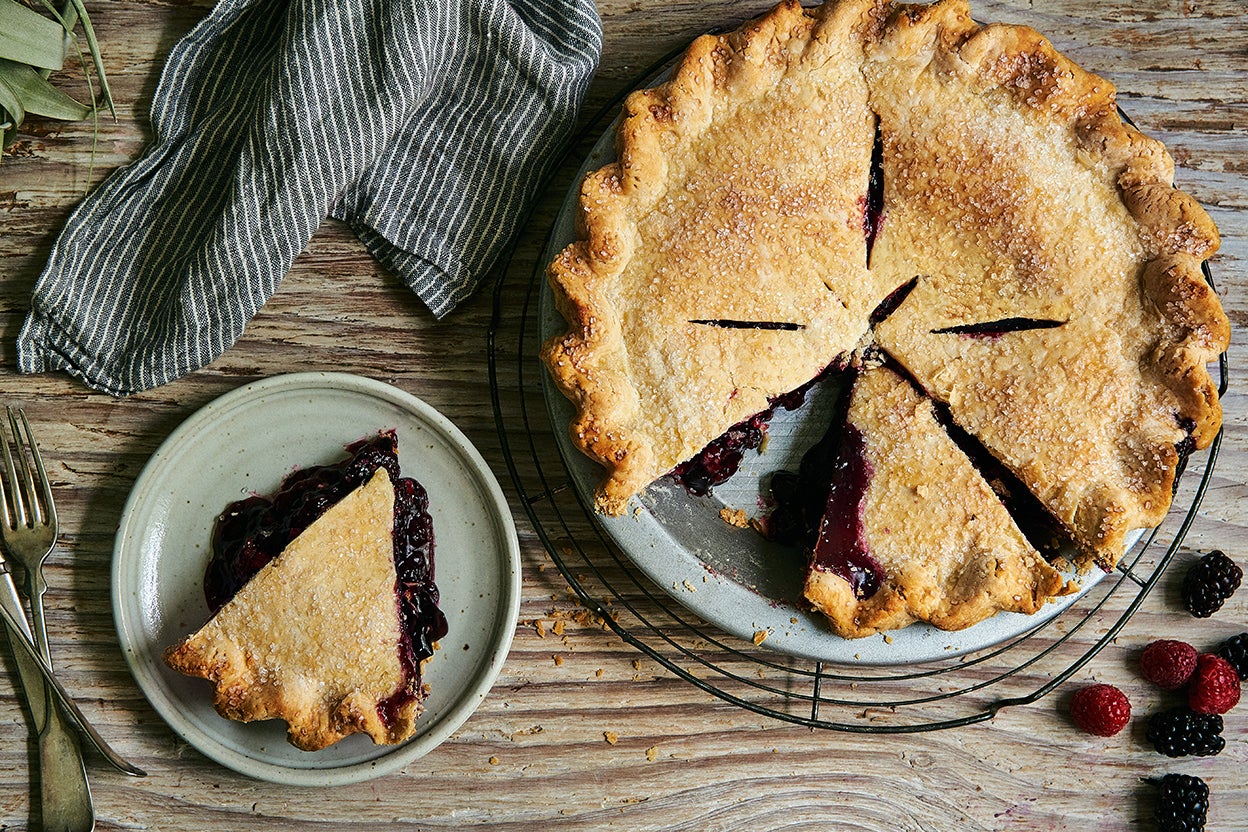
Fill with your desired filling.
Step 27
For a Two-Crust Pie, double the ingredients and divide the doubled pie crust dough before setting aside. Shape each half into a disc and wrap each in plastic wrap. Repeat the rolling out steps for the first crust and cover with plastic wrap, then freeze for 30 minutes or while you prepare the fillings. Fill the pie and lay the second crust gently onto the top of the filled pie pan.
Step 29
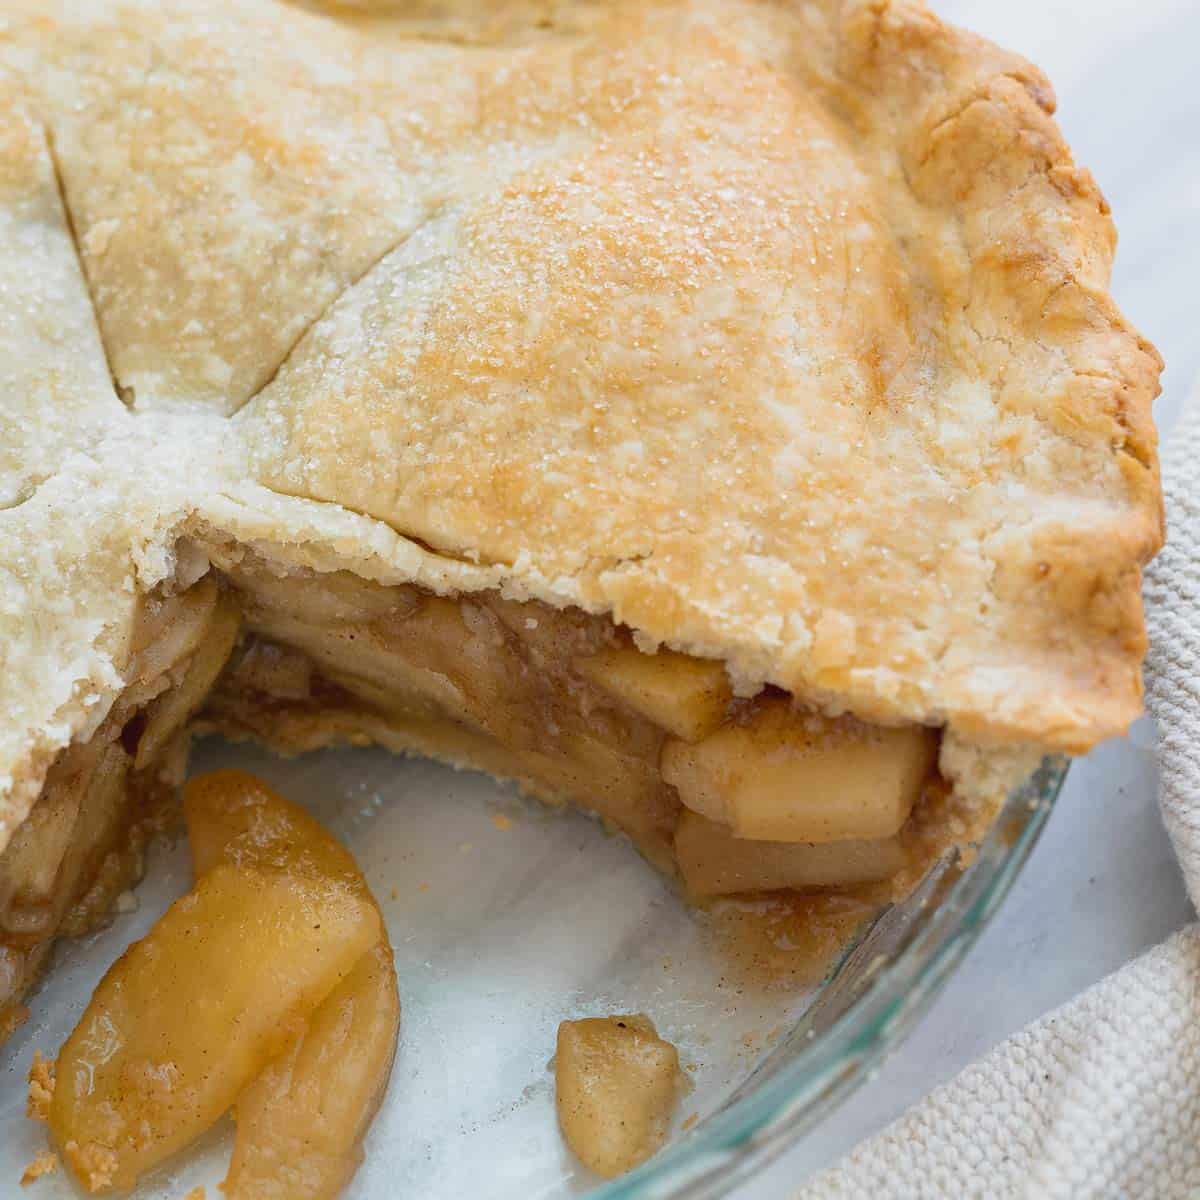
Cut off all but 1/2 – 1 inch of excess pie crust from around the edge of the pan. For fruit pies, cut small slits in the center of the top crust to allow the hot steam to escape. Brush the crust with egg wash or your milk of choice – this step helps it to brown nicely.
Step 31
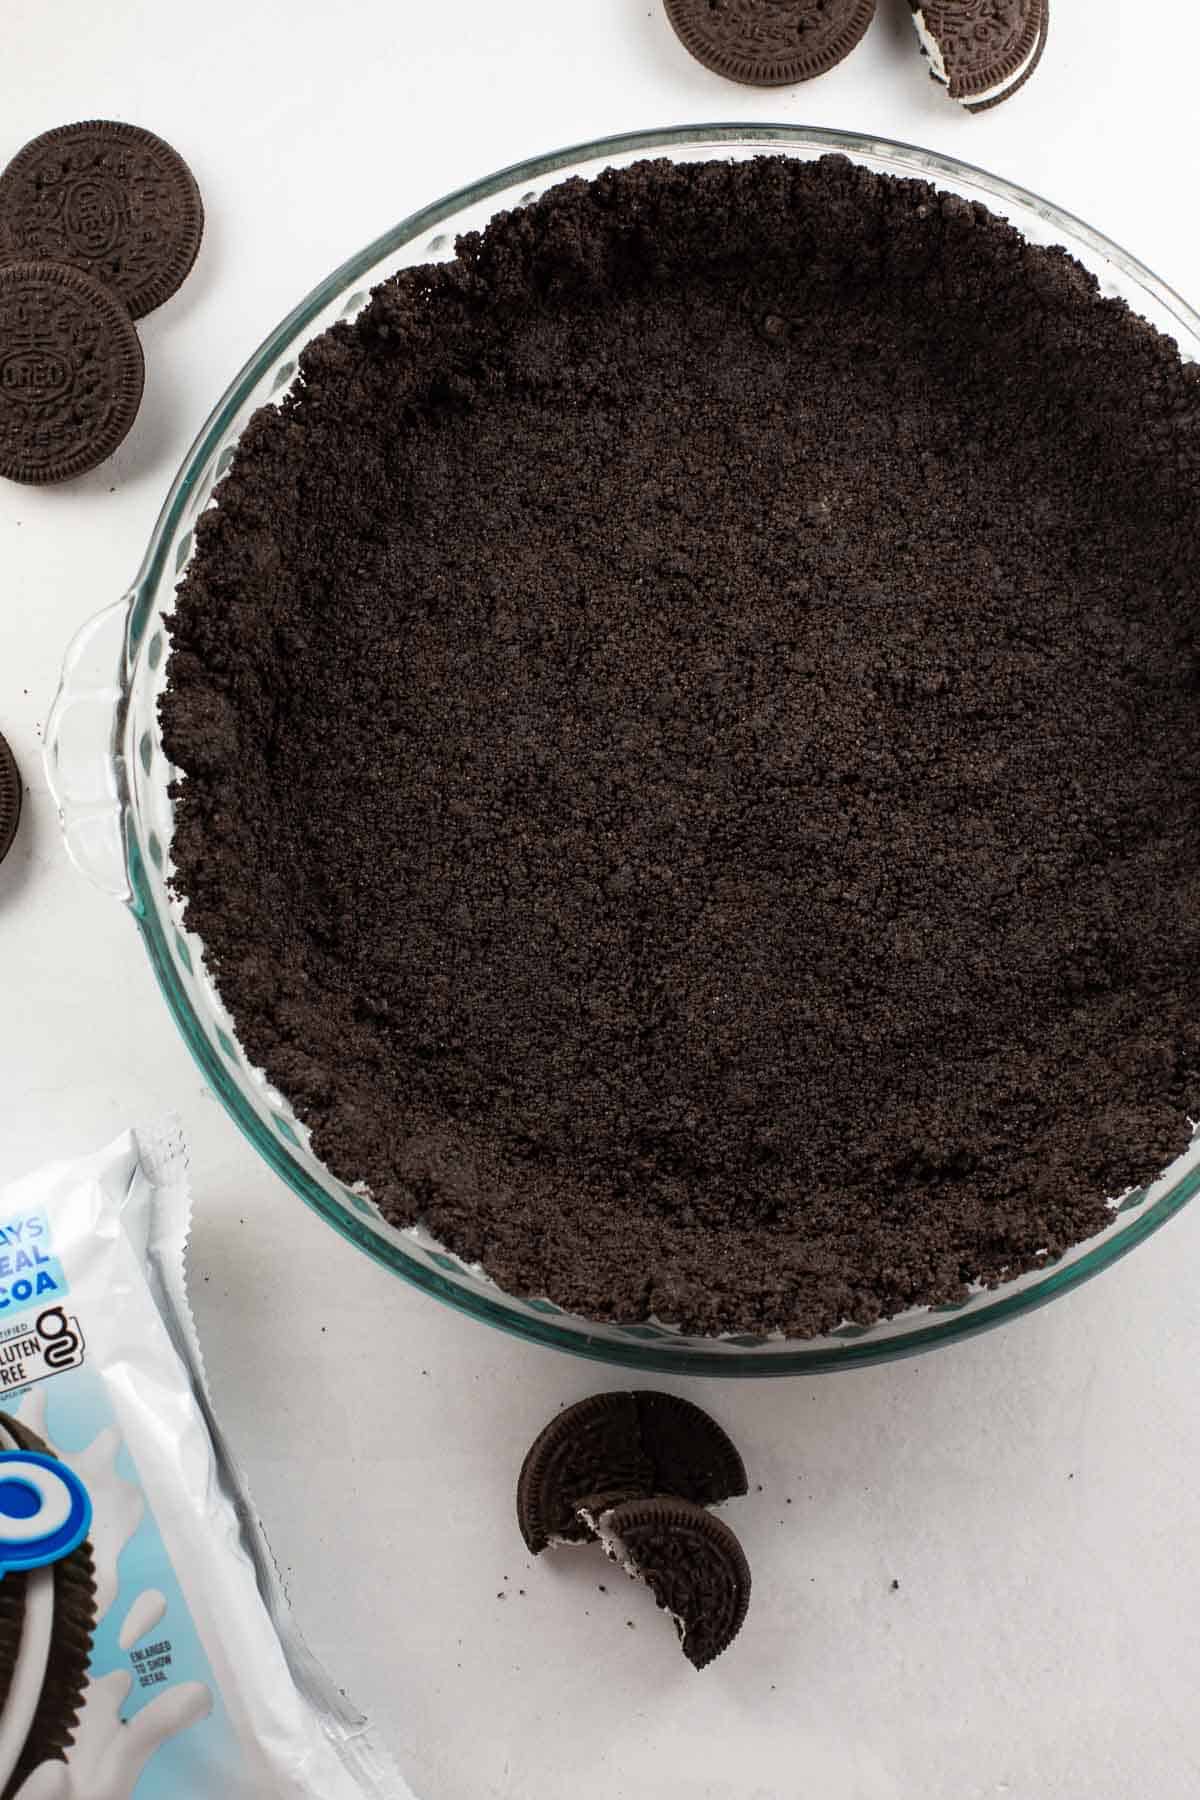
If there are any tears in your top crust, never fear! Simply take leftover crust and use decorative cookie cutters to cut out leaves, pumpkins, etc. Wet the backside of each cut-out with a dab of milk, then lay on top of any tears to cover the flaw.
Step 33
Use pie crust shields to prevent crust edges from over-cooking. Available in the gfJules.com store.
Step 35
Fold approximately 1/2 inch of excess pie crust over all around the edge to form the crust, then using your fingers, press a fluted design or use a fork to go around the crust to finish.
Step 37
Your pie is now ready to bake or to freeze for later baking. For directions on how to freeze the pie dough and bake later, hop to my post on that method. To bake now, follow the instructions below.
Step 39
Single-Crust: Preheat oven to 400º F (static). Brush the crust with egg wash or milk, then cover edges with foil or pie crust shields to minimize burning. Bake for 15 minutes. Reduce heat to 375º F (static) and bake an additional 20 minutes, remove the pie crust shields, and bake an additional 10 minutes, or follow directions for your specific pie recipe.
Step 41
Double-Crust Pie: Preheat oven to 400º F (static). Brush the crust with egg wash or milk, then cover edges with foil or pie crust shields and bake for 15 minutes.
Step 43
Reduce heat to 375º F (static), remove foil and brush again with egg wash or milk. Bake an additional 35-45 minutes, or until the juices are bubbling, or follow directions for your specific pie recipe. (Cover again with foil if the crust is browning too much during the bake).
Step 45
Unfilled Pie Crust (Blind Bake): Cover crust in pie plate loosely with plastic wrap and refrigerate for 30 minutes. Preheat oven to 375º F (static).
Step 47
Prick the bottom of pastry all over with tines of a fork. Cover the pastry with parchment paper and pour pie weights, dry rice or dried beans on top to cover 1 inch. Brush the crust edges with egg wash or milk, then cover crust edges with foil or pie crust shields. Bake for 15 minutes or until the bottom of the crust no longer looks raw.
Step 49
Remove the parchment paper and weights. Return to bake for 6-8 minutes if filling with quiche, pumpkin or key lime type filling which will be baked further; for cream pies and refrigerated fillings, bake 10-15 minutes more. Don’t wait for the crust to turn brown before removing or it will have over-cooked. Cool completely on a wire rack before filling for refrigerated pies.
Step 51
See full instructions at my post on baking a frozen pie crust.
Top similar recipes
Curated for youYour folders
 225 views
Gluten-Free Pie Crust Recipe
draxe.com
15 minutes
Your folders
 333 views
Gluten-Free Pie Crust Recipe
goglutenfreely.com
5.0
(9)
Your folders
 71 views
Gluten-Free Pie Crust Recipe
goglutenfreely.com
Your folders
 624 views
Gluten-Free Pie Crust
kingarthurbaking.com
4.6
(130)
40 minutes
Your folders
 458 views
Gluten Free Pie Crust
thereislifeafterwheat.com
4.4
(70)
20 minutes
Your folders
 102 views
Gluten Free Pie Crust
wellfedbaker.com
5.0
(5)
Your folders
 202 views
Best Gluten-Free Pie Crust Recipe
perrysplate.com
4.6
(7)
Your folders
 251 views
Gluten Free Dairy Free Pie Crust
immigrantstable.com
5.0
(56)
Your folders
 248 views
Flaky Gluten Free Pie Crust
asaucykitchen.com
4.8
(48)
Your folders
 448 views
Gluten Free Vegan Pie Crust
healthiersteps.com
5.0
(2)
15 minutes
Your folders
 266 views
Gluten-Free Oreo Pie Crust
meaningfuleats.com
5.0
(6)
10 minutes
Your folders
 100 views
Easy Gluten-Free Pie Crust Recipe (...
dishbydish.net
5.0
(9)
15 minutes
Your folders
 313 views
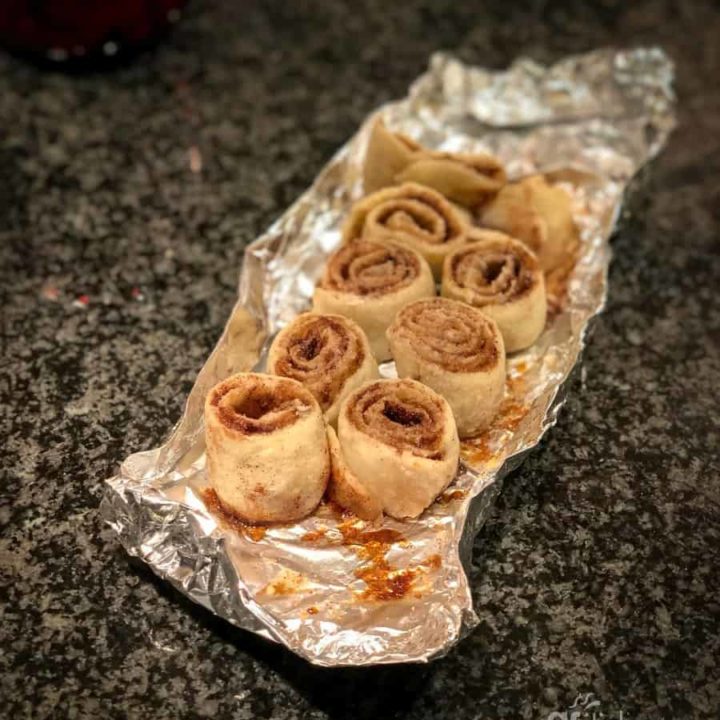
Gluten Free Pie Crust Cinnamon Roll...
gfjules.com
4.0
(1)
8 minutes
Your folders
 362 views
Extra Flaky Gluten Free Pie Crust
glutenfreeonashoestring.com
5.0
(1.0k)
10 minutes
Your folders
 209 views
Gluten-Free Classic Double Pie Crus...
kingarthurbaking.com
4.5
(8)
Your folders
400 viewsExtra Flaky Gluten Free Pie Crust
glutenfreeonashoestring.com
Your folders
 260 views
Gluten-Free Apple Pie (Homemade Cru...
meaningfuleats.com
5.0
(19)
60 minutes
Your folders
 199 views
Flaky Gluten-Free Pie Crust (Vegan)
minimalistbaker.com
20 minutes
Your folders
127 viewsExtra Flaky Gluten Free Pie Crust
glutenfreeonashoestring.com
5.0
(1.3k)
10 minutes