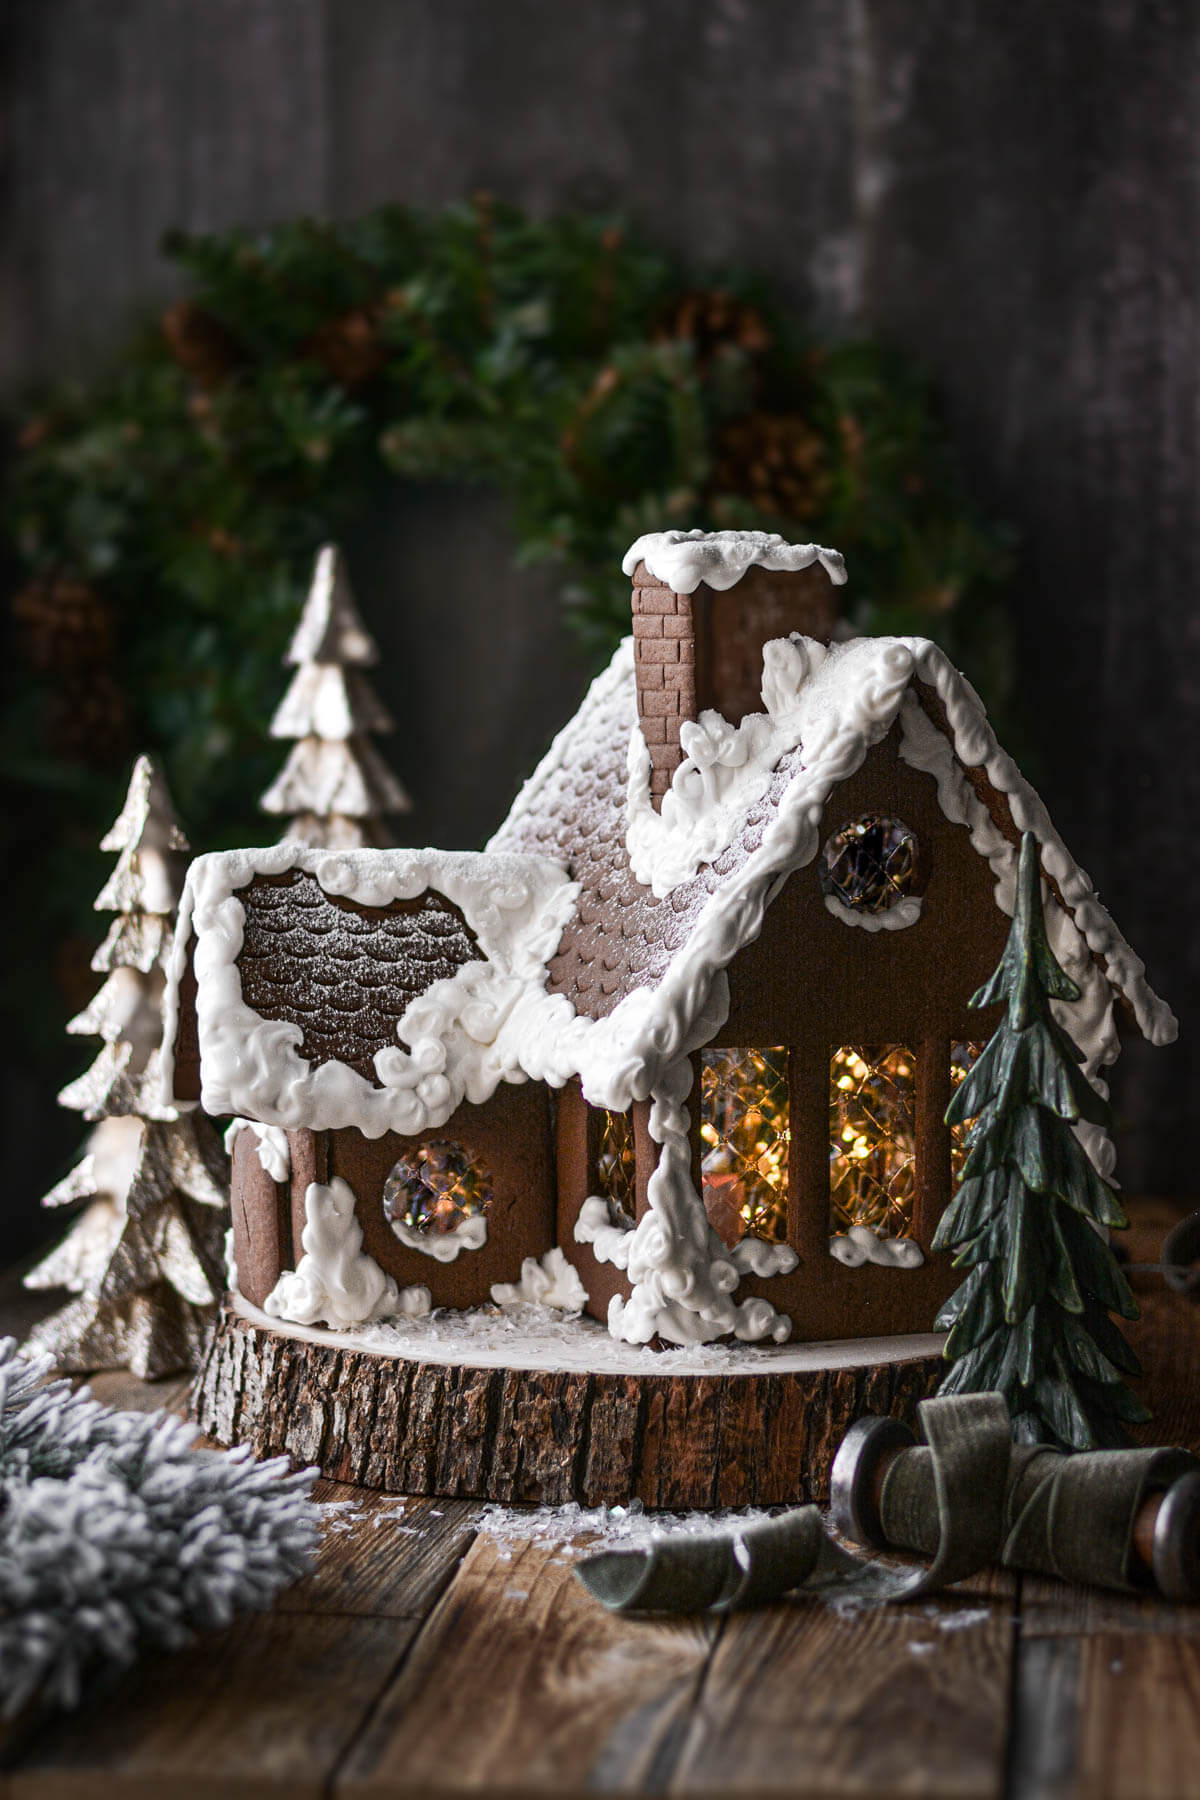
High Altitude Gingerbread House Recipe
5.0
(6)
Your folders
Your folders
Prep Time: 120 minutes
Cook Time: 25 minutes
Total: 145 minutes
Servings: 1

Ingredients
Export 11 ingredients for grocery delivery
Instructions
Step 1
Preheat the oven to 325 F, and position a rack in the center of the oven. Line several baking sheets with parchment paper.
Step 2
In a saucepan, combine the sugar, molasses, ginger, allspice, cinnamon and cloves. Over medium heat while stirring frequently with a silicone spatula, bring the mixture to a boil. Remove from the heat.
Step 3
Stir in the baking soda; the mixture will foam up and become paler and fluffier. Then stir in the butter until completely melted.
Step 4
Stir in the beaten eggs, then the flour and cocoa powder, until the dough starts to come together.
Step 5
Dump the dough out onto a clean work surface, and knead for several minutes until it smooths out. If it seems too damp or sticky, add a bit more flour. If it seems too dry or crumbly, add a little warm water.
Step 6
Cut the dough into 4ths, and wrap each portion in plastic wrap, working with just one portion at a time. This recipe makes enough dough for a fairly large house (like the one pictured), or 3-4 mini gingerbread houses.
Step 7
Lightly flour the counter, and roll out the dough to just under 1/4 inch thick. You shouldn't need to use too much extra flour, but if it sticks to the rolling pin, dust the dough lightly with flour.
Step 8
Cut your dough, using any type of template or cutter, then place the cut pieces on the parchment lined baking sheets. For larger pieces, you'll need to use a very large spatula or cake lifter to transfer the dough to the baking sheet, so that you don't tear or stretch the dough out of shape while transferring it.
Step 9
If cutting out windows or doors, be sure to do that before baking the dough. You can also emboss the dough with various impressions. I used a spoon to emboss the roof pieces with a scalloped pattern, and the blunt side of a butter knife to emboss the chimney pieces with a brick pattern.
Step 10
Bake the gingerbread pieces for about 15 minutes, or up to 20 minutes for very large pieces, until completely baked and hard.
Step 11
Let cool on the baking sheet completely.
Step 12
For the royal icing, combine the powdered sugar and meringue powder. Using a whisk, stir in the vanilla and water, starting with just 5 1/2 tbsp water, then adding more as needed.
Step 13
For a stiff consistency to glue the house together, you should only add around 5 1/2 - 6 tbsp water. For a medium/stiff consistency for the icing "snow" to decorate the house, add around 6 1/2 - 7 tbsp water.
Step 14
You can start with a stiff consistency for construction, then add a small amount of water to slowly thin it out for decorating the assembled gingerbread house.
Step 15
Fit a piping bag with a coupler and a small round tip, and fill half full of icing. Secure the top of the bag with a rubber band or clip, since royal icing has a tendency to creep up and out the top of unsecured piping bags.
Step 16
Note: Another edible alternative to royal icing is to use liquid caramelized sugar to glue the house together. A non-edible option is to use hot glue - this is perhaps the easiest option, since the hot glue dries and sets very quickly, and makes a strong seal to hold the house together. If you don't intend your gingerbread house to be eaten and it's purely for decoration, there's no shame in using hot glue.
Step 17
I used clear gelatin sheets for the windows on my house, simply cutting them to fit and then gluing them onto the back of the pieces before assembling the house.
Step 18
Another popular option for gingerbread house windows is to use isomalt. This is a type of sugar substitute that you can sometimes buy in craft stores.
Step 19
Check your gingerbread pieces to make sure that they all fit together, and the edges are straight. If the edges are slightly curved or bowed, they won't make good contact with the icing or glue, and your construction won't be as solid. If needed, you can use a microplane zester to gently shave any bowed or uneven edges to make them perfectly straight.
Step 20
Start by assembling the sides and ends of the house. You have to give the glue or royal icing enough time to dry and set before you move the pieces or add the roof. Most gingerbread house disasters are the result of not allowing enough time for the icing to harden.
Step 21
Once the base of the house is secure with the sides, ends, and any other parts (like the front door vestibule I added to mine), you can attach the roof, and then the chimney.
Step 22
To decorate my house, I chose not to pipe any intricate details that are typical of gingerbread houses. Instead, I simply decorated mine with lots and lots of swirly royal icing snow drifts.
Step 23
Using tip #6 on my piping bag, I piped snow drifts along the roof lines and edges, on top of the chimney, above the window sills, and around the base and corners of the house. This also helped to cover up any evidence of my having used hot glue to secure the house pieces together.
Step 24
If you're decorating your house with candy, you have to add the candy quickly before the icing hardens and sets.
Step 25
Lastly, dust with a little powdered sugar, if desired. Allow the icing to fully harden and cure for about 24 hours, before attempting to move your house.