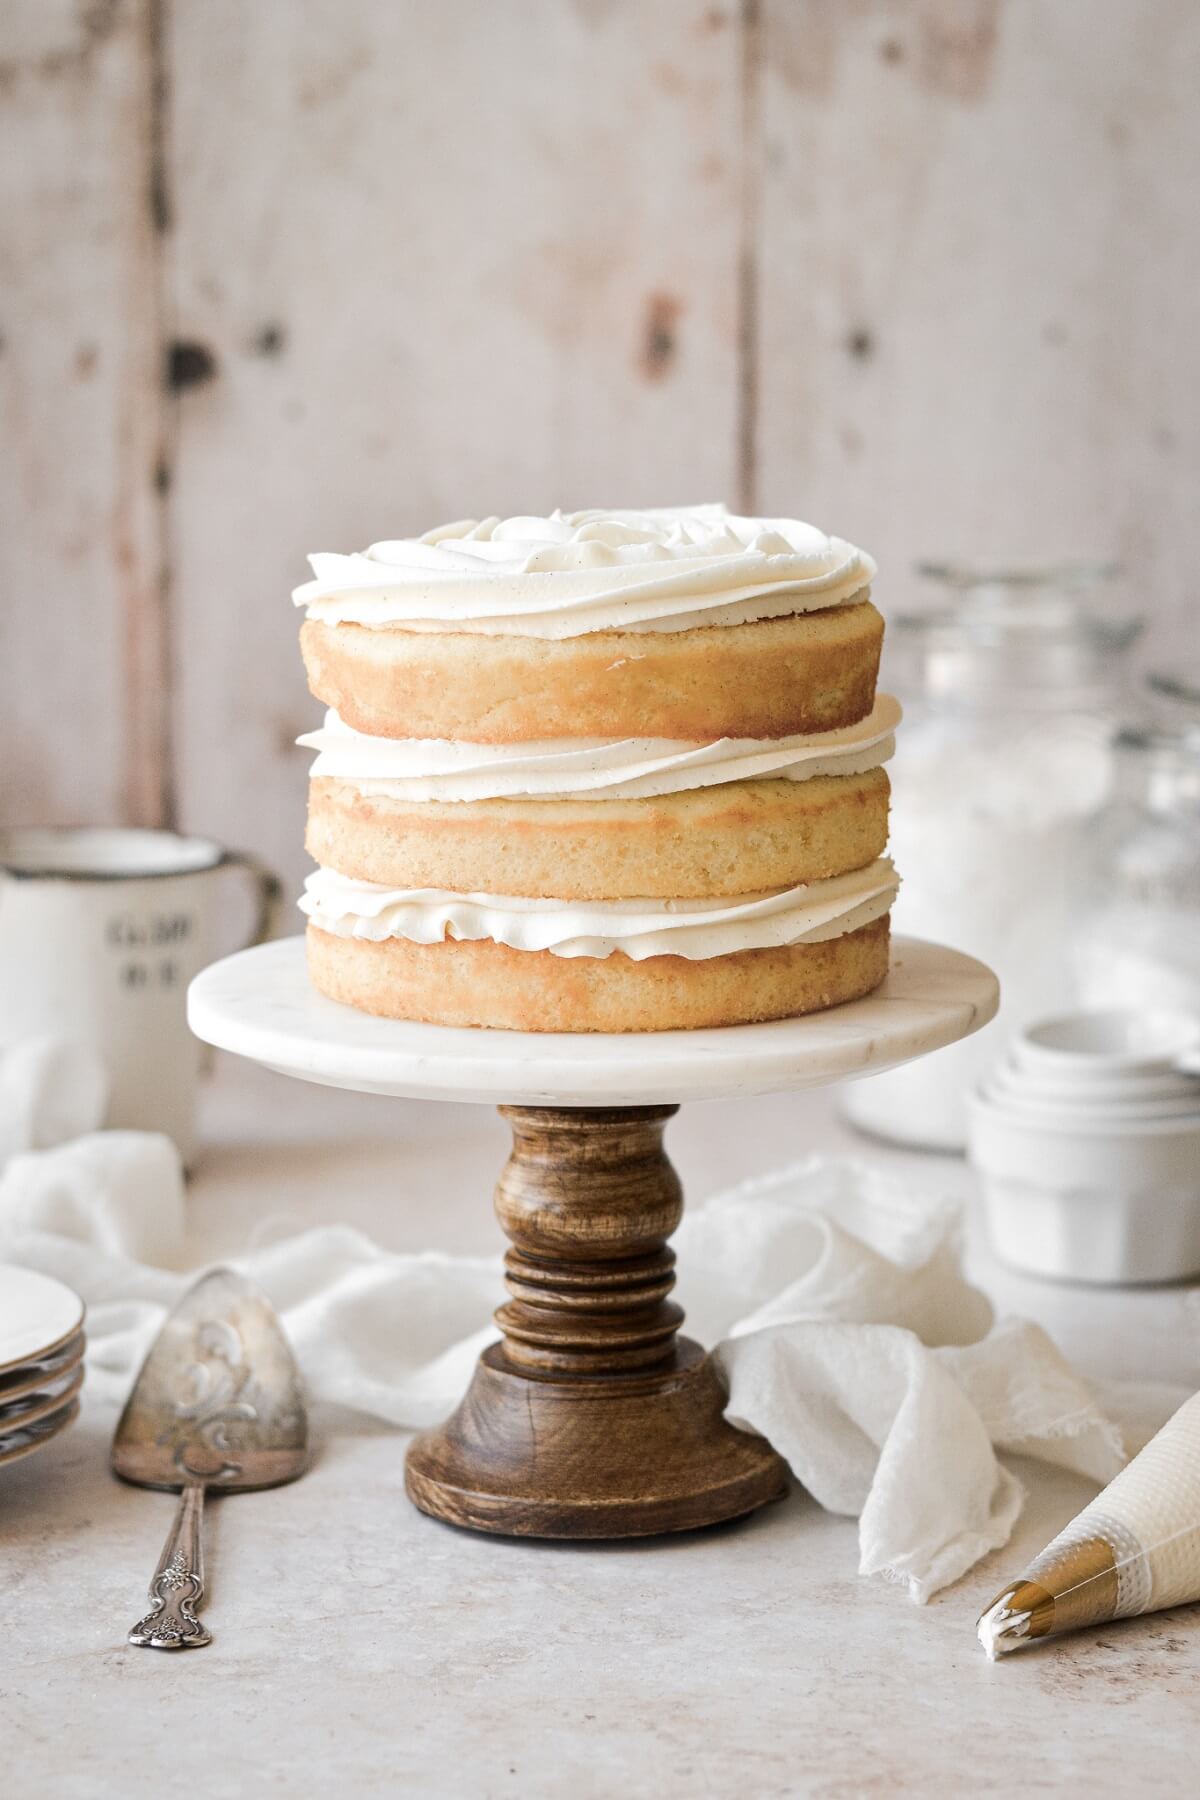
High Altitude Vanilla Cake
5.0
(72)
Your folders
Your folders
Prep Time: 20 minutes
Cook Time: 30 minutes
Total: 50 minutes
Servings: 16
Author : Heather Smoke

Ingredients
Export 10 ingredients for grocery delivery
Instructions
Step 1
Preheat the oven to 350F, position a rack in the center of the oven, and spray the bottoms of three 8-inch cake pans with non-stick spray.
Step 2
In a large bowl, measure out the sugar. Scrape the seeds from the vanilla bean pod and use your fingers to rub the seeds into the sugar until very fragrant and the seeds are evenly dispersed throughout the sugar.
Step 3
Set a fine mesh sifter over the bowl of sugar, and sift in the cake flour, baking powder and salt. Use a whisk to combine the dry ingredients well.
Step 4
In another large bowl, whisk together the eggs, egg whites, buttermilk, melted butter, oil and vanilla extract until smooth.
Step 5
Add the dry ingredients to the wet, and whisk until combined, about 10-15 seconds. A few lumps in the batter are okay; take care not to over mix. Divide the batter between the cake pans. Tap a few times against the counter to pop any large air bubbles.
Step 6
Bake the cakes for about 21-25 minutes, or until a cake tester or a toothpick comes out clean, and the tops spring back when lightly touched.
Step 7
Set the pans on a wire rack, cover them loosely with a clean kitchen towel, and cool completely before frosting. When ready to frost and assemble the cake, remove the cakes from the pans.
Step 8
In the bowl of your stand mixer fitted with the paddle attachment, beat the butter and vanilla bean seeds for 1 minute until smooth.
Step 9
With the mixer running on low, add the powdered sugar by spoonfuls, the meringue powder and the salt, mixing until thick and combined.
Step 10
Add the vanilla; increase speed to medium and whip for 4-5 minutes, scraping the bowl down several times, until light and fluffy. Add the milk only if needed for desired consistency. Note that in warmer weather, when the butter is softer, you'll rarely need to add the milk.
Step 11
Fill and frost the cooled cakes with the buttercream.
Step 12
For the naked cake pictured in today's post, fit a piping bag with tip 1M and fill with buttercream. Place one layer of cake on your cake stand or cake board. Starting at the center of the cake, pipe a swirl from the center to the outer edge, to form a large rosette. Place another cake layer on top, and repeat. You'll have leftover buttercream if you leave the sides unfrosted, which you can freeze in a freezer bag for another baking project.Note that naked cakes can dry out faster, since they aren't covered in buttercream to keep the sides moist. So be sure to keep the cake tightly covered in an airtight container until ready to serve.