Homemade Sourdough Starter
5.0
(3)
Your folders
Your folders
Prep Time: 5 minutes
Total: 5765 minutes
Servings: 2
Ingredients
Export 2 ingredients for grocery delivery
Instructions
Step 1
1/2 cup spring water (4 ounces)
Step 2
2/3 cup flour (3 ounces)
Step 3
Pinch of dry yeast (less than 1/16 of a teaspoon).
Step 4
Using a rubber spatula, scrape down the sides and place the lid on the jar.
Step 5
Store in a moderately warm place for 24 hours (74-80 F is ideal but countertop or on top of the refrigerator will also work)
Step 6
Day 2 of starterOpen your container and observe the starter. It should show some signs of growth and have a sweet yet musty smell. You are welcome to take a little taste to see if it is starting to take on a tangy taste that sourdough is known for.
Step 7
1/2 cup spring water (4 ounces)
Step 8
2/3 cup flour (3 ounces)
Step 9
Stir vigorously to incorporate fresh oxygen, the water and flour.
Step 10
Using a rubber spatula, scrape down the sides and place the lid on the jar.
Step 11
Store in a moderately warm place for 24 hours (74-80 F is ideal but countertop or on top of the refrigerator will also work)
Step 12
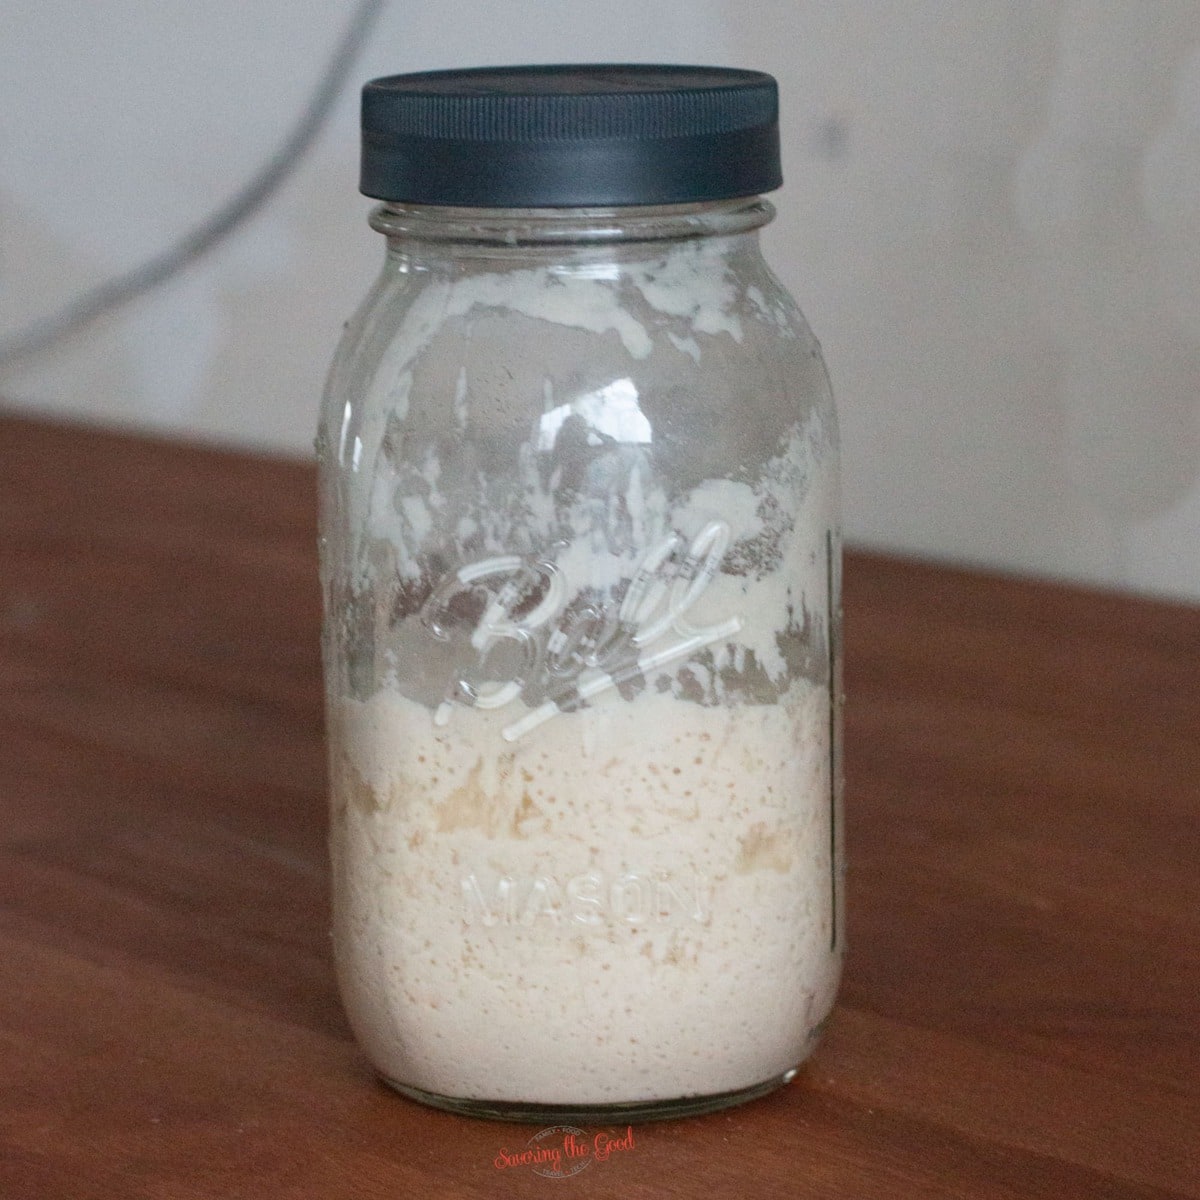
Day 3 of starterThere should be BIG changes in the jar when you look at it. You will be able to see bubbles on the surface and if you are using a clear container, you should be able to observe different sizes of bubbles in the starter. The starter is now alive and thriving. If you would like to see more, insert a spoon into the mass, pull up and you should see short glutenous strands sticking to the spoon.
Step 13
Add 1/2 cup spring water (4 ounces)
Step 14
2/3 cup flour (3 ounces)
Step 15
Stir vigorously to incorporate fresh oxygen, the water and flour.
Step 16
Using a rubber spatula, scrape down the sides and place the lid on the jar.
Step 17
Store in a moderately warm place for 24 hours (74-80 F is ideal but countertop or on top of the refrigerator will also work)
Step 18
Day 4 of starterOn day 4 of the starter fermentation, the sourdough starter is just about ready to be used to make a sourdough loaf of bread. Day 4 will also have the starter double in size from day This is why you need at least a quart-sized container. The starter will have a well-established honeycomb structure of large and small bubbles. If you taste the starter, it will have a tangy, sour flavor but it should not be bitter.
Step 19
1/2 cup spring water (4 ounces)
Step 20
2/3 cup flour (3 ounces)
Step 21
Stir vigorously to incorporate fresh oxygen, the water and flour.
Step 22
Using a rubber spatula, scrape down the sides and place the lid on the jar.
Step 23
Allow the starter to mature 8 more hours.
Step 24
If not using right away, store in the refrigerator for up to 3 days, until you are ready to make bread.