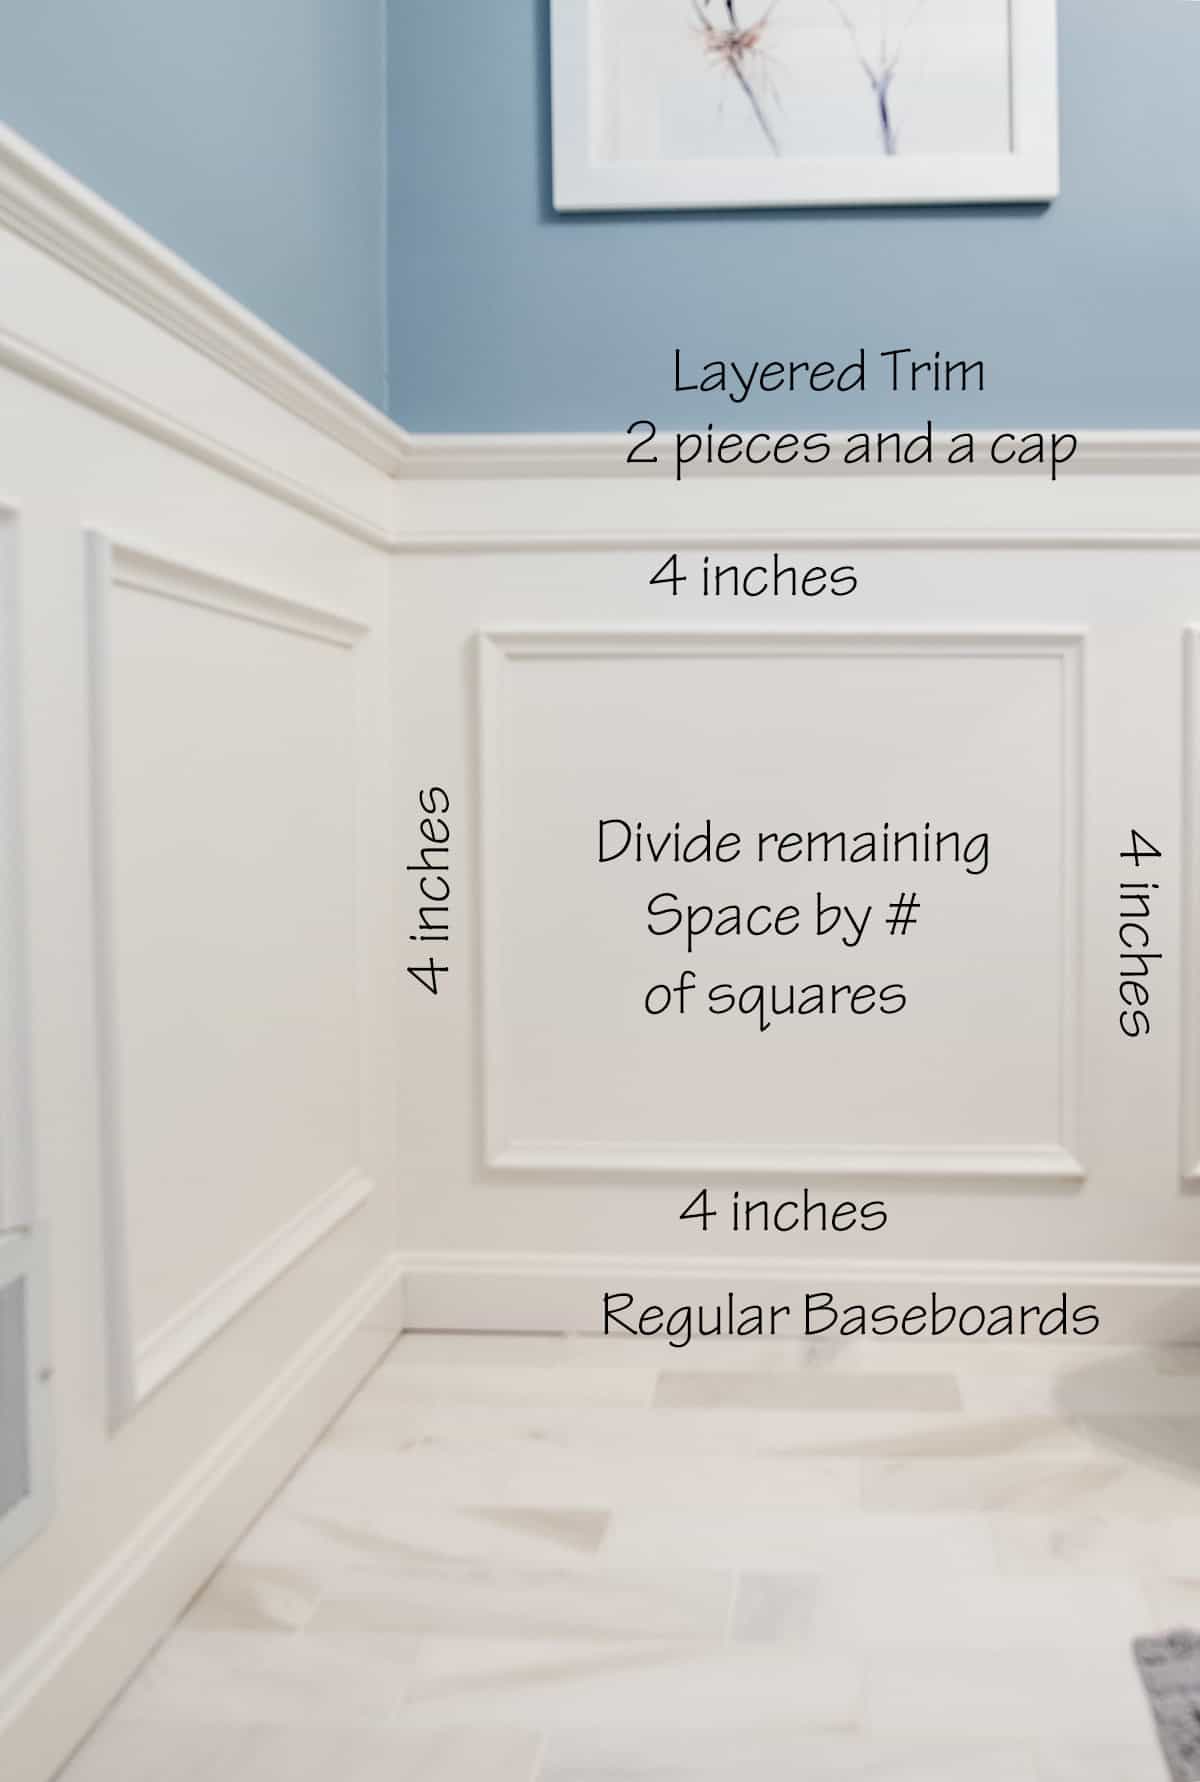
How To Install Wainscoting
Your folders
Your folders
Total: 4320
Ingredients
Export 6 ingredients for grocery delivery
Instructions
Step 1
Cut pieces to size using a compound miter saw. Label your cut pieces as you go so you aren't searching for where they belong when tacking them to the wall.
Step 2
Attach the trim to the wall using a small bead of caulk along the backside of the trim and then nail into place. Although nails and a hammer will work for this project, I highly recommend a brad nailer. It's fast and requires a lot less hole filling.
Step 3
To get professional looking results, use a thin bead of caulk around every edge that touches the wall. Make sure to use paintable, interior caulk.
Step 4
After drying, paint the wainscoting in desired trim paint of choice. If using pre-primed wood, there is no need to prime before painting.
Top similar recipes
Curated for youYour folders

 39 views
How to install a zipper
abeautifulmess.com
Your folders
 15 views
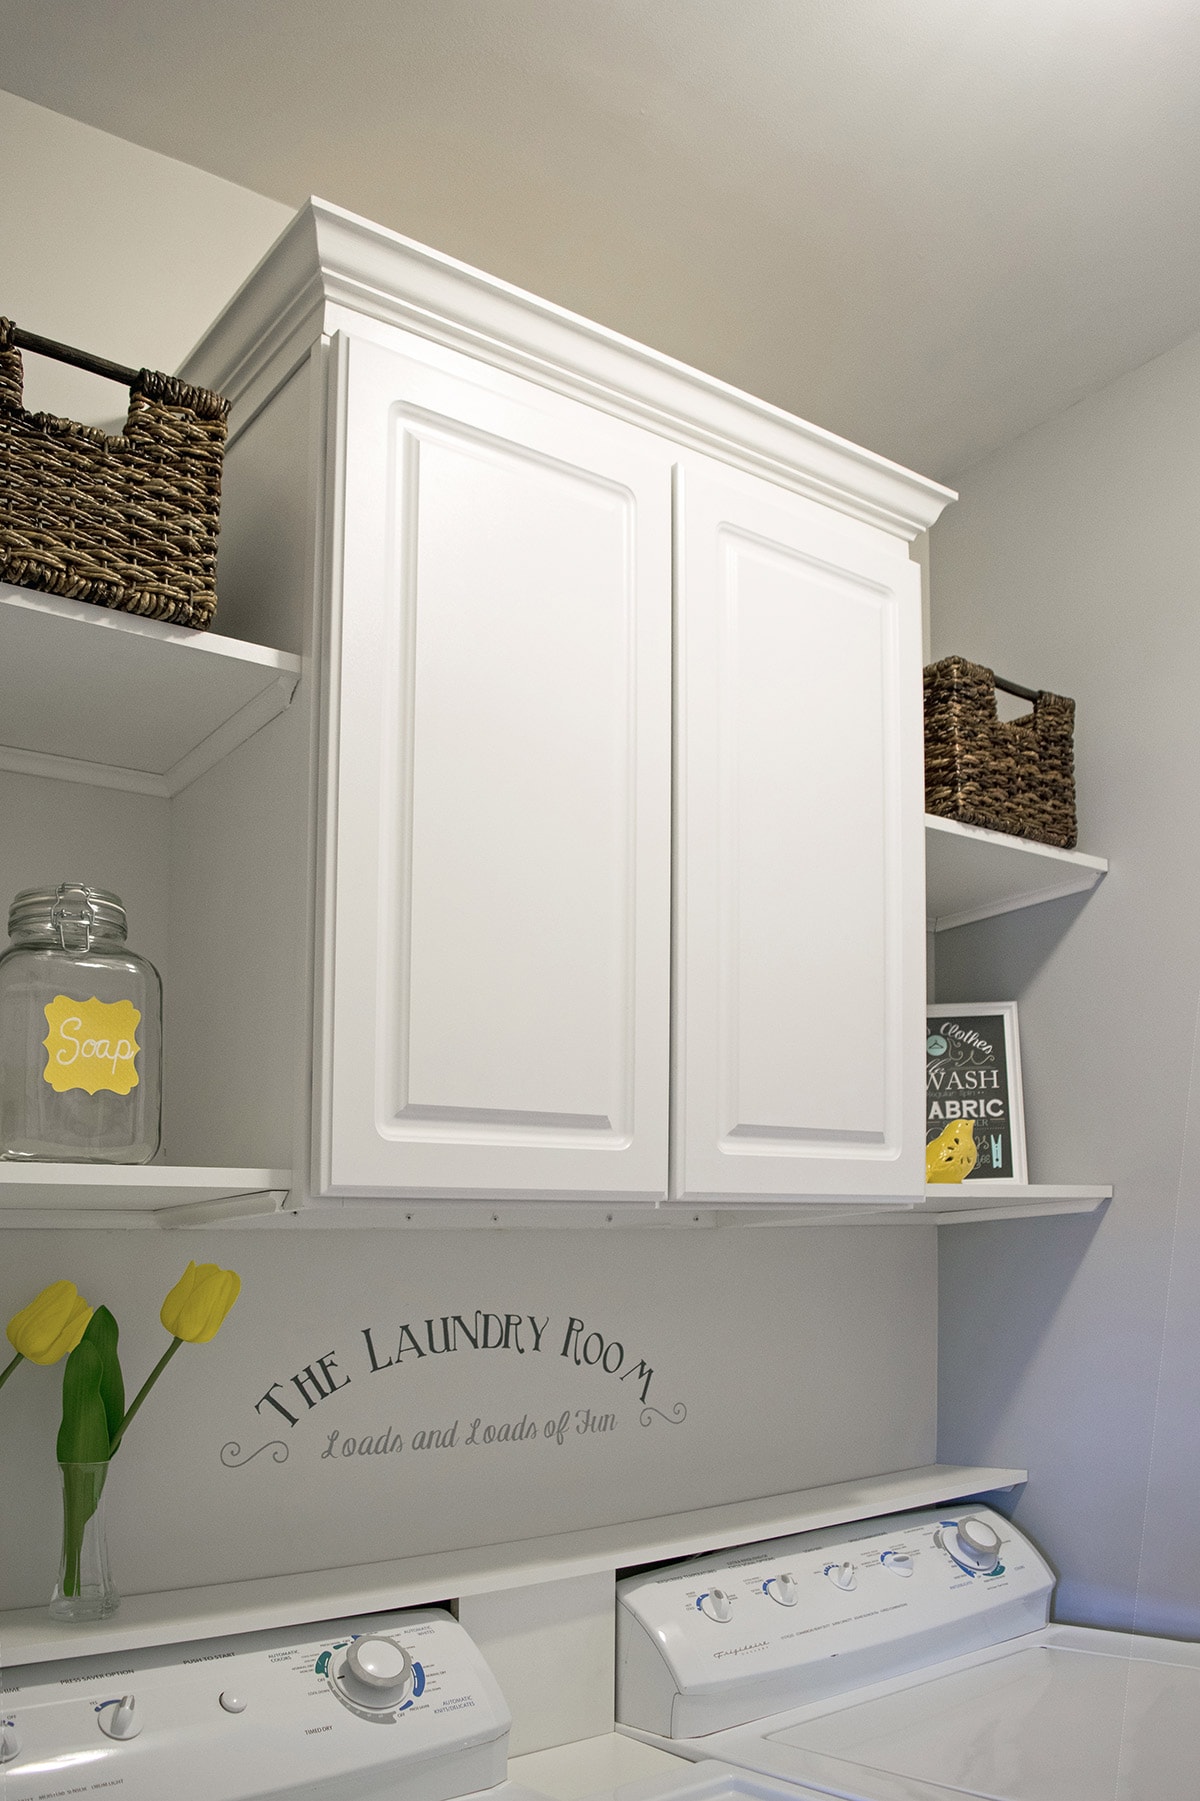
How to Install Laundry Room Cabinet...
cravingsomecreativity.com
Your folders
 19 views
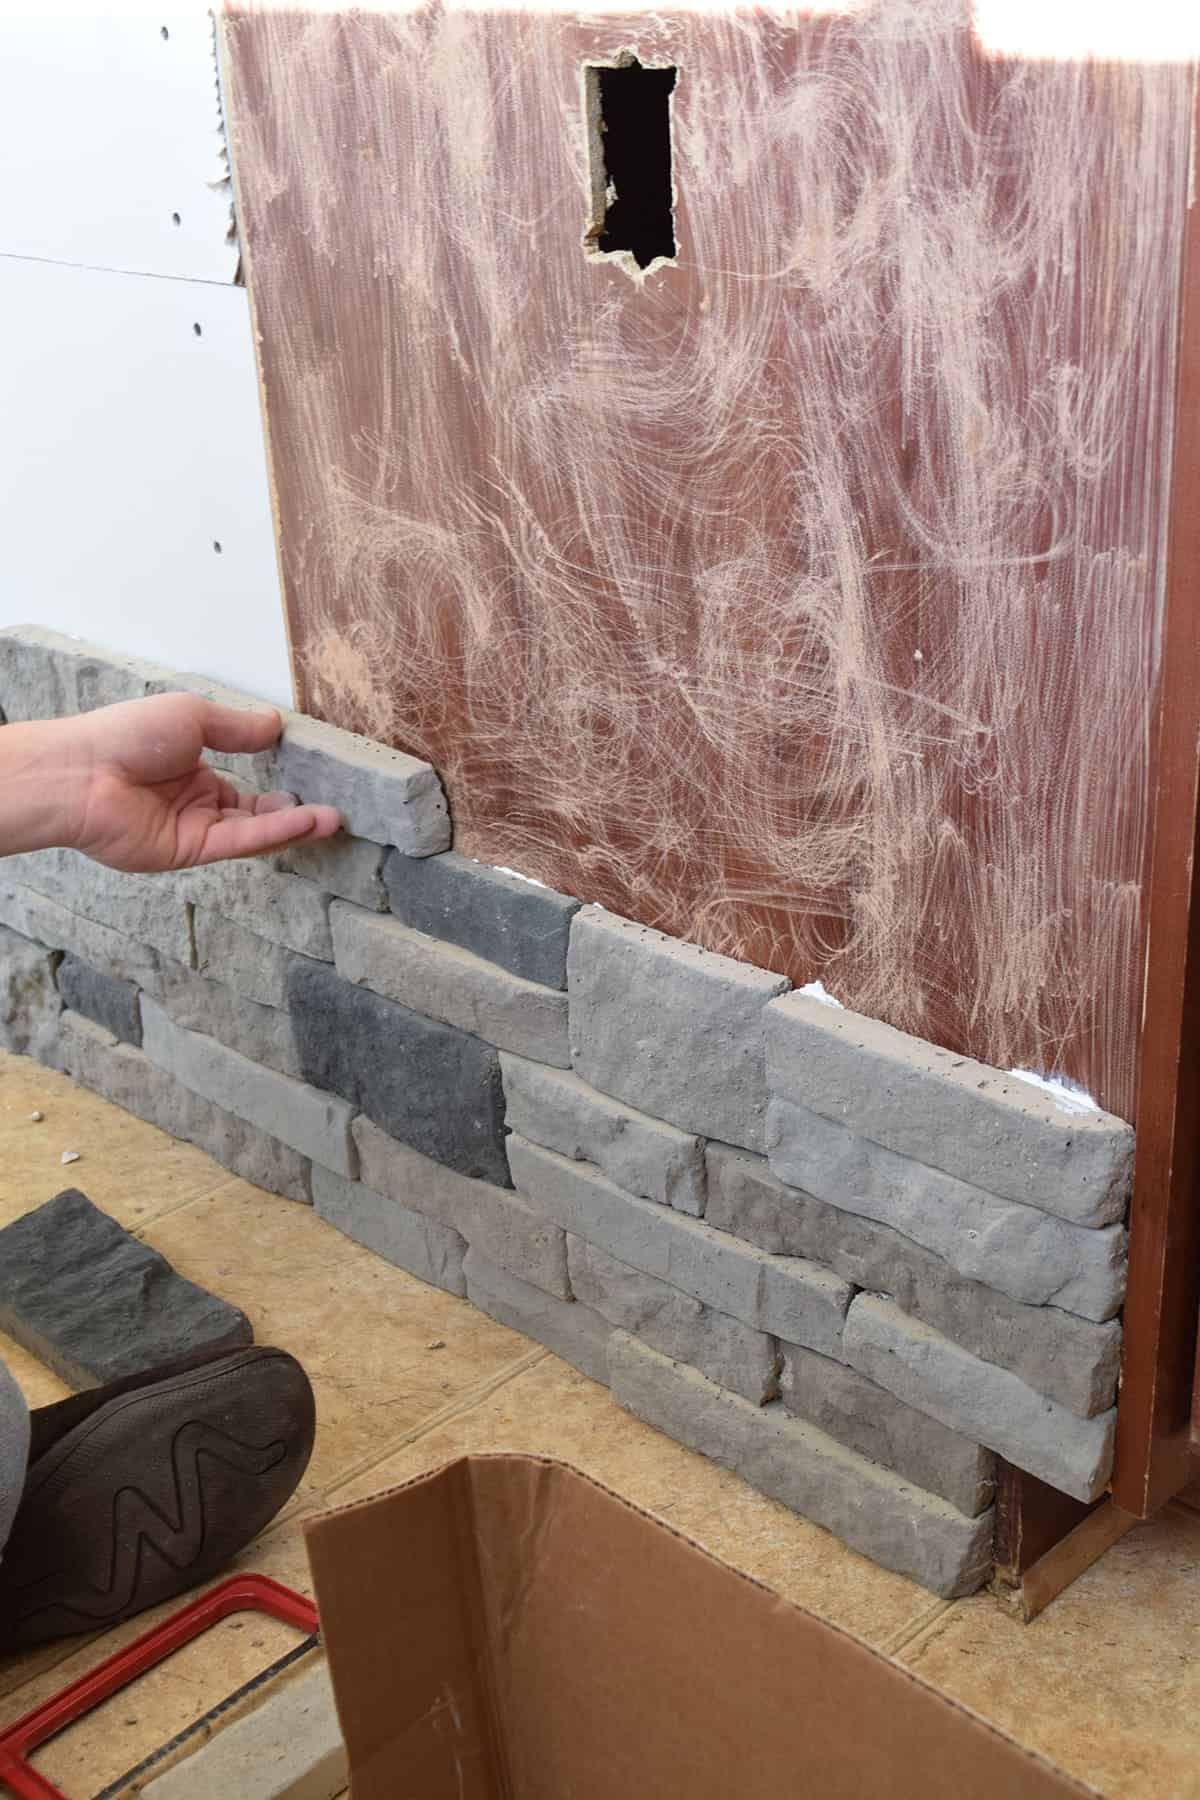
How to Install Faux Stone Veneer
cravingsomecreativity.com
Your folders
 776 views
How to Reheat Sushi (How to)
theforkbite.com
Your folders
 407 views
HOW TO USE
ovationhair.com
Your folders
 233 views
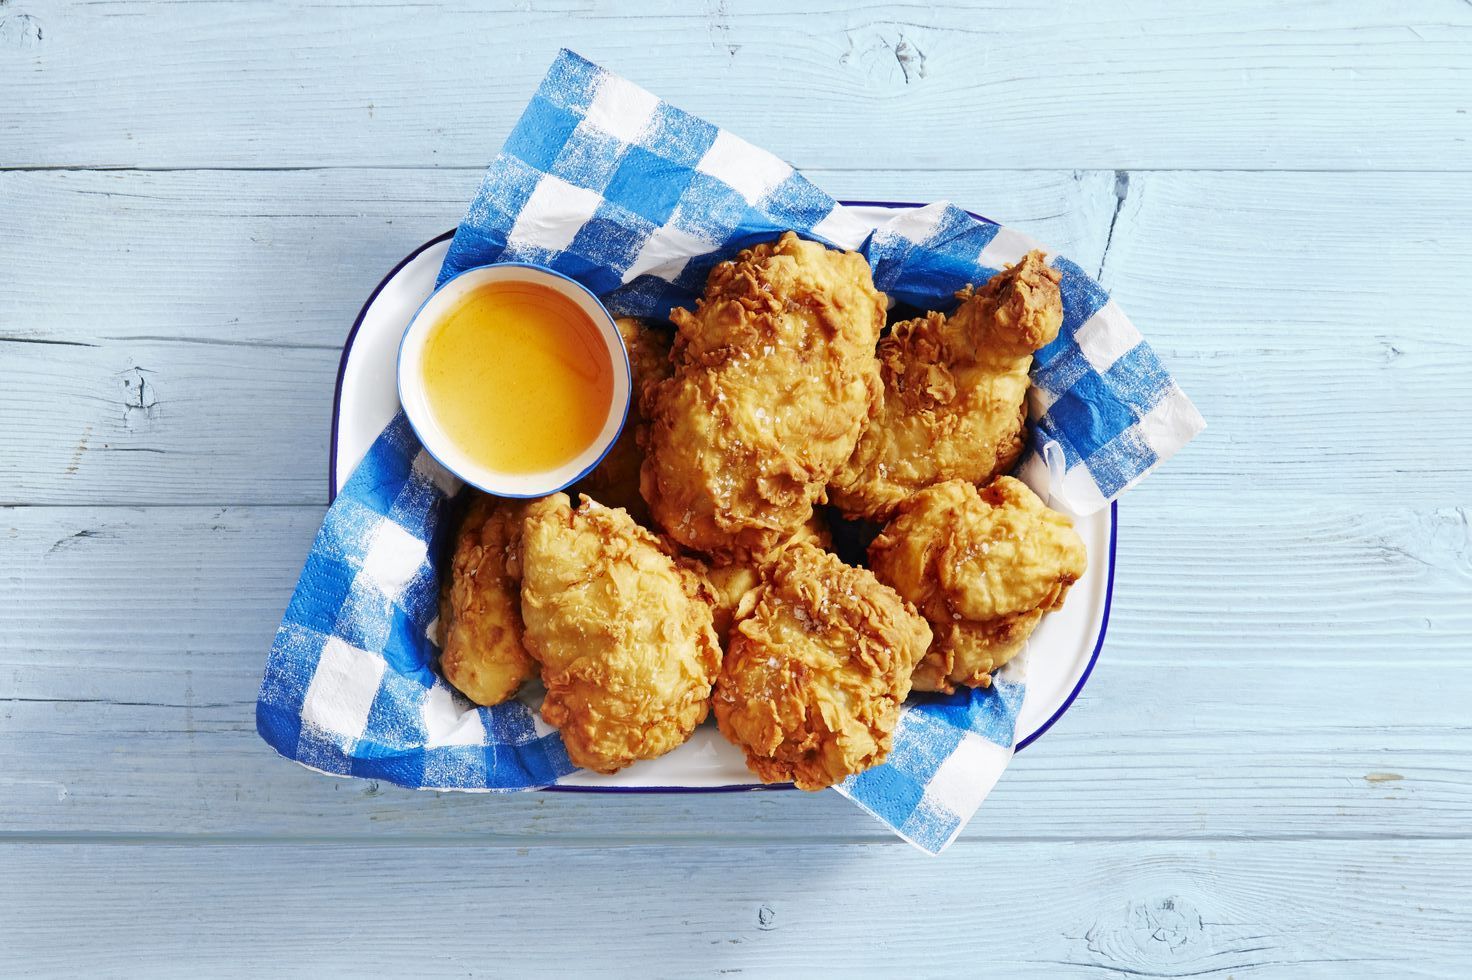
How to Fry Chicken to Perfection
thepioneerwoman.com
Your folders
 199 views
How to Grill Brats to Perfection
foxvalleyfoodie.com
5.0
(6)
20 minutes
Your folders
 245 views
How to Introduce Nuts to Baby
babyfoode.com
5.0
(1)
Your folders
 329 views
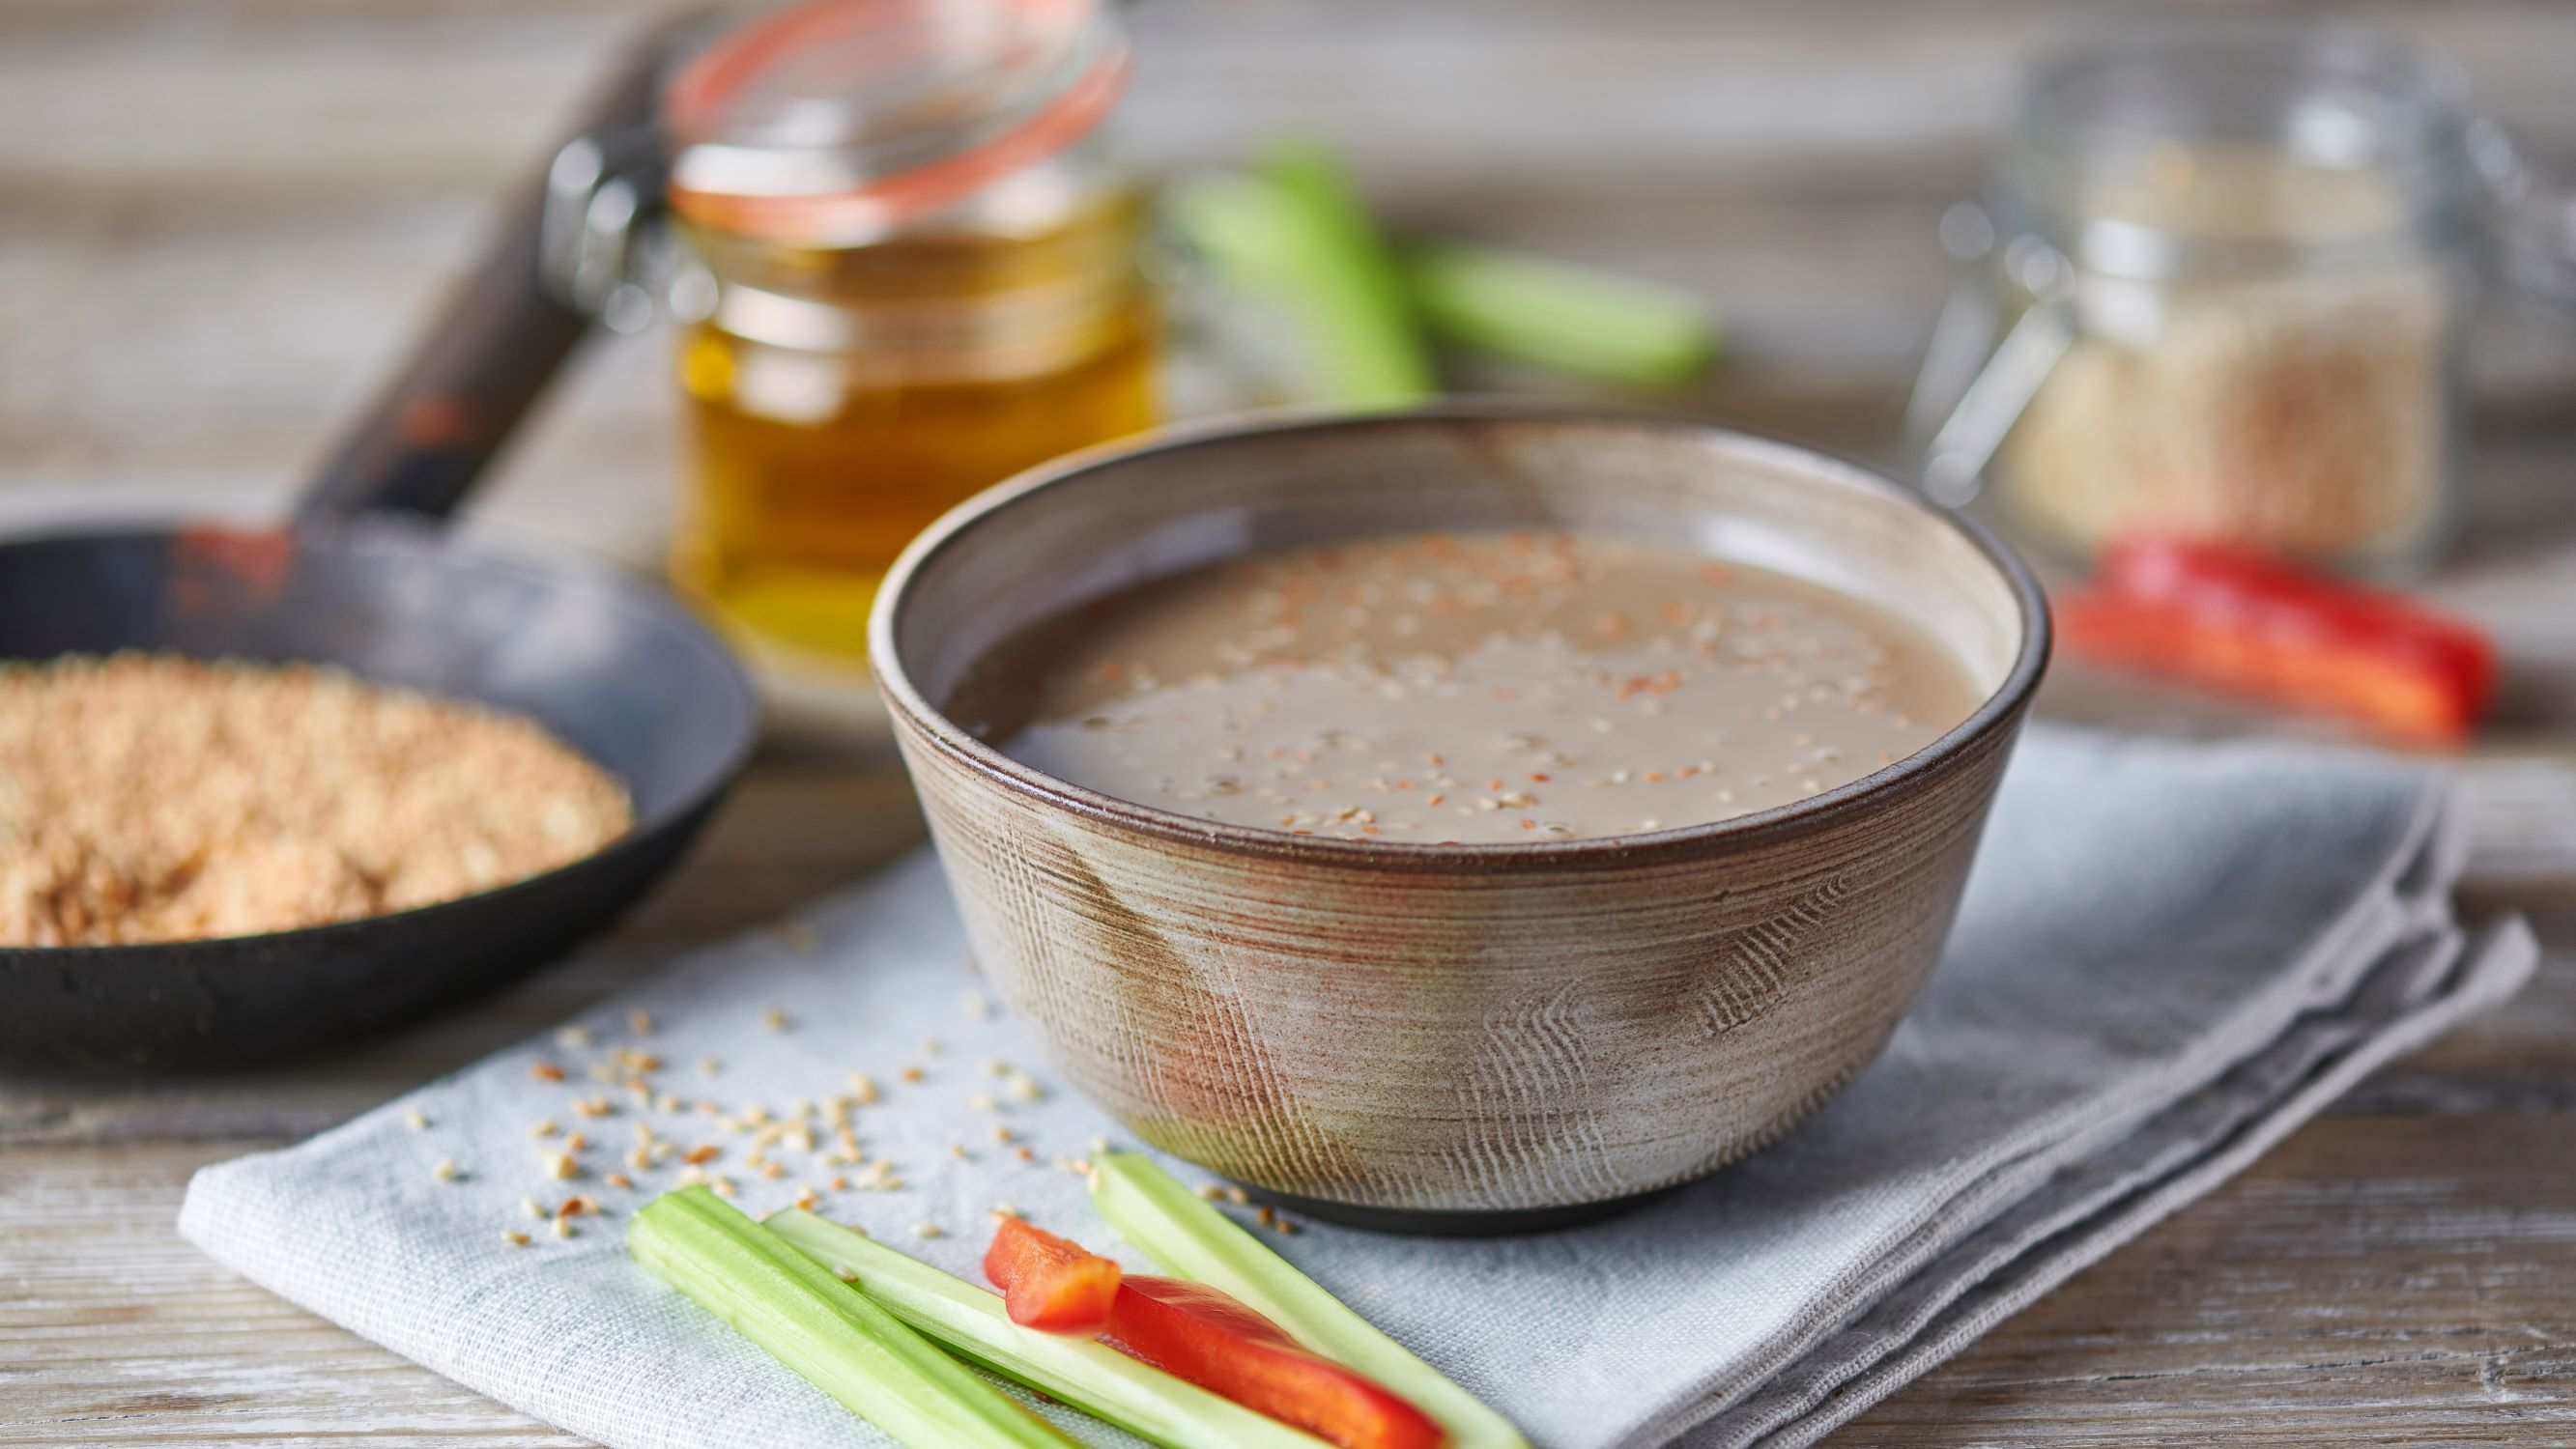
How to make tahini
bbc.co.uk
10 minutes
Your folders
 330 views
How to Roast Garlic
thewickednoodle.com
4.8
(5)
40 minutes
Your folders
 287 views
How to Cook Bluefish
wikihow.com
100.0
(3)
Your folders
 269 views
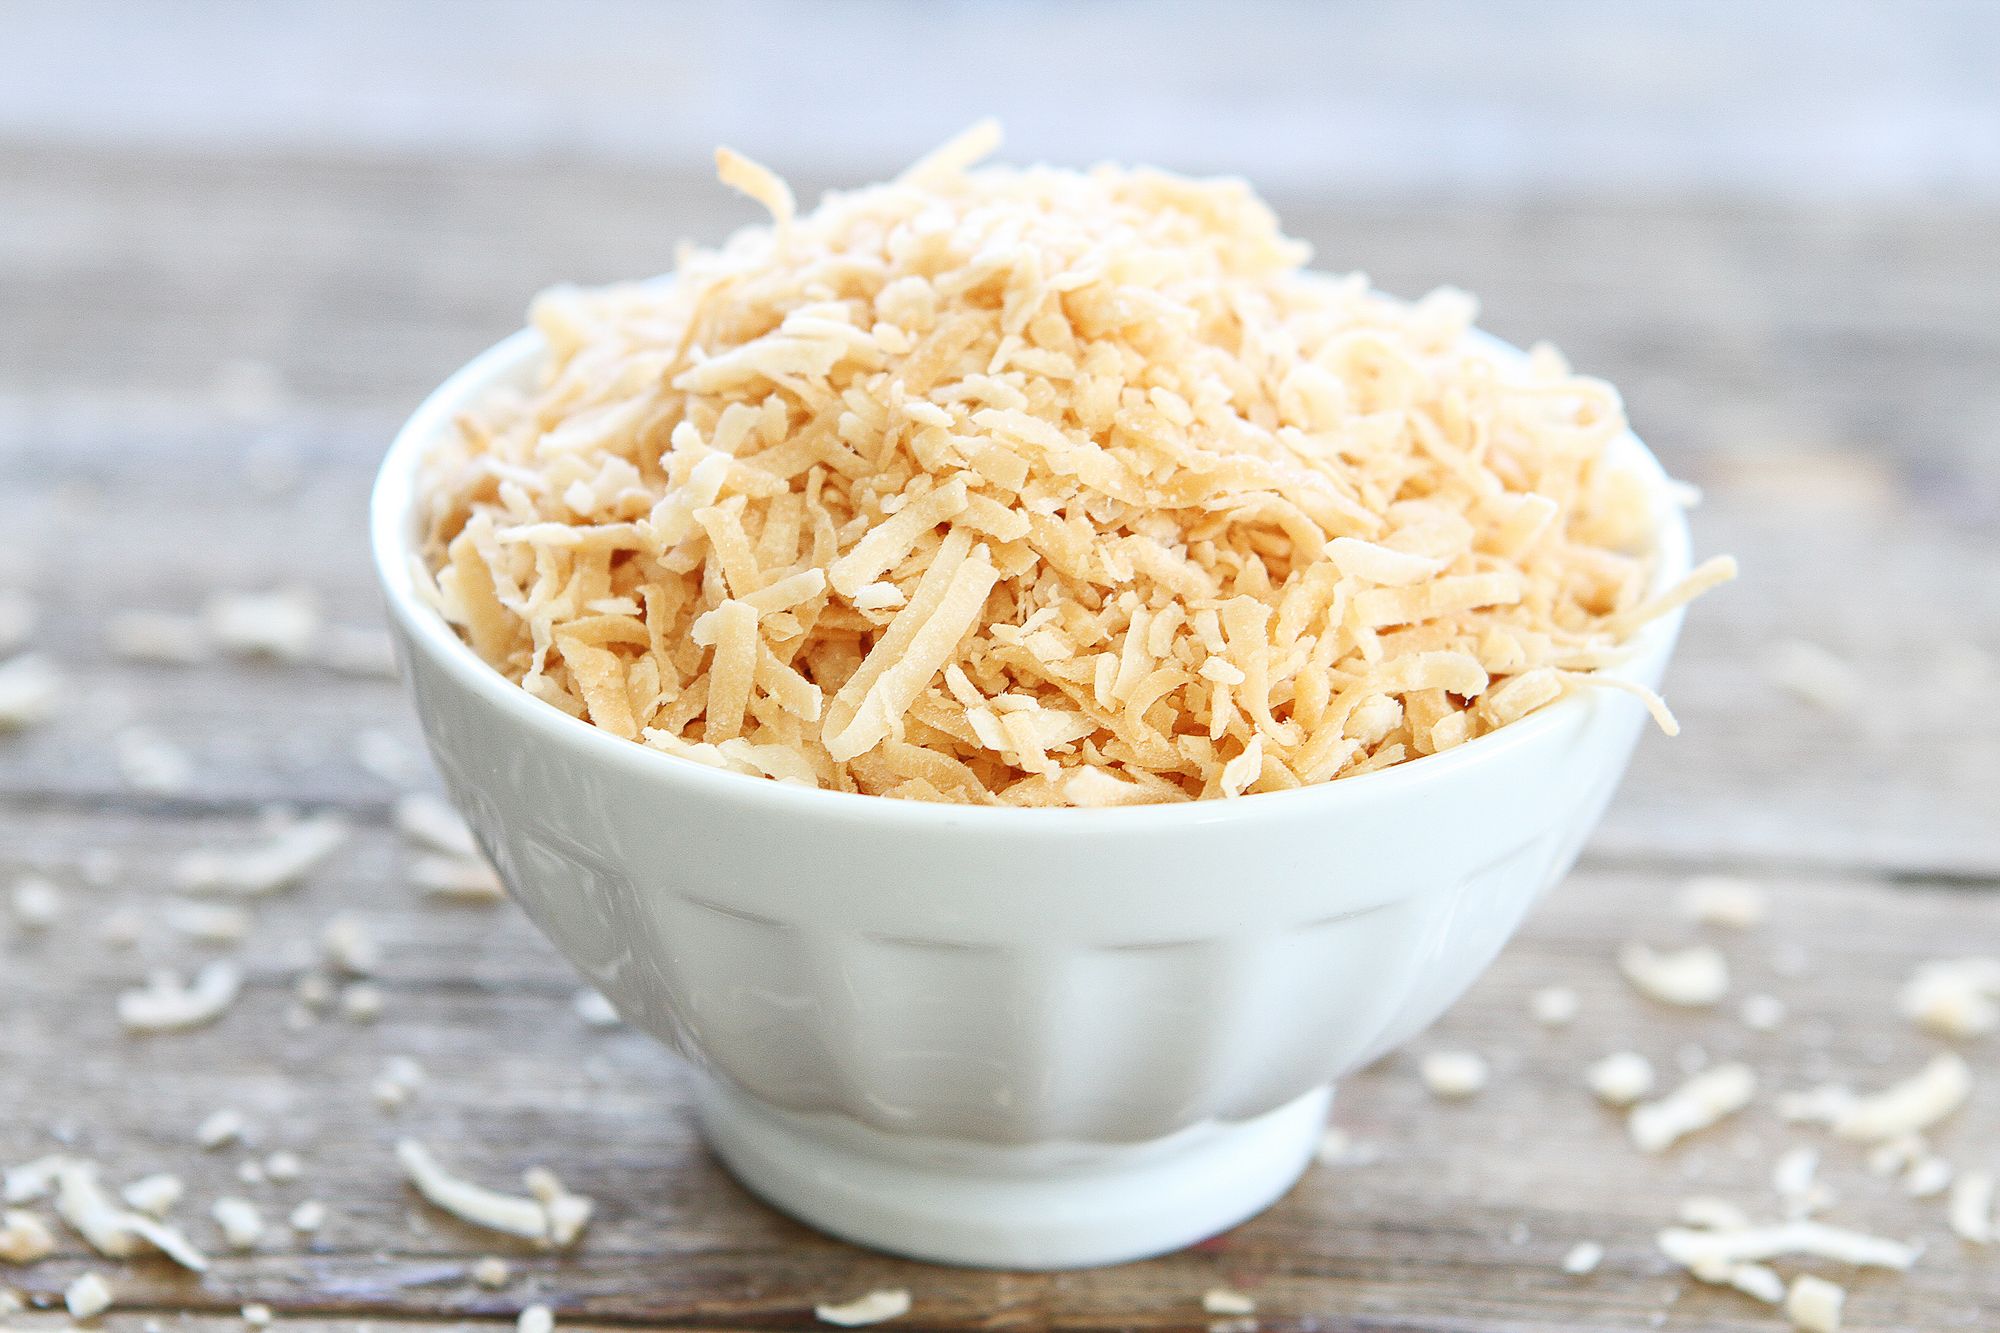
How to Toast Coconut
thepioneerwoman.com
7 minutes
Your folders
 399 views
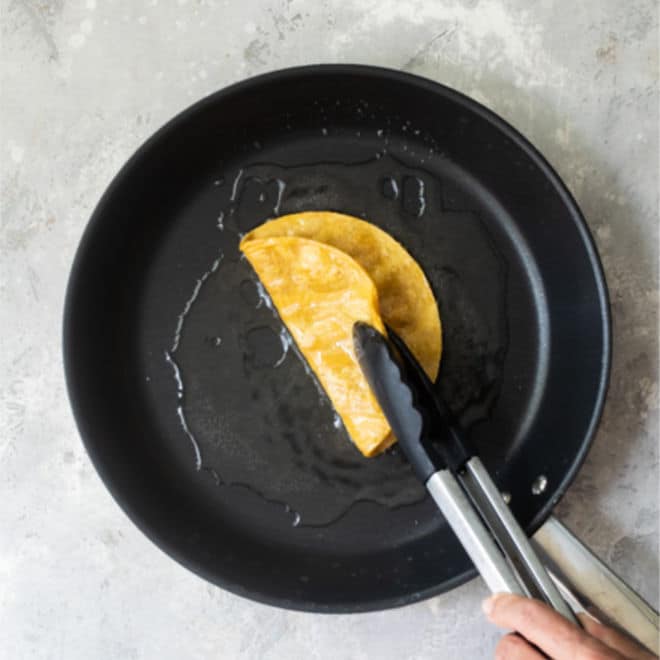
How to Fry Tortillas
culinaryhill.com
5.0
(21)
55 minutes
Your folders
 423 views
How to Make Buttermilk
cookieandkate.com
4.7
(6)
Your folders
 327 views
How to Can Vegetables
wikihow.com
66.0
(33)
Your folders
 385 views
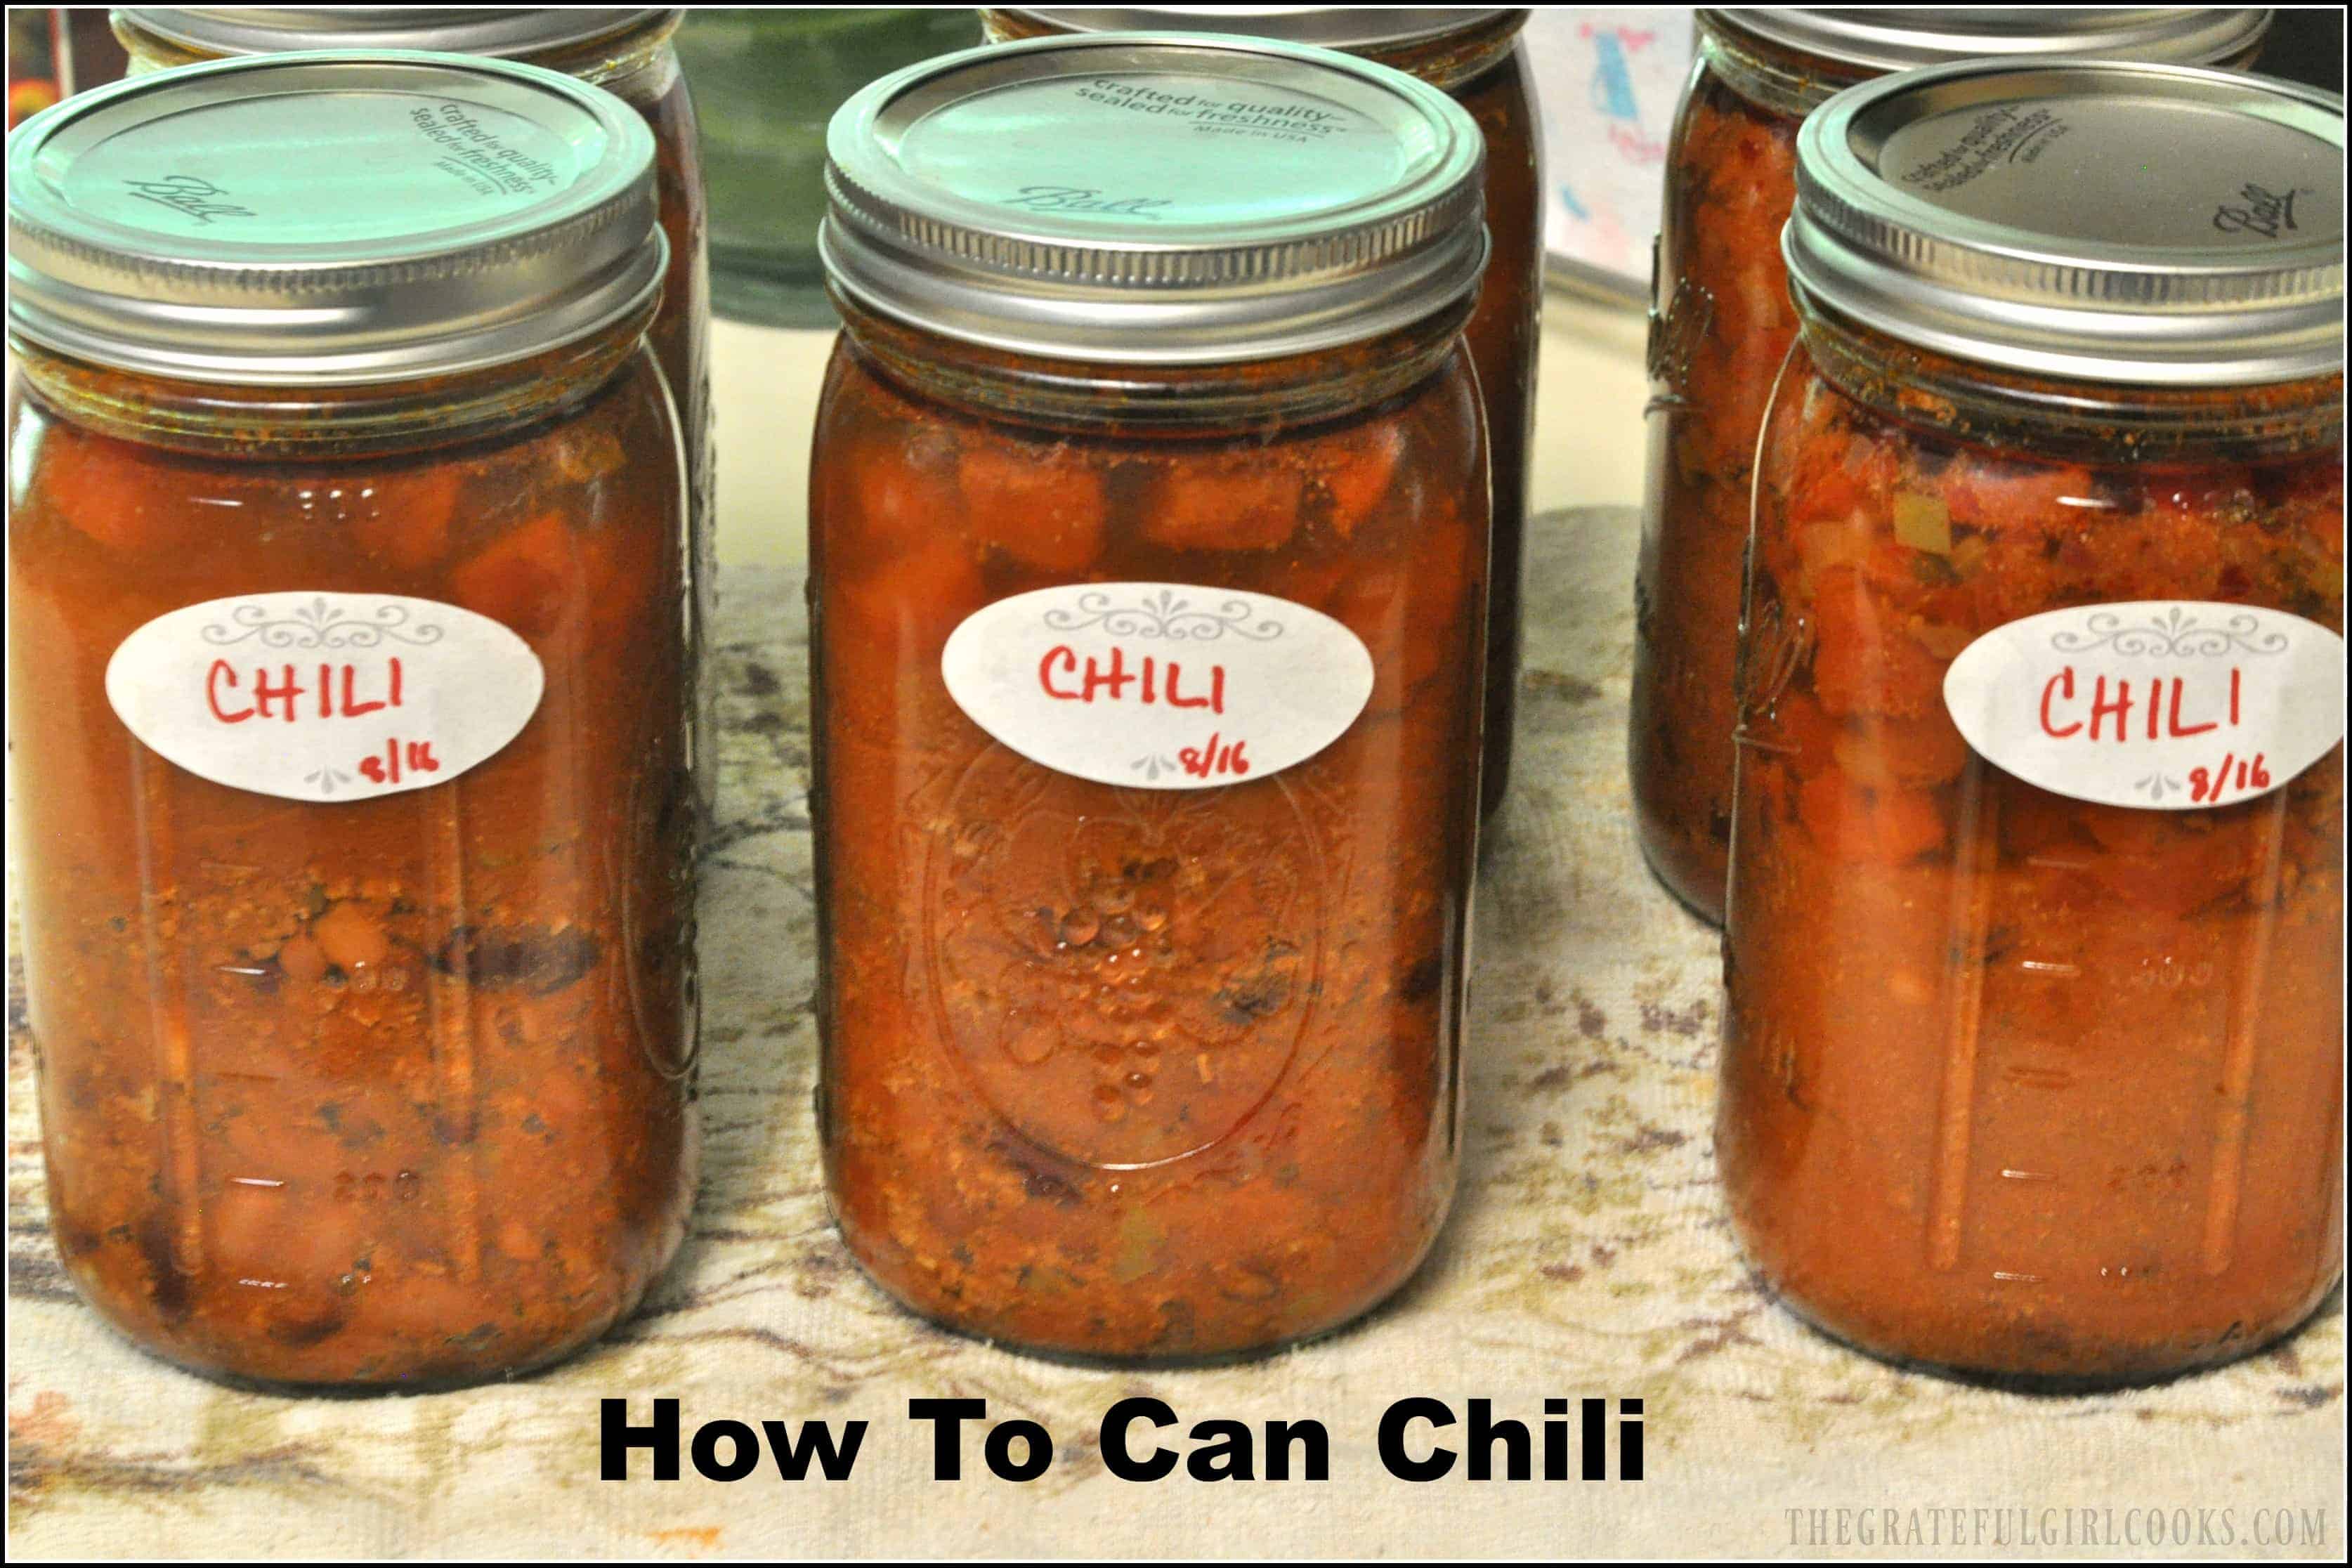
How To Can Chili
thegratefulgirlcooks.com
90 minutes
Your folders
 478 views
How to Cook Freekeh
liveeatlearn.com
15 minutes
Your folders
 281 views
How to Cook Freekeh
marthastewart.com
Your folders
 393 views
How to make bouillabaisse
gourmettraveller.com.au
1 hours, 30 minutes