How to Make Almond Milk (Step by Step) – Recipe
Your folders
Your folders
Servings: 5
Ingredients
Export 4 ingredients for grocery delivery
Instructions
Step 1
First thing, get to soaking those almonds. I like to use whole blanched almonds because they already have the papery, slightly bitter almond skins removed. If you don’t have blanched almonds you can either blanch them yourself, or use regular almonds. They work just fine, but you might have to strain your milk a little more carefully to get all the skins out. At any rate, the most important characteristic is that your almonds are raw, not toasted.
Step 2
Cover the almonds with water, and soak them for at least 4 hours, or overnight.This softens them and makes them much easier to blend.
Step 3
Once they’re soft, it’s time to milk those suckers. Strain the water from the almonds, and place the soaked almonds in your blender. Add 1.5 cups of water. We blend them with less water in the beginning, so they become a really smooth paste.
Step 4
Blend the almonds and water for 1-2 minutes. If your blender is weak like mine, you’ll probably need to stop a few times and move things around with a spatula. Do not be alarmed that your almond milk starts out looking like chunky baby food. This is all part of the plan.
Step 5
After a few minutes, you should have a beautiful smooth puree, like this. However, we’re not making almond puree, so we need to keep going. Add the cinnamon and maple syrup or honey…
Step 6
And add the remaining 2.5 cups of water. Blend everything together for another 2-3 minutes, until it is completely smooth and frothy. Taste the milk, and adjust the vanilla, cinnamon, and sweetener to taste. You might also find that a pinch of salt brings out the other flavors in the milk.
Step 7
At this point the milk could technically be finished–after all, you have a substance with the color and consistency of milk, right? But all the almond solids in the milk tend to give it a chalky texture, so for a smoother, more creamy product we’ll strain the almond milk.
Step 8
Place 3 or 4 layers of cheesecloth over a metal strainer set over a bowl. The strainer or a single layer of cheesecloth wouldn’t strain the almond milk well enough, since it’s so well-blended. Pour the almond milk through the strainer into the bowl. You might have to do this part in batches, depending on the size of your strainer and bowl. Use a spoon or spatula to press down on the strainer and move the solids around, to help the almond milk through the cheesecloth.
Step 9
Once most of the milk has passed through the strainer, gather up the cheesecloth and gently squeeze it to remove excess liquid. You’ll be left with really fine almond meal inside the cheesecloth. You can discard it, or you can dry it out in a very low oven and use it in place of almond flour in baking recipes!
Top similar recipes
Curated for youYour folders

 350 views
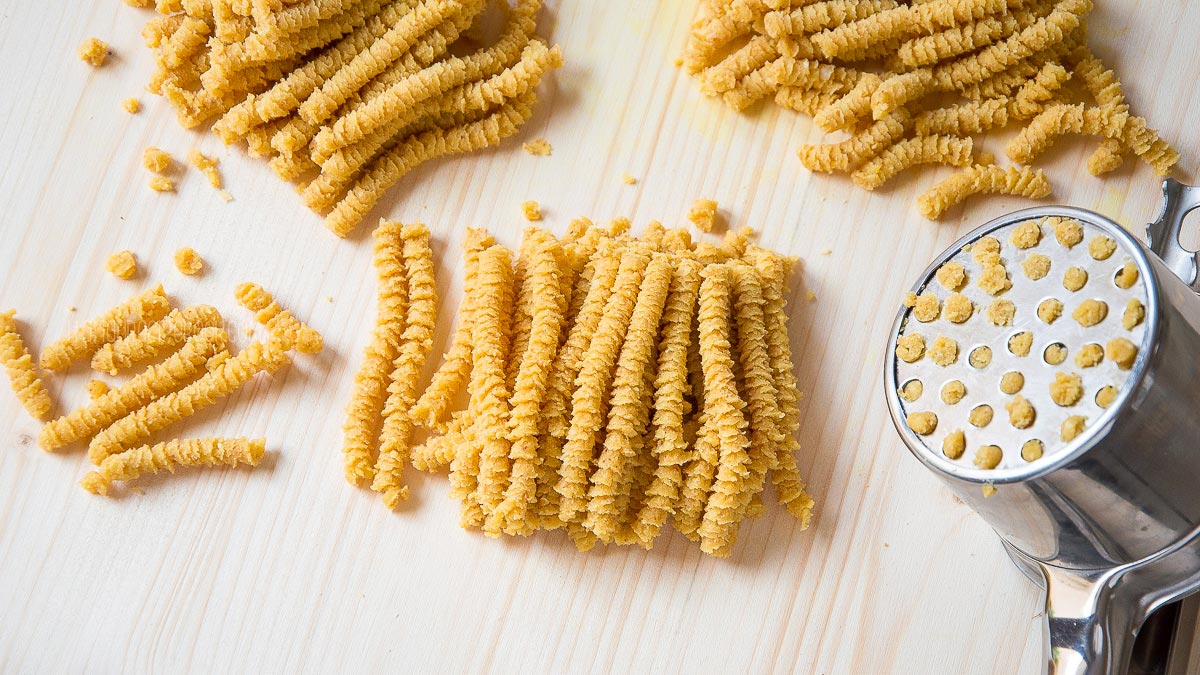
How To Make Strozzapreti Step By St...
italianfoodforever.com
5 minutes
Your folders
 282 views
How To Make Passatelli - Step By St...
italianrecipebook.com
5 minutes
Your folders
 279 views
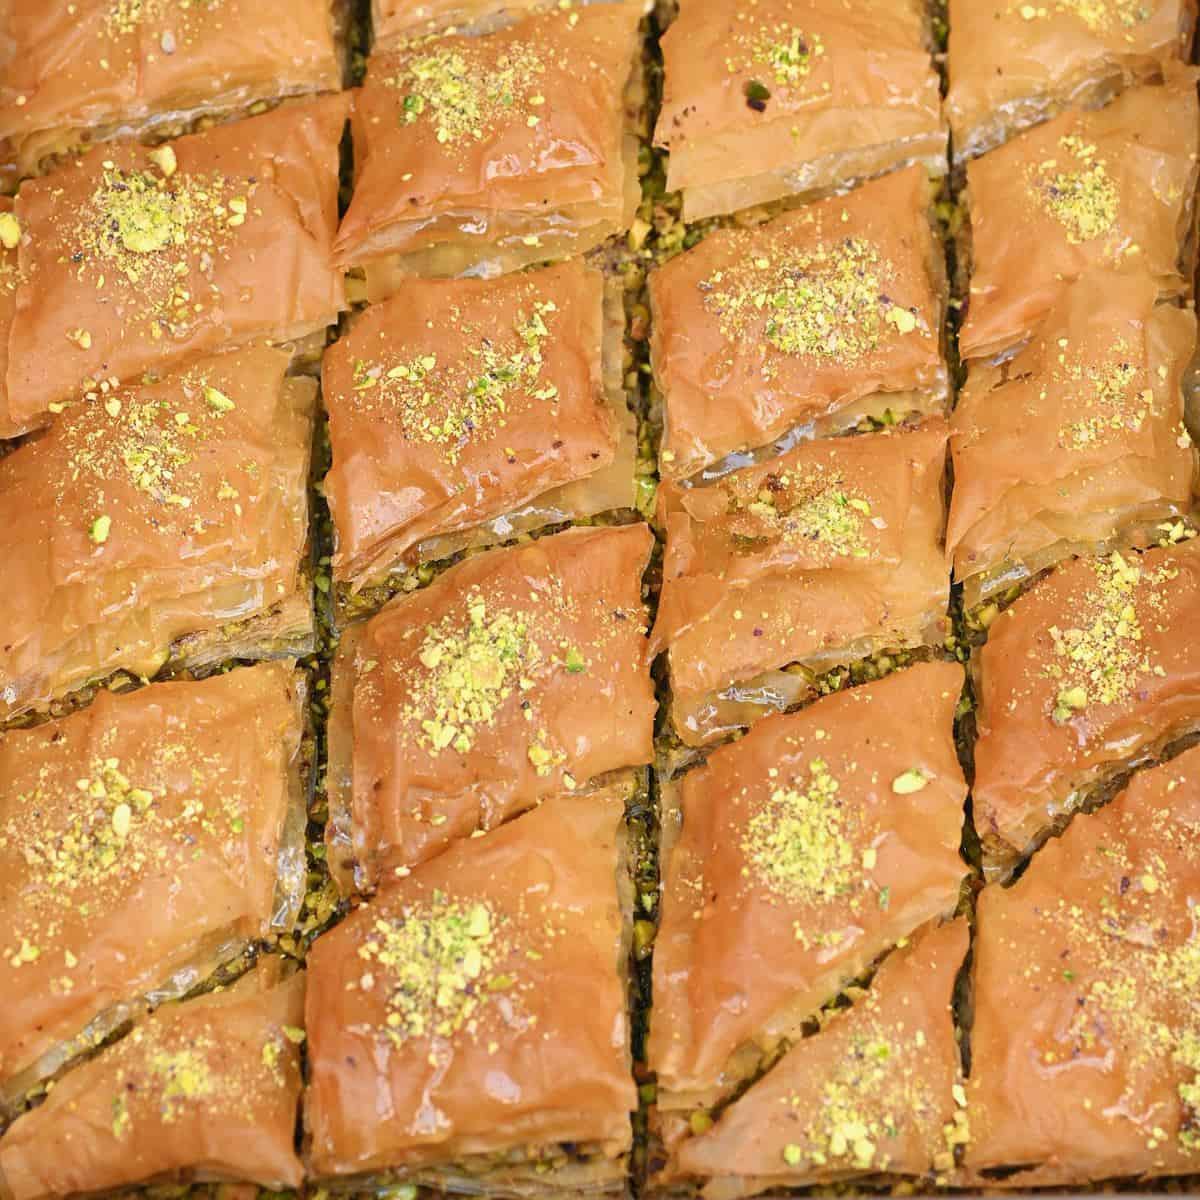
How to Make Baklava: Step-By-Step R...
alphafoodie.com
5.0
(25)
10 minutes
Your folders
 709 views
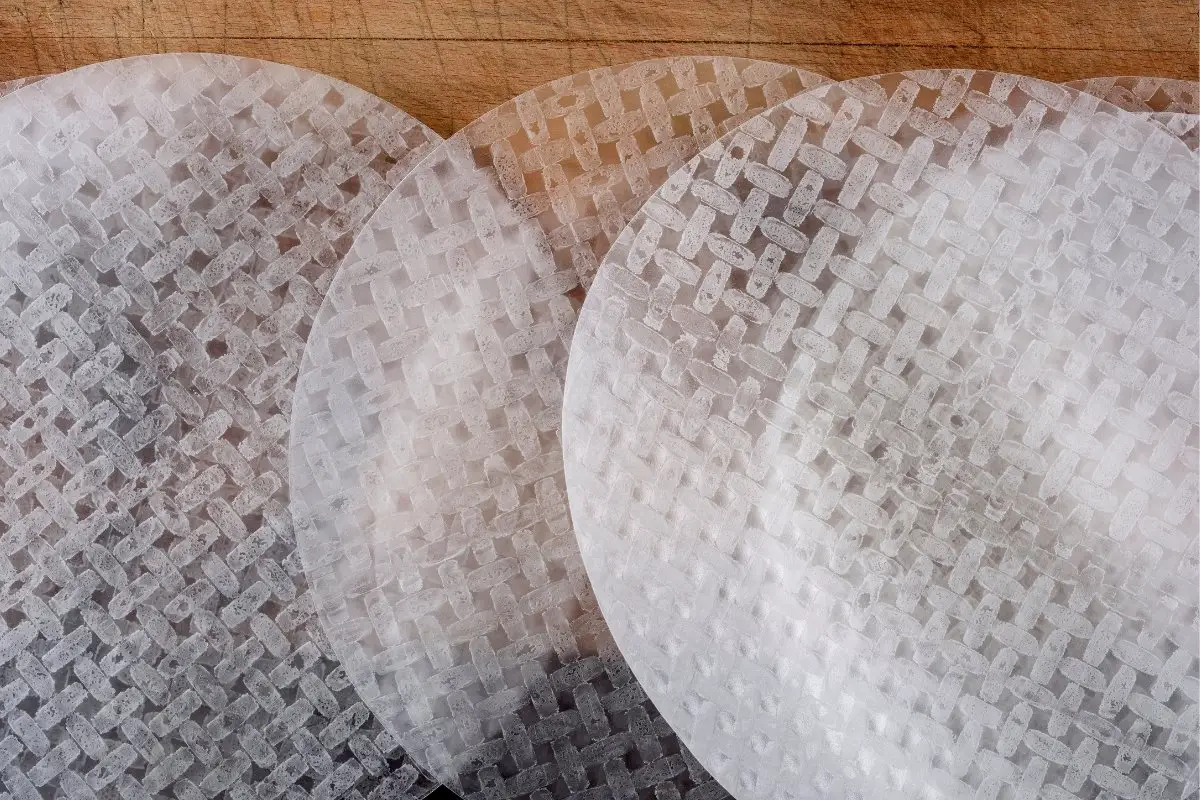
How To Make Rice Paper- Step By Ste...
cakedecorist.com
8 minutes
Your folders
 103 views
How To Make Egg Coffee (Step-by-Ste...
coffeevoila.com
Your folders
 405 views
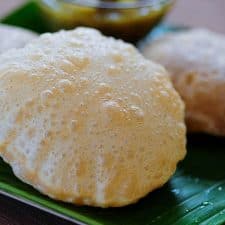
Poori Recipe - How to Make Puri Ste...
cookingandme.com
20 minutes
Your folders
 211 views
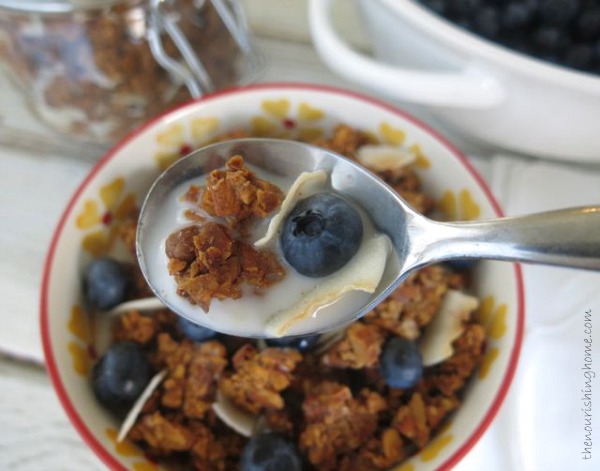
How to Make Grain Free Granola {Ste...
thenourishinghome.com
Your folders
 152 views
How to Make Homemade Lime Curd, Ste...
bakesbybrownsugar.com
5.0
(19)
15 minutes
Your folders
399 viewsHow To Make Doughnuts: A Step-by-St...
thekitchn.com
5.0
(4)
Your folders
 113 views
How to Make Vegetable Glycerin: Ste...
wikihow.com
Your folders
 268 views
How to Make a Strawberry Shrub, a S...
fooddiaryofacitygirl.com
Your folders
394 viewsHow To Make Bratwurst Sausages - A ...
wurstcircle.com
Your folders
 379 views
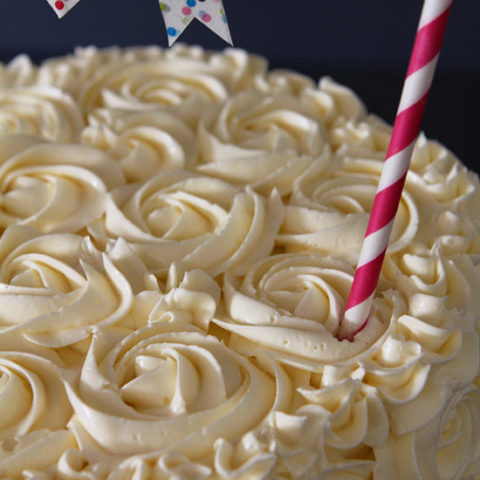
How to Make Roses on a Cake, Step ...
bakersroyale.com
25 minutes
Your folders
 275 views
Browned Butter - How to Make Brown ...
cheneetoday.com
4.9
(7)
10 minutes
Your folders
 82 views
How to Make Water Kefir - Easiest S...
anoregoncottage.com
5.0
(3)
Your folders
 3254 views
How To Clean Baking Sheets (Step By...
onegoodthingbyjillee.com
Your folders
 137 views
How To Quick-Pickle Mango, Step by ...
lindsaypleskot.com
5.0
(2)
10 minutes
Your folders
/__opt__aboutcom__coeus__resources__content_migration__simply_recipes__uploads__2007__07__peel-devein-shrimp-75401317480f4675b824ecc2c10c1d69.jpg) 389 views
389 viewsHow to Devein Shrimp {Step-by-Step ...
simplyrecipes.com
Your folders
 417 views
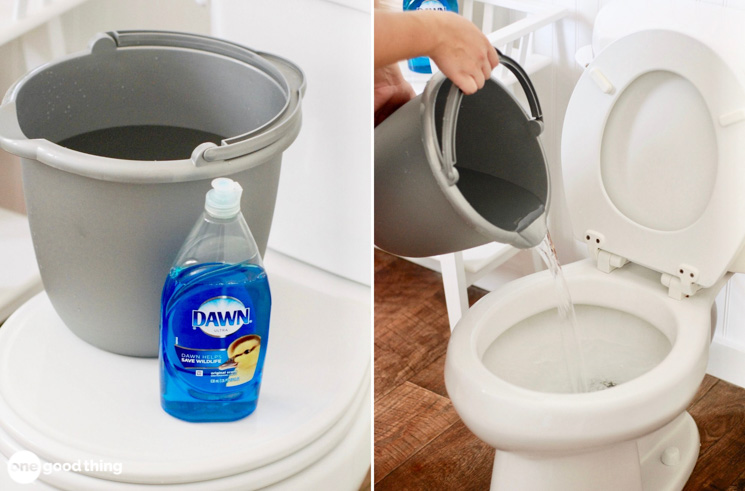
How to Unclog a Toilet (Step by Ste...
onegoodthingbyjillee.com