How to Make Butter (White Butter)
4.7
(22)
Your folders
Your folders
Prep Time: 20 minutes
Total: 20 minutes
Servings: 1
Author : Dassana Amit
Ingredients
Export 1 ingredients for grocery delivery
Instructions
Step 1
If you are collecting fresh cream or malai at home from milk then store this collected cream in the freezer. This cream is collected everyday and stored in a container in the freezer.
Step 2
After you have collected 2 or 3 cups of cream, then you can easily convert it into butter. Defrost the cream. You can defrost it in microwave or keep it on the countertop till it comes to room temperature.
Step 3
To culture this cream add ¼ cup yogurt (curd) to 2 cups of cream. The cream can be cold when you add the yogurt.
Step 4
Mix well and set aside for 7 to 8 hours until the cream gets cultured. After fermentation, the cream will thicken, be wobbly and set nicely.
Step 5
Keep this cultured cream in the refrigerate for a few hours until it becomes cold.
Step 6
Later in a blender, or in a food processor or in a bowl add the cream or the cultured cream. Turn on the blender or food processor or use an electric blender to whip the cream in a bowl.
Step 7
While whipping, initially, the cream will begin to smoothen and you will get whipped cream with soft peaks first and later with stiff peaks.
Step 8
Continue until you see buttermilk and the thick butter getting separated. You will see lumps of butter floating in the buttermilk.
Step 9
The butter will also be stuck on the whipping blades, so ensure to scrape the whipping blades with a spatula and add the butter solids back to the bowl.
Step 10
Now add ½ cup of cold icy water all over the butter in the bowl. This will solidify the butter and firm it up.Note that adding water will dilute the buttermilk. If you do not want your buttermilk to be diluted with some water, then add cold water after collecting the white butter in a cheese cloth or muslin.
Step 11
Line a mesh strainer with cheesecloth or muslin and place it on top of a bowl. Pour the buttermilk and butter from the bowl into the cheesecloth. Scrape the butter at the sides of the bowl with a spatula and transfer it onto the cheesecloth.
Step 12
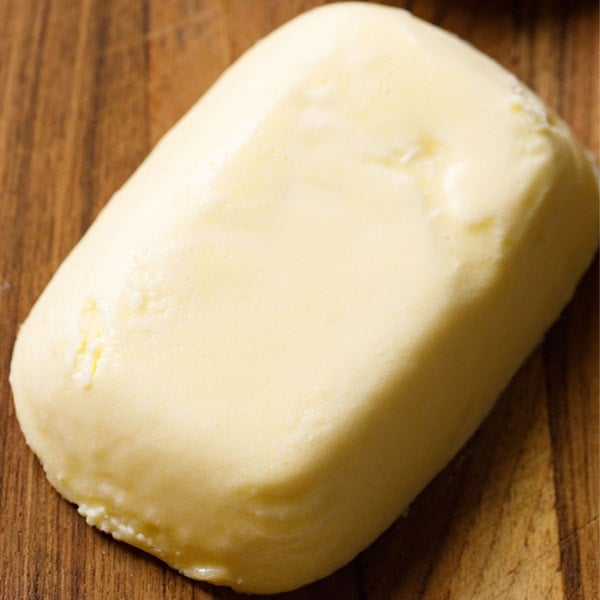
Collect the edges and form a bundle, gently pressing off the extra whey or buttermilk from the butter. Open the cheesecloth and you will see a nice lump of soft homemade white butter.
Step 13
After you have collected the butter, you will see buttermilk collected in the bottom of the bowl. Use buttermilk as needed in any recipes.
Step 14
Now place the cheesecloth with the butter on the mesh strainer. Keep the mesh strainer on top of the same bowl in which you whipped the cream. We will be rinsing the butter with ice cold water so that more of the buttermilk is extracted from it.
Step 15
Gently pour ½ cup cold water all over the butter. This will help chill the butter, helping it to solidify. Press the butter with a wooden spoon or spatula so that more of the buttermilk is removed from it.
Step 16
Repeat – pour ½ cup cold water all over, press the butter to extract the buttermilk. Discard the water.
Step 17
Pour ½ cup cold water over the butter for a third time and press again to remove any extra buttermilk. While rinsing, you will see that the milky white color of the water will become more faint.
Step 18
You could also strain the butter from the buttermilk through a superfine strainer. Some people use their hands to rinse the butter and remove the buttermilk. I do not prefer to use my hands as I find it messy.
Step 19
Bring the edges of the cheesecloth together and press gently to extract as much buttermilk from the butter as possible. The more the buttermilk that is removed, the longer will the shelf life of your homemade butter.
Step 20
Remove the butter from the cheesecloth and place it in an airtight container. With a spoon or spatula collect any white butter clinging on the cheesecloth and transfer to the container.
Step 21
Feel free to line the container with parchment paper. I prefer to store the butter unsalted in the refrigerator.
Step 22
At this point, as a variation, you could also add salt or ground pepper or your choice of dried herbs to the butter and mix very well.
Step 23
With a spatula, smooth the top and the edges making the butter even from all sides. Cover with an airtight lid and let the butter set in the refrigerator until you are ready to use it.
Step 24
Butter stays good in the refrigerator for a couple of weeks. If you have drained the buttermilk very well, then the butter will keep for about a month. You can also freeze this homemade white butter.
Step 25
To culture cream you can use homemade cream as I have explained above or use packaged cream to culture it.
Step 26
To culture packaged cream, take 2 cups of heavy cream. The cream can be cold or at room temperature. Add ¼ cup of yogurt or curd to the cream and mix well.
Step 27
Cover and let the cream set for 8 to 9 hours. You can also use the Instant Pot yogurt setting to make this sour cultured cream.
Step 28
When the cream is perfectly cultured, it will be wobbly and thickened. Place the cultured cream in the fridge and let it cool completely before churning.
Step 29
Then follow the steps as mentioned above to whip the cultured cream until the cultured butter gets separated. You can choose to whip the cultured cream in a blender, stand-mixer or with a hand-held electric blender.
Step 30
Collect the cultured butter in a muslin draining all the buttermilk. Rinse the butter in ice cold water and remove as much buttermilk from it as you can.
Step 31
Transfer completed cultured butter to an air-tight box and refrigerate or freeze it. You can use this cultured butter to make cultured ghee.
Top similar recipes
Curated for youYour folders

 269 views
How to Make Butter (White Butter)
vegrecipesofindia.com
4.7
(22)
Your folders
:max_bytes(150000):strip_icc()/20230519-SEA-HowToMakeButter-Amanda-Suarez-hero-ce0a9772a5ef4ff283ab3dde2c746f19.jpg)
 340 views
How to Make Butter
seriouseats.com
Your folders

 147 views
How to Make Butter
theprairiehomestead.com
4.9
(19)
Your folders
 408 views
How To Make Butter (and Cultured Bu...
thekitchn.com
5.0
(1)
Your folders
 273 views
How to Make Granola Butter (Oatmeal...
alphafoodie.com
5.0
(13)
10 minutes
Your folders

 344 views
How To Make Ghee Butter (Clarified ...
alphafoodie.com
5.0
(11)
30 minutes
Your folders
 283 views
How to Make Apple Butter
thekitchn.com
6 hours
Your folders
 554 views
How To Make Nut Butter
minimalistbaker.com
4.9
(24)
10 minutes
Your folders
 631 views
How to Make Clarified Butter
culinaryhill.com
4.9
(16)
15 minutes
Your folders
 565 views
How to Make Homemade Butter
allrecipes.com
4.6
(34)
Your folders

 841 views
How to Make Peanut Butter
brokebankvegan.com
5.0
(1)
Your folders
 647 views
How to Make Homemade Butter
toriavey.com
4.8
(67)
15 minutes
Your folders
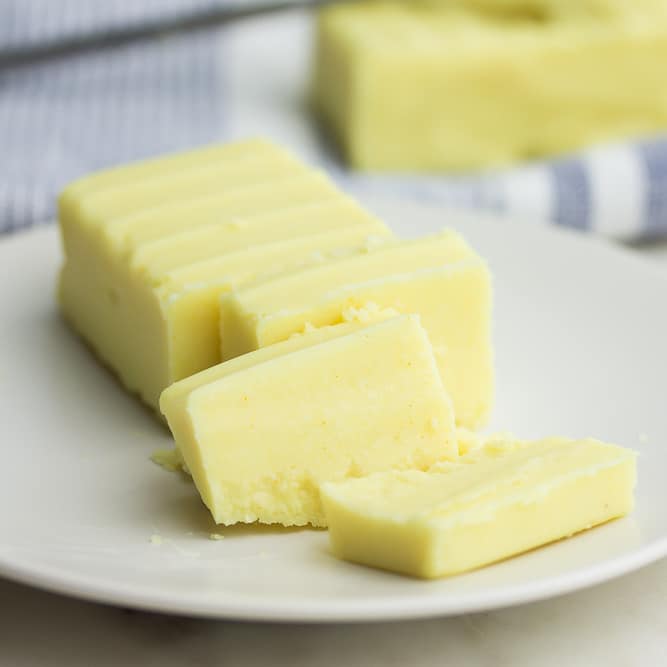
 517 views
How to Make Vegan Butter
noracooks.com
5.0
(16)
Your folders
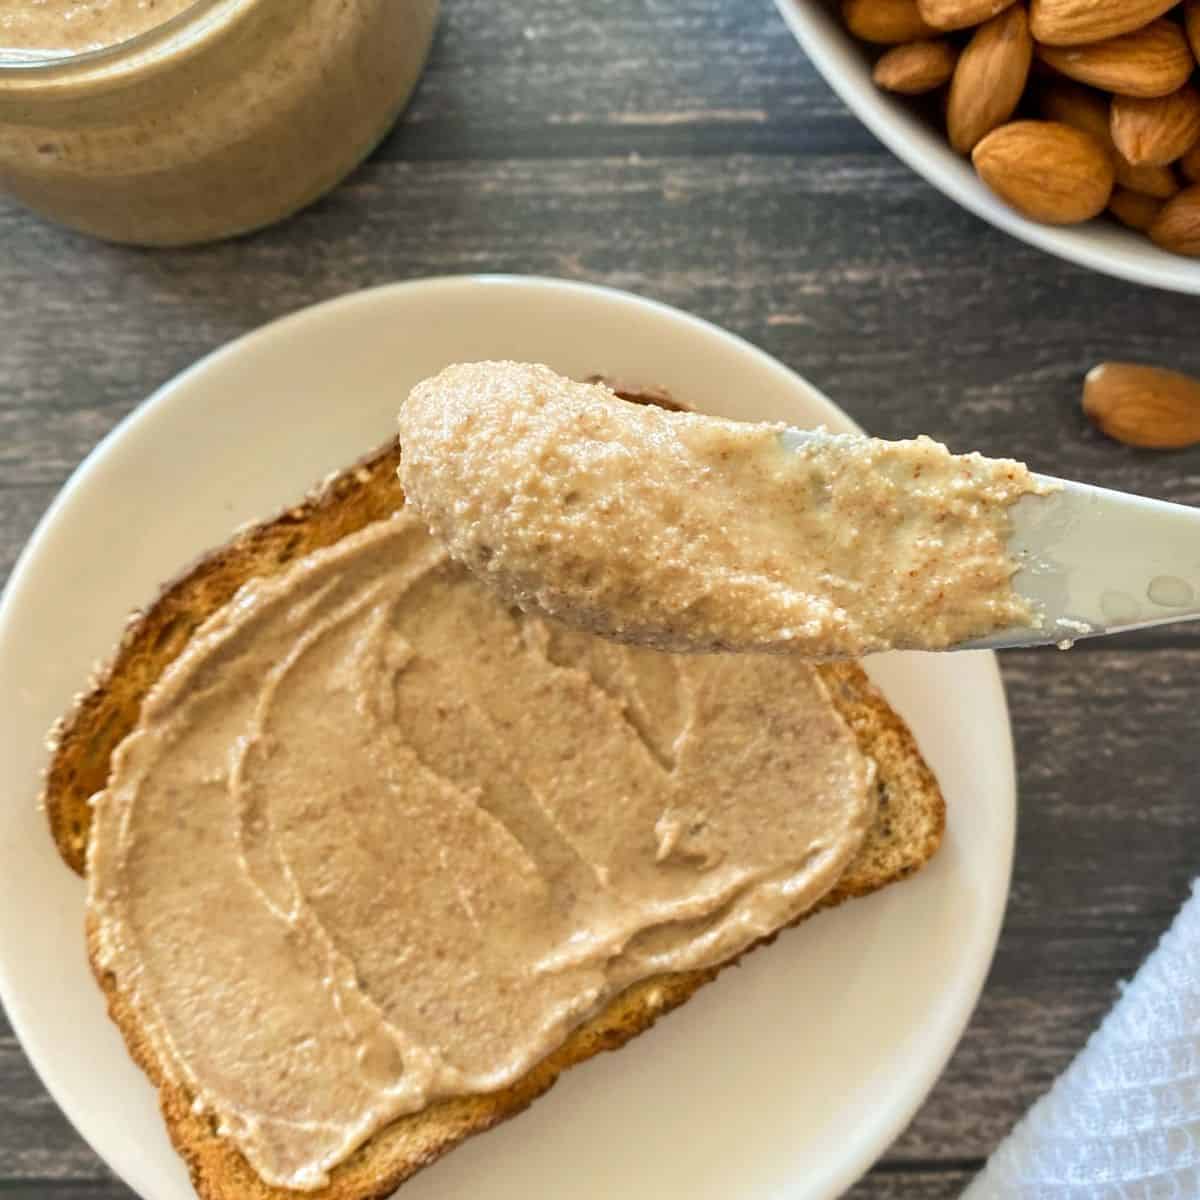
 213 views
How to Make Almond Butter
thishealthykitchen.com
5.0
(4)
8 minutes
Your folders
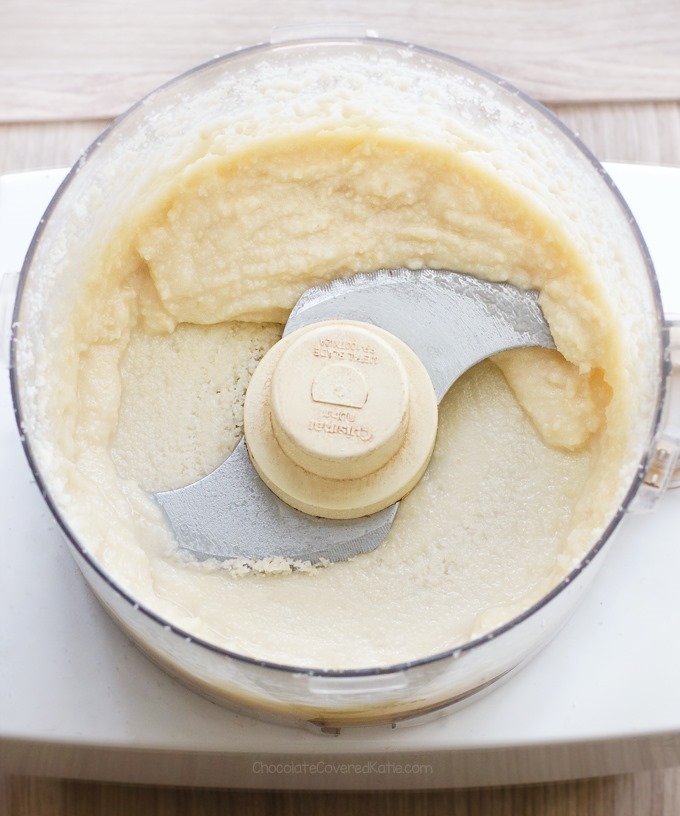
 222 views
How To Make Coconut Butter
chocolatecoveredkatie.com
5.0
(35)
Your folders

 278 views
How to Make Homemade Butter
toriavey.com
4.8
(73)
15 minutes
Your folders
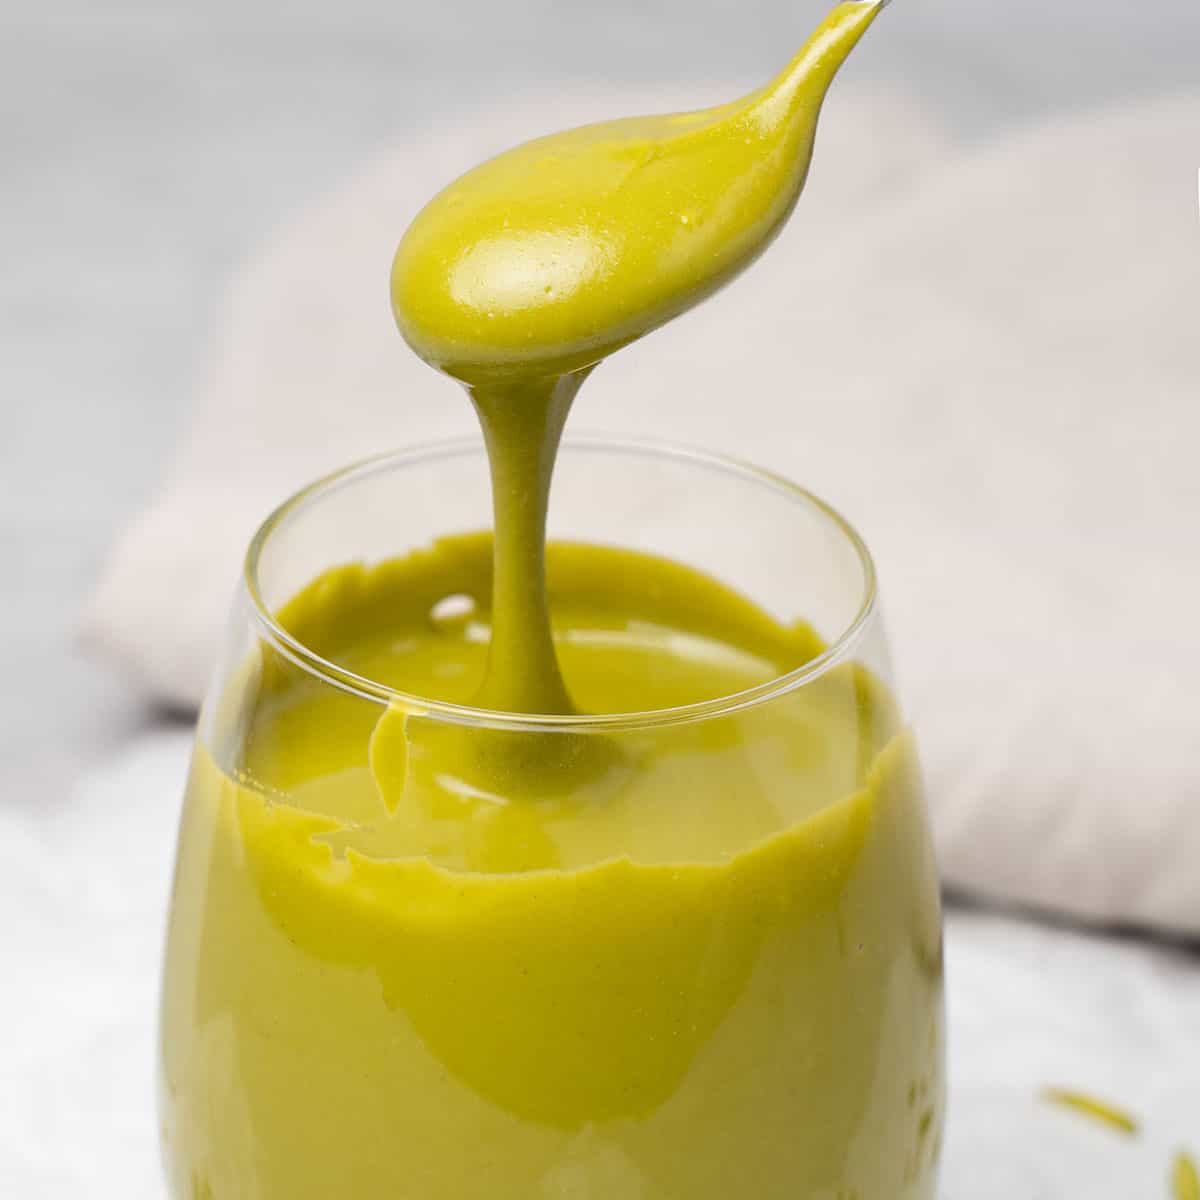
 282 views
How to make Pistachio Butter
spatuladesserts.com
5.0
(1)
Your folders
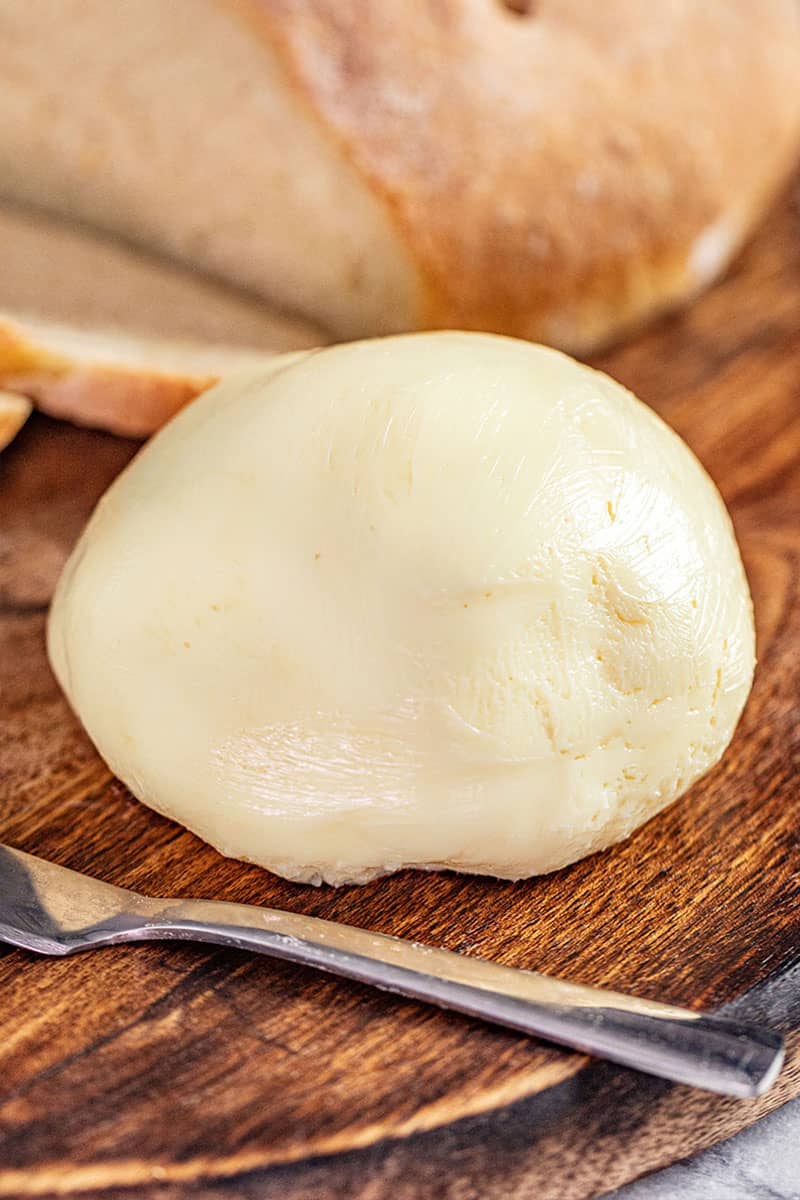
 345 views
How to Make Homemade Butter
thestayathomechef.com
4.8
(60)
Your folders
 79 views
How to Make Homemade Butter
thestayathomechef.com