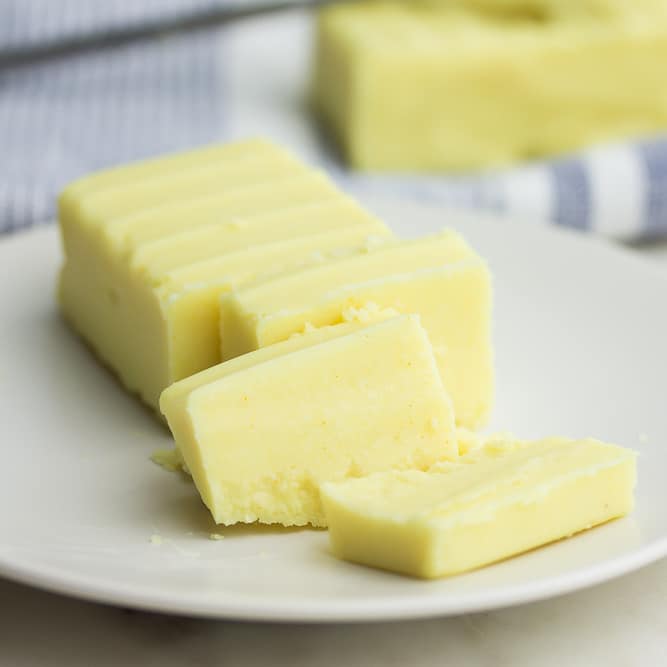
How To Make Butter (and Cultured Butter!)
5.0
(1)
Your folders
Your folders
Servings: 4.5
Author : Dana Velden
Ingredients
Export 2 ingredients for grocery delivery
Instructions
Step 1
Culture the cream (optional): The day before you would like to make your butter, pour the cream into a bowl (I like to use the bowl of my stand mixer) and add the yogurt. Whisk briefly to combine and cover the bowl with a clean kitchen towel. Set in a slightly warm place (about 70°F - 75°F) to culture. Check after 8 to 12 hours. The cream is ready when it has thickened slightly and is a little foamy. It will smell slightly sour and tangy. This can possibly take an additional 12 to 24 (see Recipe Notes). Once it has cultured, place it in the refrigerator for about 1 hour to chill.→ If you did not culture your butter, let it warm on the counter for about an hour (to about 60°F) before churning.
Step 2
Prepare the sieve and mixer: Place a sturdy sieve over a bowl and line with a few layers of cheesecloth or a clean napkin. You can use a stand mixer, a hand mixer, a food processor, or a canning jar to churn your cream. (See Recipe Notes below if you want use a canning jar.)
Step 3
Prepare the cream and mixer for churning: Place the cream in the bowl of your mixer or processor. Cover the top with plastic wrap or a kitchen towel to prevent splattering.
Step 4
Churn the cream: Turn on the mixer to medium-high. The cream will first whip into peaks (at around 2 minutes) and then become grainy (around 3 minutes). Keep whipping until the solid mass (butter) and liquid (buttermilk) are separated (about 5 minutes total). The mixture will splatter heavily in the final stages of churning, so be sure the plastic wrap is secure. The process may take a little longer, up to 8 to 10 minutes, although it usually takes me less than 5 minutes.
Step 5
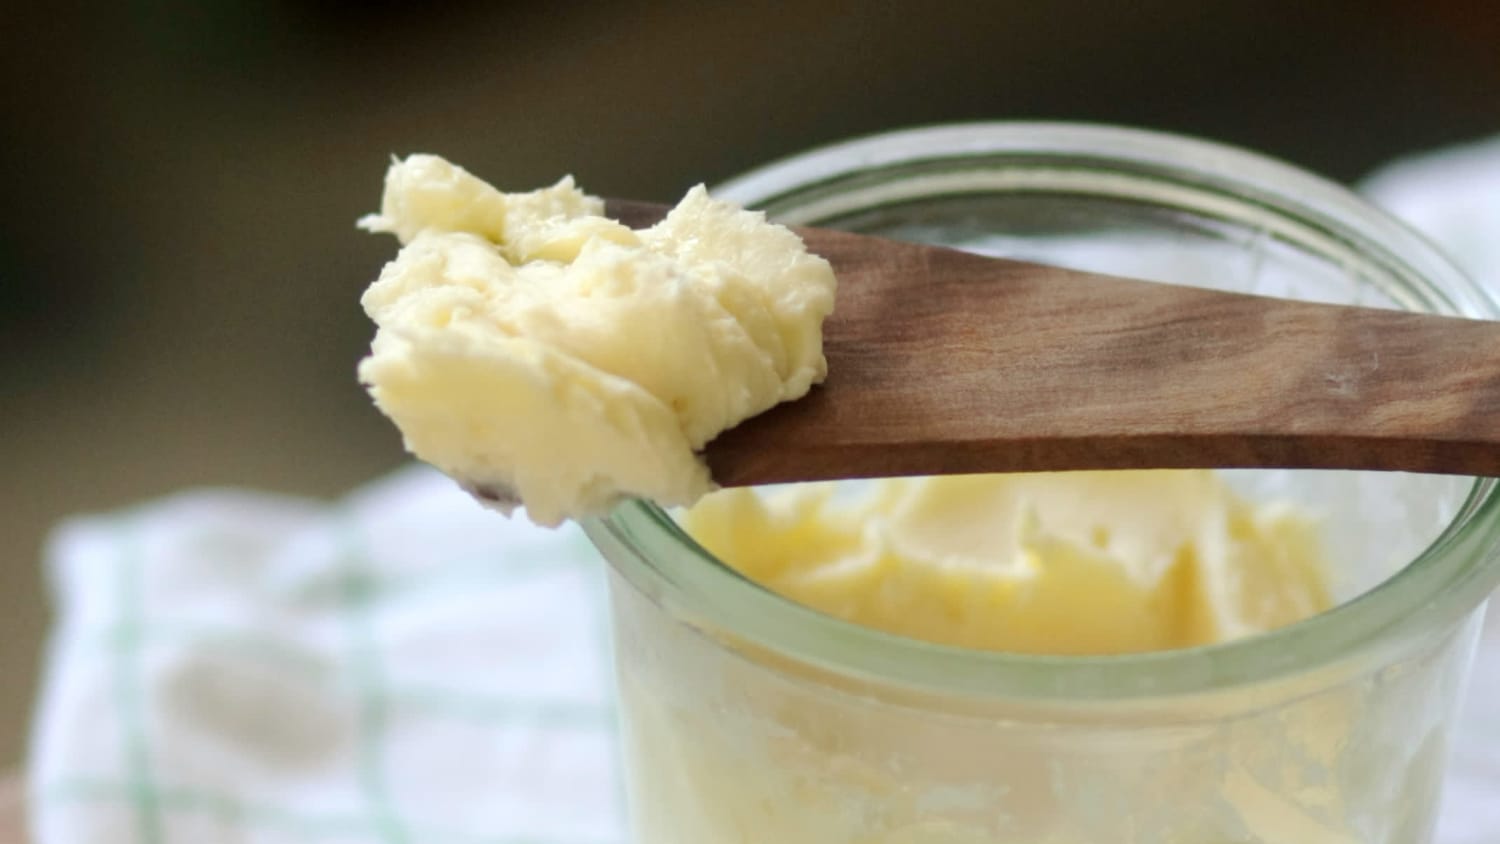
Strain off the buttermilk: Pour the buttermilk through the cheesecloth and strainer, holding the butter solid back. Allow the buttermilk to strain through, then plop in the butter. Gather the cloth around the butter and press it hard with your fist. Do this several times to get as much buttermilk out of the butter as possible. Pour the buttermilk into a container, label and refrigerate.
Step 6
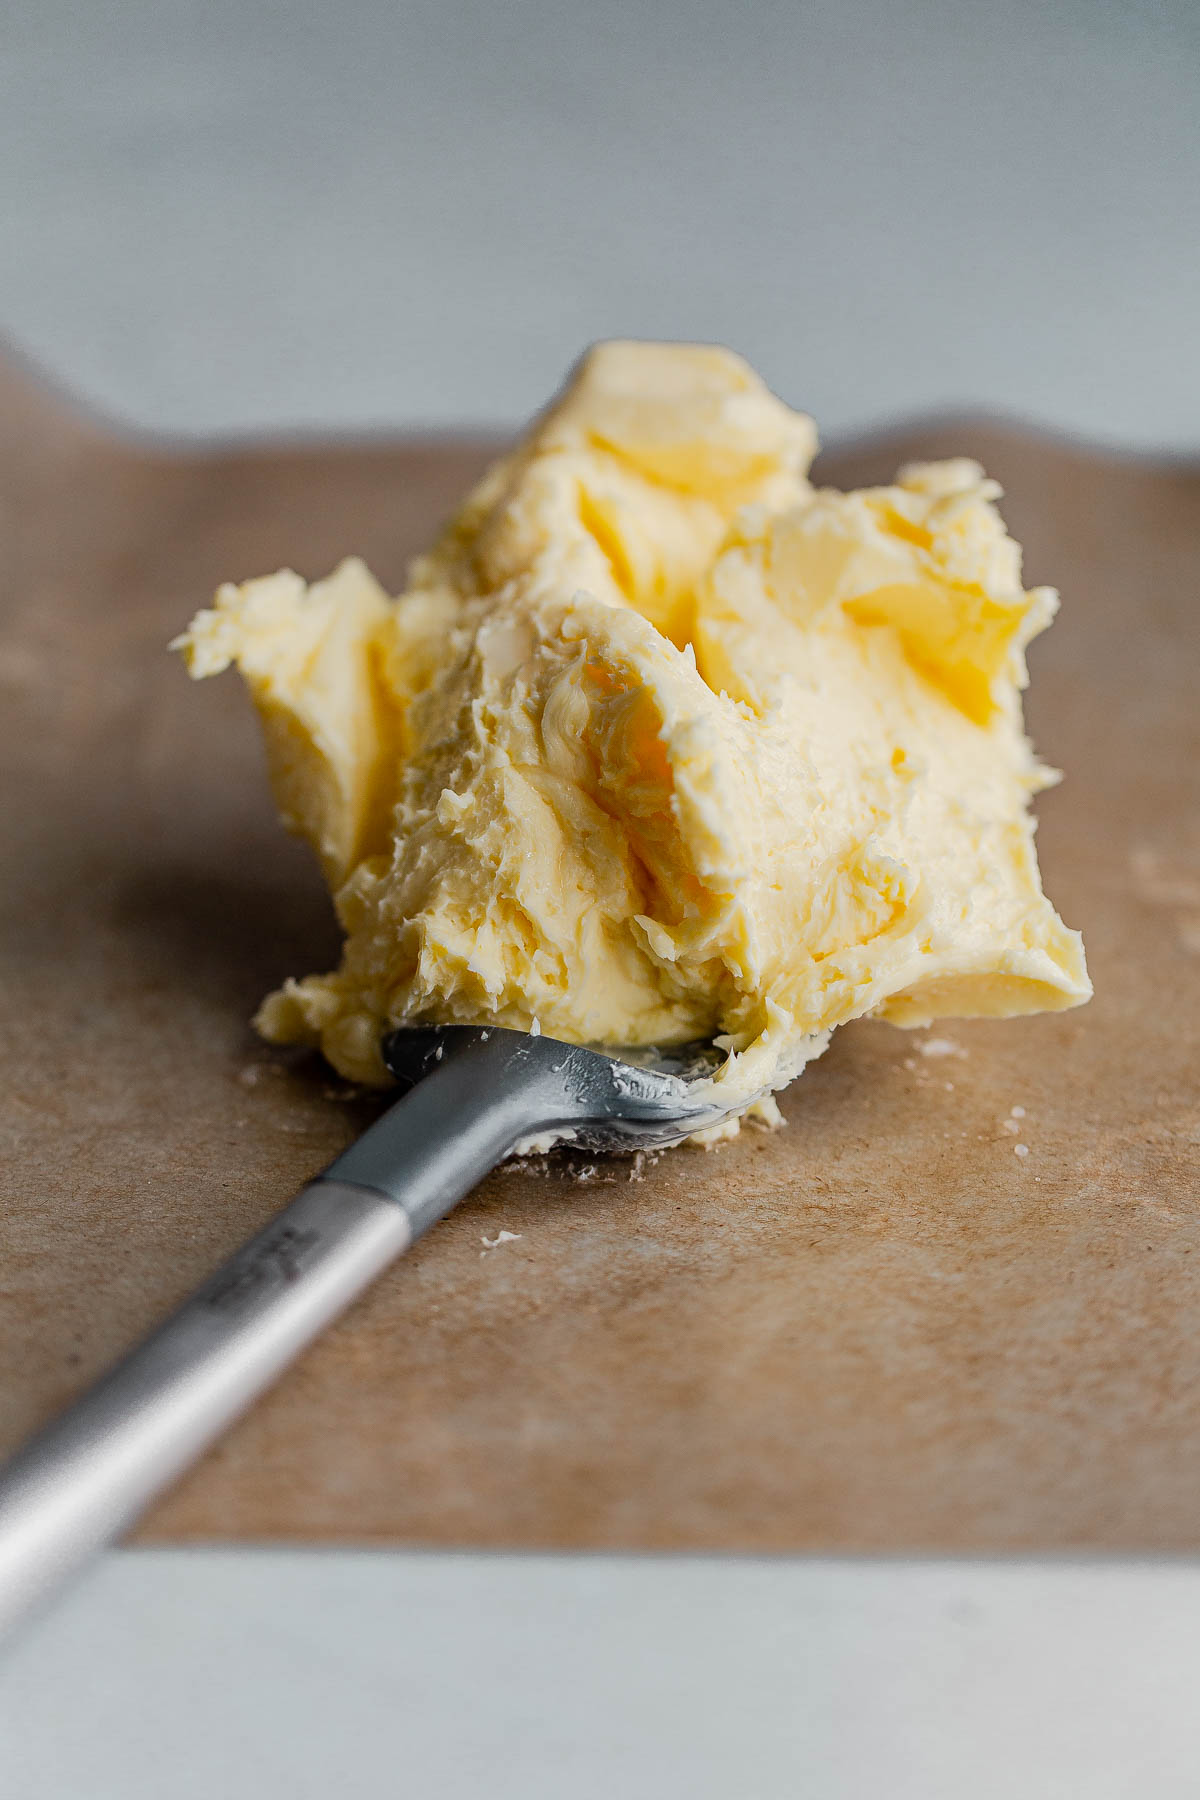
Wash the butter: Rinse out the bowl used for buttermilk. Remove the butter from the cloth and place it in the bowl. Add 1/2 cup of ice water to the bowl, and using a spatula, press the butter into the ice water. It will quickly become cloudy with buttermilk. Pour off the cloudy water, add another 1/2 cup of ice water to the bowl, and keep pressing. Repeat until the water is clear. This may take up to 6 washings. The butter will firm up towards the end, so you may find it easier to use your hands.
Step 7
Salt the butter (optional): Sprinkle the salt over the butter and knead in. Again, your hands may be the best tool here.
Step 8
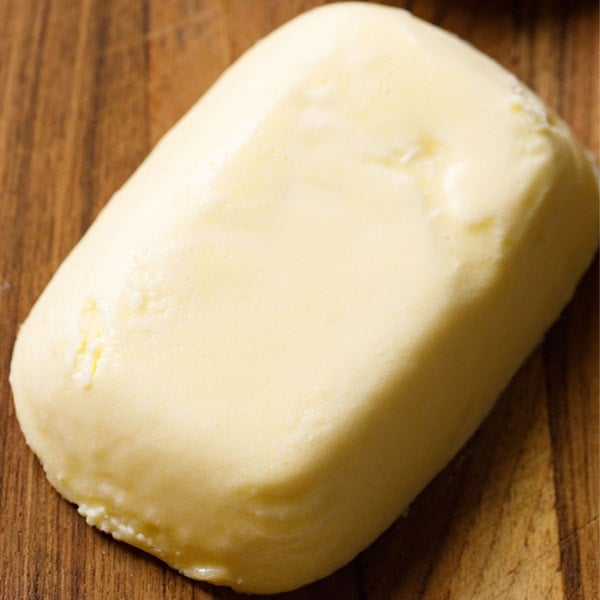
Store the butter. Pack the butter into a jar with a cover, or roll it into a log using waxed paper or parchment paper. The butter will keep in the refrigerator for about three weeks or can be frozen for several months.
Top similar recipes
Curated for youYour folders
:max_bytes(150000):strip_icc()/20230519-SEA-HowToMakeButter-Amanda-Suarez-hero-ce0a9772a5ef4ff283ab3dde2c746f19.jpg)
 340 views
How to Make Butter
seriouseats.com
Your folders
 147 views
How to Make Butter
theprairiehomestead.com
4.9
(19)
Your folders
 269 views
How to Make Butter (White Butter)
vegrecipesofindia.com
4.7
(22)
Your folders
323 viewsHow to Make Butter (White Butter)
vegrecipesofindia.com
4.7
(22)
Your folders
 199 views
Cultured Butter Cookies
cooking.nytimes.com
5.0
(1.3k)
Your folders
 253 views
Homemade Cultured Butter
abeautifulplate.com
4.9
(24)
20 minutes
Your folders
 75 views
Koji Cultured Butter
annavoloshyna.com
Your folders
 204 views
Homemade Cultured Butter
cooking.nytimes.com
5.0
(195)
Your folders
 273 views
How to Make Granola Butter (Oatmeal...
alphafoodie.com
5.0
(13)
10 minutes
Your folders
 345 views
How To Make Ghee Butter (Clarified ...
alphafoodie.com
5.0
(11)
30 minutes
Your folders
 283 views
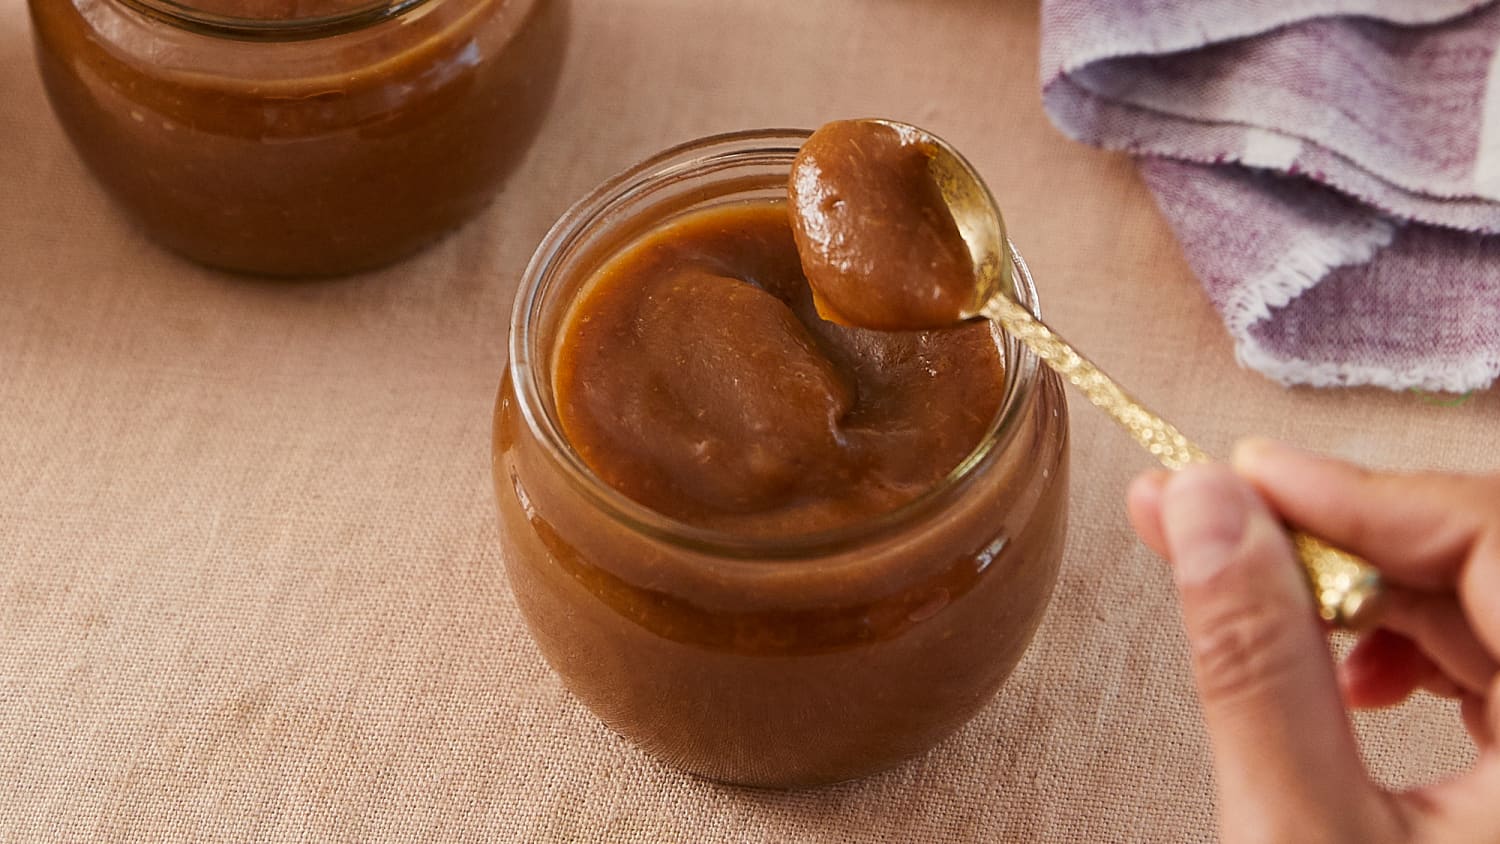
How to Make Apple Butter
thekitchn.com
6 hours
Your folders
 554 views
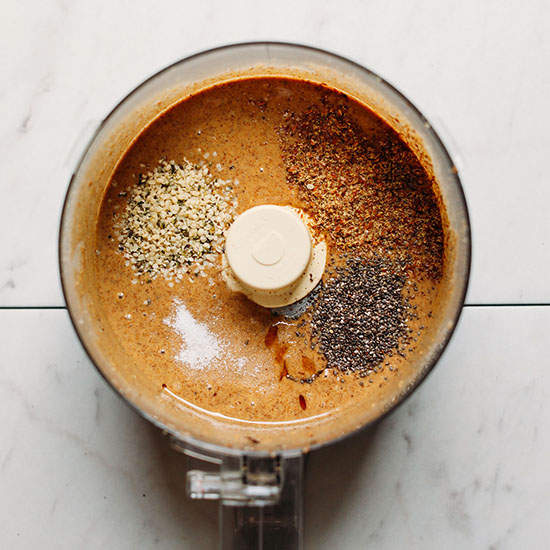
How To Make Nut Butter
minimalistbaker.com
4.9
(24)
10 minutes
Your folders
 631 views
How to Make Clarified Butter
culinaryhill.com
4.9
(16)
15 minutes
Your folders
 565 views
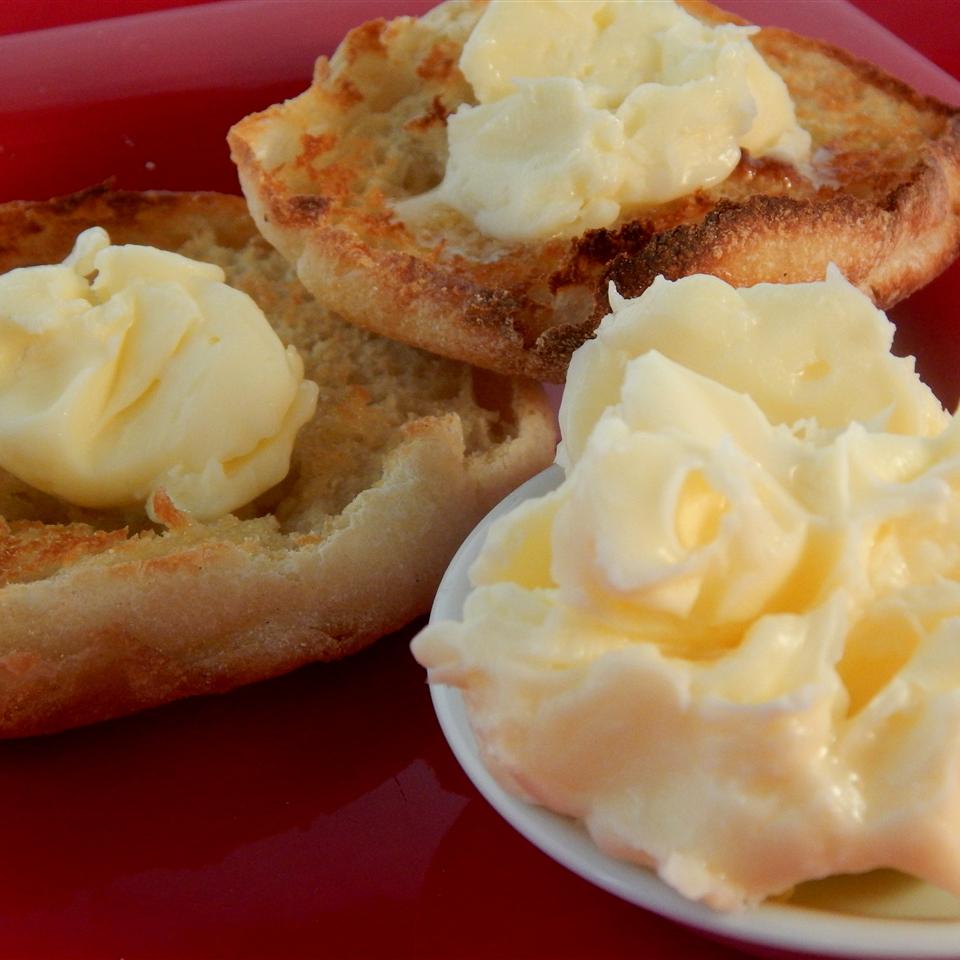
How to Make Homemade Butter
allrecipes.com
4.6
(34)
Your folders
 841 views
How to Make Peanut Butter
brokebankvegan.com
5.0
(1)
Your folders
 647 views
How to Make Homemade Butter
toriavey.com
4.8
(67)
15 minutes
Your folders
 517 views
How to Make Vegan Butter
noracooks.com
5.0
(16)
Your folders
 213 views
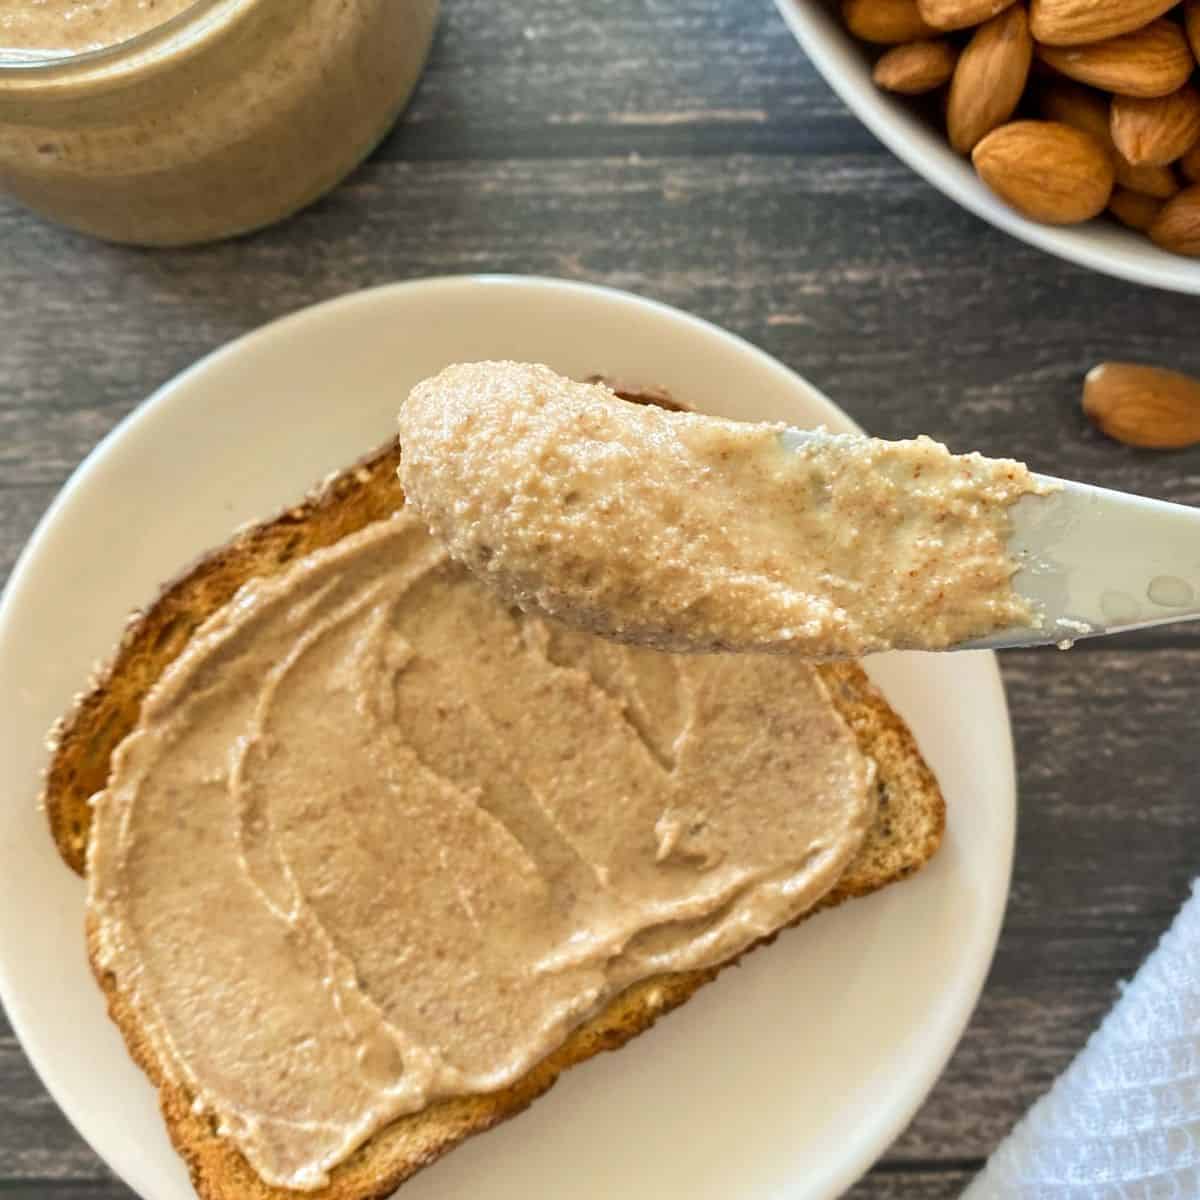
How to Make Almond Butter
thishealthykitchen.com
5.0
(4)
8 minutes
Your folders
 222 views
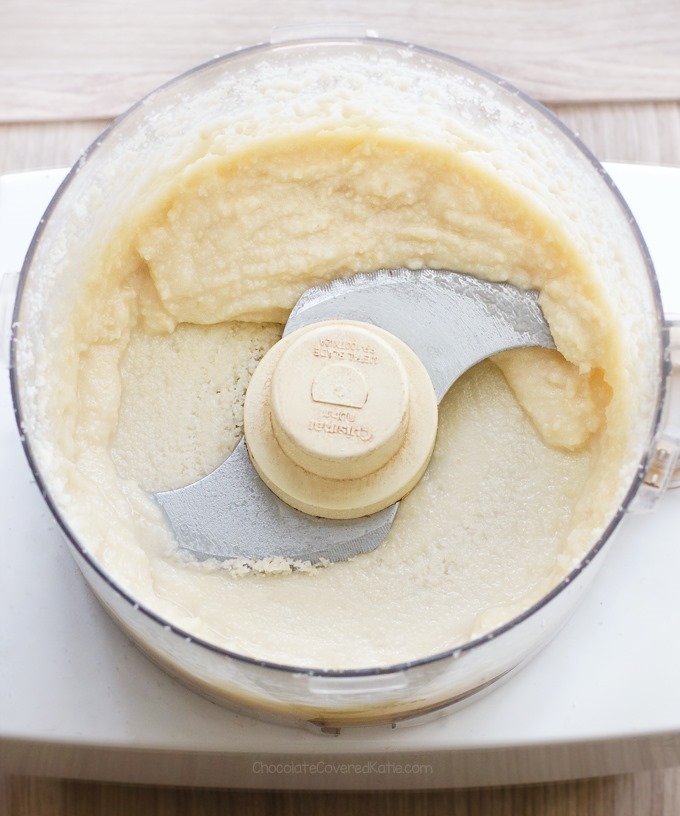
How To Make Coconut Butter
chocolatecoveredkatie.com
5.0
(35)