How to Make Chili Flakes
5.0
(3)
Your folders
Your folders
Prep Time: 5 minutes
Cook Time: 360 minutes
Total: 365 minutes
Servings: 40
Cost: $0.02 /serving
Author : Samira

Ingredients
Export 1 ingredients for grocery delivery
Instructions
Step 1
TOP TIP: Make sure to wear gloves whenever handling hot peppers/chilis and avoid contact with your eyes, nose, and mouth. The capsaicin within the peppers can linger on your skin even after multiple hand washes- so even more reason to wear gloves.
Step 2
First, rinse the chilies, wipe dry, and remove the stems. You can either keep them whole or chop in half (which will reduce the oven/dehydrator time). Remove some of the seeds if you'd prefer a less spicy flake mix.
Step 3
Dehydrate the chili's at 52ºC/125ºF for about 6-8 hours. The time will depend on the type and freshness of the peppers and the overall humidity.
Step 4
Dehydrate until the peppers are slightly darkened and have become fully dry and crispy. They should snap when you break them, not bend (at all).
Step 5
If your oven goes as low as 50-60ºC/120-140ºF, then dry for about 6-8 hours, but keep an eye on them and crack open the oven, if the chilis begin to 'cook' in any way.If the oven's temperature doesn't go as low, select the lowest possible temperature, and crack open the door while drying them. This will allow for better airflow and will remove all water vapor quickly.
Step 6
You can use a wooden spoon or another heatproof utensil to help keep the oven door open just 1-2cm.
Step 7
Allow the dried chilies to cool down before making the chili flakes.
Step 8
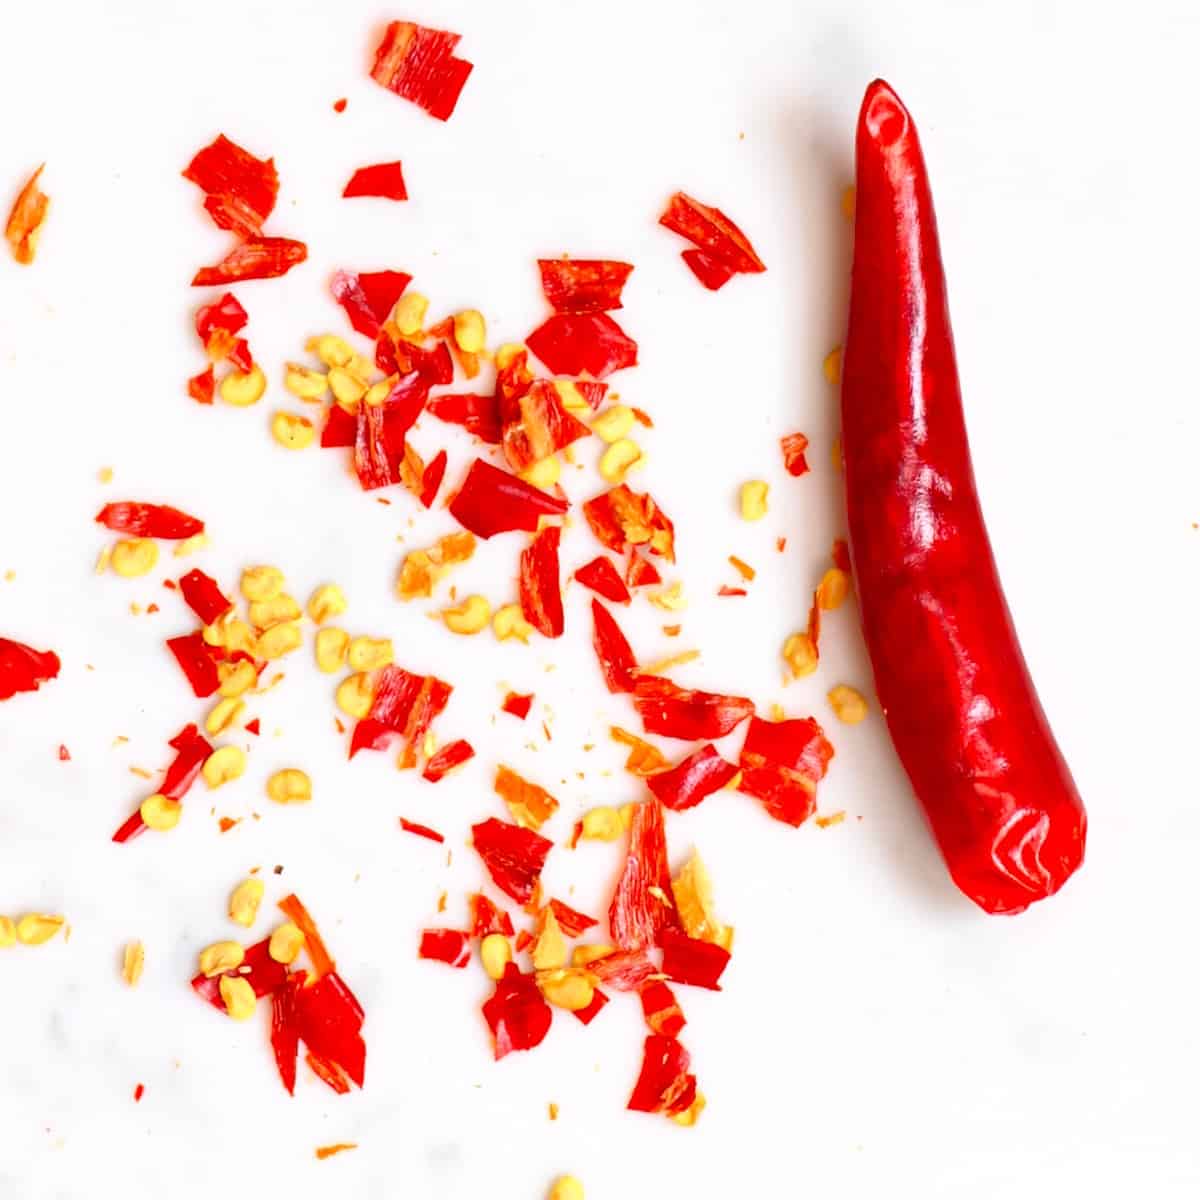
Once dehydrated, you can crush the peppers to make the chili flakes. To do this, either place them in a bag and crush them by hand. Alternatively, grind them in a blender or coffee grinder for just a few seconds.
Step 9
Dried chilis have a fantastic shelf life of at least 12 months if stored properly. Make sure to keep them in a dark, cool environment that is moisture-free, in an airtight container.