How To Make Garlic Flakes
5.0
(4)
Your folders
Your folders
Prep Time: 5 minutes
Total: 365 minutes
Servings: 30
Ingredients
Export 1 ingredients for grocery delivery
Instructions
Step 1
Peel the garlic cloves.
Step 2
Slice the peeled garlic using a garlic slicing tool, mandoline, or a sharp knife. Try to keep the pieces even in thickness and no thicker than 1/8 inch at absolute maximum, 1/16 inch if you can manage it.For dried minced garlic you can use a food processor/chopper for just a few seconds to roughly chop the garlic or mince the garlic by hand with a sharp knife.
Step 3
Lay the garlic slices/ mince onto the dehydrator trays, making sure that they are in a single layer. The more space between the pieces, the quicker they will dry.Dry in the dehydrator at 66ºC/150ºF for 6-8 hours (if high humidity, around 80%) or 4-6 hours (if low humidity).To check if they're ready, pick one up. If it's bendy at all, then it's not ready. If it snaps, then it's ready.
Step 4
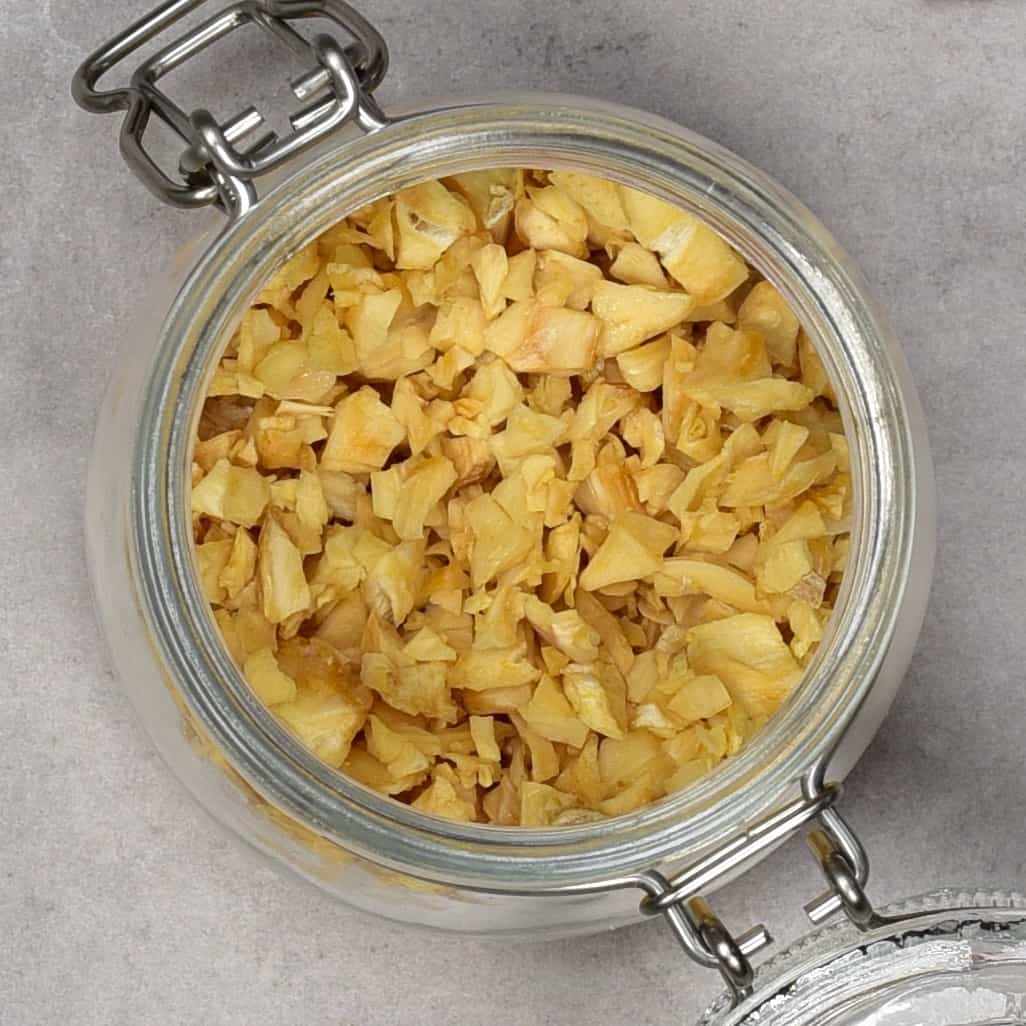
Spread the garlic over parchment-lined baking sheets, making sure the pieces don't touch.Place the trays in the oven at the lowest temperature your oven goes to. It's best if it's between 54-66ºC/130-150ºF. If your oven doesn't go as low as that, then choose the lowest temperature and prop open the door a few mm's with a wooden spoon, to allow the steam to escape as the garlic dries and help the process along.Check the garlic every hour (it takes 4-6 hours for me at 66ºC/150ºF) and remove it from the oven when it is either dry and snappable or at the very least barely bendy and lightly golden. It will continue to crisp up as it dries on the baking sheet.Once cool, it should snap rather than bend. If not, then it’ll have to go back into the oven again.
Step 5
You can place the garlic pieces on a cloth or paper-lines baking sheet. I prefer to use a kitchen cloth.Leave in a well-ventilated area, even better if it's next to a window that gets plenty of sunshine. This is best for warmer, non-humid climates, as the weather and humidity will affect the amount of time they take to dry completely.
Step 6
Turn over the garlic a couple of times. This will help speed up the drying process and stop them from sticking to the cloth/tray.
Step 7
This method can take between 2-3 days based on the garlic slices' thickness, the weather, and the humidity.
Step 8
Store the homemade garlic flakes in airtight containers like glass jars, and keep them in a cool, dry, and dark location - like a cupboard.The flakes will keep well indefinitely in an airtight jar in your kitchen, as long as it remains dry. You can also place some uncooked rice or beans into the container, which will absorb excess moisture and stop them from clumping. They’re best when used within the first year, though, as the flavor will deteriorate after that, I've found.