How To Make Ham
Your folders
Your folders
Author : Smoked and Cured

Ingredients
Export 3 ingredients for grocery delivery
Instructions
Step 1
Ham is traditionally made from the hing leg or the shoulder of pork. For beginners, we recommend you try making a ‘picnic’ ham from the shoulder first. The meat tastes pretty similar and the process is a bit quicker and easier first time around.
Step 2
How much brine you make depends on how big your piece of meat is. A general rule is you need to make enough brine to fully submerge your ham in it’s container + about 25% extra for pumping.
Step 3
When making ham, it’s very important you inject your meat with your brine as this ensures your meat will cure thoroughly. This is especially important when using a cut with bones in. Inject as deep as possible ensuring cure is throughout the meat.
Step 4
Once you’ve injected your meat thoroughly, place it in the remaining brine in your container of choice and place in the fridge. Ensure the meat is fully submerged. Curing generally takes 5-7 days.
Step 5
After the curing process, remove your meat and thoroughly rinse it under a cold running tap, ensuring to remove any and all excess salt and spices. After this, soak your meat in room temperature water for 2 hours to further remove excess saltiness and cure.
Step 6
Place the meat on a plate uncovered inside your refrigerator for 24 hours. During this time two things happen. the remaining cure and salt should ‘equalize’ throughout the meat, resulting in a less salty and more ‘even’ tasting final product. your meat will form a ‘pellicle’. This is a tacky sheen that will appear on the surface of your meat. The pellicle will help your meat more readily absorb a smokey flavour when it comes time to smoking.
Step 7
Yep, that’s right. It’s here at this step where you’ll no longer have a hunk of meat, but rather, a delicious ham. Set your oven or smoker to 110c. Cook your ham until it reaches an internal temperature of 65c.
Top similar recipes
Curated for youYour folders

 667 views
How to Make Tasso Ham
atbbq.com
5.0
(887)
2 hours
Your folders
 597 views
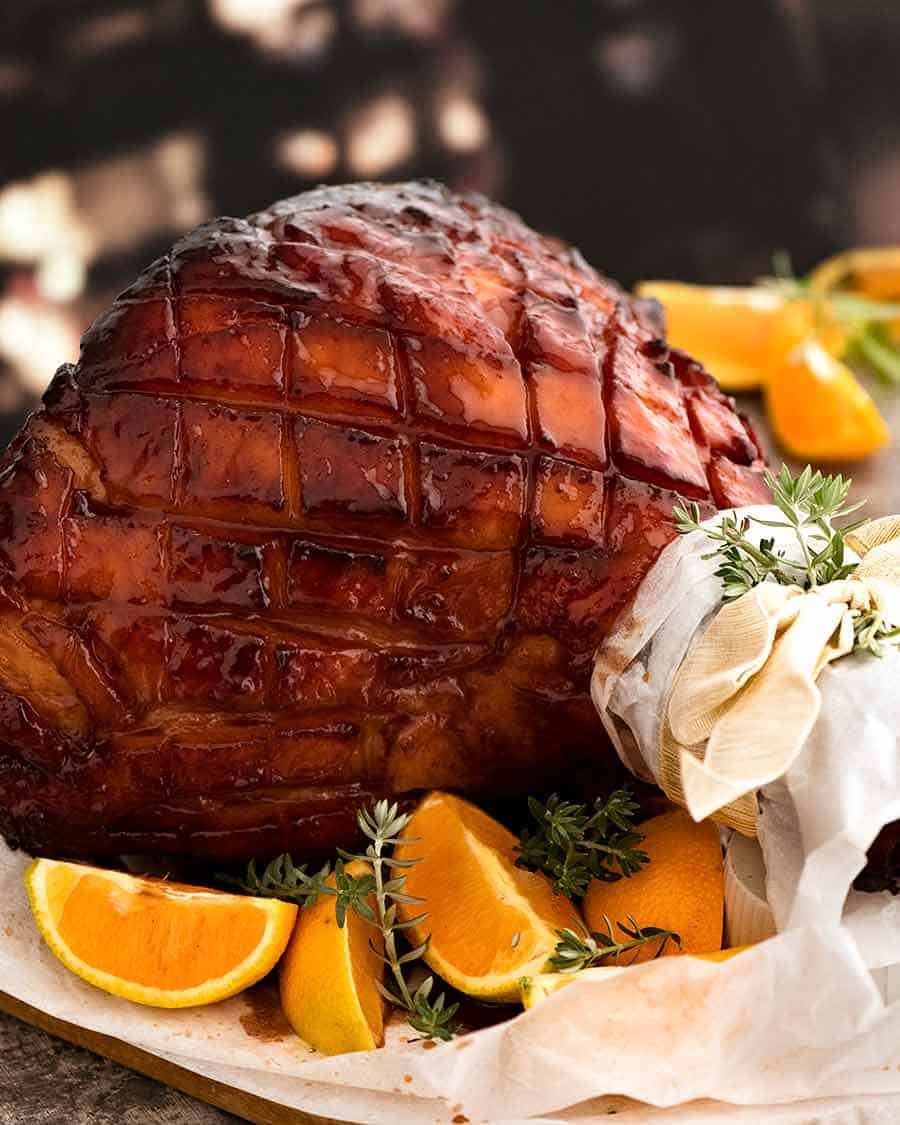
How To Make Glazed Ham
recipetineats.com
5.0
(1)
120 minutes
Your folders
 292 views
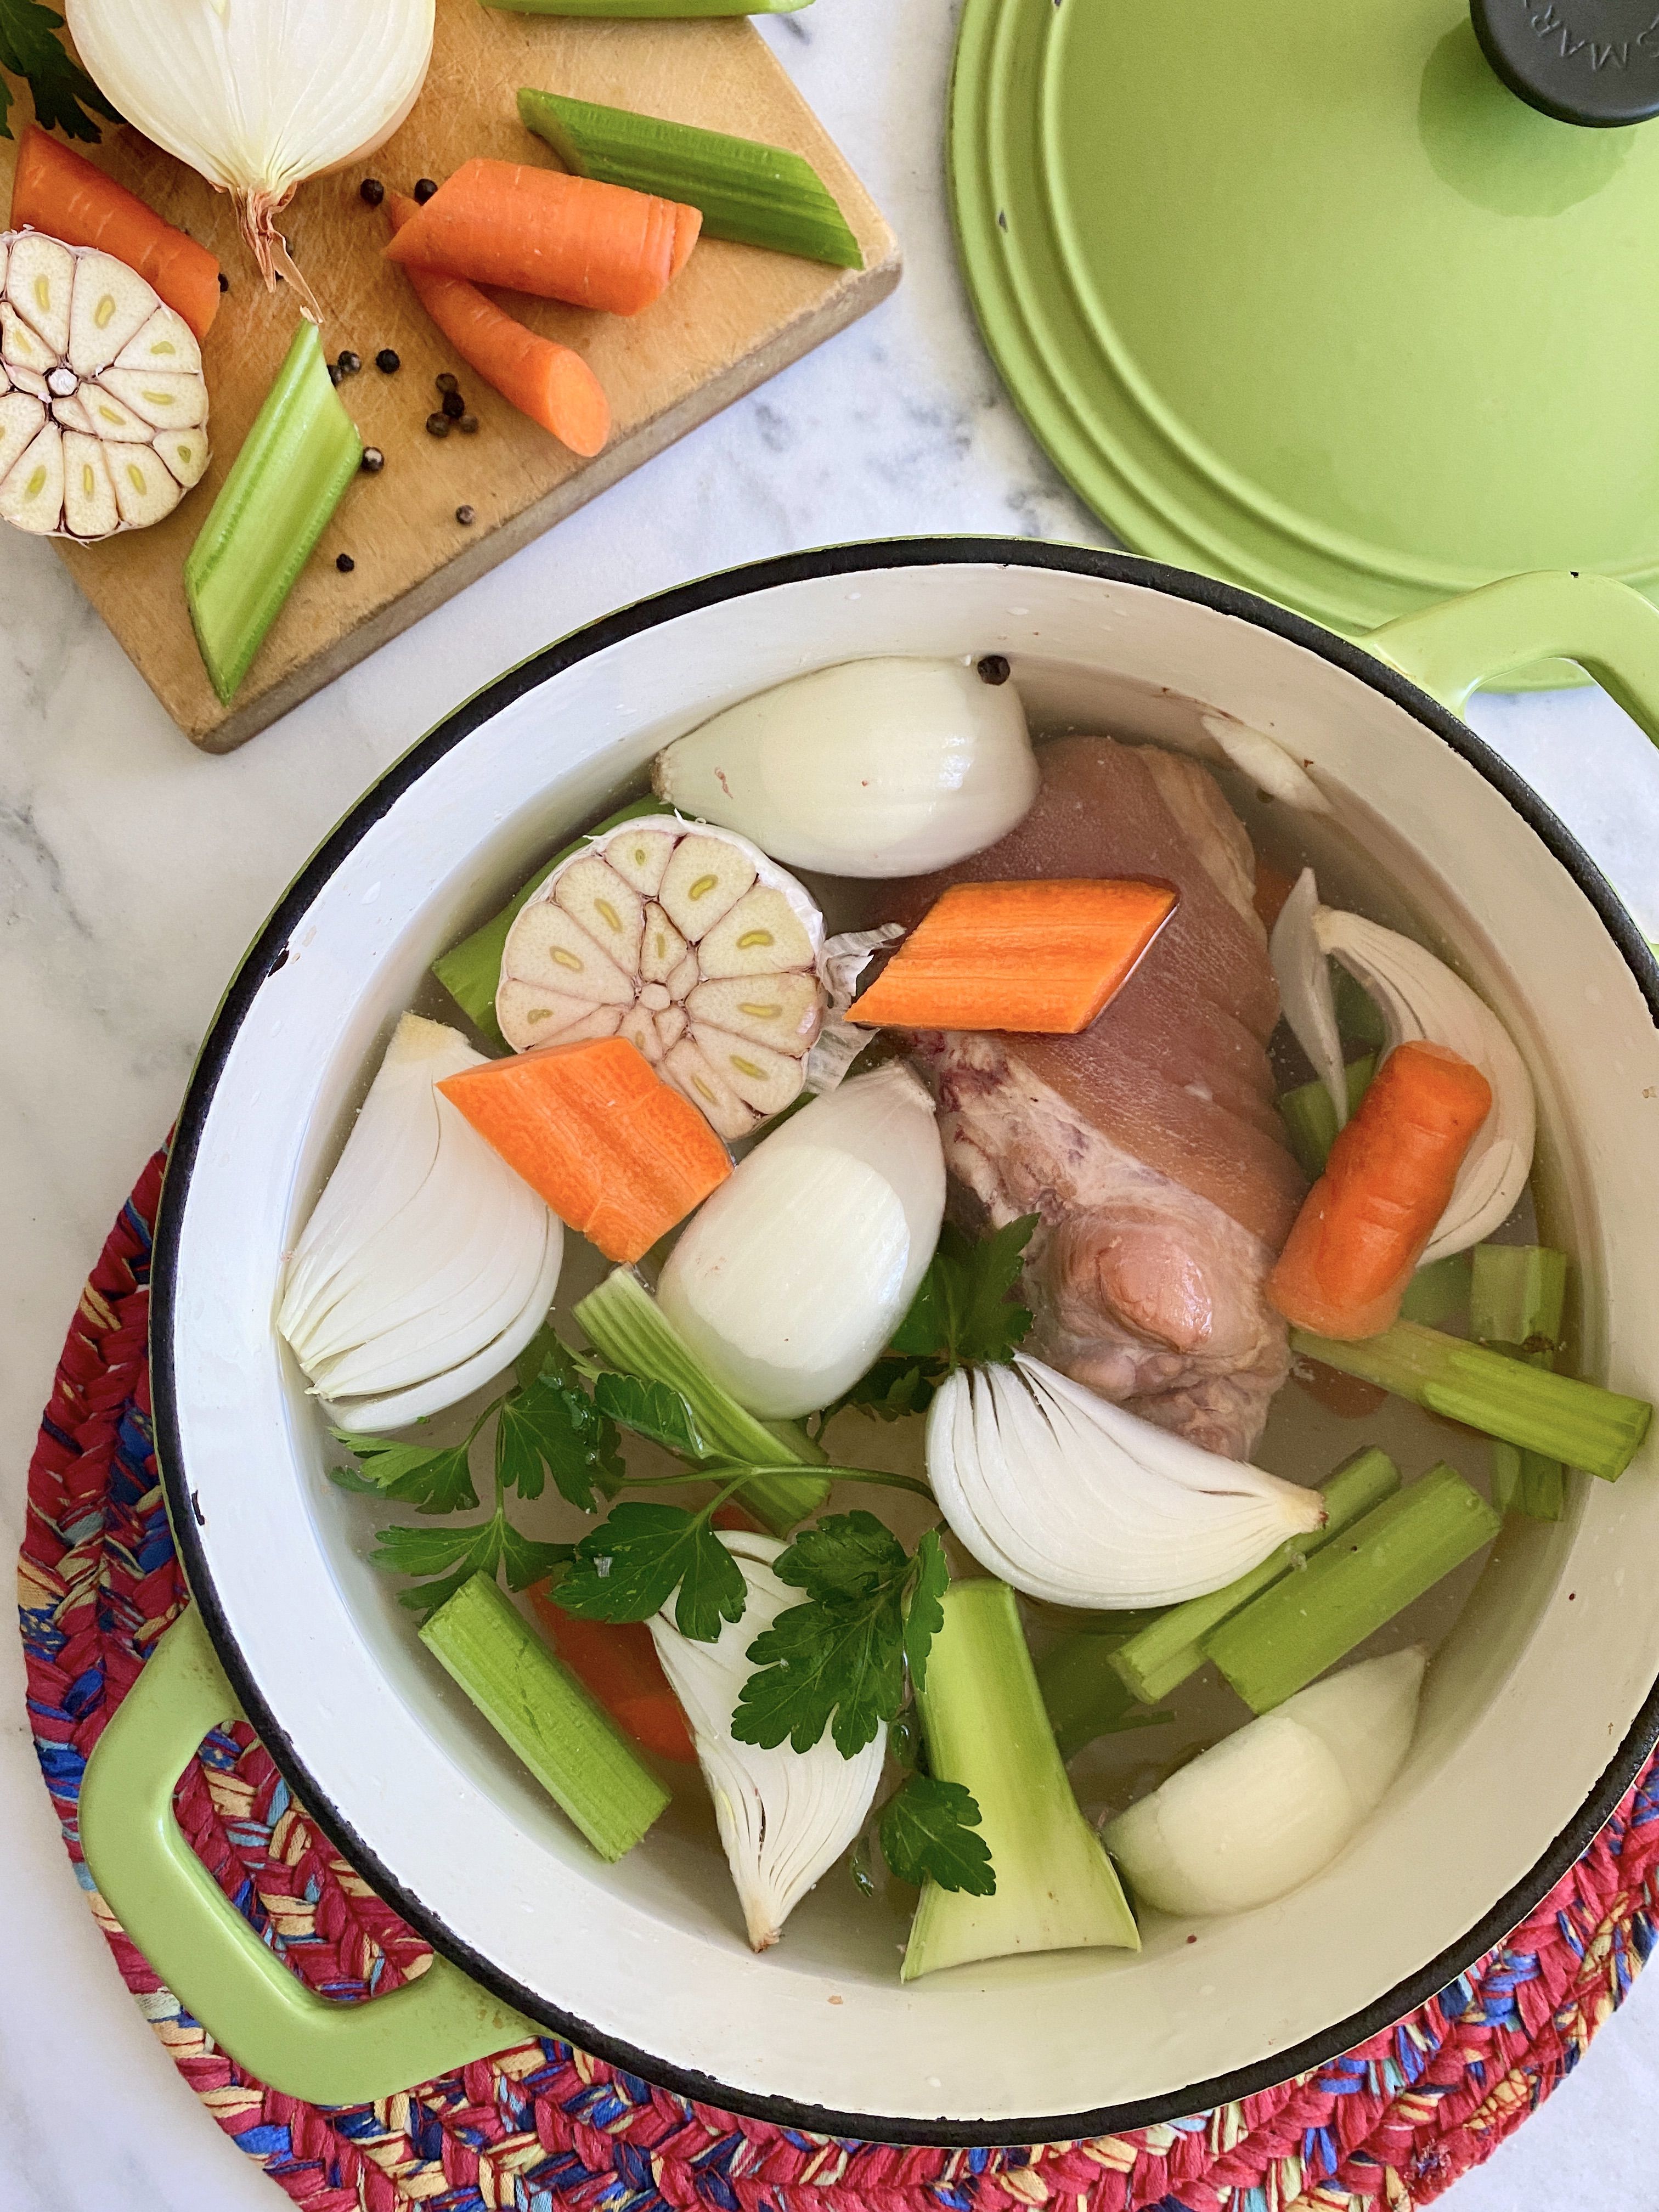
How to Make Ham Stock
thepioneerwoman.com
Your folders
 173 views
How to Make Ham Stock
kalynskitchen.com
4.8
(4)
8 hours
Your folders
 309 views
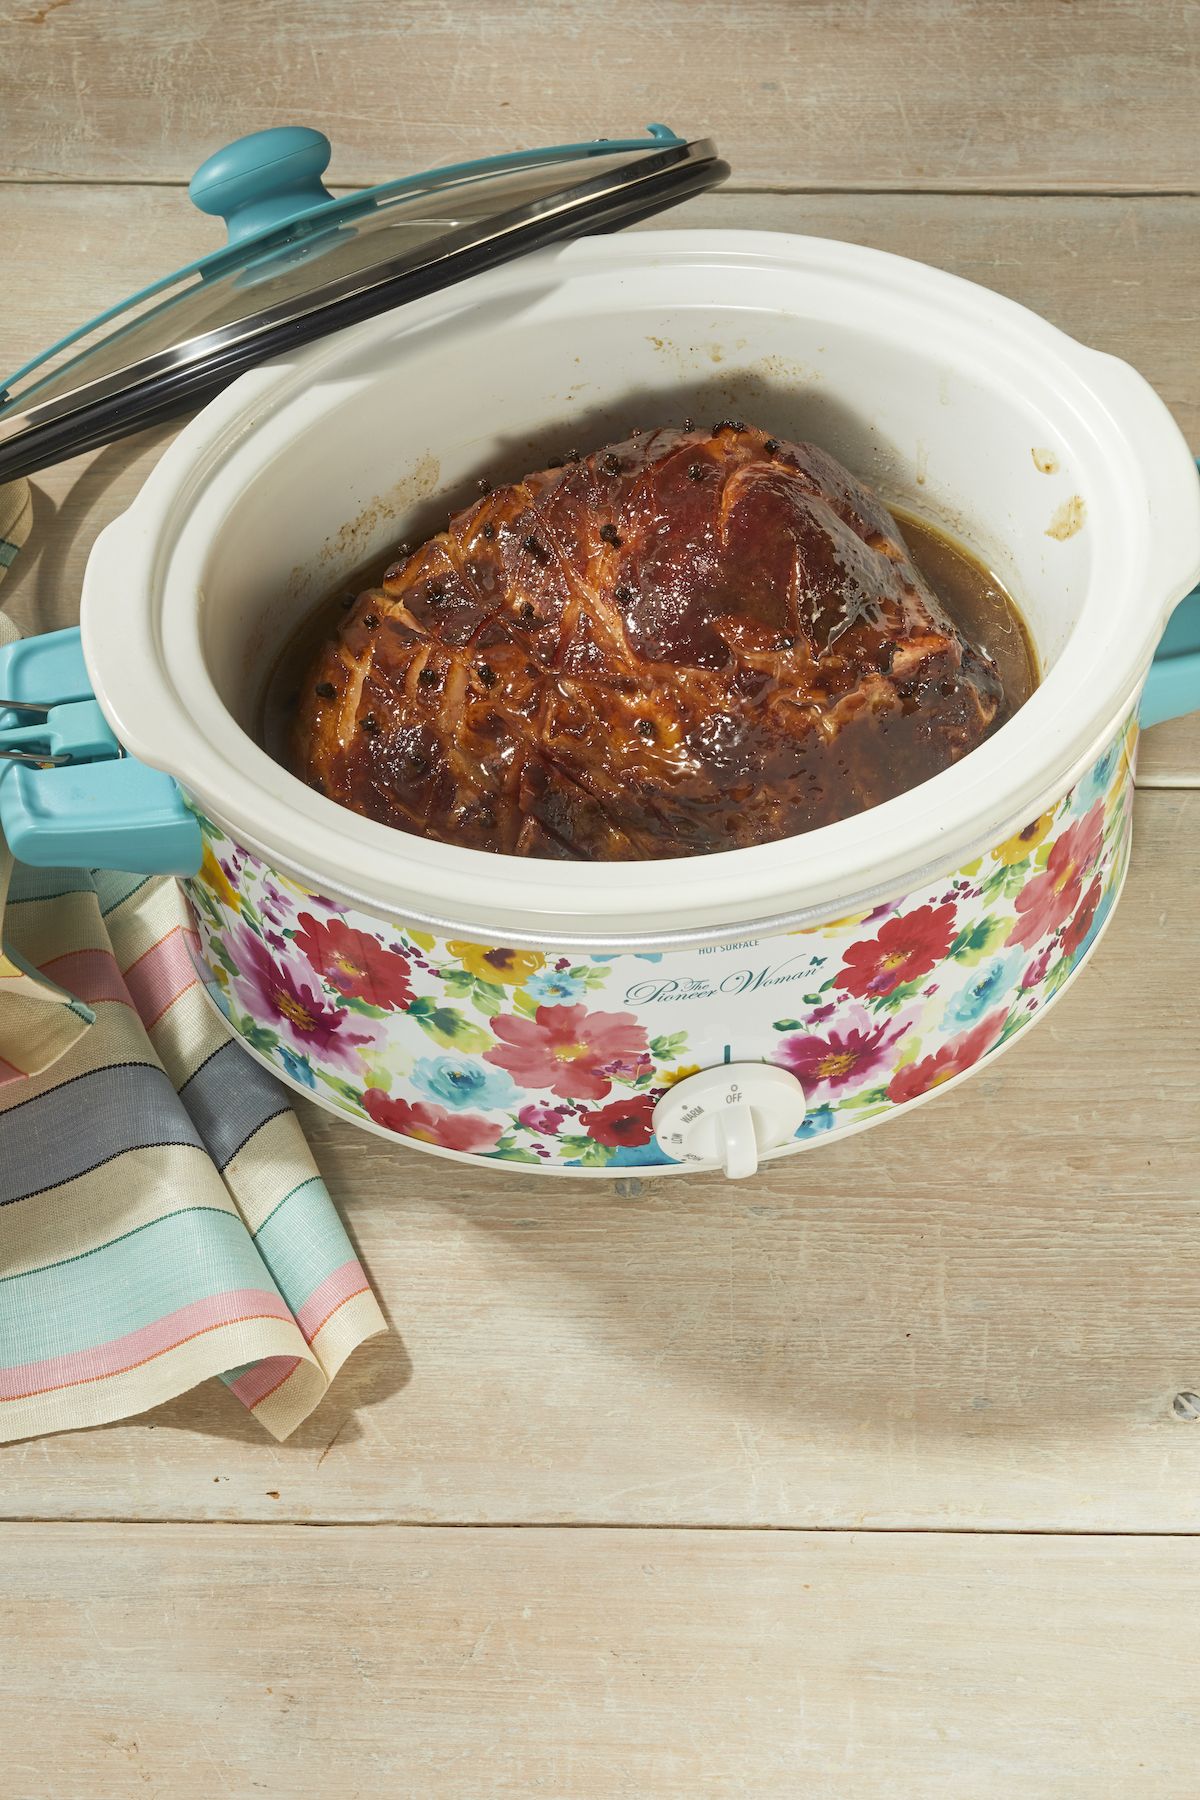
How to Make Slow Cooker Ham
thepioneerwoman.com
5.0
(2)
6 hours
Your folders
 418 views
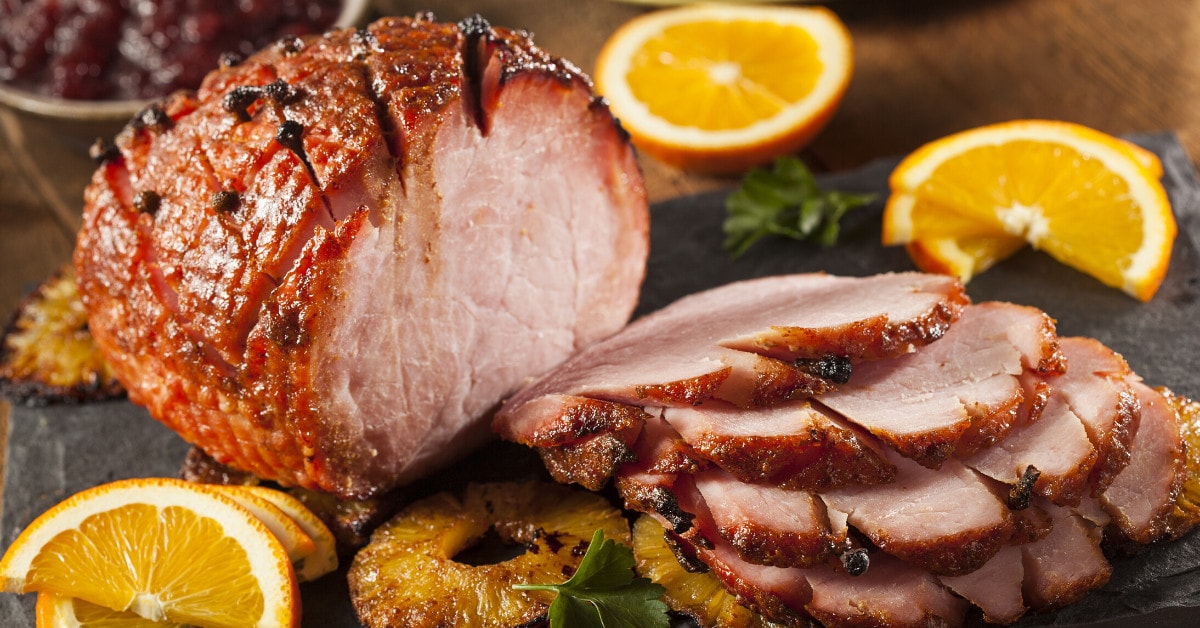
How to Freeze Ham
insanelygoodrecipes.com
5.0
(3)
Your folders

 153 views
How to Make a Cheap Ham Taste Amazi...
nerdymamma.com
4.4
(102)
2 hours
Your folders
 284 views
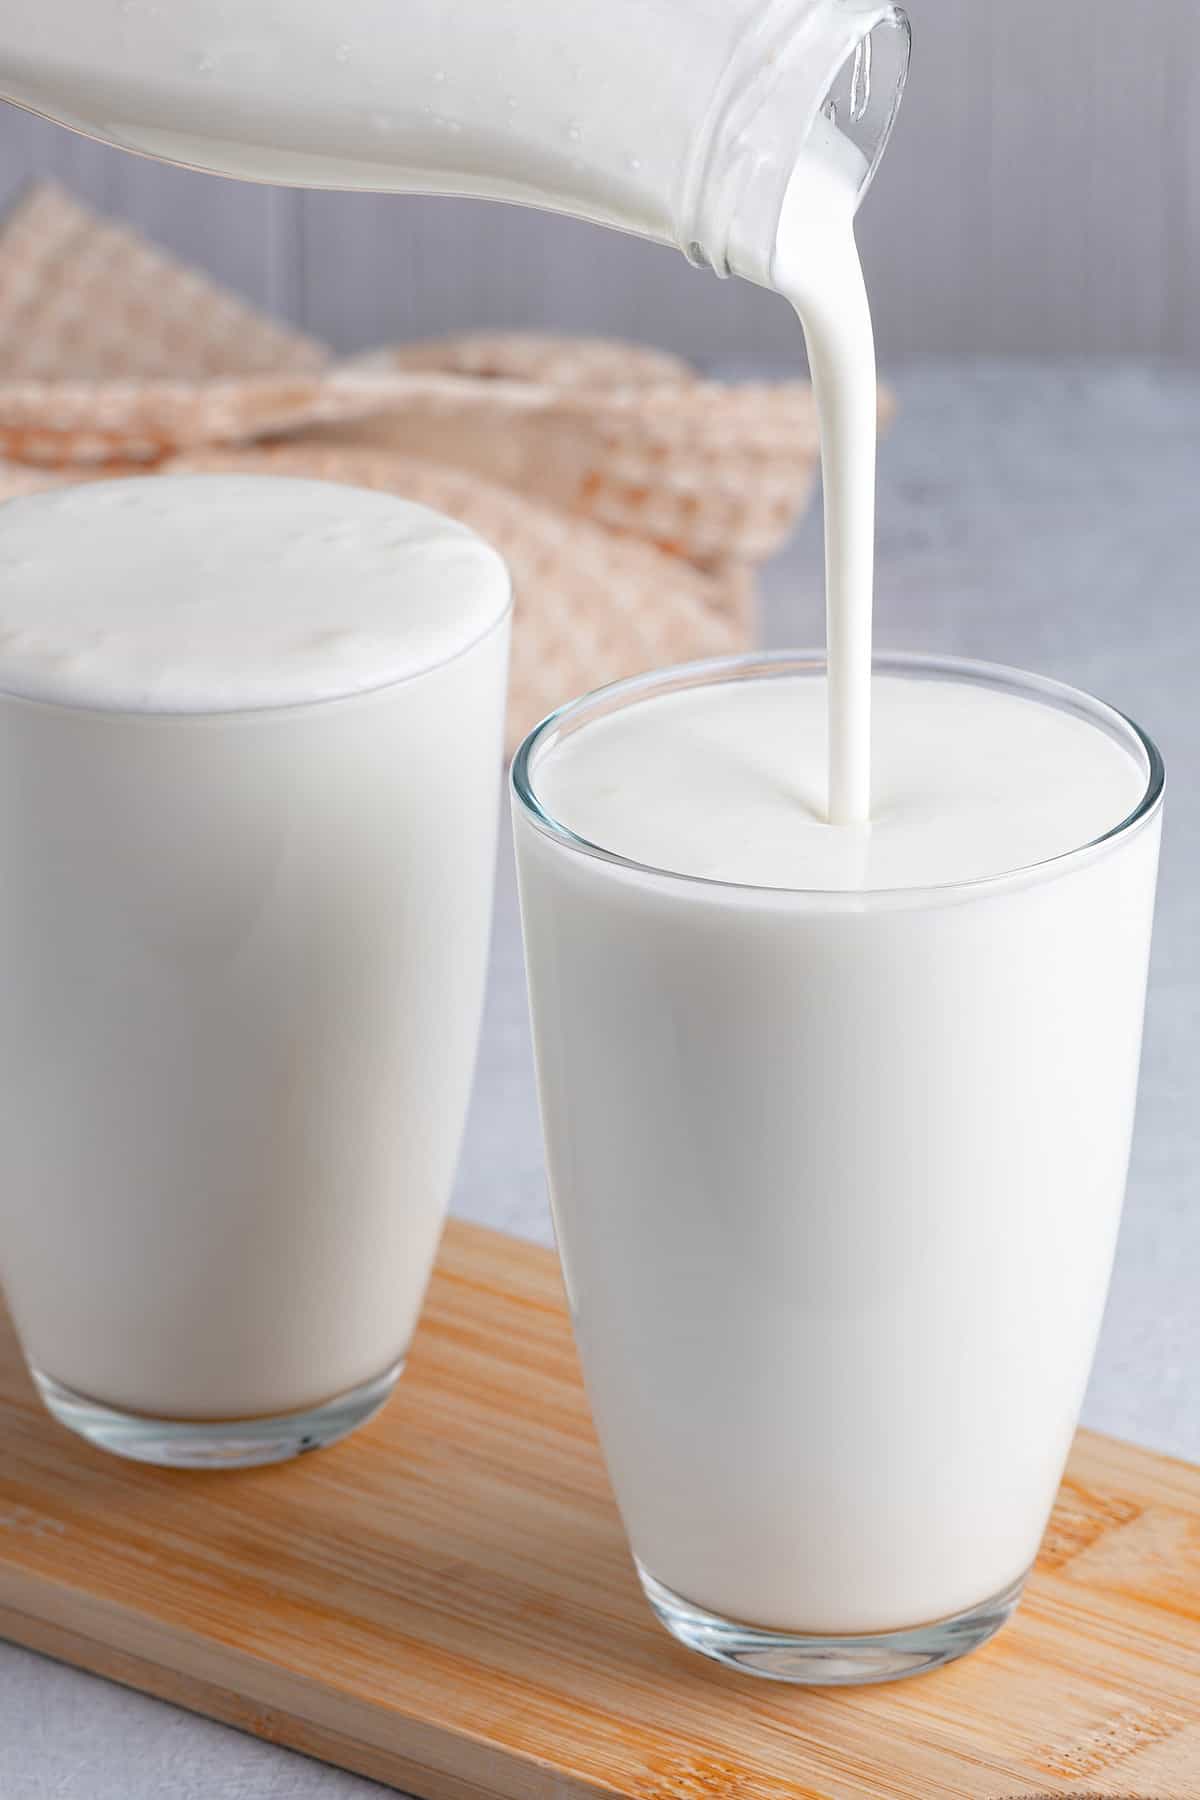
How to make buttermilkHow to make b...
thekitchenmagpie.com
Your folders

 233 views
How to Make GlueHow to Make Glue
onecrazymom.com
Your folders
 308 views
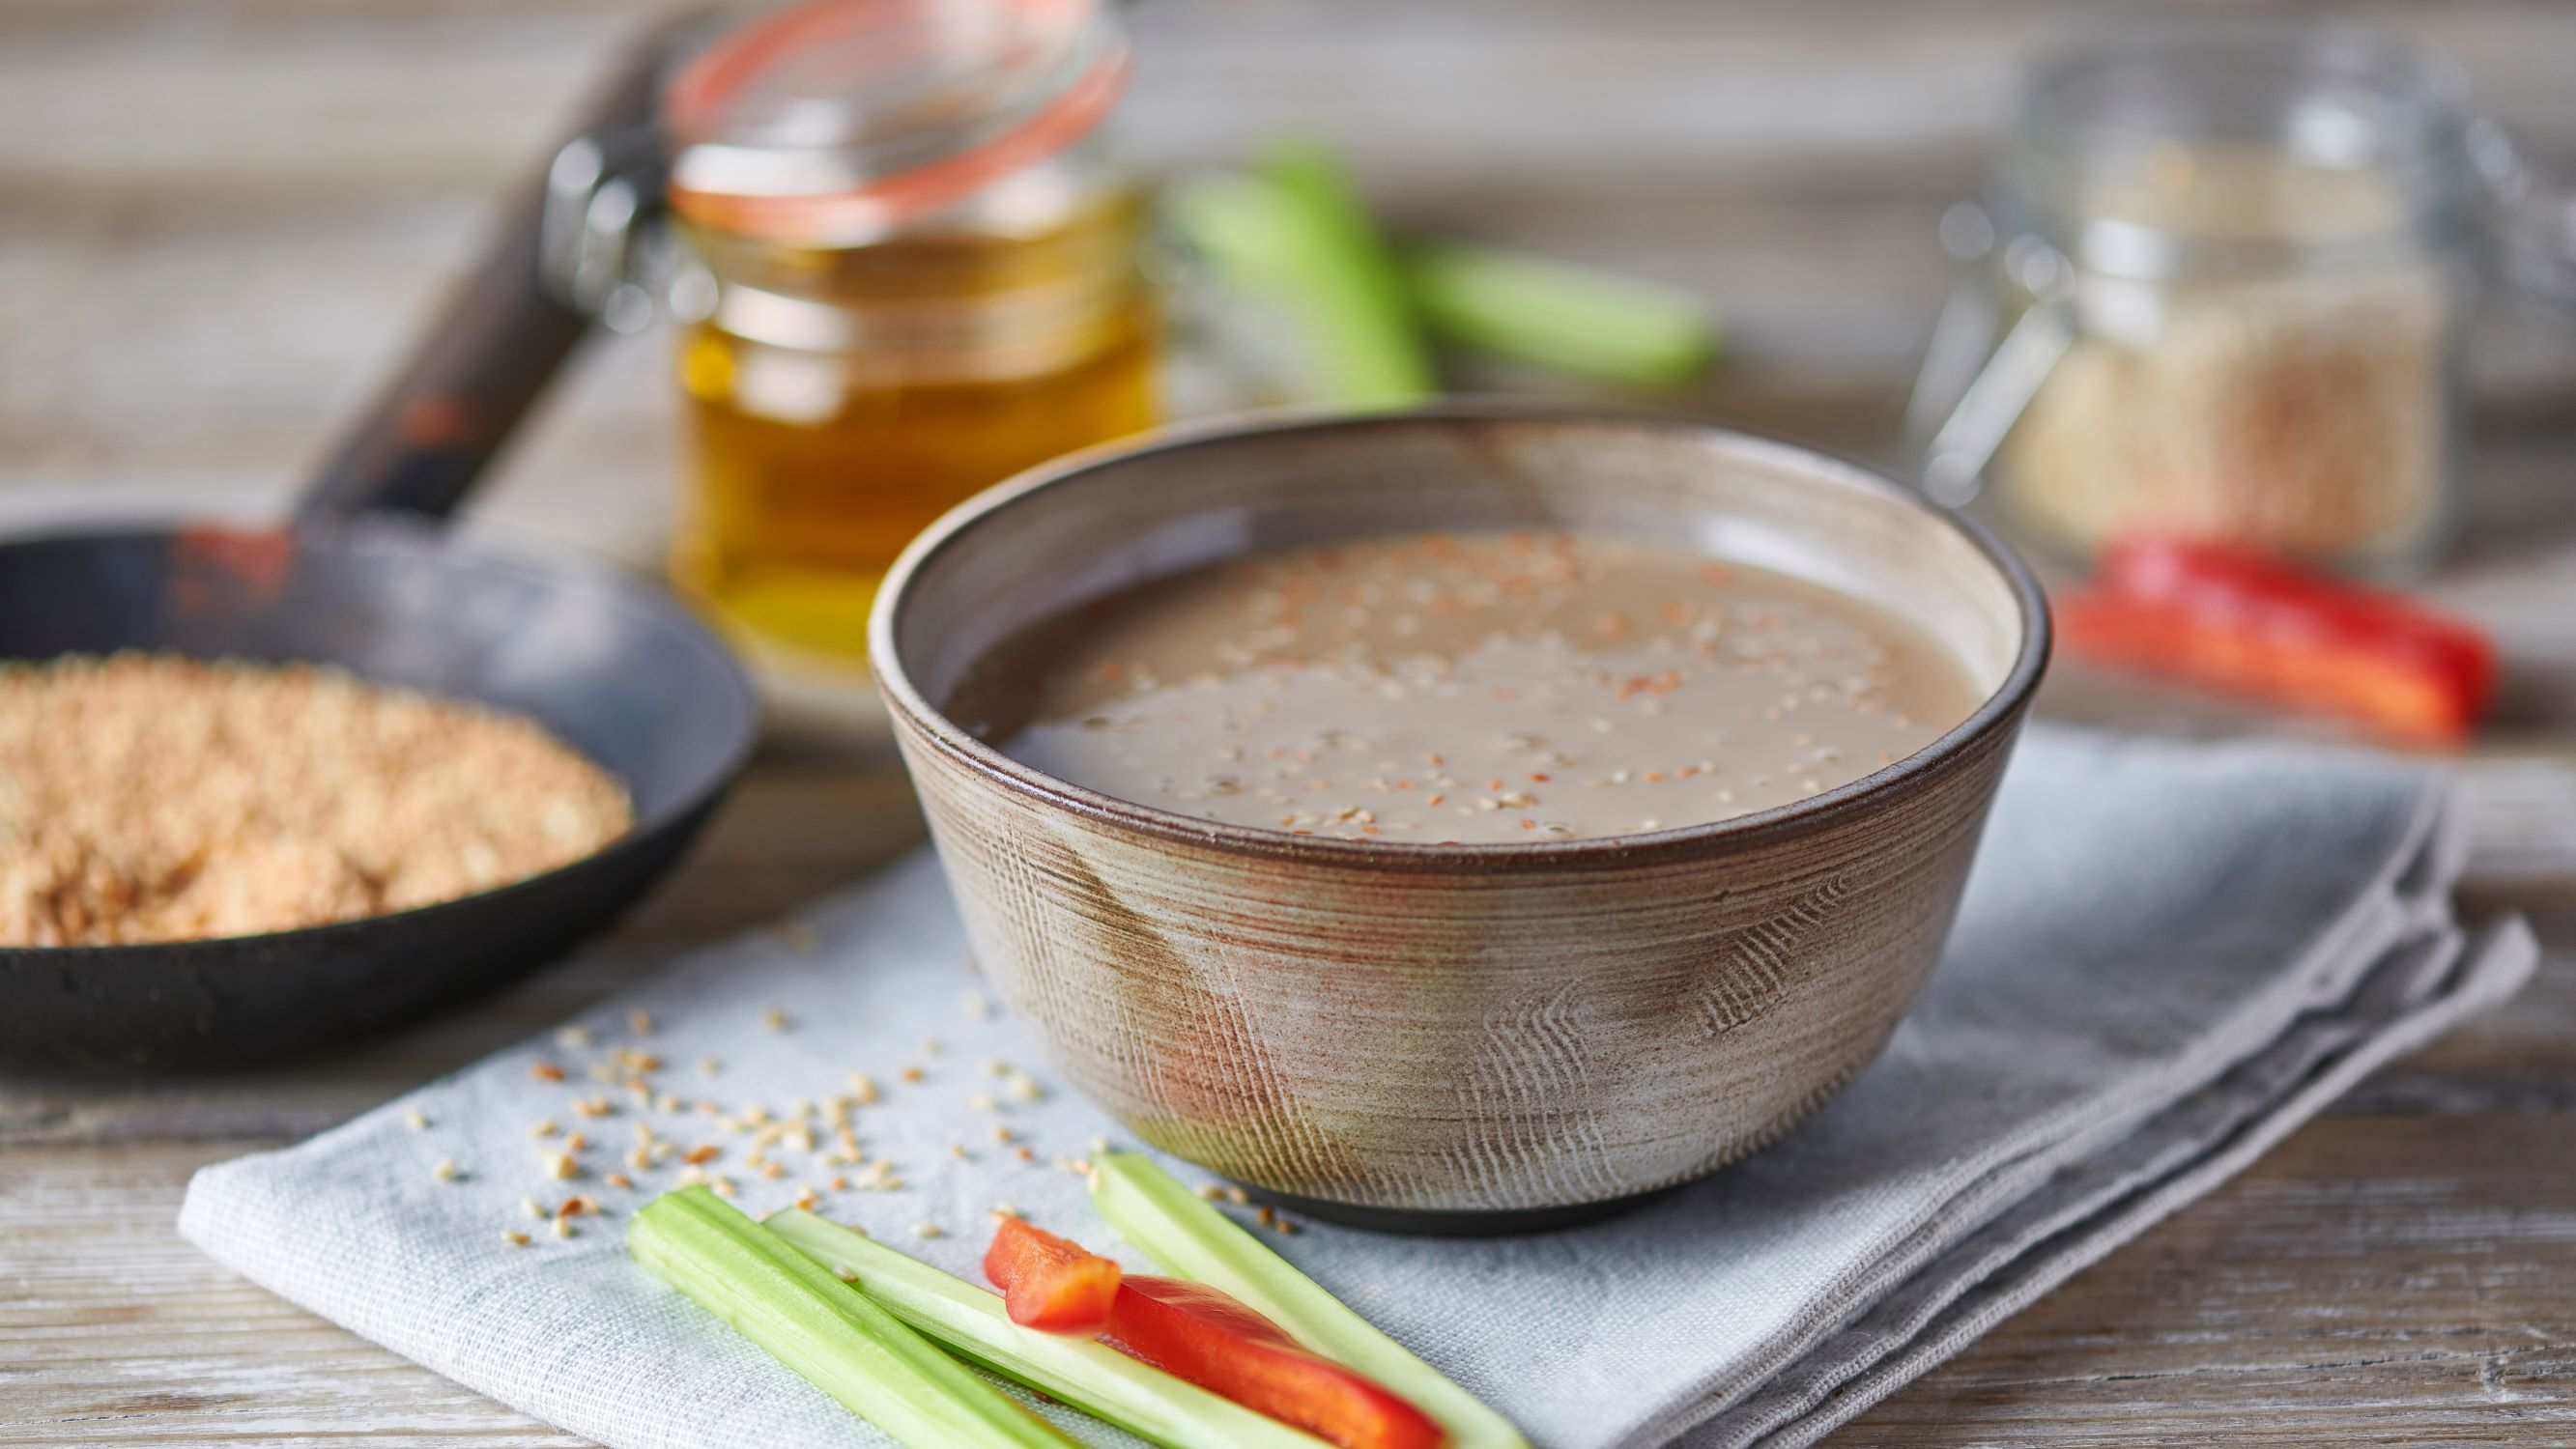
How to make tahini
bbc.co.uk
10 minutes
Your folders
 403 views
How to Make Buttermilk
cookieandkate.com
4.7
(6)
Your folders

 376 views
How to make bouillabaisse
gourmettraveller.com.au
1 hours, 30 minutes
Your folders
 315 views
How To Make Calzones
thekitchn.com
4.0
(3)
Your folders

 307 views
How to Make Nougat
wikihow.com
96.0
(14)
Your folders

 345 views
How to Make Falafel
themediterraneandish.com
4.8
(245)
20 minutes
Your folders
/20211014-Youtiao-Tim-Chin_hero_2-f6f4c1f5412b46b48523d6488fa5663b.jpg)
 259 views
How to Make Youtiao
seriouseats.com
Your folders

 443 views
How to Make Buttermilk
cookieandkate.com
4.7
(7)
Your folders
 361 views
How to make lasagne
bbc.co.uk
4.6
(40)
2 hours
Your folders

 270 views
How to Make Gravy
wikihow.com
100.0
(1)