How To Make Soy Candles At Home
Your folders
Your folders
Total: 750
Servings: 1
Author : Jade Julie Mittendorf Sandra Pacheco Saldaña Angela Heidi Maxima Clarence offerds Angela

Ingredients
Export 4 ingredients for grocery delivery
Instructions
Step 1
Gather all of the ingredients and equipment listed above.
Step 2
Connect your candle wick to your stabilizer. Then, using either a hot glue gun or a bit of melted wax, affix your wick and stabilizer to the bottom of your jar so it doesn’t go anywhere. Not sticking the stabilizer in place isn’t a deal breaker, but when you come to pour in the wax you’ll kick yourself if you don’t.
Step 3
Now we need to melt the wax and we need to do this relatively slowly, as soy wax can catch fire if not melted properly. You can do this by making use of a double boiler (bain marie). Place a pan half-filled with water on the stove and place a Pyrex/heatproof or metal mixing bowl on top so that it sits on the pan and isn’t submerged in the water.
Step 4
Turn on the stove to medium heat. You can pre-boil the water first to speed things up, but it should only be simmering when your bowl is sitting on top. You can then pour your flakes into the bowl, stirring occasionally with a whisk or spoon. Although a whisk is good to use, as candle wax doesn’t build up as much as it does on a spoon. Be careful not to actually whisk this, as you’ll be adding too much air to our wax (which results in air bubbles in the finished product).
Step 5
Once the wax has fully melted we can mix in the color! Make sure your wax is between 170-180F (82C), but no hotter. Check this with your thermometer gun. If your dye flakes do not melt, turn up the heat a bit. If you’re using block candle dye, then smash it up a bit first so that when you add it to the wax it will melt more quickly.The amount of coloring you need will vary depending on the size of your jar and the type of dye you’re using, so experiment and add a little at a time. You can test your color but letting a few drops from your spoon fall onto a bit of baking paper/parchment. Just watch your temps while doing this and remember to keep it below 180F (unless your dye just won’t melt).Keep in mind that soy wax does not color as well as your traditional paraffin wax. For a lovely pastel color, be very conservative with your dye. If it feel like you’re fighting a battle trying to color your candle, and you’ve used lots of dye and you’re still not seeing much color, you’re probably using a dye that is unsuitable for soy wax.
Step 6
Bring the temperature of your wax down to between 150F-160F. This is an important step, as our candle fragrance oil will evaporate very quickly at temperatures above this. Once your wax is a suitable temperature, stir in your fragrance so that it is fully distributed, we’ve used a gorgeous vanilla fragrance oil.To find out how much candle fragrance oil you will need, work out 1/10 (or 10%) of the total weight of your wax. Just divide whatever weight, in grams, you calculated by 10 and that’s the amount in mls you’ll need of your fragrance oil. I’ll be using 55mls, as my original weight was 552.5 (I rounded to 550 before calculating).If you find the fragrance too strong, when you next make this try a lower percentage of between 7-9%. If you’d like it stronger, then try 11 or 12%. I strongly advise not to add any more than 12% as you’ll reduce the overall integrity and stability of the wax, leading to poorly made candles.
Step 7
Returning to your jar, thread the wick through a wick holder/around the pencil so that your wick is centered for when you pour in your wax.
Step 8
Once it’s stable, go ahead and pour in your wax. This is an important step not to miss, as without it your candles can burn unevenly, burn too slowly or too quickly.
Step 9
Allow your candles to cool then, trim the wick with a pair of scissors.
Step 10
I recommend waiting a few days before you burn or gift them, but you can use this time to adorn your candles with beautiful ribbon, labels, tags and other gorgeous decorations to impress your family, friends and giftees!
Top similar recipes
Curated for youYour folders

 621 views
How to Make Soy Milk at Home
thewoksoflife.com
4.5
(4)
20 minutes
Your folders
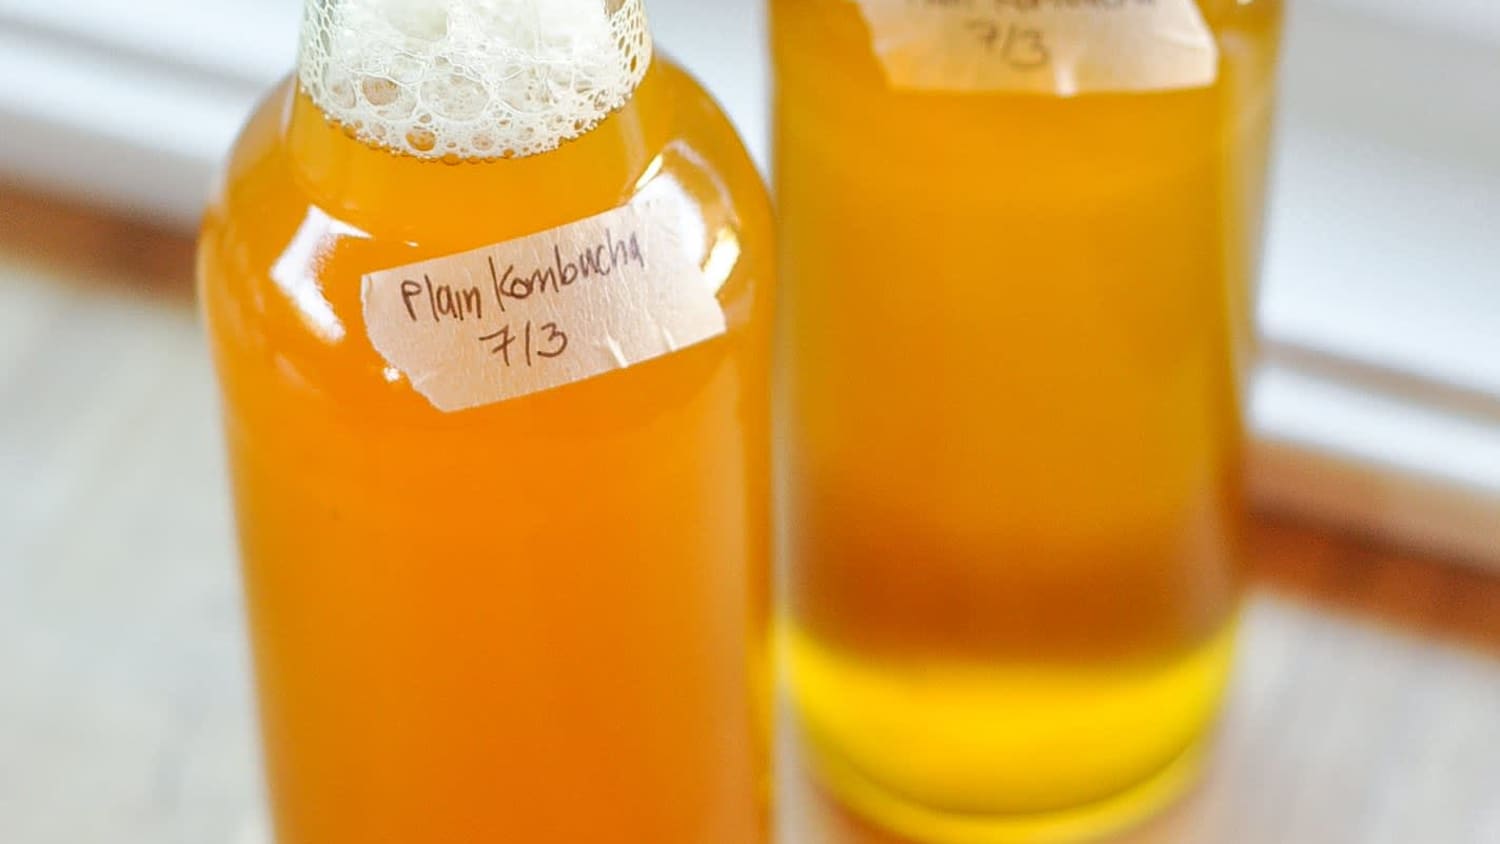
/__opt__aboutcom__coeus__resources__content_migration__simply_recipes__uploads__2020__04__How-to-Make-Kombucha-LEAD-16-38f65524a57b4eed9fcacc4ea02d78b3.jpg) 434 views
434 viewsHow to Make Kombucha at Home
simplyrecipes.com
Your folders
 731 views
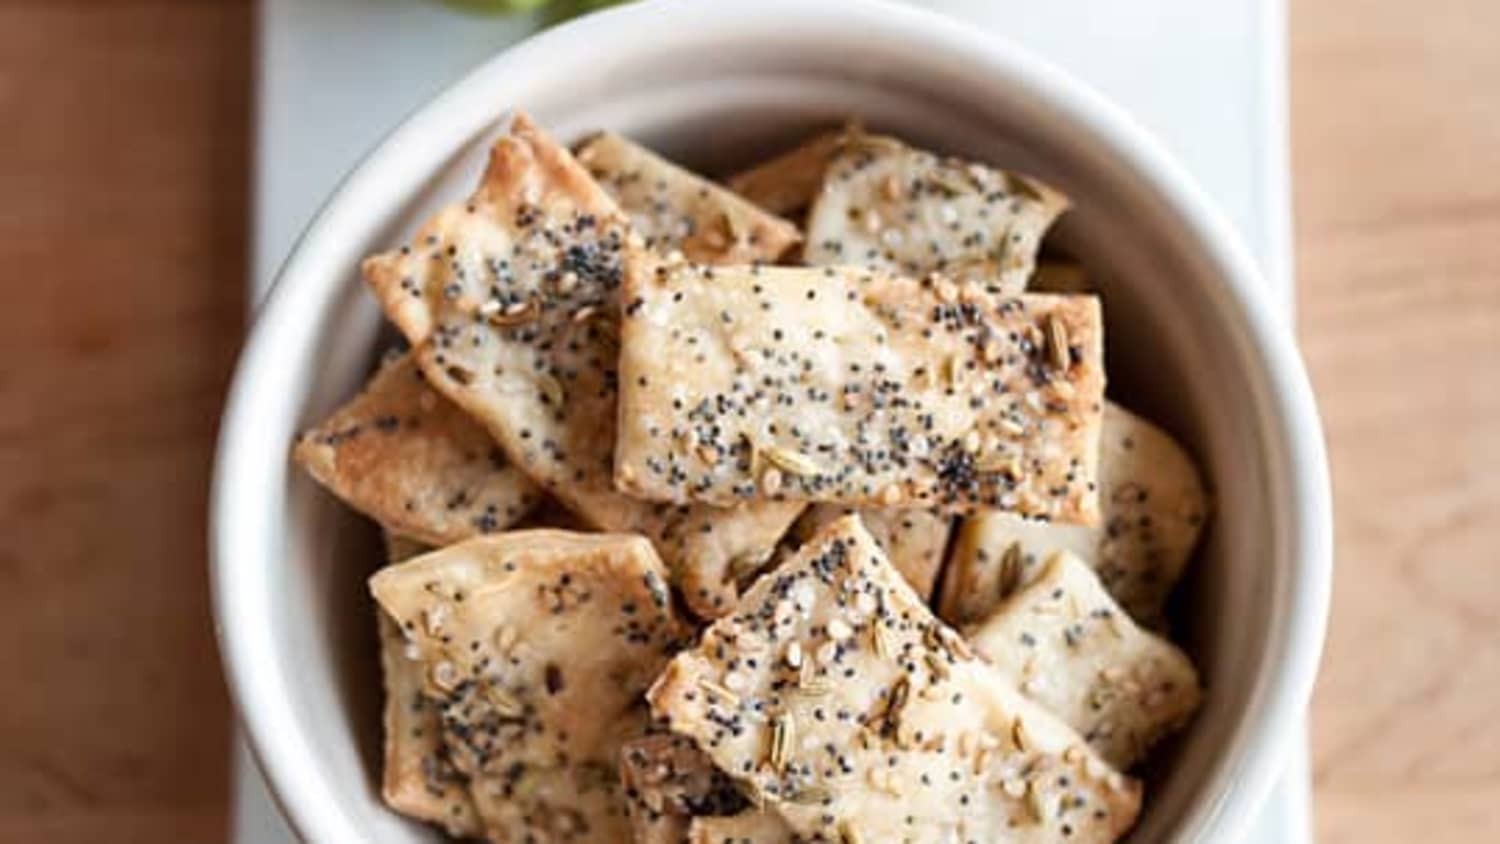
How to Make Crackers at Home
thekitchn.com
4.8
(20)
Your folders
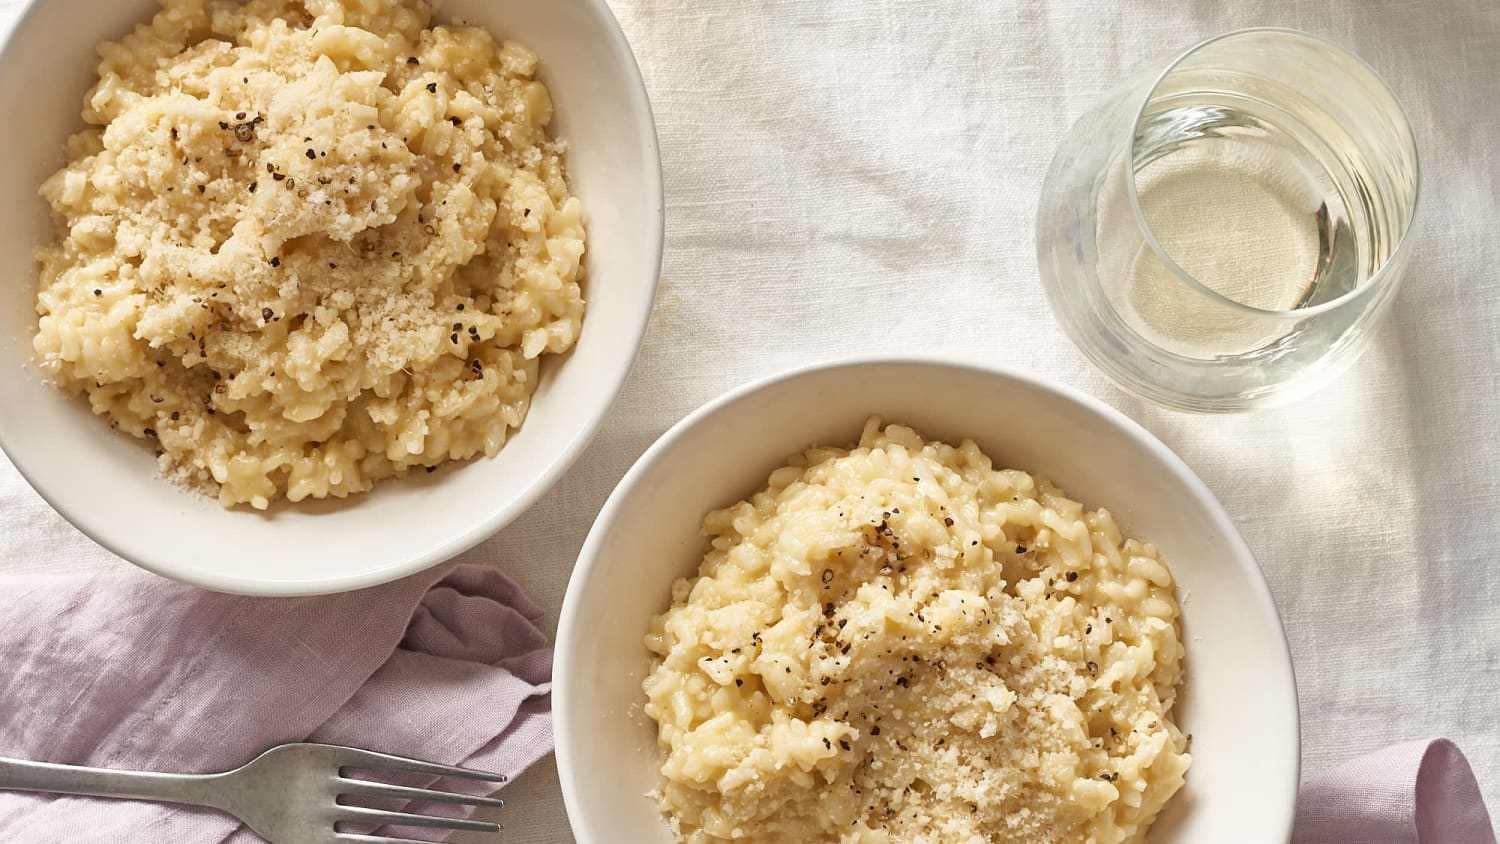 725 views
How To Make Risotto at Home
thekitchn.com
4.0
(13)
Your folders
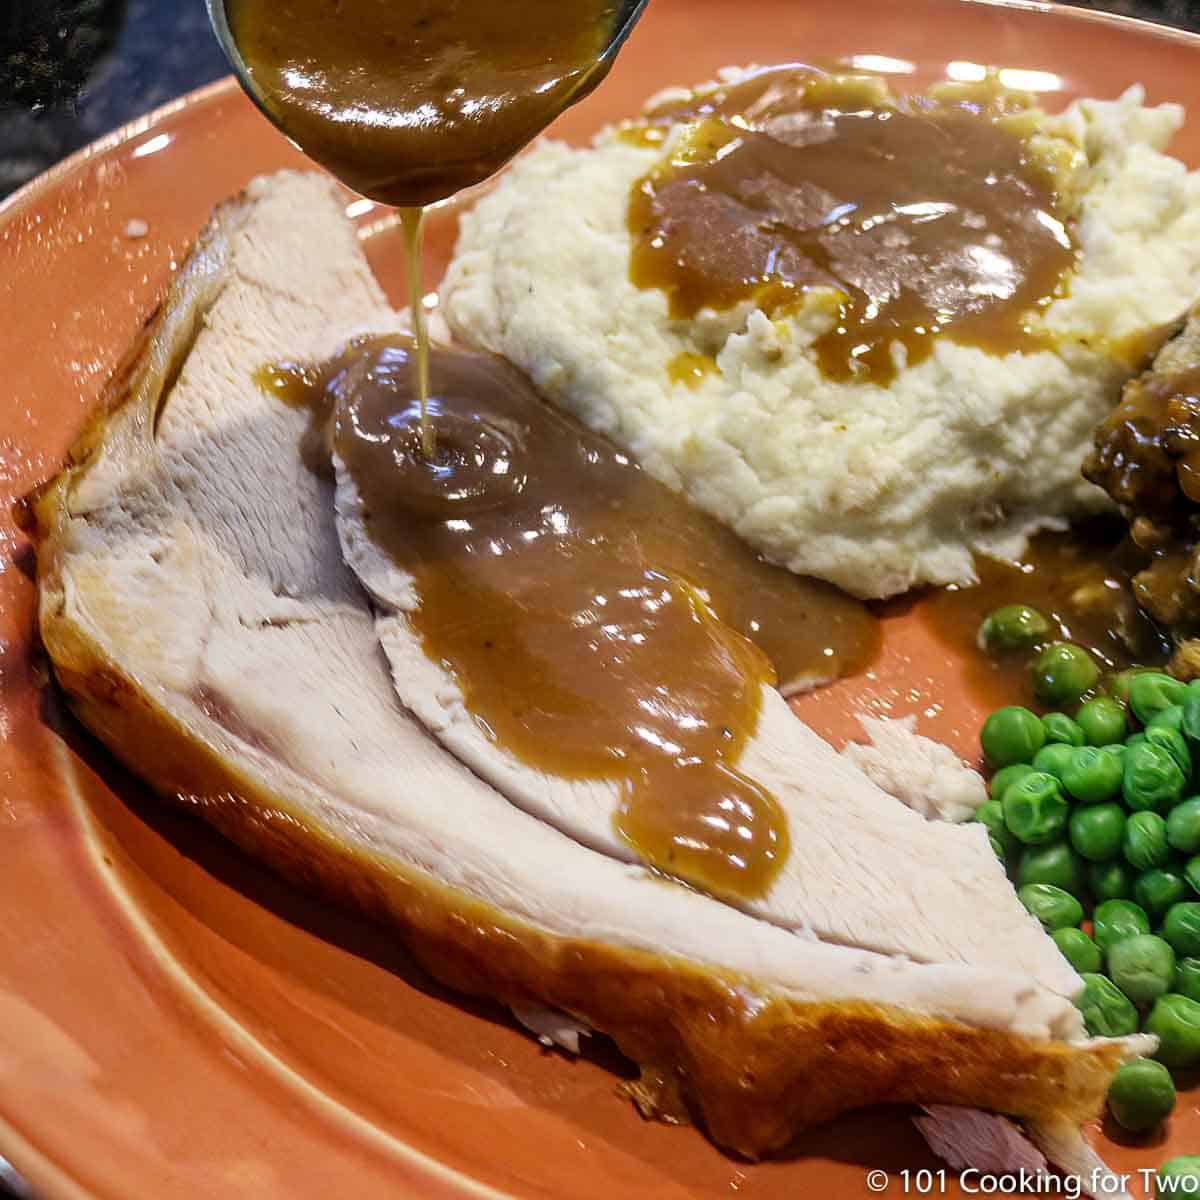 694 views
How To Make Gravy at Home
101cookingfortwo.com
4.4
(12)
10 minutes
Your folders
 557 views
How To Make Gochujang At Home
kimchimari.com
4.8
(26)
360 minutes
Your folders
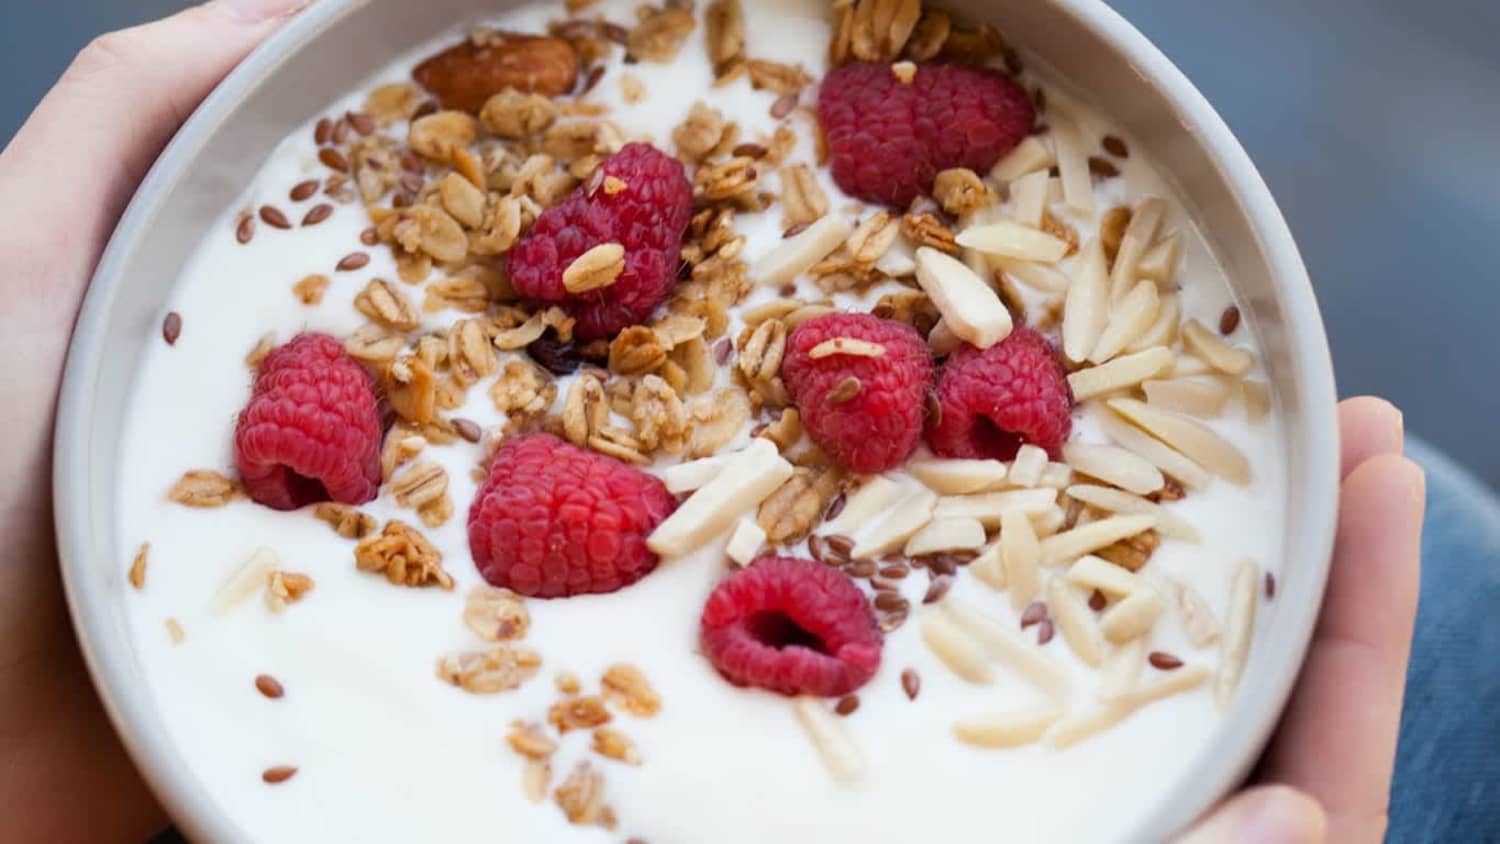 550 views
How To Make Yogurt At Home
thekitchn.com
3.6
(10)
Your folders
 370 views
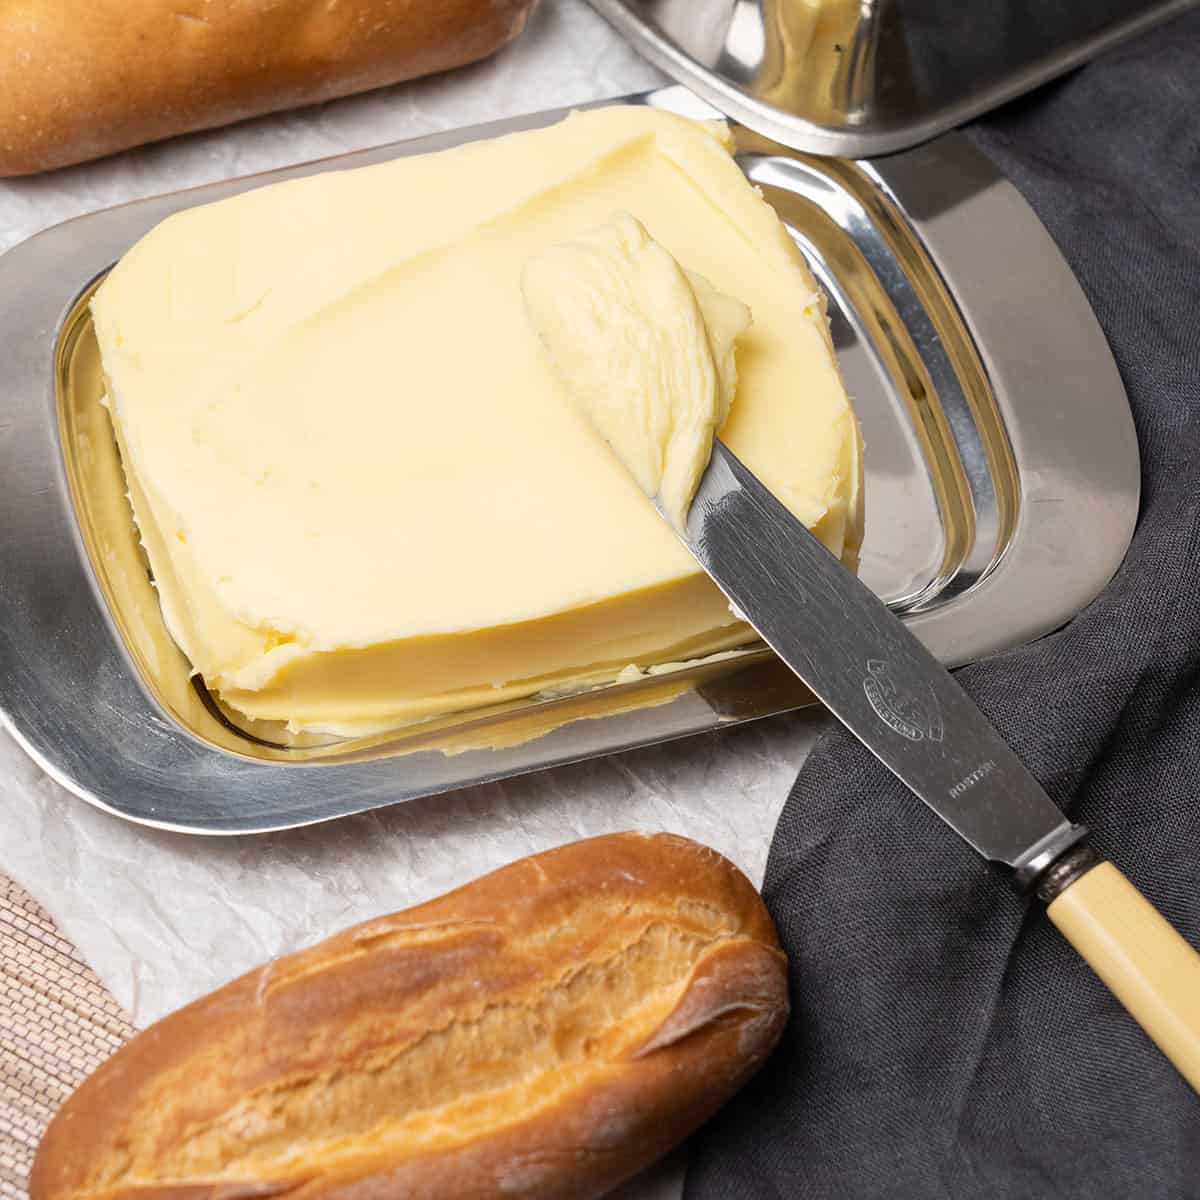
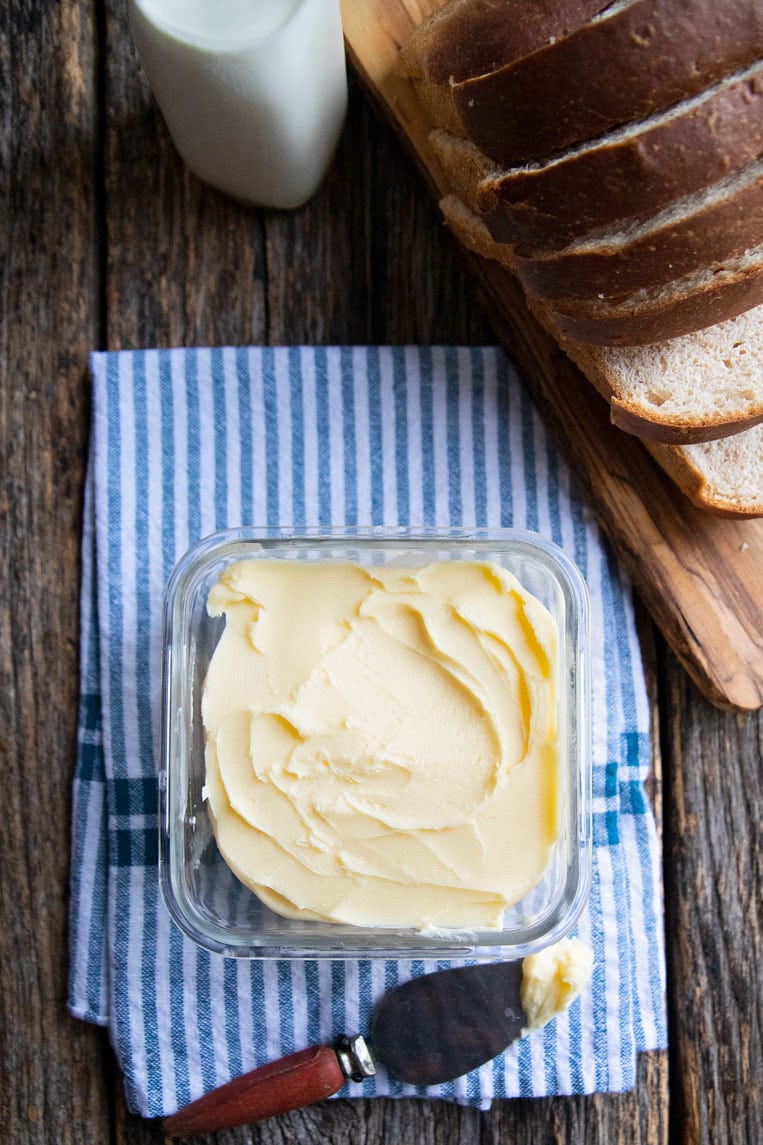
How to make butter at home
spatuladesserts.com
5.0
(5)
Your folders
 549 views
How To Make Pizza at Home
thekitchn.com
4.4
(18)
Your folders
 505 views
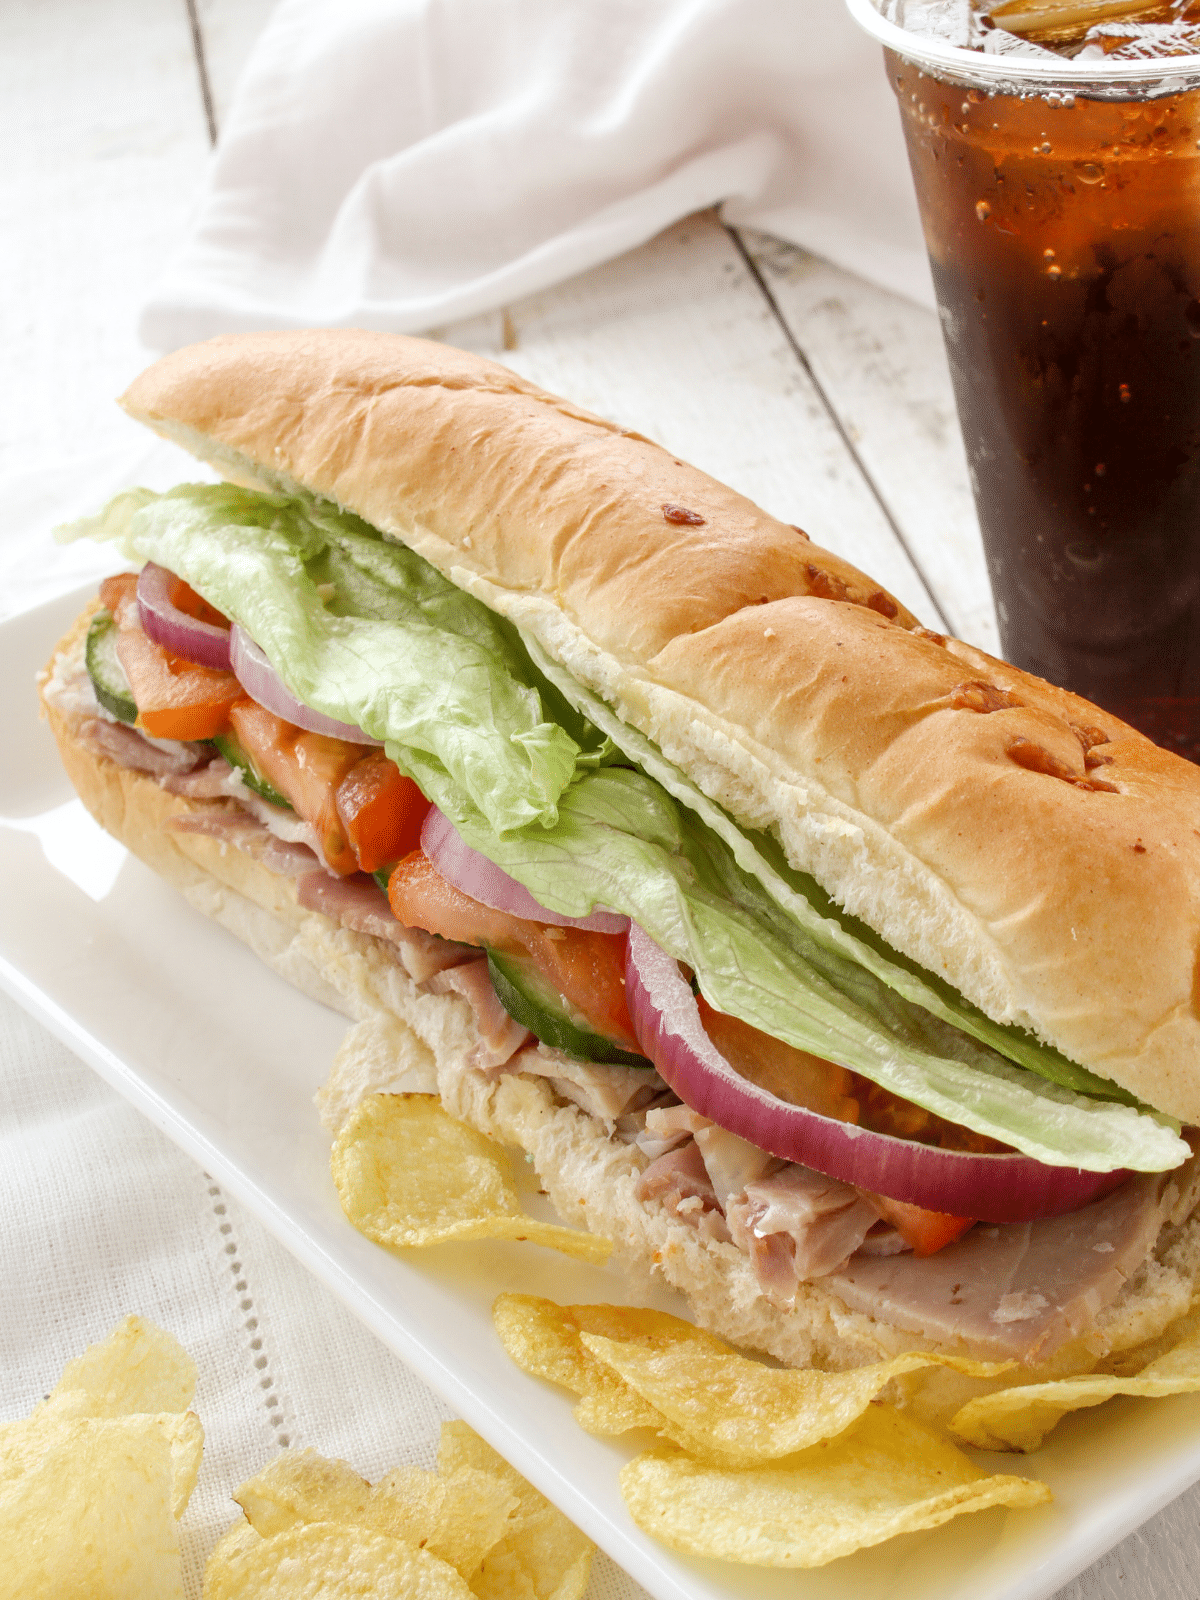
How to Make Subway at Home
maritimeglutton.com
5.0
(2)
Your folders
 404 views
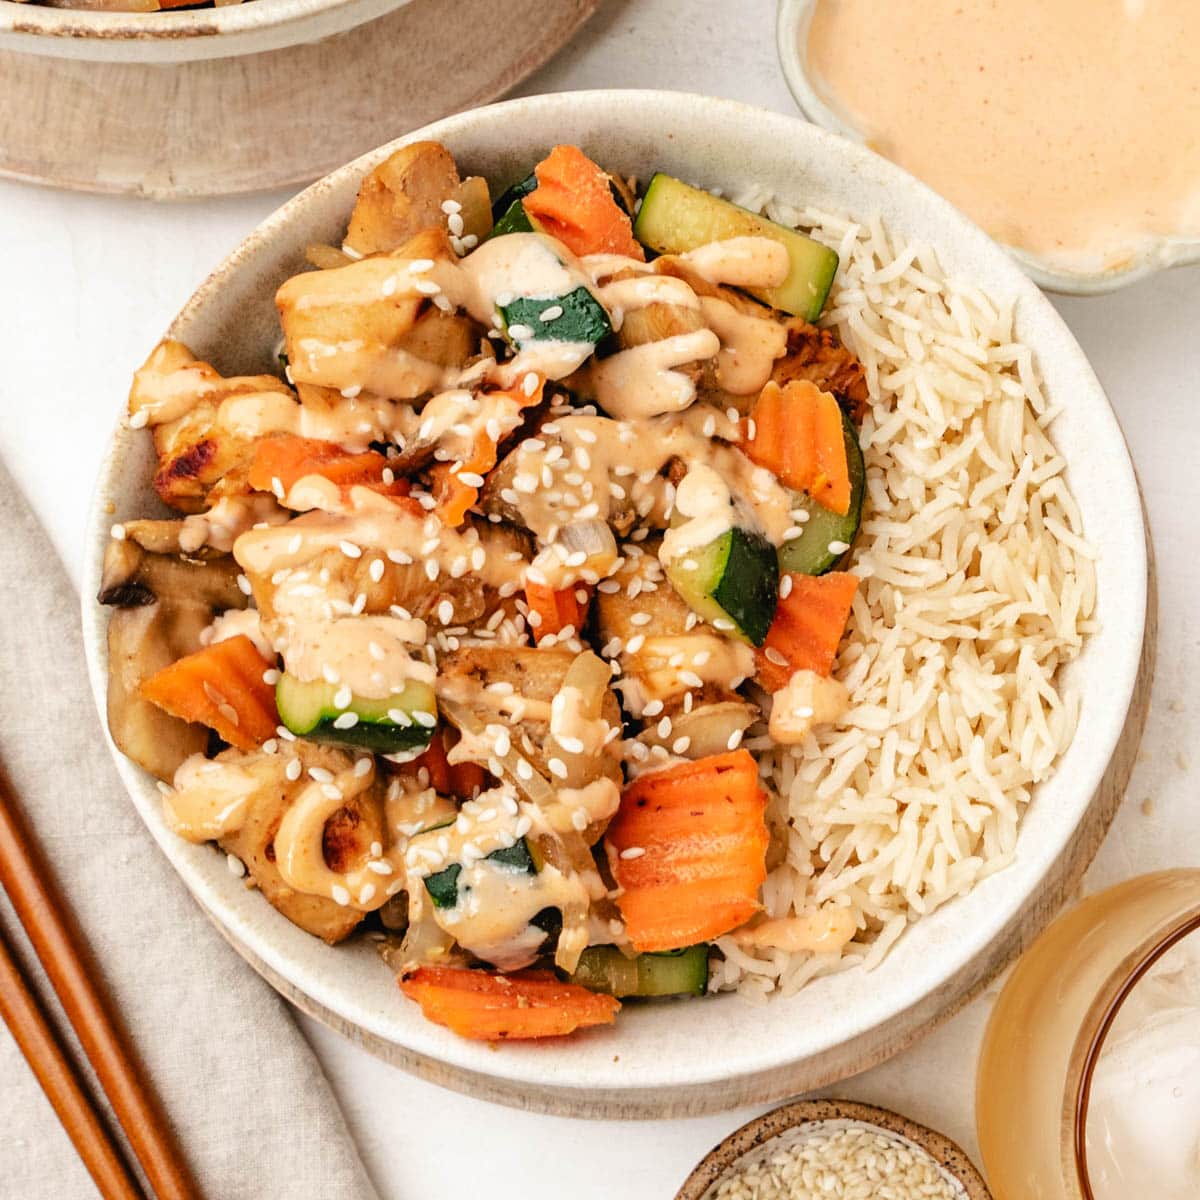
How to Make Hibachi at Home
healthylittlepeach.com
5.0
(5)
20 minutes
Your folders
 412 views
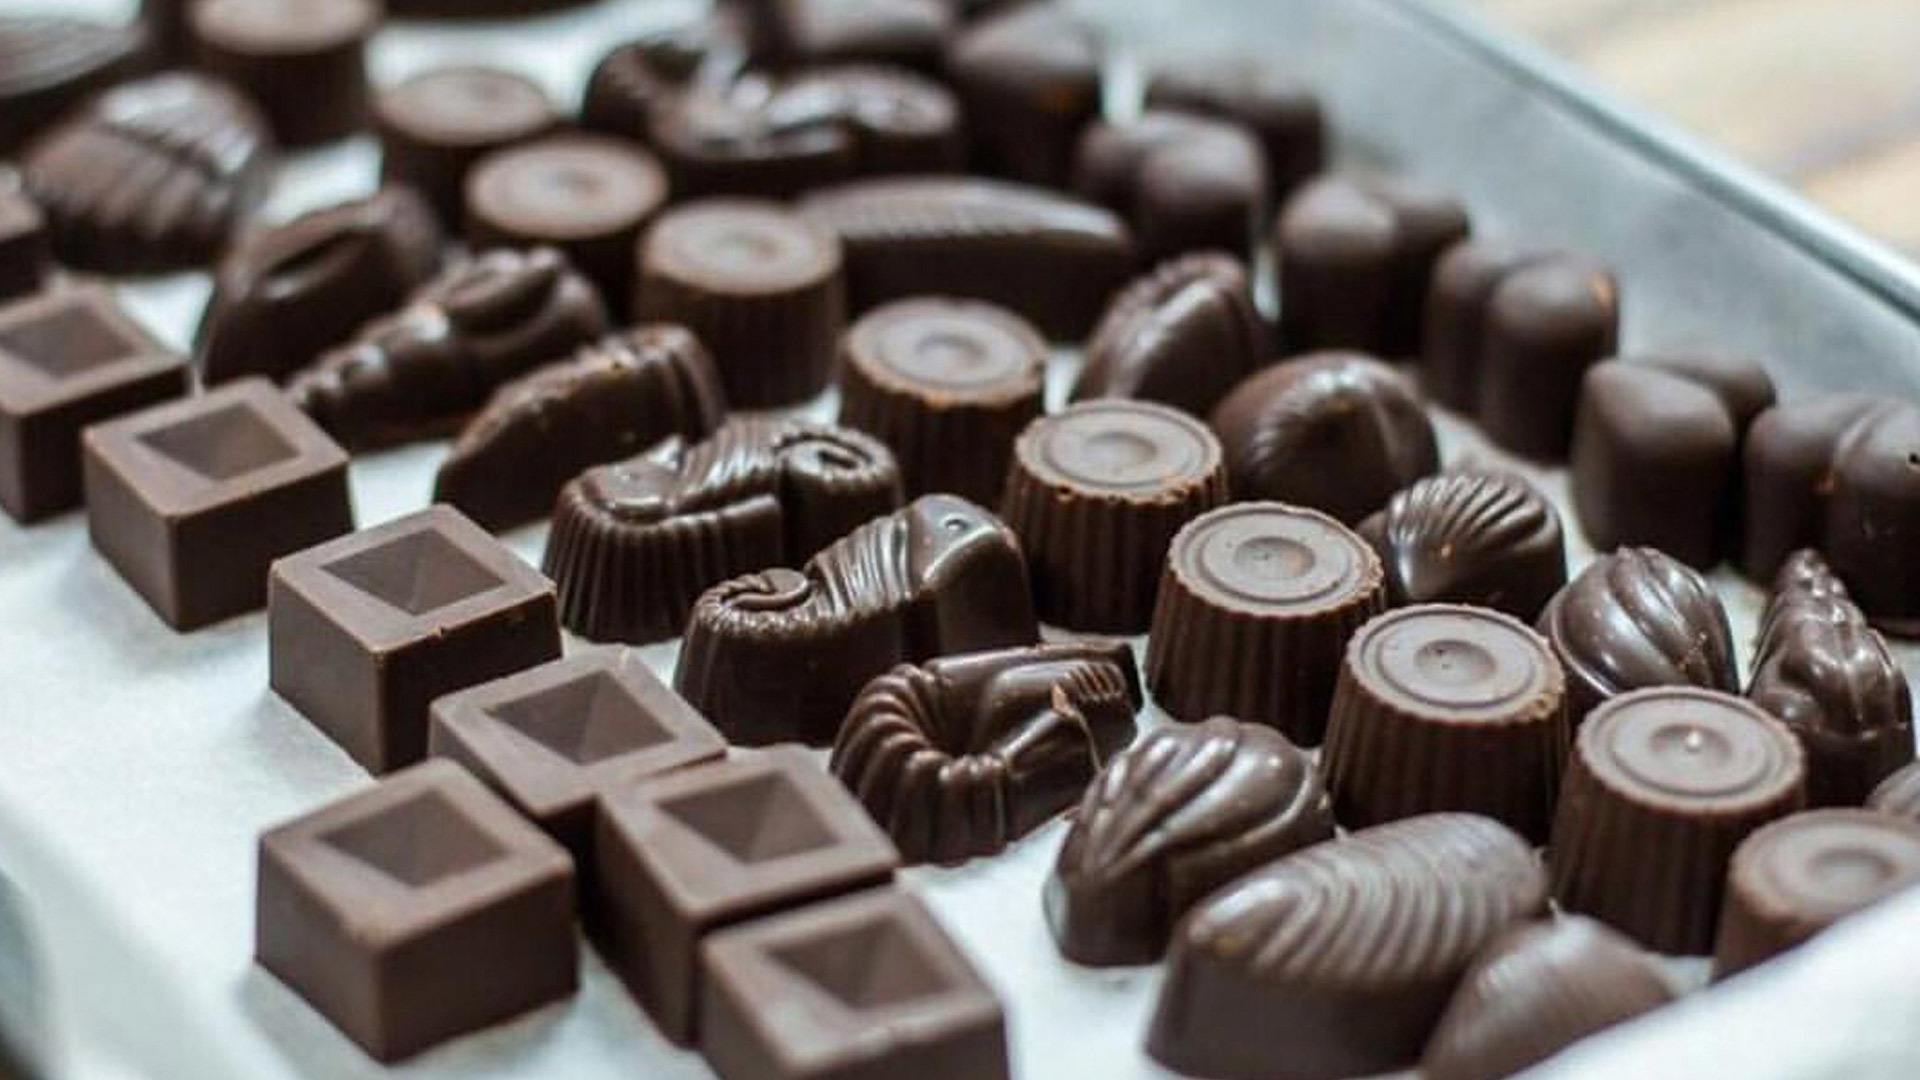
How To Make Chocolate At Home
chefcynthialouise.com
5.0
(5)
5 minutes
Your folders
 313 views
How to Make Kombucha at Home
blog.mountainroseherbs.com
15 minutes
Your folders
 407 views
How to Make Butter at Home
feastandfarm.com
5.0
(1)
Your folders
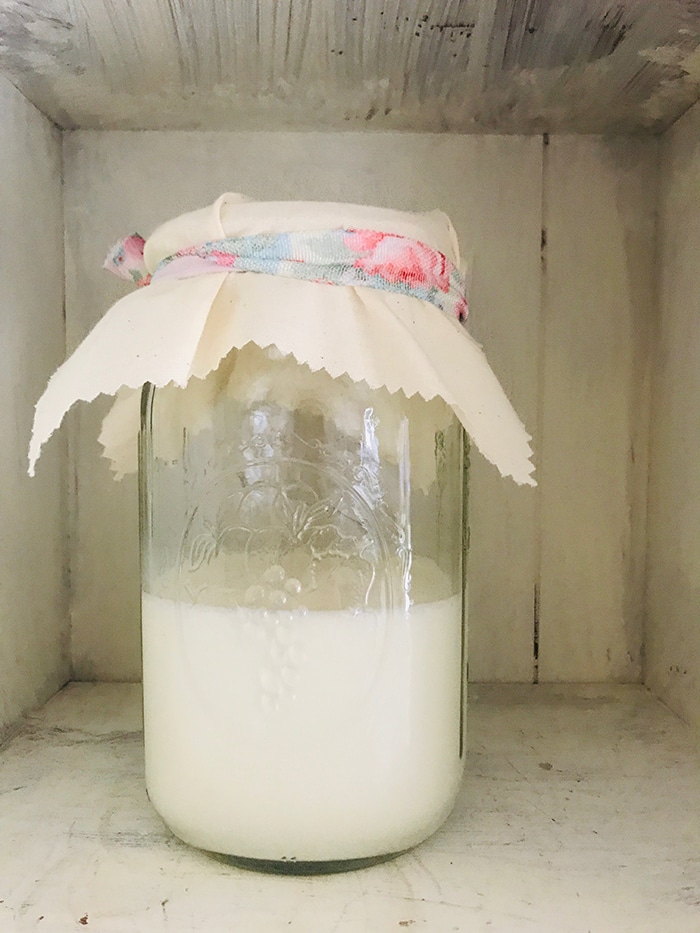 218 views
How to Make Kefir at Home
rainbowdelicious.com
5.0
(15)
Your folders
 407 views
How To Make Kettle Corn at Home
thekitchn.com
2.8
(24)
Your folders
 745 views
How To Make Kombucha Tea at Home
thekitchn.com
4.4
(11)
Your folders
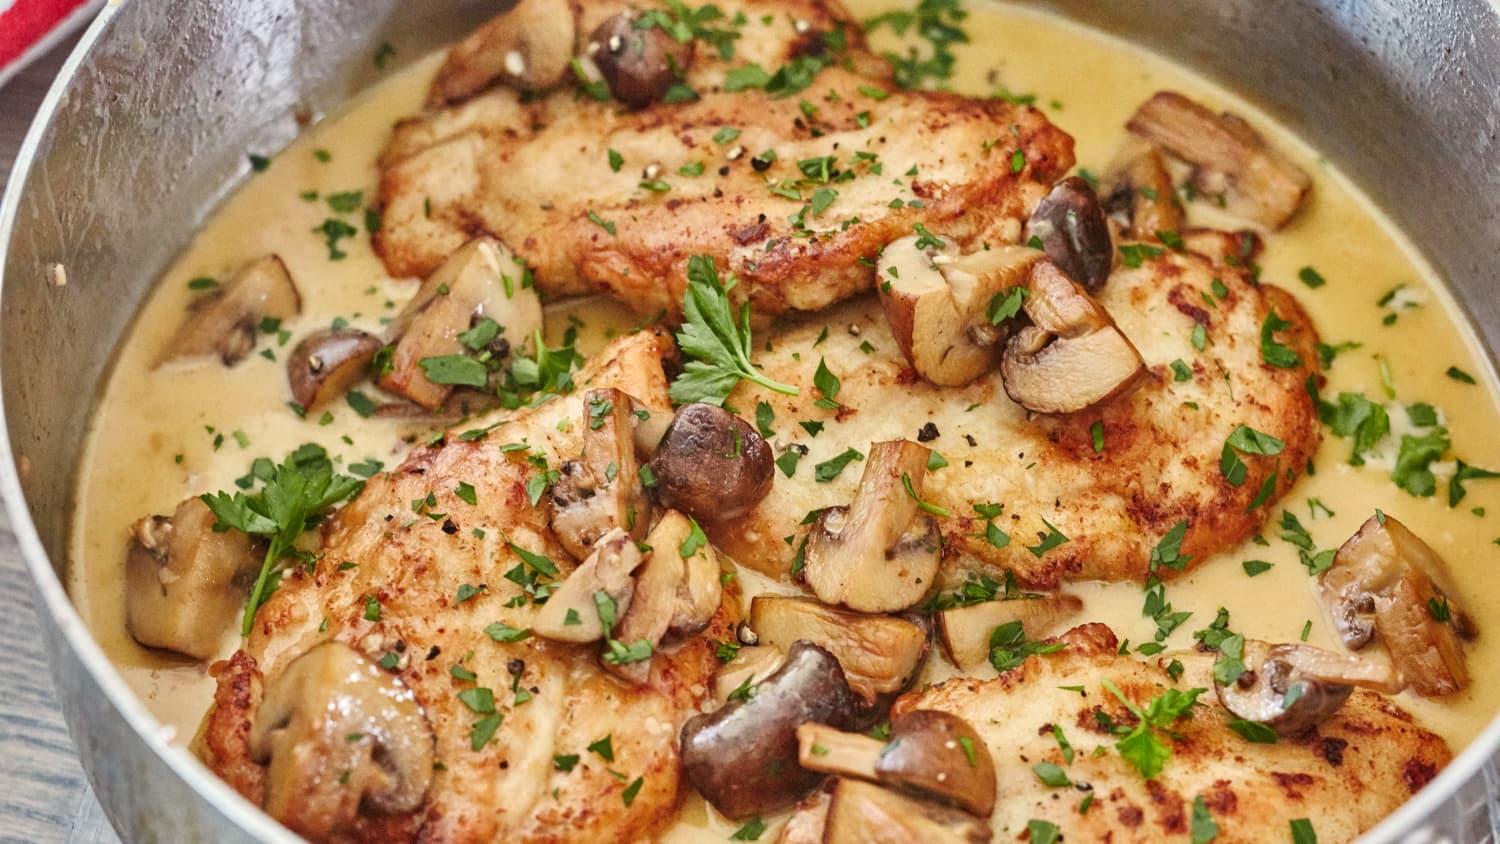 569 views
How To Make Chicken Marsala At Home
thekitchn.com
4.7
(3)
33 minutes
Your folders
 632 views
How to Make Boba Pearls at Home
chinasichuanfood.com
5.0
(10)
30 minutes