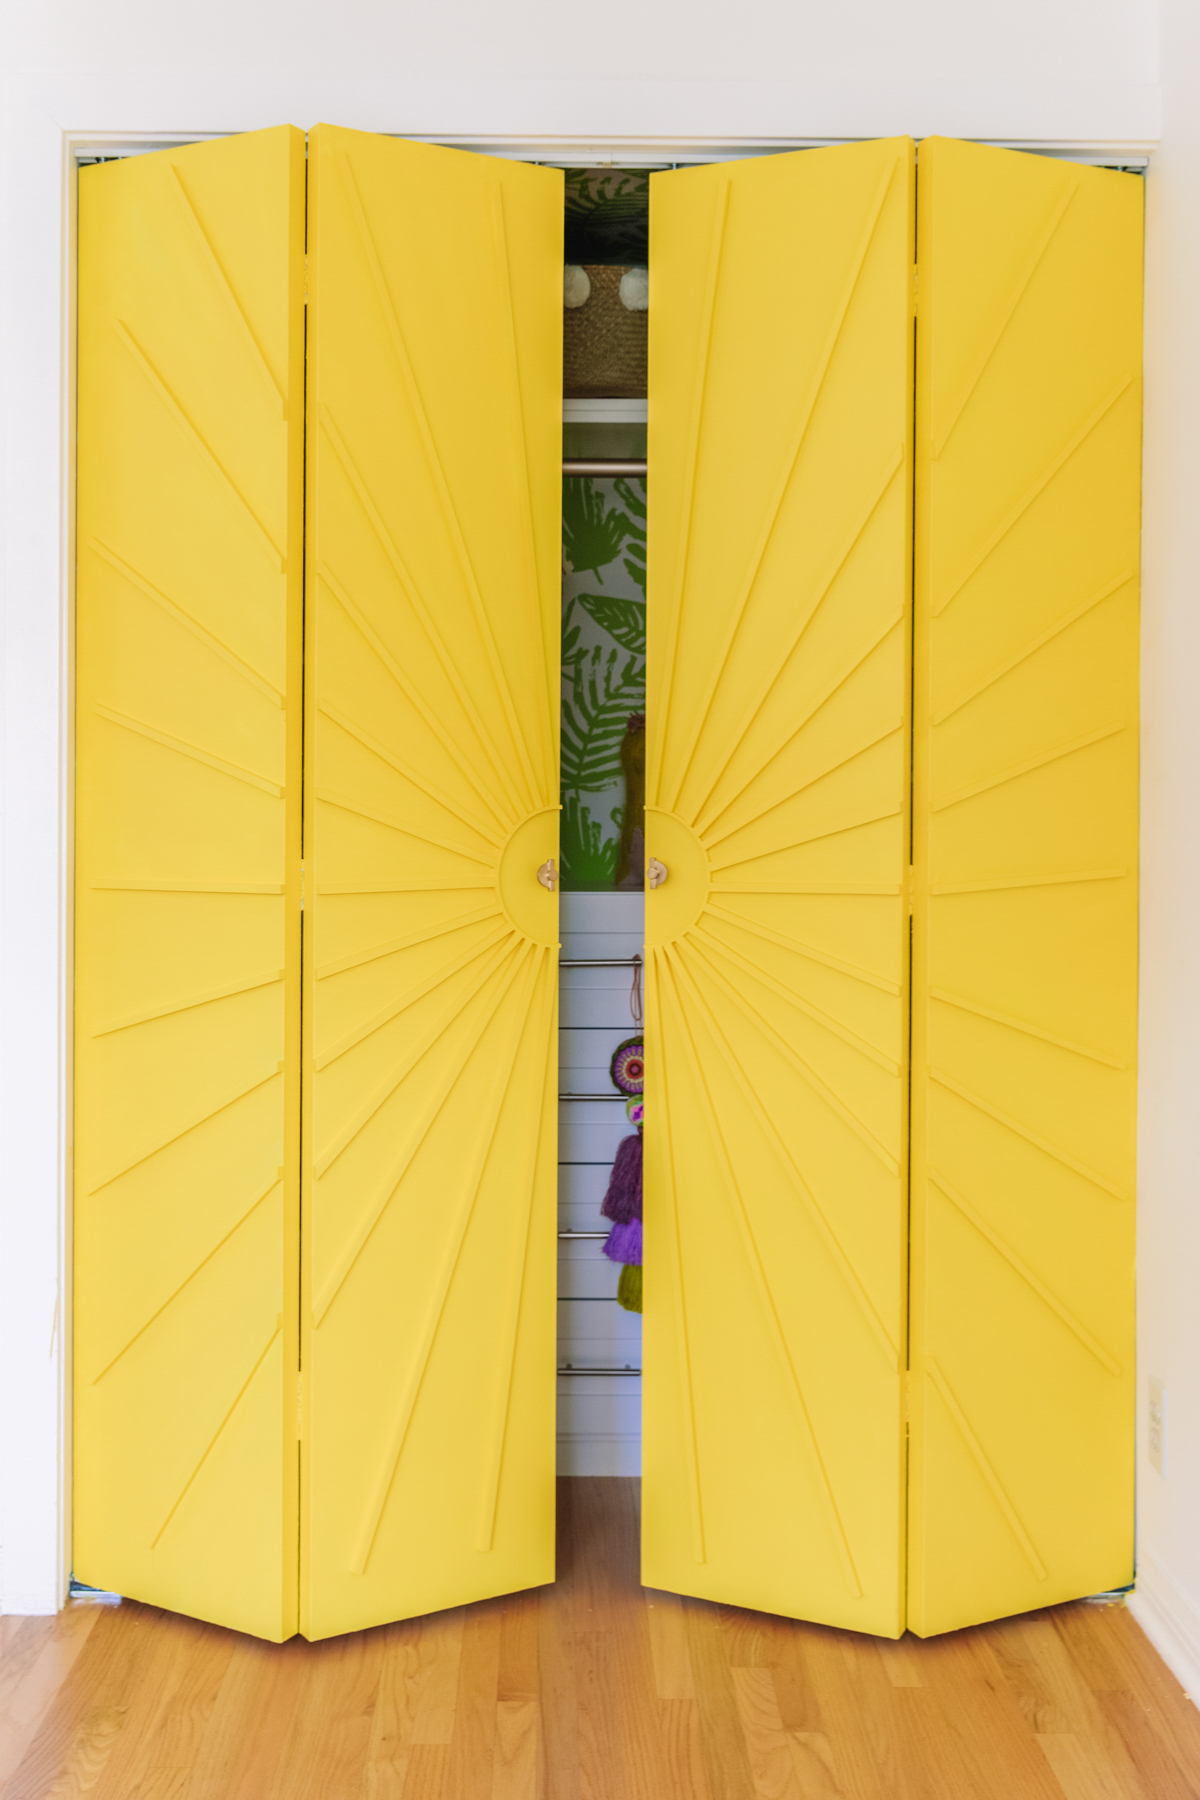
How To Make Sunburst Closet Doors
Your folders
Your folders
Ingredients
Export 13 ingredients for grocery delivery
Instructions
Step 1
I decided to use washi tape to map out my sunburst before drawing the lines on the door that I would eventually follow when nailing on the dowels. I did this so I could easily move and adjust the design before finalizing it. This is not a necessary step, and it adds time to the process, but I found it helpful! Whether you're starting with tape or just a yardstick and pencil, you'll want to mark out your sunburst on the doors first.Begin by deciding where you want the center of your starburst to be and, with the doors closed, trace the embroidery hoop where you'll eventually attach it.
Step 2
Use washi tape OR a pencil and yardstick to map out each ray on the door. To make the rays evenly spaced, I measured 12" out from my embroidery hoop for each ray and used that point as my spacing guideline. From that 12" marker, I made sure the rays were spaced approximately 3" apart.
Step 3
If you chose to start with washi tape, you'll want to simply trace a line on the door, along one side of your washi tape to make the final markers for your washi tape. If you just used a pencil to start, you're good to start attaching your dowels!
Step 4
Cut your embroidery hoop in half. Sand the edges as necessary. Use wood glue to glue each half of the embroidery hoop in place on the doors.
Step 5
Now you will cut each ray to the size needed. We cut each ray so that it would end 1-2" from the outer edge of the door. I wanted them all to be slightly different lengths, but you can make yours more uniform if you choose! Just ensure you are taking into account the door OPENING and make sure it can open with appropriately with the rays in place. Adjust length as needed/accordingly!To cut each ray, I simply held the dowel up to its corresponding line on the door and made a mark exactly where I wanted it to be cut. I am a visual person and this was easiest for me, especially if I wanted to make last minute adjustments. You can also just measure the guideline you drew and cut lengths accordingly. Sand the edges until smooth.
Step 6
The rays that extend over both halves of one door will need an additional cut. To do this, once we cut the overall dowel to size, I would hold it up against the door and draw a line exactly where the "fold" in the door would hit. Cut and sand. Because of the different angles of the rays, all the cuts will also be at different angles on the dowels.
Step 7
Using a nail gun (or wood glue if you prefer), nail each dowel in place using your guidelines. You want to be especially precise and careful when doing this on the rays that extend over both halves of the door, as you want those to line up perfectly. Definitely a two person job!
Step 8
Fill in and cover any nails/nail holes with wood filler so you have a smooth finish on each ray once you paint. Follow package instructions!
Step 9
Time to prime/paint. We did one coat of tinted primer and two coats of paint, sanding lightly between each coat.
Step 10
We added decorative ONLY handles in the middle of the embroidery hoop. These are NOT placed to be able to actually open the door, they are for visual purposes only. They wil function to close the door but not to open it. We simply use the dowels/rays to open the closet doors, but you could add a simple narrow wood handle (also paitned) along one of the rays, in the center of each door instead.
Top similar recipes
Curated for youYour folders
 242 views
How To Refresh Hollow Core Doors
abeautifulmess.com
Your folders
 276 views
How to Clean Glass Shower Doors
theforkedspoon.com
Your folders
 315 views
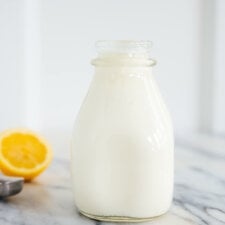
How to make buttermilkHow to make b...
thekitchenmagpie.com
Your folders
 273 views
How to Make GlueHow to Make Glue
onecrazymom.com
Your folders
 343 views
How to make tahini
bbc.co.uk
10 minutes
Your folders
 443 views
How to Make Buttermilk
cookieandkate.com
4.7
(6)
Your folders
 407 views
How to make bouillabaisse
gourmettraveller.com.au
1 hours, 30 minutes
Your folders
 371 views
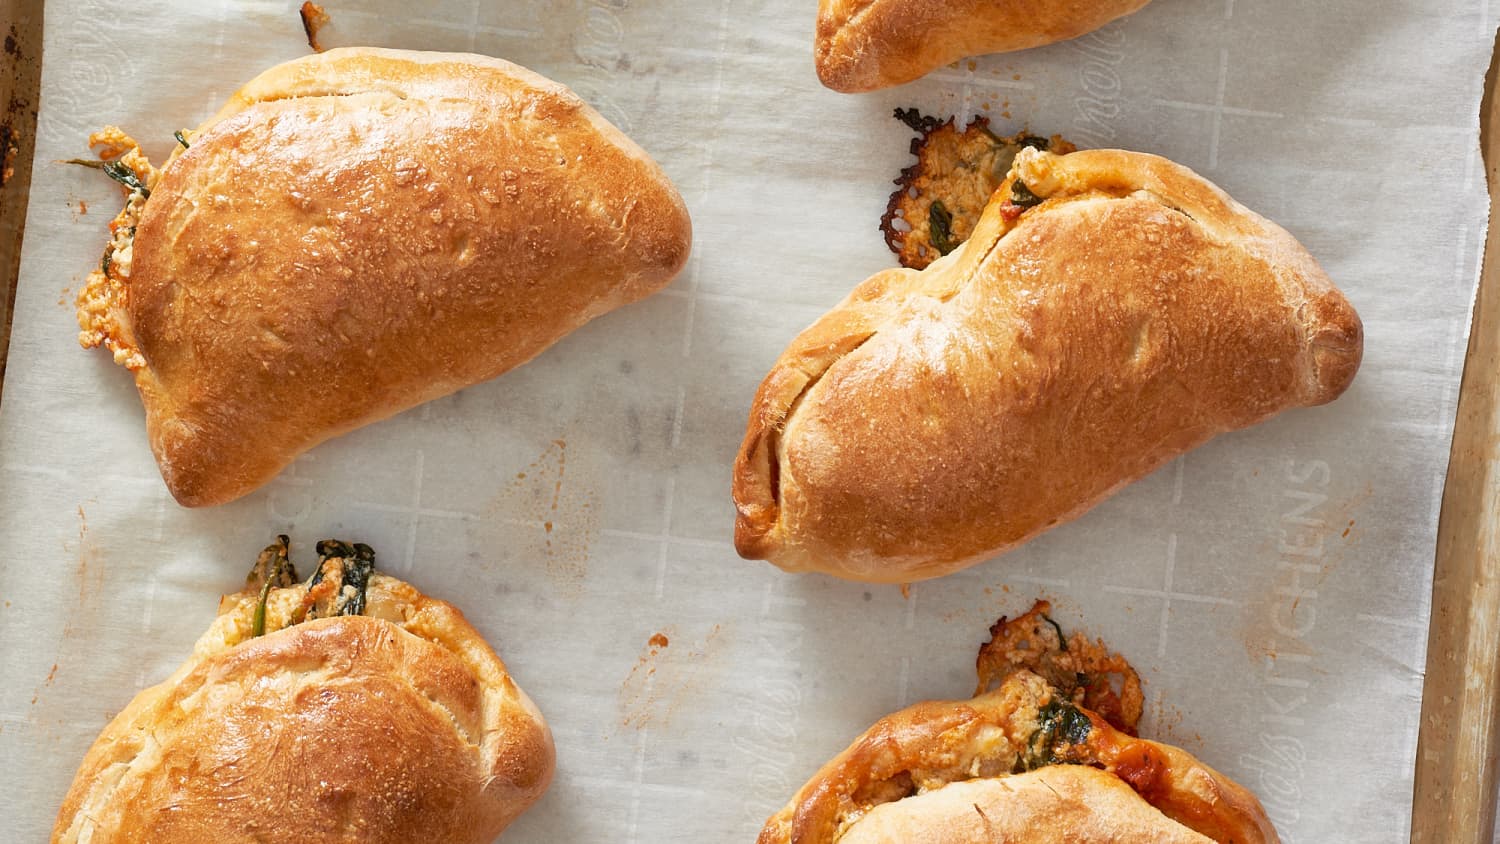
How To Make Calzones
thekitchn.com
4.0
(3)
Your folders
 349 views
How to Make Nougat
wikihow.com
96.0
(14)
Your folders
 370 views
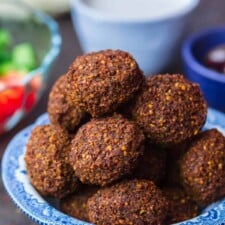
How to Make Falafel
themediterraneandish.com
4.8
(245)
20 minutes
Your folders
/20211014-Youtiao-Tim-Chin_hero_2-f6f4c1f5412b46b48523d6488fa5663b.jpg) 289 views
289 viewsHow to Make Youtiao
seriouseats.com
Your folders
475 viewsHow to Make Buttermilk
cookieandkate.com
4.7
(7)
Your folders
 398 views
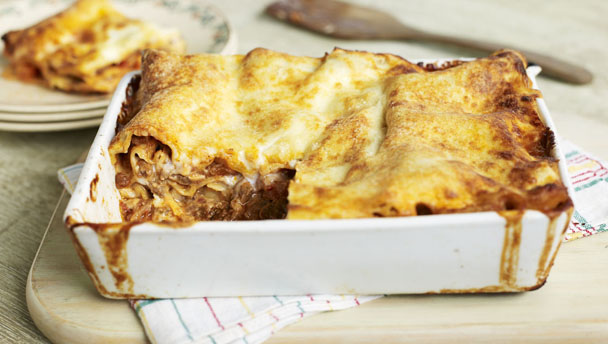
How to make lasagne
bbc.co.uk
4.6
(40)
2 hours
Your folders
 300 views
How to Make Gravy
wikihow.com
100.0
(1)
Your folders
 302 views
How to Make Stromboli
gatherforbread.com
5.0
(2)
20 minutes
Your folders
 92 views
How to Make Stromboli
gatherforbread.com
Your folders
1443 viewsHow to Make Falafel
themediterraneandish.com
20 minutes
Your folders
 717 views
How to Make Onigiri
wikihow.com
96.0
(5)
Your folders
 716 views
How to Make Croutons
simplyrecipes.com
5.0
(19)
10 minutes