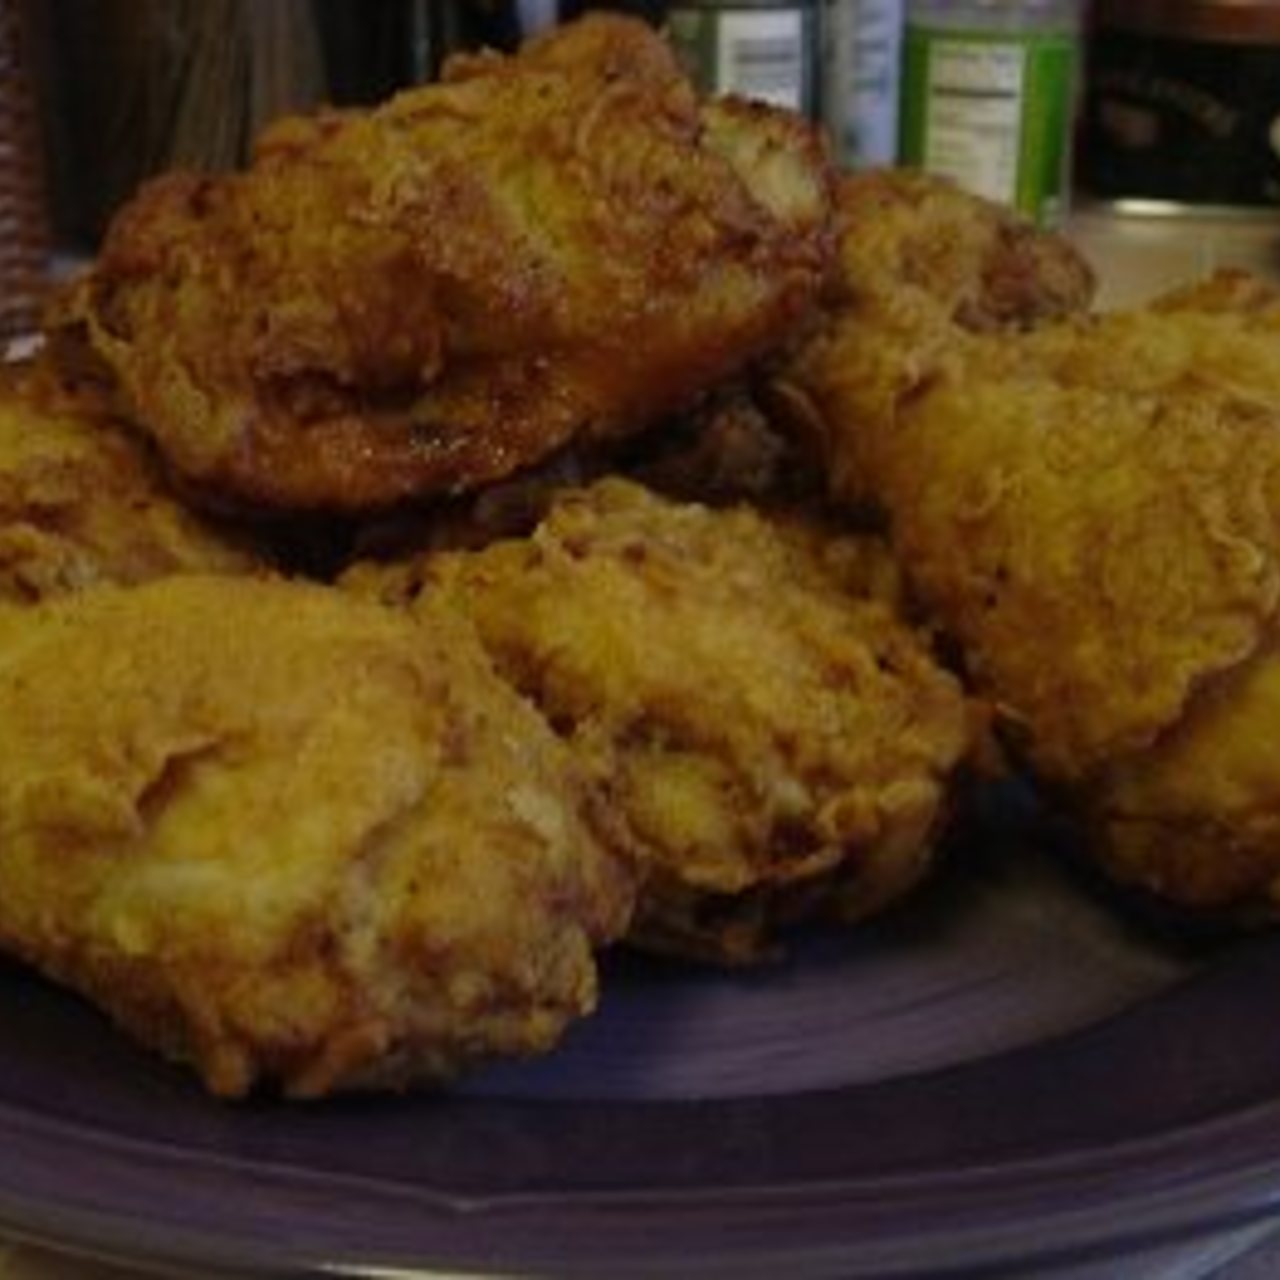
Lisa's Original Herbed Fried Chicken Mix--UPDATED!
4.0
(5)
Your folders
Your folders
Prep Time: 30 minutes
Cook Time: 30 minutes
Author : Lisa Crum @lisacrum

Ingredients
Export 13 ingredients for grocery delivery
Instructions
Step 1
Mix together in a Ziploc bag or bowl. I separate into portions so that I don’t get the whole batch all messy! I store the unused portion in the freezer for the next time around. This will probably be enough for you to fry up multiple batches, and it’s great to keep a bag on hand for last-minute cravings for chicken!
Step 2
The way I do my fried chicken is this. I either buy boneless thighs and breasts (chicken tenders are also great) and chunk them up into chicken strips. Or, I cut up, skin and bone a whole chicken and cut into strips and bite-side pieces. (The leftover carcass is awfully good to make chicken stock!) Keeping the chicken boneless makes it fry faster and is a lot more kid-friendly, but there’s nothing wrong at all with doing it bone-in, the good old-fashioned way either! I’ve done it that way too! If you're like me, you generally look for what's the better bargain at the time. There IS no bad fried chicken… some’s just better than others!
Step 3
If you're interested in how I actually marinate my chicken prior to frying, I soak my cut-up chicken pieces several hours or overnight (refrigerated) in a mixture of about 4 cups buttermilk, 1/2 cup apple cider vinegar, and about 1/2 large bottle of Frank’s Red Hot (you can half this... when I fry, it's usually for a crowd, and the marinade goes a long way). Don't be fooled by the hot pepper sauce... this chicken is not "Cajun spicy" as you might imagine... just very flavorful instead of hot.
Step 4
When ready to fry, I add a couple of beaten eggs to the buttermilk and chicken with about a cup of the coating flour mix. I stir it with my hands. It should be about the consistency of pancake batter.
Step 5
Lift the chicken out of buttermilk marinade. Drain off excess and dredge in a plate of the coating to thoroughly coat. (If you'll gradually add the dry coating to the dredging plate, you won't waste your whole bag of coating by getting it wet and clumpy.)
Step 6
Fry the way you normally prefer to fry your own--deep-fried at 350 degrees, or low and slow in a cast iron skillet. When it's tender on the inside and deep, golden brown on the outside, you're there. There is no wrong way to do this... marinated or just washed and rolled in the dry mix. Before the buttermilk kick we got on, I just washed and cut up the chicken and left to soak in a light brine mixture... but if you do this, don't add too much salt or your chicken will be too salty. The Kosher salt is good to get excess blood out of the chicken (I hate that white gunk that forms on chicken when it's not bled well), but the chicken does absorb some of the saltiness. Just be aware of that and adjust accordingly! Some folks also prefer to do an egg dip instead. I've done that and it's good too. Fix this the way YOU like it!
Step 7
Drain fried chicken on paper towels and serve. It’s good hot, it’s good cold. And maybe, just maybe, you’ll have a few pieces leftover for a midnight icebox raid!
Top similar recipes
Curated for youYour folders
 114 views
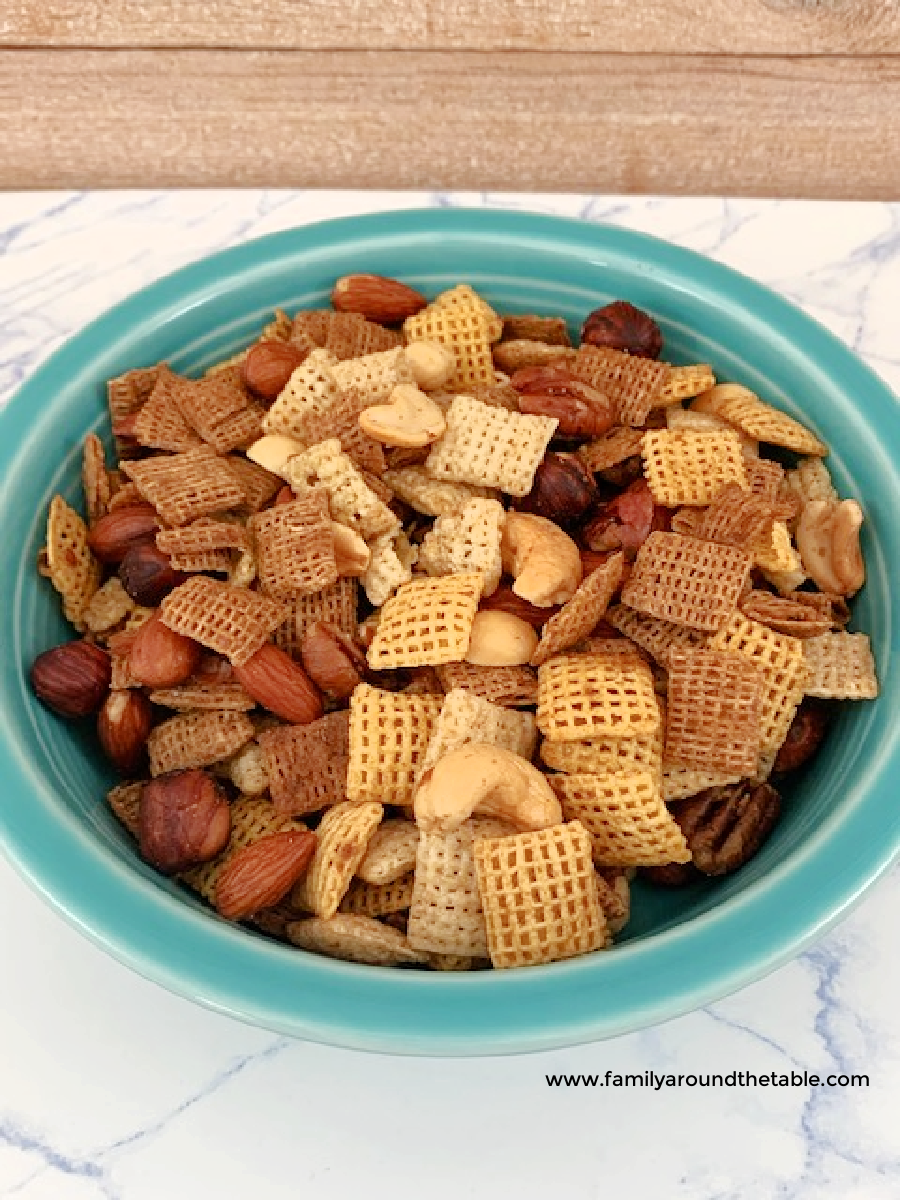
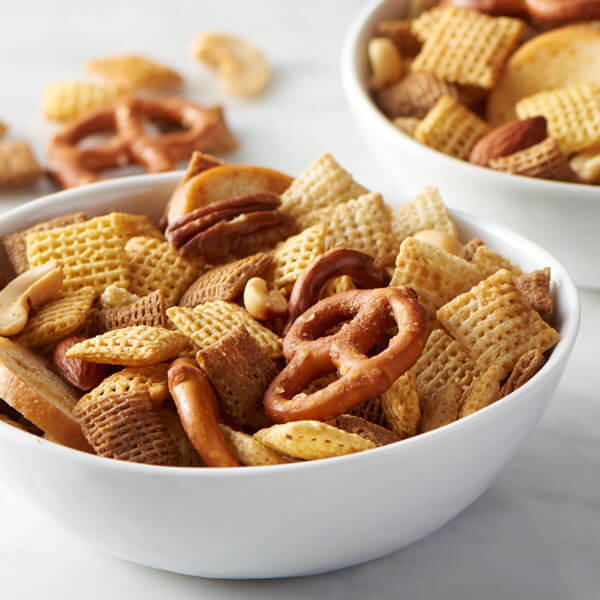
Original Chex Mix
familyaroundthetable.com
5.0
(20)
45 minutes
Your folders
 189 views
Mona Lisa
cooking.nytimes.com
5.0
(61)
Your folders
 268 views
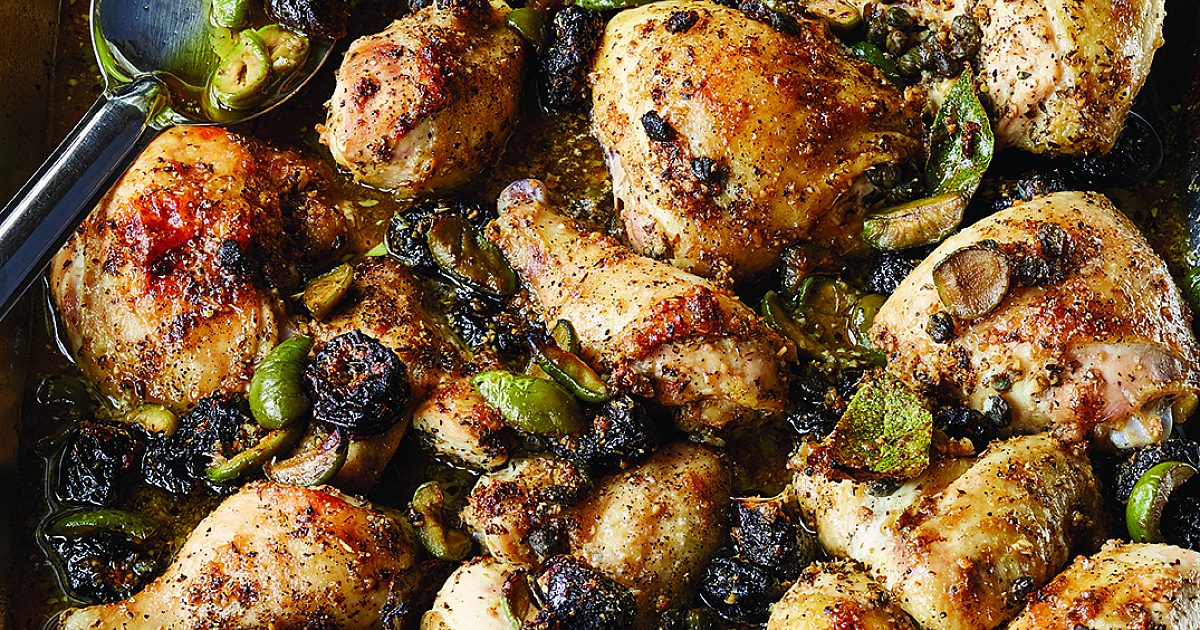
Chicken Marbella, Updated
foodnetwork.com
4.8
(60)
15 minutes
Your folders
 49 views
Herbed Rice Mix Recipe
littlehouseliving.com
5.0
(5)
Your folders
 209 views
Original Recipe Kentucky Fried Chic...
bigoven.com
Your folders
 160 views
15-Minute Fried Herbed Chicken
cooking.nytimes.com
4.0
(1.1k)
Your folders
 205 views
Chicken Marbella (updated) | Recipe...
barefootcontessa.com
Your folders
 245 views
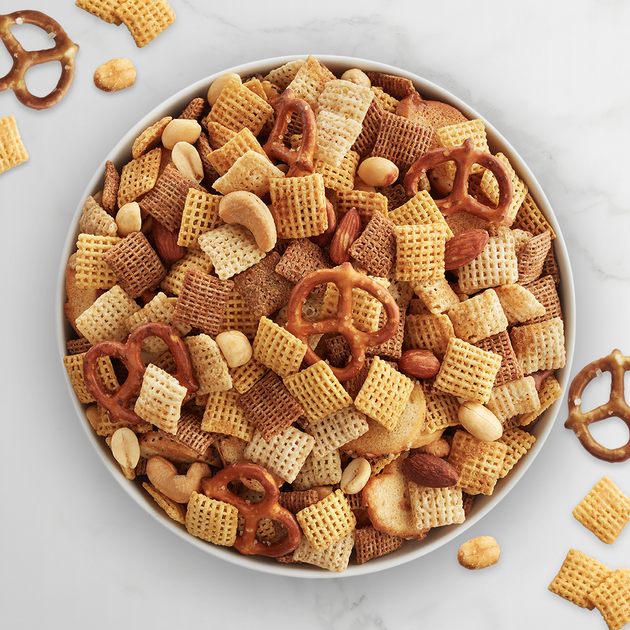
Original Chex™ Party Mix
chex.com
Your folders
 294 views
Original Chex™ Party Mix
bettycrocker.com
4.5
(154)
Your folders
 570 views
updated recipe
ladyandpups.com
Your folders
84 viewsPaella Updated
tastesbetterfromscratch.com
Your folders
 192 views
Herbed Chicken
recipes.instantpot.com
10 minutes
Your folders
 47 views
Lisa King's Thanksgiving Turkey
washingtonpost.com
2.5
(8)
Your folders
 347 views
The Original Chex® Party Mix
landolakes.com
Your folders
 579 views
KFC recipe for original secret frie...
delicious.com.au
4.4
(7)
20 minutes
Your folders
 191 views
Easy Air Fried Herbed Tofu
sweetsimplevegan.com
25 minutes
Your folders
 299 views
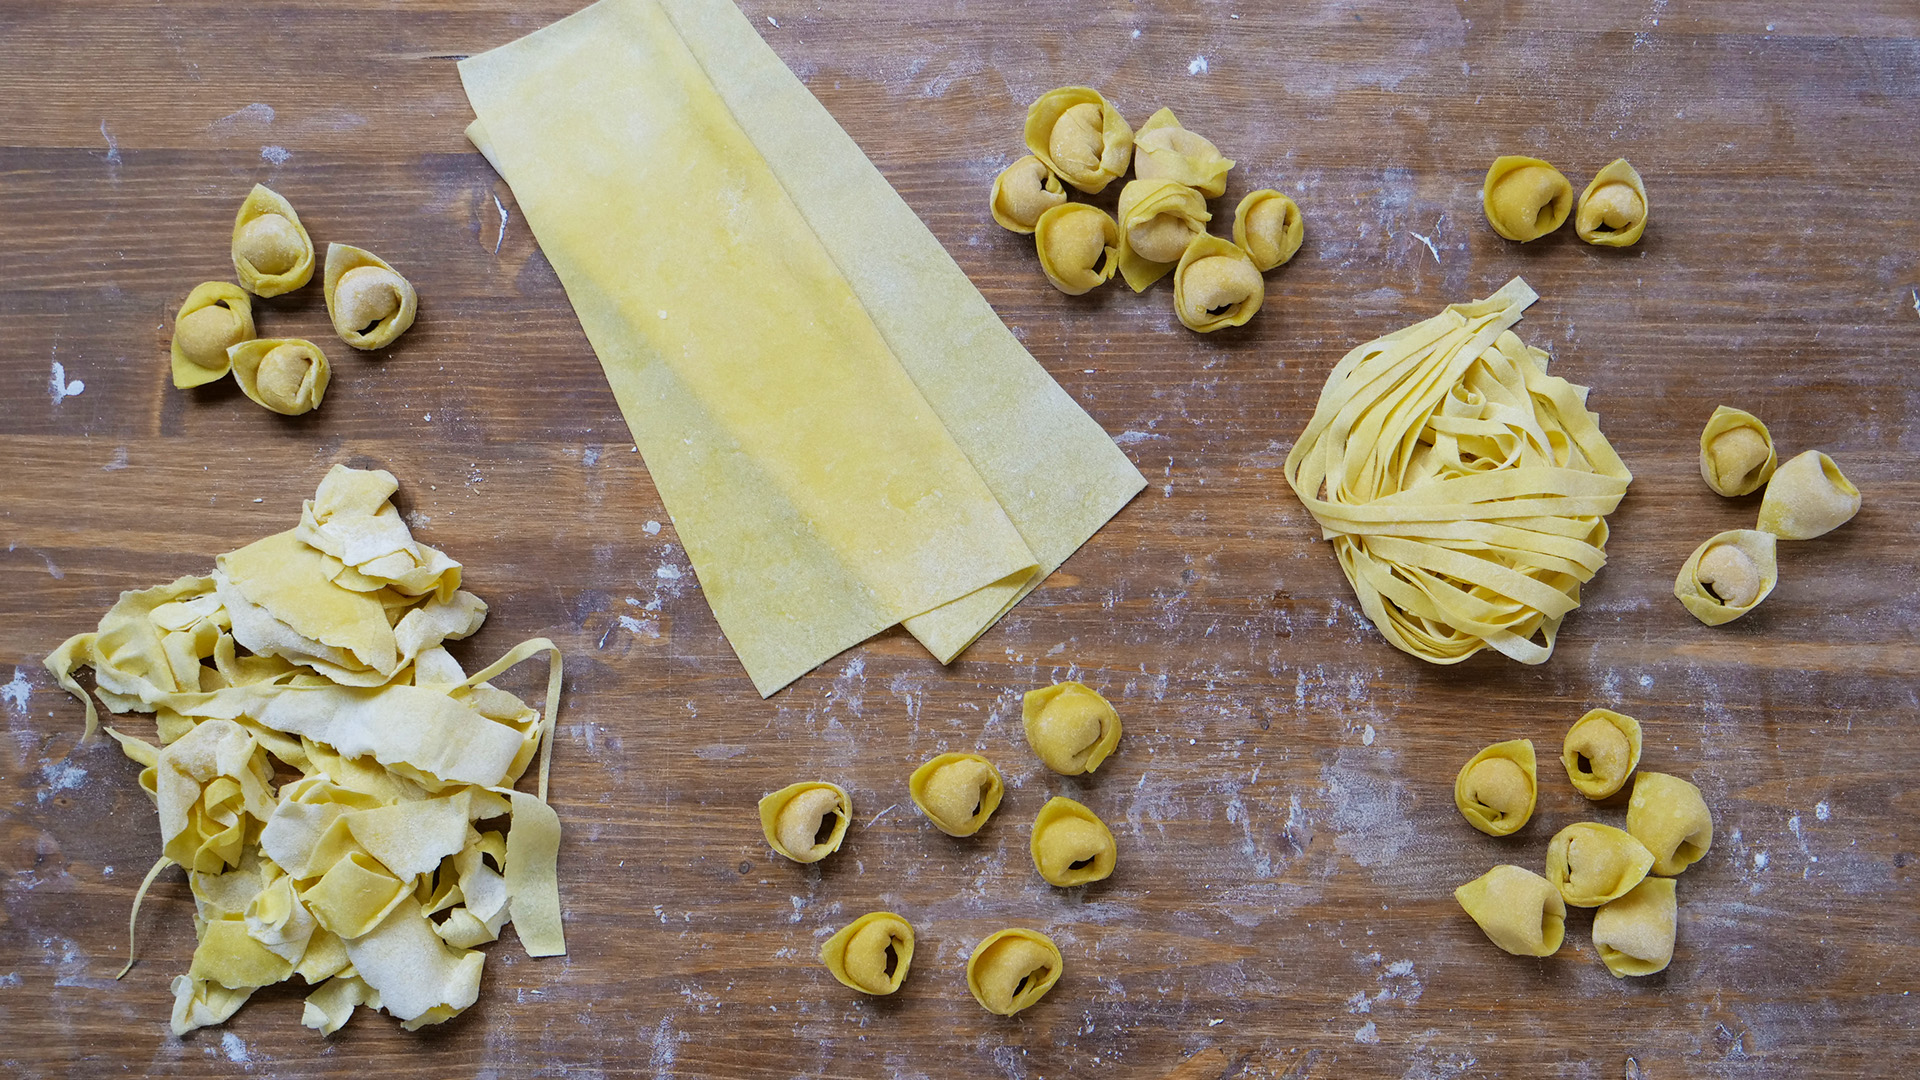
Pasta Dough (Updated)
nogluten-noproblem.com
Your folders
 338 views
Updated Beef Wellington
americastestkitchen.com
4.4
(188)
Your folders
 49 views
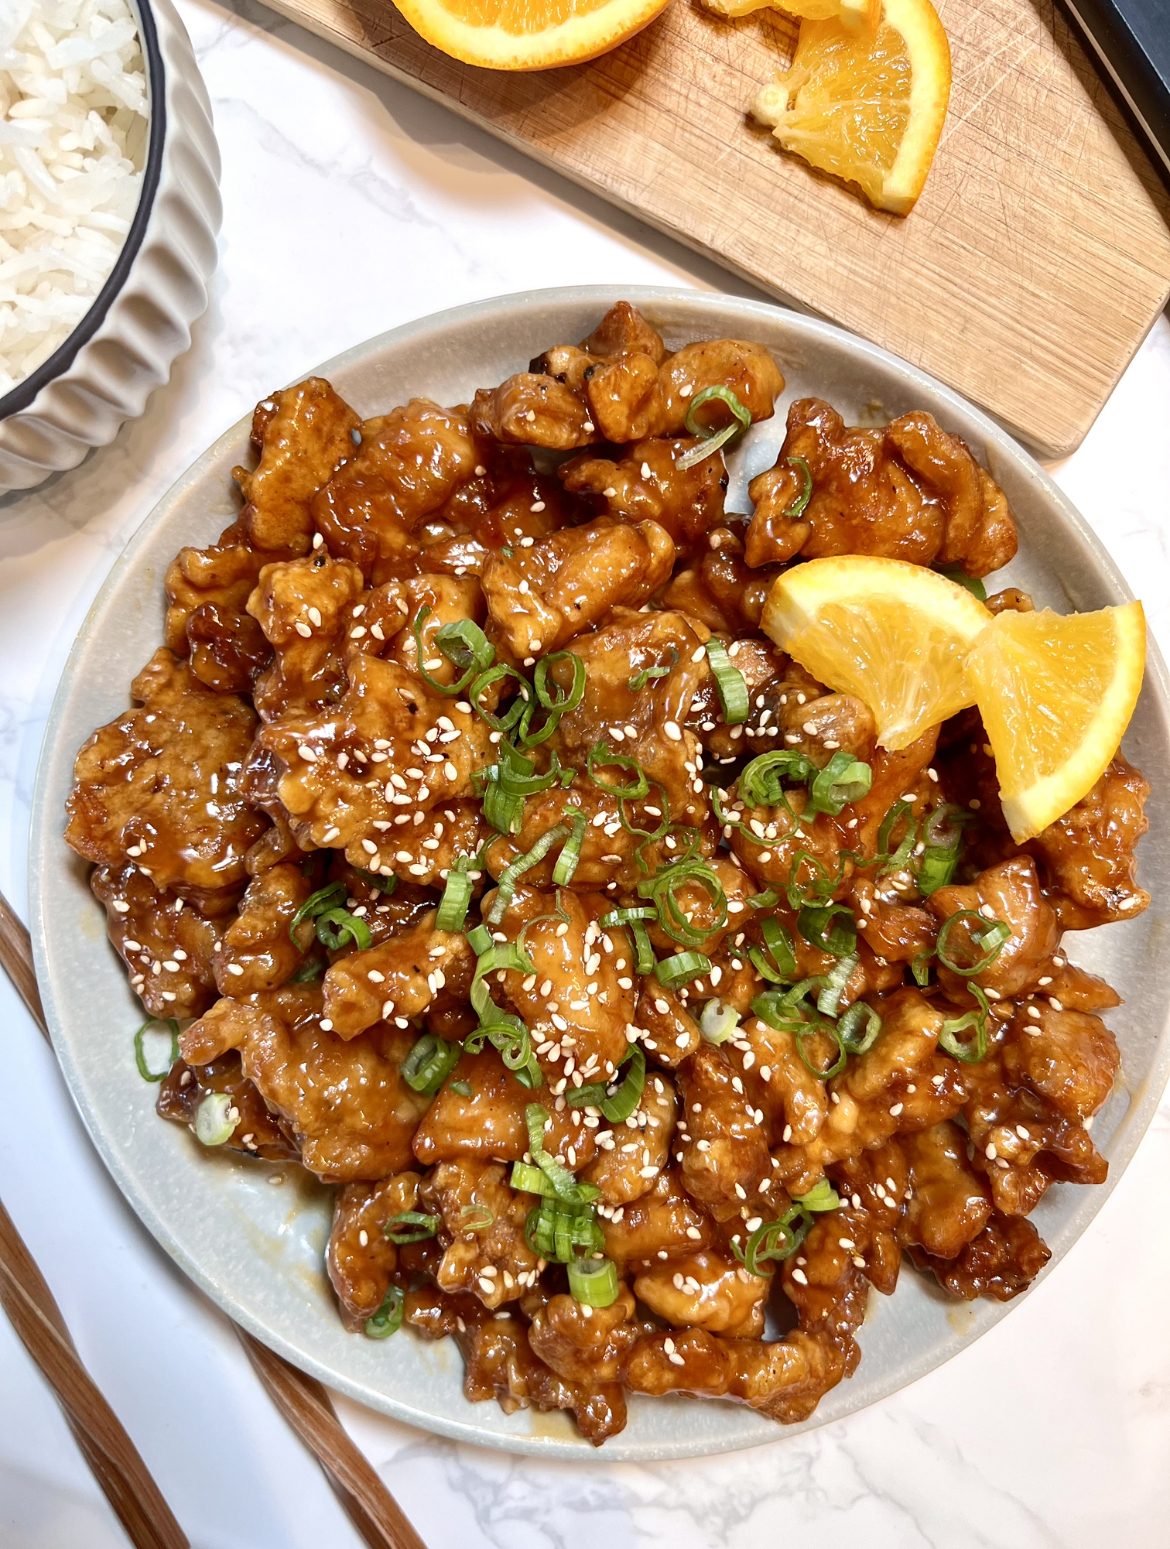
Original Orange Chicken
iankewks.com
4.6
(749)