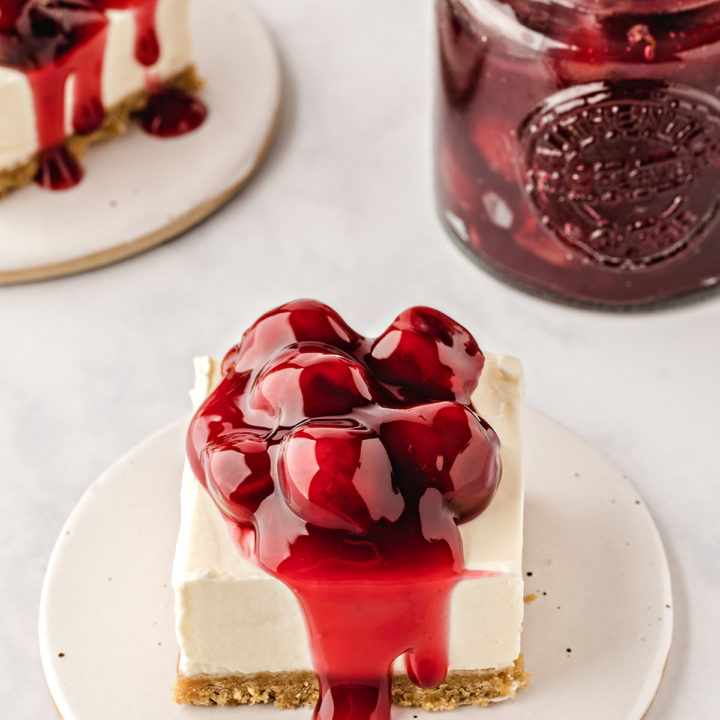
No-Bake Cherry Cheesecake Bars
5.0
(3)
Your folders
Your folders
Prep Time: 20 minutes
Total: 6 hours, 20 minutes
Servings: 9
Author : Good Life Eats
Ingredients
Export 7 ingredients for grocery delivery
Instructions
Step 1
Line an 8-inch square pan with parchment paper leaving some paper hanging over the edges to help you lift the cheesecake out of the pan later.
Step 2
Put the Graham Cracker sheets into a food processor and pulse until you have a fine crumb. Alternatively place them in a ziplock bag and bash them with a rolling pin.
Step 3
Add the brown sugar and melted butter and pulse again until the consistency looks like damp sand.
Step 4
Pour the crumbs into the prepared cake pan. Use the back of a spoon to tightly press the crumbs across the bottom of the pan into an even layer then set aside.
Step 5
Put the cream cheese and sugar into a large mixing bowl then beat together until smooth and creamy.
Step 6
Add the sour cream, vanilla and lemon juice and briefly beat again until combined.
Step 7
In a separate bowl whip the heavy cream to very stiff peaks.
Step 8
Add the whipped cream to the cream cheese mixture and use a spatula to fold everything together very gently by hand.
Step 9
Transfer the cheesecake filling on top of the Graham Cracker crust, use an offset palette knife or similar to smooth the top.
Step 10
Cover with plastic wrap and put in the refrigerator to set for at least 6 hours but preferably overnight.
Step 11
When the cheesecake has set, use the overhang of parchment paper to remove it from the pan and place it on a chopping board.
Step 12
Slice into 9 equal squares.
Step 13
Spoon cherry pie filling on top of each cut square.
Step 14
Serve immediately and enjoy!