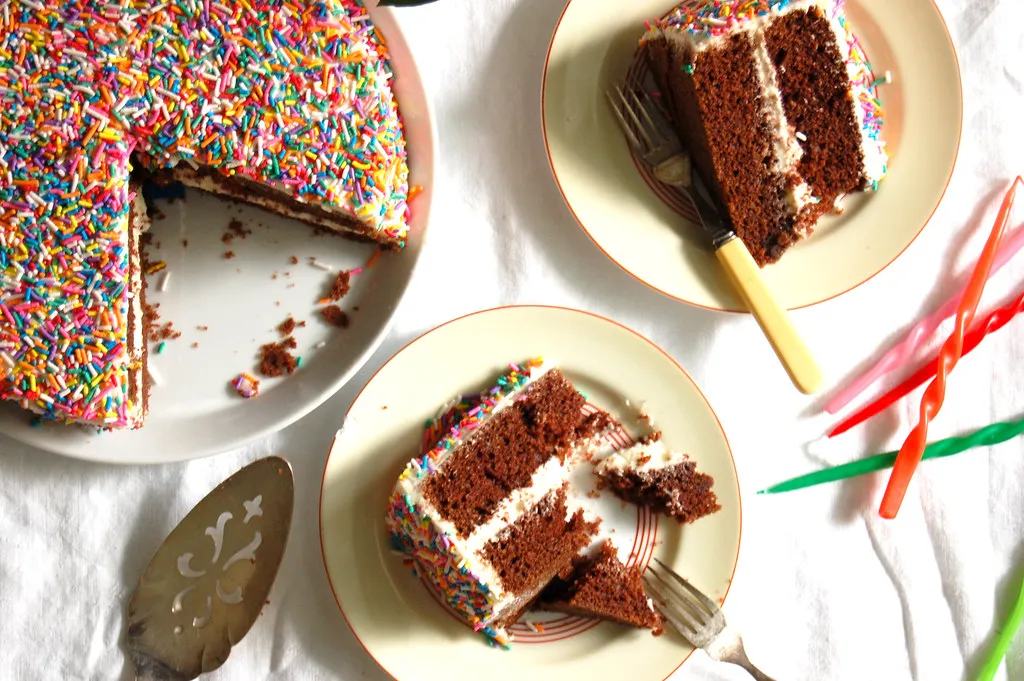
No Dye Red Velvet Layer Cake
5.0
(2)
Your folders
Your folders
Prep Time: 15 minutes
Cook Time: 30 minutes
Servings: 2
Author : Unpeeled
Ingredients
Export 9 ingredients for grocery delivery
Instructions
Step 1
Preheat the oven to 350°F and grease two 9" cake pans and line the bottoms with parchment paper, or line muffin tins.
Step 2
Sift together the cocoa powder, flour, and salt and set aside.
Step 3
In the bowl of a large mixer fitted with the paddle attachment, beat the oil and sugar on medium until fully mixed and lightened slightly in color. Lower the mixer to low and add the eggs one at a time, then the vanilla. Add each egg when the previous one is almost fully mixed in. Scrape the bowl and beat on medium until everything is fully emulsified and smooth.
Step 4
With the mixer on low, alternately add the flour/cocoa mixture and the buttermilk in two additions each: flour, buttermilk, flour, buttermilk. Scrape the bowl and mix again on low until everything is emulsified.
Step 5
In a small bowl, whisk together the baking soda and white vinegar. It will sizzle like a mini-volcano science experiment. Add this to the cake batter with the 1/4 cup water (or food coloring, if using) and mix on medium speed for about 10 seconds to fully combine. Scrape the bowl.
Step 6
Divide the cake batter evenly between the cake pans or muffin tins and bake on the center rack until done, about 25 to 35 minutes for 9" cake layers, and about 18 to 20 minutes for cupcakes.
Step 7
Let cool in the cake pans until you can handle them without an oven mitt, but are still warm. Turn out onto cooling racks, removing the parchment from the bottom of the cakes, and cool fully before eating or decorating. PRO TIP: The best way to remove cakes from a cake pan is to run a small offset spatula around the edges first, with the front of the spatula facing outward so it does not accidentally cut into the cake. I like this Ateco one, and find it indispensable.PRO TIP #2: Cake always tastes better the day after it is baked. First, you can't frost or decorate a cake until it has fully cooled. Second, something just happens with the flavor to make it taste better. Wrap the fully-cooled layers in plastic wrap overnight, and leave them out at room temperature. The refrigerator will stale them.
Step 8
To layer and decorate you cakes, use this recipe for classic vanilla buttercream frosting, or whip up a Swiss meringue buttercream.