Painted snowflake pouchesBeautiful Fabric Painted MandalasHow to Make Paper Snowflakes
Your folders
Your folders
Ingredients
Export 1 ingredients for grocery delivery
Instructions
Step 1
Take a piece of paper and fold it in half across the length of the paper. (Bring together the two sides of your rectangle that are furthest away from each other.)
Step 2
Fold that in half again. Just like before, bring the two sides of your rectangle that are furthest away from each other together when folding in half.
Step 3
Keeping the center point of the paper as a reference, fold diagonally over the center point, lining up the folded edges of the paper.
Step 4
Make one more diagonal fold, once again over the center point (and lining up the edges). The center point, from which the folds emerge, will become the center of the snowflake.
Step 5
Rather than folding in half diagonally twice (as you would for the 8-pointed start), divide the rectangle into 3 equal parts. Think of it as a circular clock rather than a rectangle with the center point being the center of the clock.
Step 6
Now think of the long edge being the line up to 12 o’clock and the short edge being the line to 3 o’clock. Ideally, we want to make folds along the imaginary lines leading to 1 and 2 o’clock.
Step 7
The idea is to fold the paper in such a way that when folded along those lines, the edges of the paper will line up along the folds and edges perfectly. (Take a look at the photos below to better understand how it folds together in thirds.)
Step 8
Cut across the side opposite the center point to even everything out. Doing this correctly will ensure that the paper snowflake is even on all sides. To keep things completely symmetrical, make sure your cut includes ALL of the layers, otherwise, you’ll be left with some areas of the snowflake that are narrower than others. Once you cut, the upper piece can be removed and is no longer needed.
Step 9
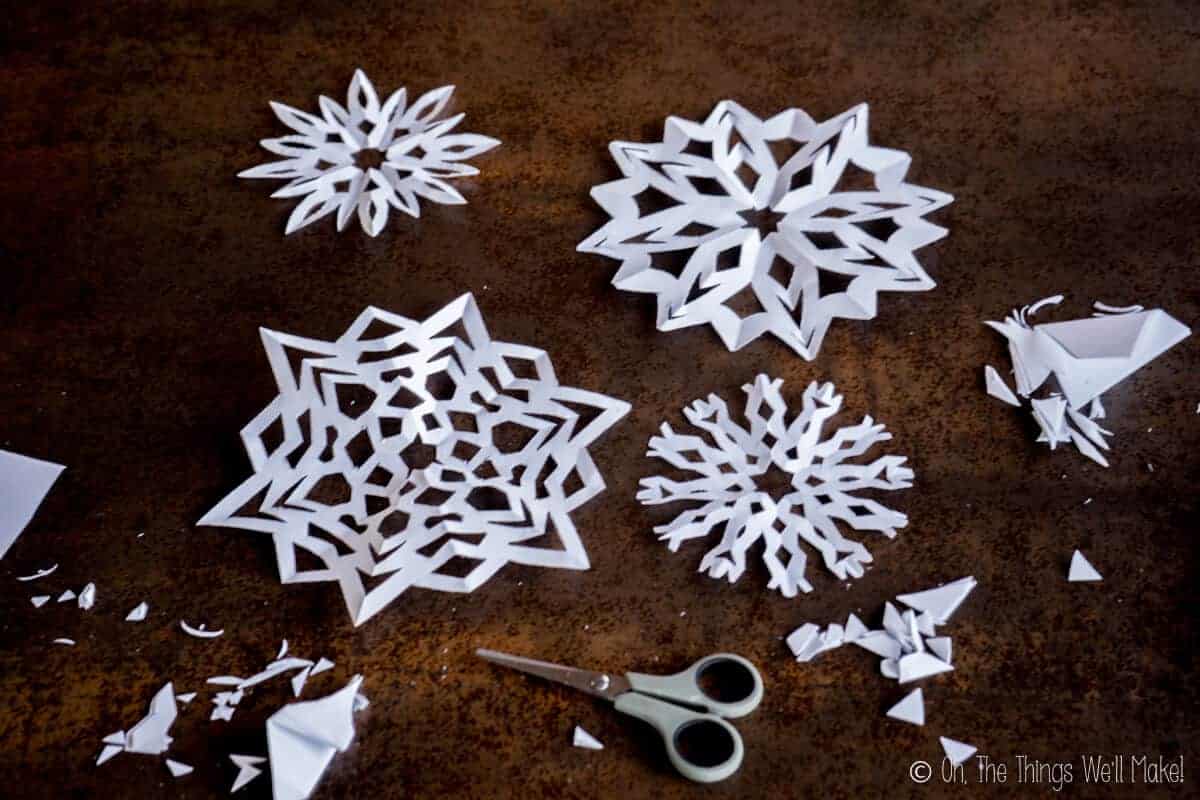
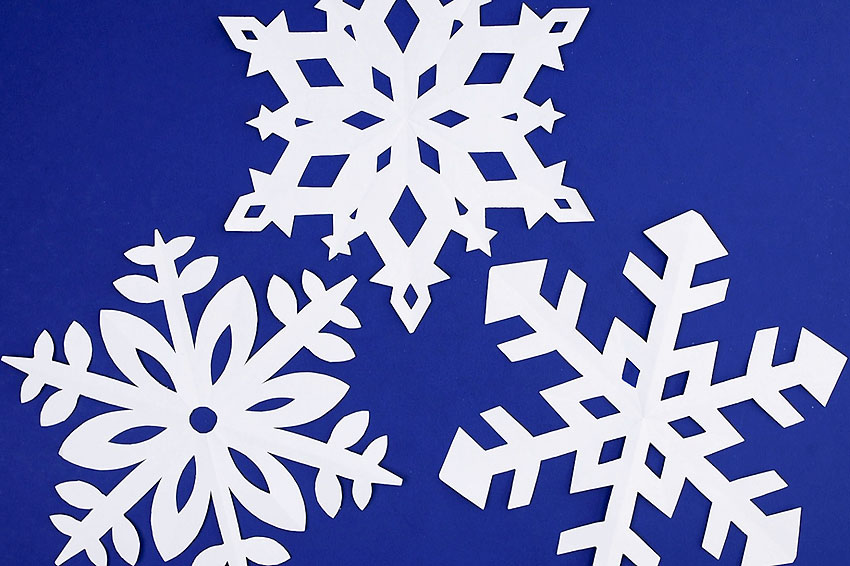
Once you’ve folded the paper and have cut off the excess, you can begin to cut a design into your paper snowflakes. To do so, cut random shapes from the edges of the paper. When doing so, make sure NOT to cut all the way across. It's also important to leave little “bridges” of paper between your cuts along the edges so that the paper doesn’t fall apart.
Step 10
If you cut deep v-shapes into the middle top fo the triangle, you’ll end up with longer “legs” on your snowflake and will end up with twice as many of them.
Top similar recipes
Curated for youYour folders
 273 views
How to make Paper Snowflakes
onelittleproject.com
Your folders
 303 views
Painted Cake
preppykitchen.com
5.0
(27)
35 minutes
Your folders
 297 views
How To Make Hand-Painted Mugs
thecountrychiccottage.net
Your folders
 252 views
How to Make 3D Paper Snowflakes
onegoodthingbyjillee.com
Your folders
 221 views
Ladybug Painted Cupcakes
mccormick.com
Your folders
 481 views
Painted Doll Burger
food52.com
40 minutes
Your folders
 238 views
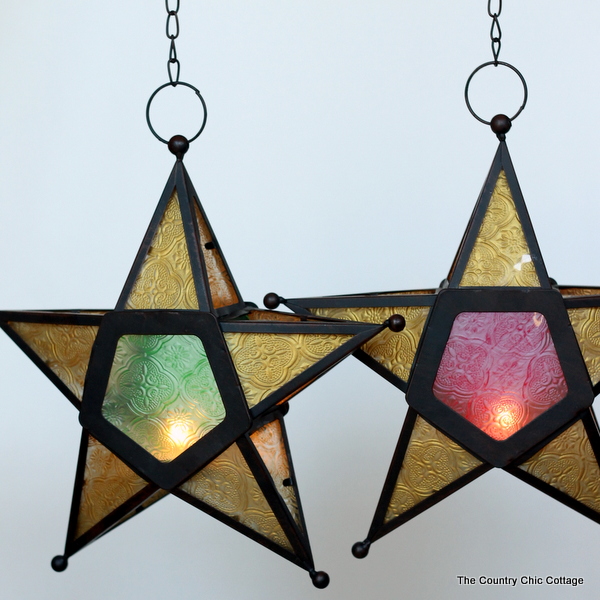
Painted Christmas Star Lantern
thecountrychiccottage.net
Your folders
 202 views
DIY Glittering Gold Painted Glass O...
sustainmycrafthabit.com
Your folders
 238 views
Straw Painted Christmas Tree Craft
happytoddlerplaytime.com
Your folders
 240 views
Painted Cutouts for Topping Pies
washingtonpost.com
3.0
(1)
Your folders
 162 views
How to Make Reusable Paper Towels w...
papernstitchblog.com
Your folders
 230 views
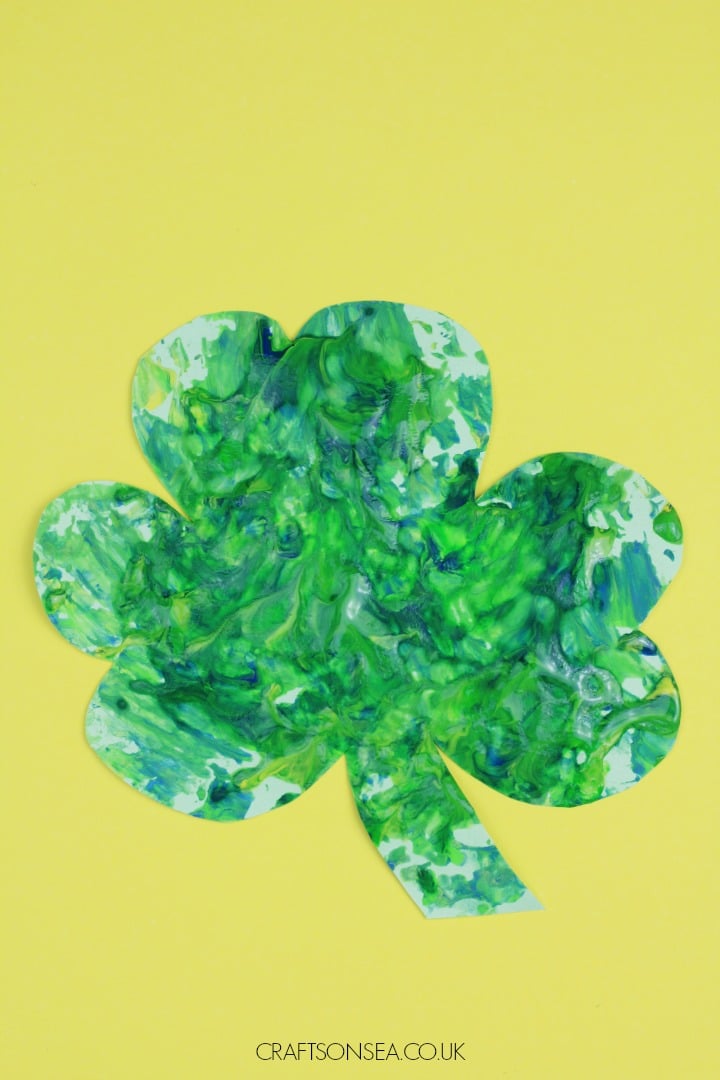
Foil Painted Shamrock Craft for Kid...
craftsonsea.co.uk
Your folders
 241 views
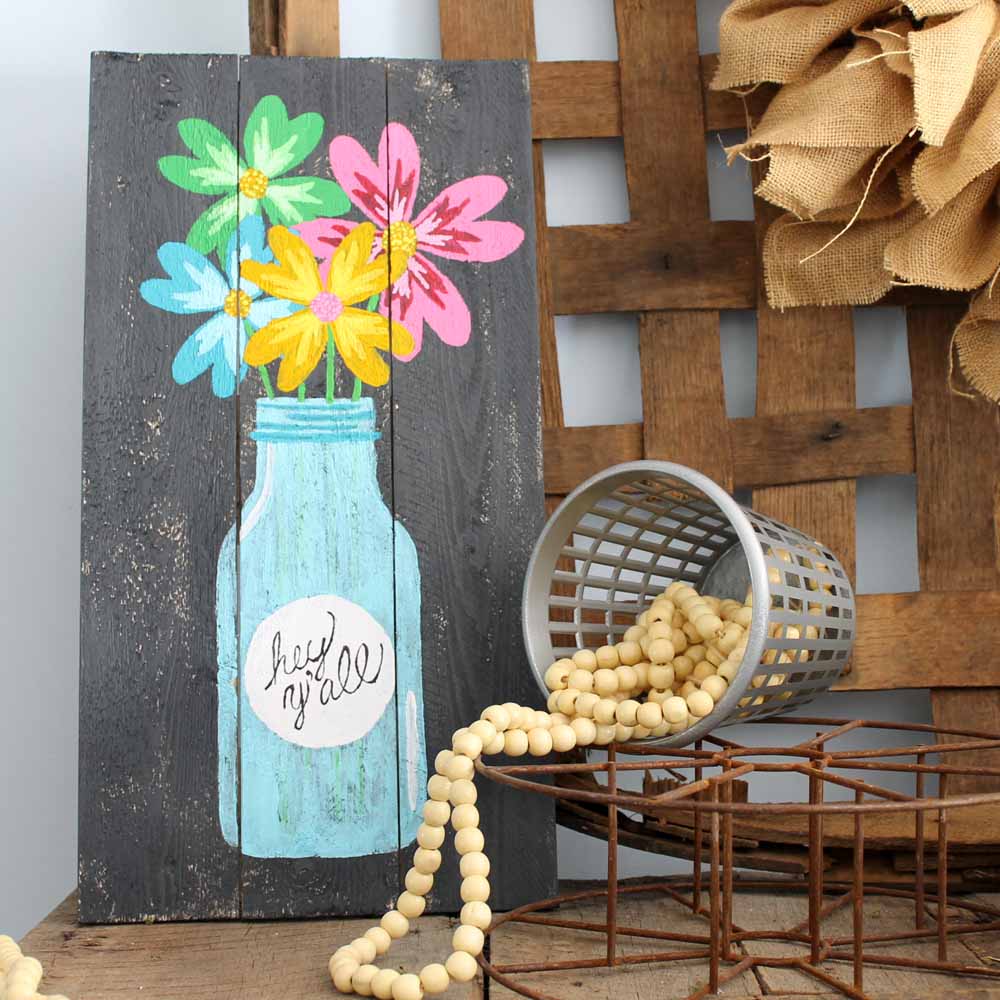
Painted Pallet Mason Jar Art Craft
thecountrychiccottage.net
Your folders
 106 views
Fork Painted Thing 1 Thing 2 Craft
simpleeverydaymom.com
Your folders
 161 views
How to Make Fabric Bowls / Stacking...
papernstitchblog.com
Your folders
 232 views
How to Make Paper (Paper Making Rec...
onegoodthingbyjillee.com
Your folders
 202 views
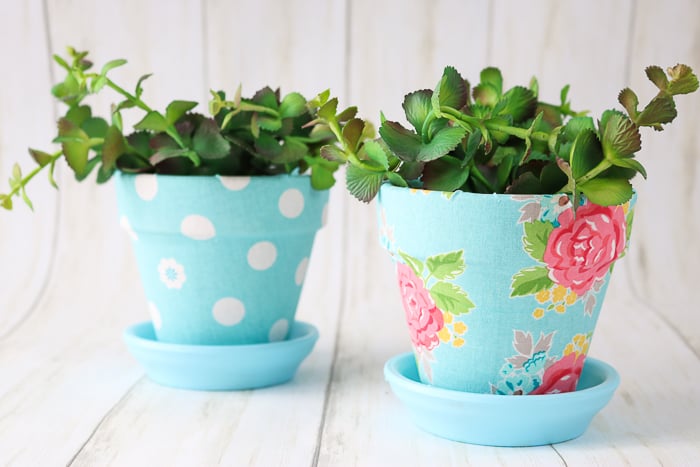
How to Make Fabric Covered Planter ...
thecountrychiccottage.net
Your folders
 253 views
How to Make Paper Feathers
thecountrychiccottage.net
Your folders
 19 views
Easy to make Paper Art
kenarry.com