DIY Glittering Gold Painted Glass OrnamentsDIY Glittering Gold Painted Glass Ornaments
Your folders
Your folders

Ingredients
Export 10 ingredients for grocery delivery
Instructions
Step 1
Squeeze Galaxy Glitter Champagne Stardust paint into the ornament opening.
Step 2
Place your covered thumb over the opening and shake the ornament until the paint inside has mixed together and covered the inside.
Step 3
Allow glitter paint to dry for about 10 minutes.
Step 4
Next, squeeze a good amount of Extreme Sheen 24K Gold paint into the ornament.
Step 5
Once again, place your covered thumb over the opening and shake the ornament until the paint inside has mixed together and covered the inside.
Step 6
Repeat for remaining ornaments.
Step 7
Open Cricut Design Space.
Step 8
Click on the “+” sign to start a new project, opening up a blank canvas.
Step 9
Click on the “Upload” button from the toolbar and browse your downloaded files to insert the SVG file.
Step 10
The phrases will appear on the canvas. With the image selected, click on Ungroup.
Step 11
Click and drag over the individual phrases and then select the “Attach” button to secure all words from the phrase together for cutting.
Step 12
Maintain the size or adjust to fit your ornament. To adjust the size, highlight the image and click on the size box in the top toolbar. Change the measurement to suit your ornament size accordingly.
Step 13
Change the image color if desired to match with the material color.
Step 14
Select “Make It” in the upper right corner to proceed with cutting.
Step 15
If using Cricut Joy Smart Vinyl, choose “no mat” for cutting.
Step 16
Note the size of the Smart Vinyl needed and cut the length of the vinyl accordingly.
Step 17
Choose the Smart Vinyl, Permanent from the list of options in the drop down menu.
Step 18
Following the instructions prompted on the screen, cut out the vinyl.
Step 19
Cut around the phrase with a pair of scissors.
Step 20
Using the weeding tool, peel away the excess vinyl around the cut images and discard.
Step 21
Cut a piece of transfer tape a bit larger than the size of the phrase.
Step 22
Peel away the transfer tape backing and place the transfer tape overtop of the cut phrase. Gently rub the vinyl to help it stick to the transfer tape.
Step 23
Peel away the vinyl backing, leaving just the image adhered to the transfer tape.
Step 24
Cut slashes into the transfer tape, avoiding the vinyl, to help shape the phrase around the curved ornament.
Step 25
Position the image with the transfer tape on to the ornament and press in place.
Step 26
Press the image down with your fingers and slowly remove the transfer tape leaving the vinyl phrase on the ornament.
Step 27
Reattach the ornament caps and tie a piece of decorative ribbon to the top of the ornaments.
Step 28
Squeeze Galaxy Glitter Champagne Stardust paint into the ornament opening.
Step 29
Place your covered thumb over the opening and shake the ornament until the paint inside has mixed together and covered the inside.
Step 30
Allow glitter paint to dry for about 10 minutes.
Step 31
Next, squeeze a good amount of Extreme Sheen 24K Gold paint into the ornament.
Step 32
Once again, place your covered thumb over the opening and shake the ornament until the paint inside has mixed together and covered the inside.
Step 33
Repeat for remaining ornaments.
Step 34
Open Cricut Design Space.
Step 35
Click on the “+” sign to start a new project, opening up a blank canvas.
Step 36
Click on the “Upload” button from the toolbar and browse your downloaded files to insert the SVG file.
Step 37
The phrases will appear on the canvas. With the image selected, click on Ungroup.
Step 38
Click and drag over the individual phrases and then select the “Attach” button to secure all words from the phrase together for cutting.
Step 39
Maintain the size or adjust to fit your ornament. To adjust the size, highlight the image and click on the size box in the top toolbar. Change the measurement to suit your ornament size accordingly.
Step 40
Change the image color if desired to match with the material color.
Step 41
Select “Make It” in the upper right corner to proceed with cutting.
Step 42
If using Cricut Joy Smart Vinyl, choose “no mat” for cutting.
Step 43
Note the size of the Smart Vinyl needed and cut the length of the vinyl accordingly.
Step 44
Choose the Smart Vinyl, Permanent from the list of options in the drop down menu.
Step 45
Following the instructions prompted on the screen, cut out the vinyl.
Step 46
Cut around the phrase with a pair of scissors.
Step 47
Using the weeding tool, peel away the excess vinyl around the cut images and discard.
Step 48
Cut a piece of transfer tape a bit larger than the size of the phrase.
Step 49
Peel away the transfer tape backing and place the transfer tape overtop of the cut phrase. Gently rub the vinyl to help it stick to the transfer tape.
Step 50
Peel away the vinyl backing, leaving just the image adhered to the transfer tape.
Step 51
Cut slashes into the transfer tape, avoiding the vinyl, to help shape the phrase around the curved ornament.
Step 52
Position the image with the transfer tape on to the ornament and press in place.
Step 53
Press the image down with your fingers and slowly remove the transfer tape leaving the vinyl phrase on the ornament.
Step 54
Reattach the ornament caps and tie a piece of decorative ribbon to the top of the ornaments.
Top similar recipes
Curated for youYour folders

 303 views
Painted Cake
preppykitchen.com
5.0
(27)
35 minutes
Your folders
 240 views
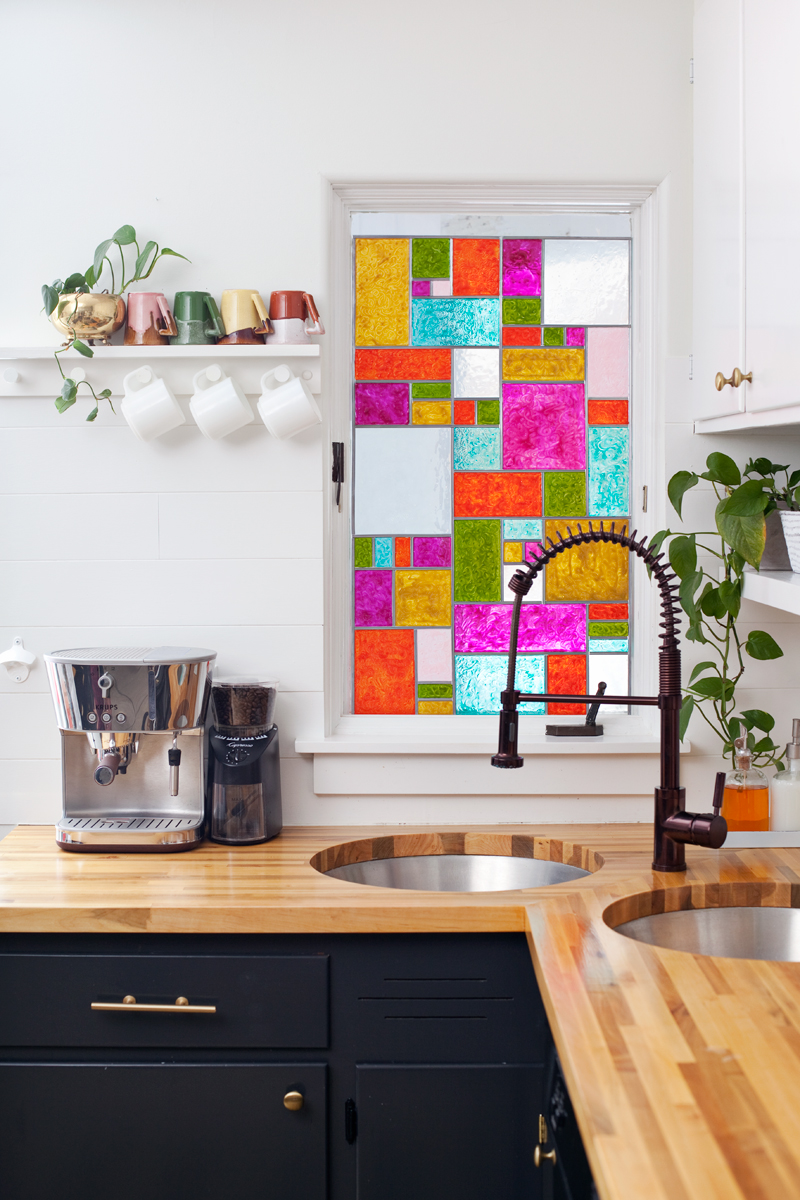
DIY Faux Stained Glass
abeautifulmess.com
Your folders
 221 views
Ladybug Painted Cupcakes
mccormick.com
Your folders
 481 views
Painted Doll Burger
food52.com
40 minutes
Your folders
 238 views
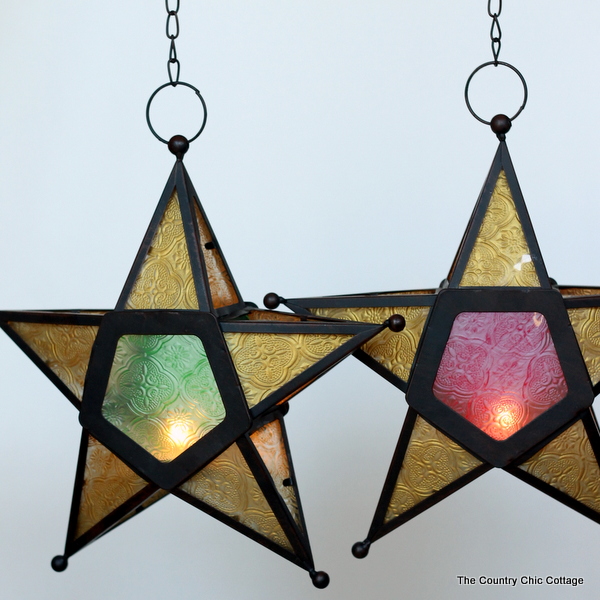
Painted Christmas Star Lantern
thecountrychiccottage.net
Your folders
 376 views
Gold Rush
wsj.com
5 minutes
Your folders
 294 views
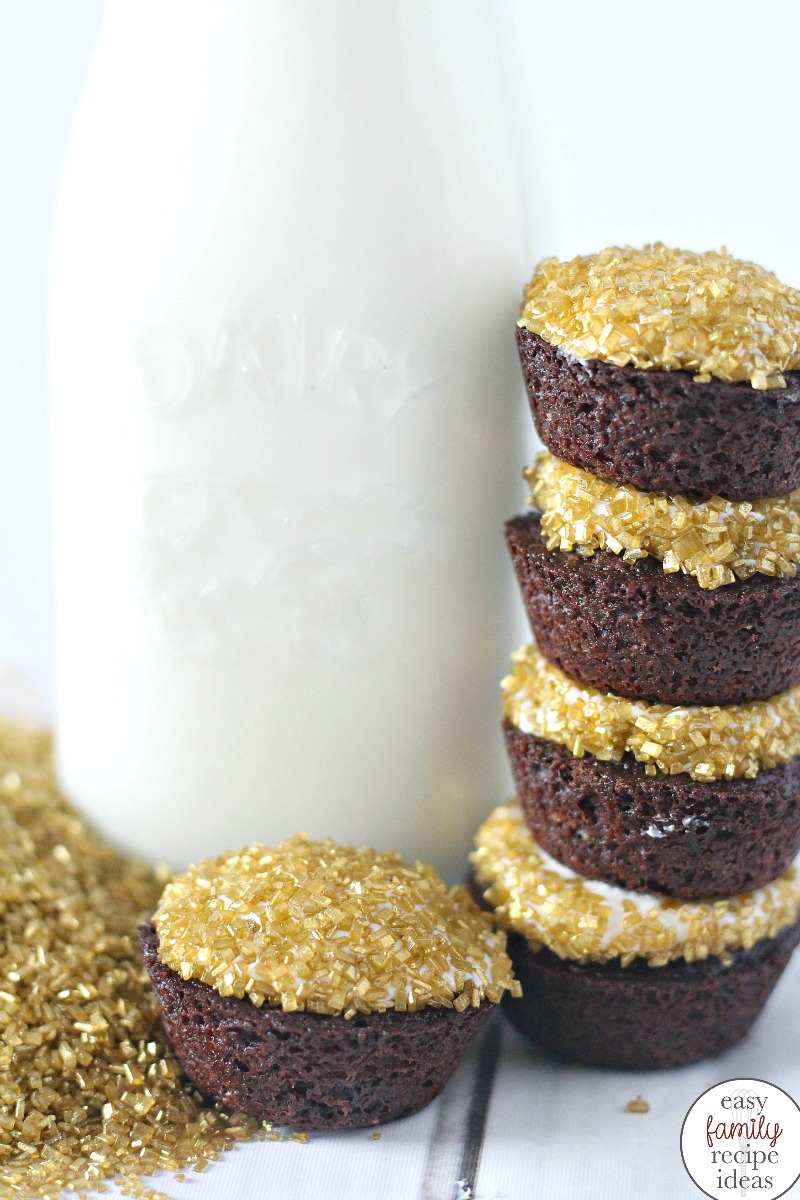
Gold Brownies
easyfamilyrecipeideas.com
Your folders
 245 views
Gold Rush
cooking.nytimes.com
4.0
(502)
Your folders
211 viewsGold Margarita
cocktailbuilder.com
4.0
(23)
2 minutes
Your folders
:max_bytes(150000):strip_icc()/gold-rusher-1200x628-fb-e92f18a27109427394b53569b2a31544.jpg) 286 views
286 viewsGold Rusher
liquor.com
Your folders
 233 views
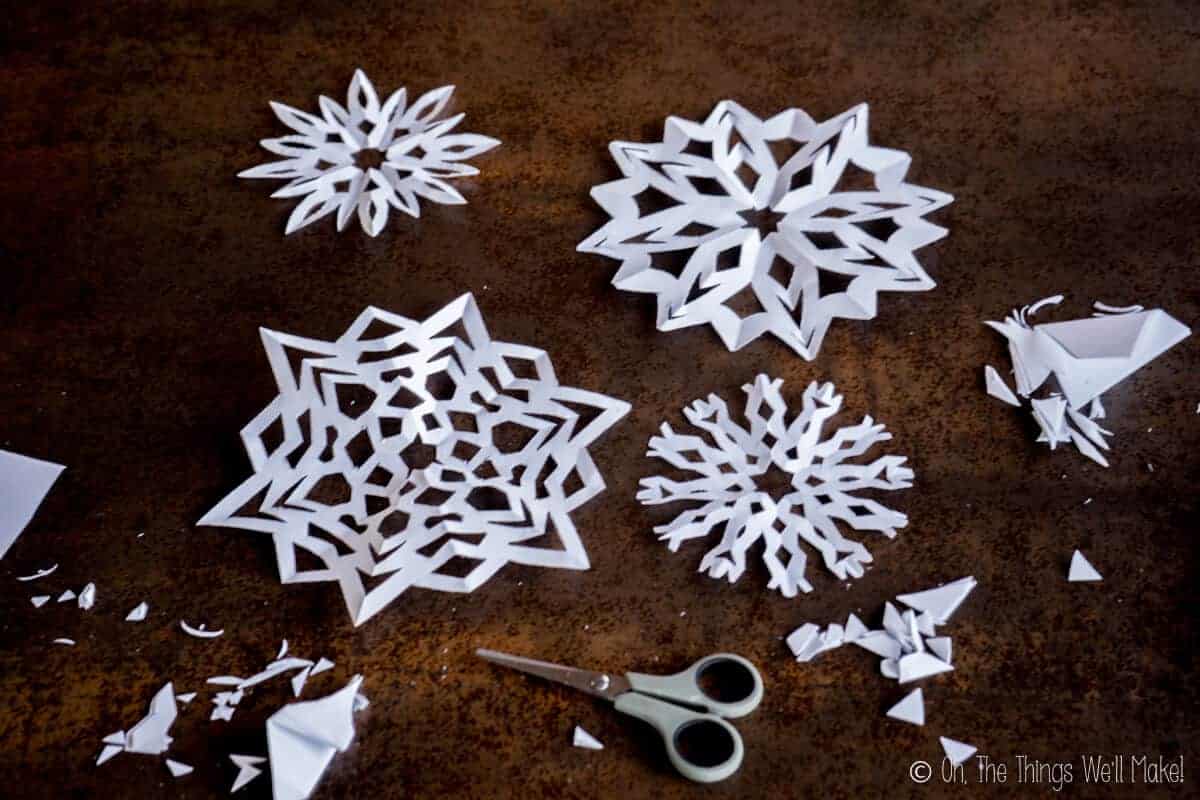
Painted snowflake pouchesBeautiful ...
thethingswellmake.com
Your folders
 69 views
Mason Jar with Sea GlassPaint Pour ...
thecountrychiccottage.net
Your folders
 221 views
Glass Potatoes
baby-mac.com
5.0
(4)
120 minutes
Your folders
 157 views
3 DIY Natural Glass Cleaner Recipes
mymerrymessylife.com
4.5
(2)
Your folders
 238 views
Straw Painted Christmas Tree Craft
happytoddlerplaytime.com
Your folders
 240 views
Painted Cutouts for Topping Pies
washingtonpost.com
3.0
(1)
Your folders
 276 views
Heart of Gold
food52.com
4.5
(2)
Your folders
 323 views
Scandinavian Gold Cake
kingarthurbaking.com
4.8
(22)
1 hours, 15 minutes
Your folders
 232 views
Texas Gold Bars
recipelion.com
45 minutes