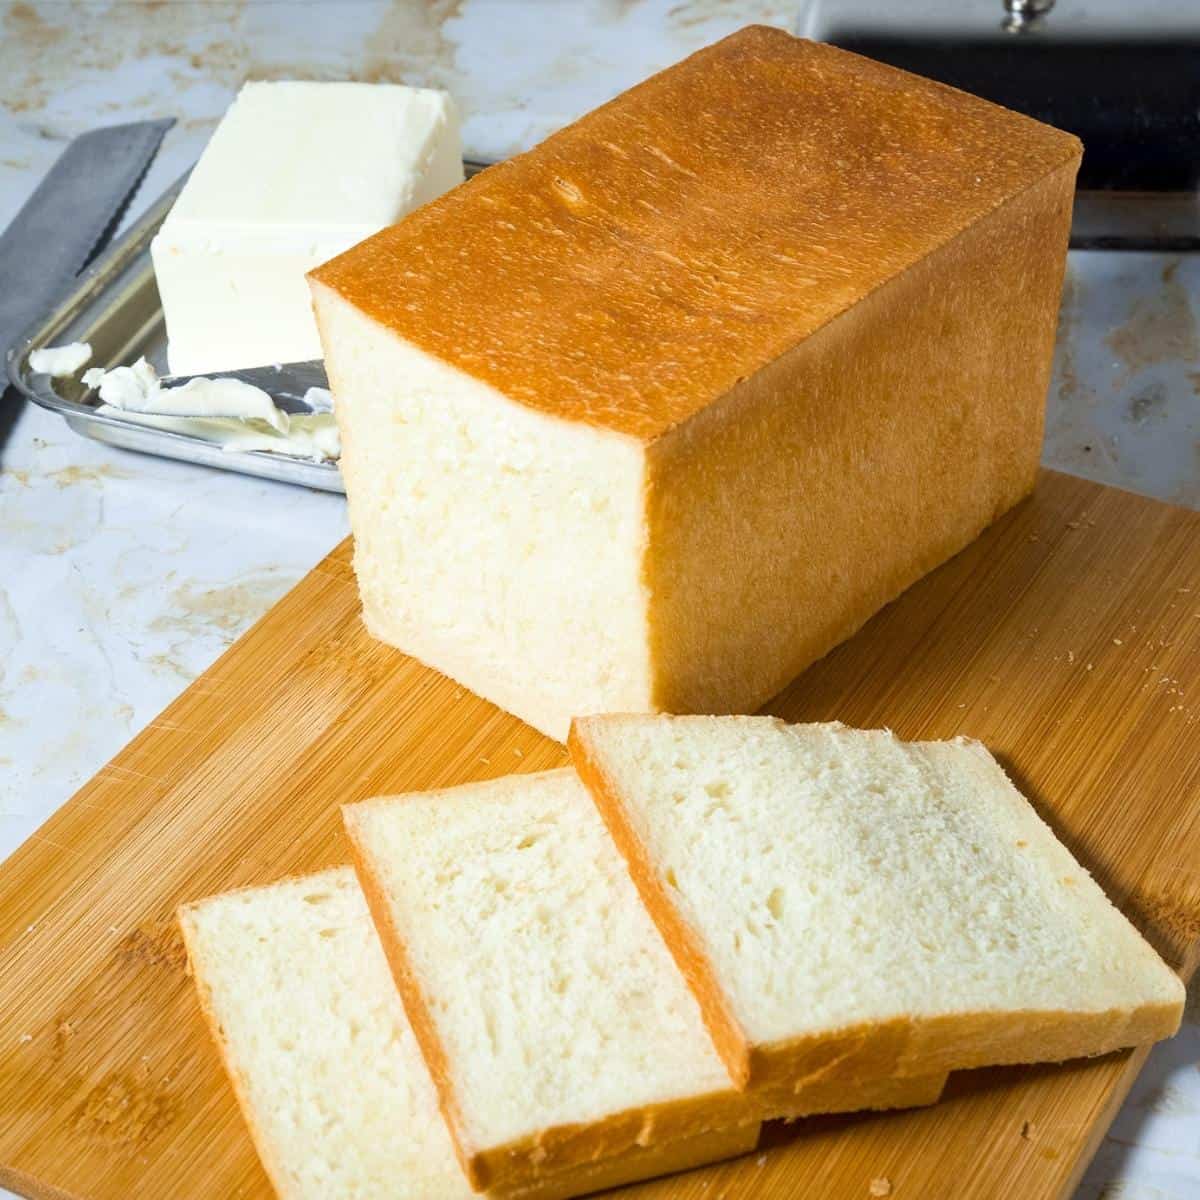
Pullman Sandwich Bread aka Pain de Mie
5.0
(65)
Your folders
Your folders
Prep Time: 15 minutes
Cook Time: 30 minutes
Total: 165 minutes
Servings: 2
Author : Veena Azmanov

Ingredients
Export 6 ingredients for grocery delivery
Instructions
Step 1
Ensure milk is warm, not hot (about 110 F). Add the yeast, sugar, and egg. Stir and set aside to foam for 5 mins.Pro-tip- instant yeast does not need to be activated but I like to ensure my yeast is good and working for me. You may choose to add all ingredients directly to the flour.
Step 2
In the bowl of a stand mixer, with the hook attachment add the flour. Mix in the salt then add in the yeast mixture.Pro-tip - if you do not like kneading I highly recommend using a stand mixer with the hook attachment.
Step 3
Knead on medium speed for about a minute scraping the sides of the bowl as necessary. Pro-tip - do not make haste to add additional water or flour at this point because the flour is still absorbing liquid
Step 4
Once all the flour is incorporated. Knead the dough for three minutes on medium speed until smooth. The dough will be soft and sticky.Pro-tip- a soft and sticky dough is a light and airy bread so don't add more flour.
Step 5
Next, add the soft room temperature butter a little at a time. knead again for 2 minutes until smooth and elastic but still soft.Pro-tip - when you add the butter it will seem like the dough is falling apart. Trust the process and keep kneading.
Step 6
Avoid the temptation to add more flour. We want soft, light, and fluffy brad, and this is only possible when the dough is soft, elastic, yet slightly stickyNote - If using a stand mixer, you may need to add the reserved flour for kneading to prevent the dough from sticking to the bowl. If kneading by hand, use the reserved flour as required for kneading to prevent the dough from sticking to the work surface
Step 7
Remove the dough from the mixer bowl onto a lightly floured surface. Shape into a ball.Pro-tip - using a flexible bread scraper does a good job of removing the sticky dough from the bowl.
Step 8
Place in an oiled bowl and cover with plastic wrap or clean kitchen cloth. Leave to rise in a warm place for about an hour until doubled in volume.Tip - in winter you may need 90 minutes or more but in summer the dough may double in 45 minutes. If you can't attend to it at that moment. De-gas, reshape, and let double in volume again.
Step 9
When the dough is double in volume invert onto a lightly floured surface. Divide into two - to make two loaves.
Step 10
Start to roll like a jelly roll. Fold from top to the center then again once more towards the end. Pinch the seams together.
Step 11
Place into a buttered 7 x 4 x 4 Pullman loaf pan seam side down. Alternatively, you can make one 13 x 4 x 4 Pullman loaf
Step 12
Cover loaf pan with plastic wrap or clean kitchen cloth. Let rise in a warm place for about 45 minutes until almost 2 inches from the top rim of the loaf pan.
Step 13
Once you see your dough is almost halfway up the sides preheat the oven to 380°F / 190°C / Gas Mark 5 for at least 10 minutes.
Step 14
Cover the loaf pan with its lid. Place the loaf pan on the center rack in the hot ovenPro-tip - you want to place the lid on before it rises to the top so you don't ruin the rise.
Step 15
Bake for about 25 to 30 minutes for the small loaves and about 45 to 50 minutes for the big loaf. Pro-tip - The bread is done - when you tap the bottom of your loaf and you will hear a hollow sound (or between 160° to 180°F)
Step 16
Partially open the lid and let cool for 10 minutes - before you remove and let cool completely. Take it out of the pan and cover it with a clean kitchen cloth for at least 5 minutes Pro-tip - Wrapping the bread in kitchen cloth will let the steam cool in the bread keeping it soft
Step 17
Always let bread rest for at least an hour before you cut - this is the hardest part!! But, it will prevent the steam from escaping and making the bread dry.
Step 18
Enjoy!