Pumpkin Door HangerDIY Lantern from Dollar Store SuppliesHow to Paint PumpkinsHalloween Flower PotsDIY Wood Earrings with a Cricut and Rust-Oleum Imagine Paints
Your folders
Your folders
Total: 1620

Ingredients
Export 7 ingredients for grocery delivery
Instructions
Step 1
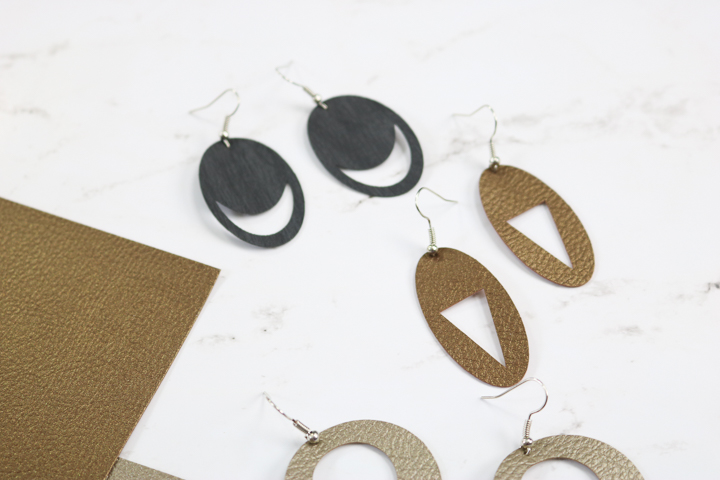
First, you will need to cut the wood veneer with your Cricut machine. Upload your designs to Cricut Design Space. Then add the wood veneer sheets to a strong grip mat. Use a brayer to make sure it is on the mat well and add painter’s tape to all four edges. Trim away any excess tape and make sure it is not hanging over the edge of the mat.
Step 2
Then use the deep point blade in an Explore or Maker series machine to cut your wood veneer. I used the wood veneer setting for my pieces. NOTE: I could not find the wood veneer setting when using mobile so you may have to use a computer for this project or pick another material setting.
Step 3
Once your pieces are cut, remove them from the mat. Use caution as the wood veneer is very thin and delicate.
Step 4
Wood veneer is extremely thin. In fact, you can bend it with just your hands when it is in a single layer. So, I recommend layering your wood veneer earring pieces to be more sturdy.
Step 5
In my case, I cut two of the back pieces and layered those together with some glue before painting. I would not layer too many pieces together as you do not want to make your Cricut earrings too heavy.
Step 6
Now the pieces are ready for spray paint. Since the wood pieces are so thin, they will also be really lightweight. For the best results from spray paint, you will want to hold them down in some manner. If you have an area you don’t want to be painted, you can tape the pieces down on heavyweight card stock. If you want the entire thing painted, just use double-sided tape or a loop of painter’s tape to hold the pieces on some cardstock.
Step 7
Then you want to head outside or to another well-ventilated area for spray painting. With any spray paint project:
Step 8
Follow all directions on the can.Shake the can well (for at least 1 minute).Spray paint in light coats about 12 – 16 inches from the surface in a back-and-forth motion.Overlap your strokes as you move back and forth.Spray paint should be recoated within 1 hour or you should wait for 24 hours between coats. I tend to allow the paint to dry slightly then add additional coats quickly. For the color shift paint, you will want to spray on the black basecoat first then add the color shift paint. The more coats of color shift that you add, the more intense the effect will be.Once your spray painting is done, allow the pieces to dry completely before assembling.
Step 9
If you want to add even more fun to your earrings, you can apply the intense glitter paint right on top of the spray paint. I did this to all of my gnome bodies. I painted each one white then added one to two coats of glitter on top. The more coats of glitter that you add the more intense the effect will be. Allow these to dry before continuing.
Step 10
Once you let your pieces dry, it is time to assemble your DIY wood earrings. First, you will want to glue the pieces together. Add the hat and the nose to the body with glue and allow it to dry.
Step 11
Then you will need to add jewelry findings to the earrings. I used a large and small jump ring along with an earring hook and used jewelry pliers to assemble.
Top similar recipes
Curated for youYour folders

 174 views
Pumpkin Door HangerHow to Paint Pum...
thecountrychiccottage.net
Your folders
 111 views
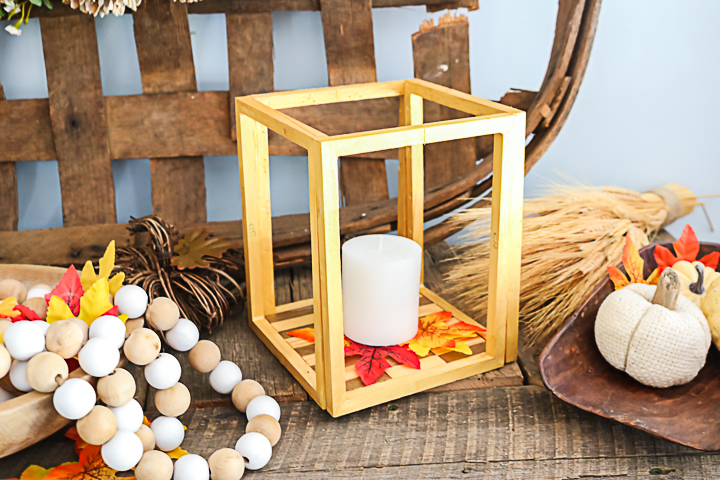
DIY Lantern from Dollar Store Suppl...
thecountrychiccottage.net
Your folders
 242 views
Cutting Earrings with a Cricut Mach...
thecountrychiccottage.net
Your folders
 165 views
Happy Holidays Dollar Store Door Ha...
thecountrychiccottage.net
Your folders
 58 views
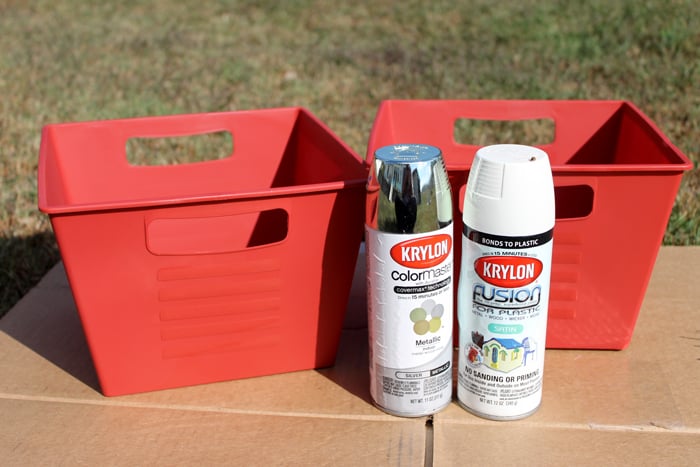
Dollar Store Bins Makeover with Spr...
thecountrychiccottage.net
Your folders
 131 views
DIY Lantern from Dollar Store Suppl...
thecountrychiccottage.net
Your folders
 204 views
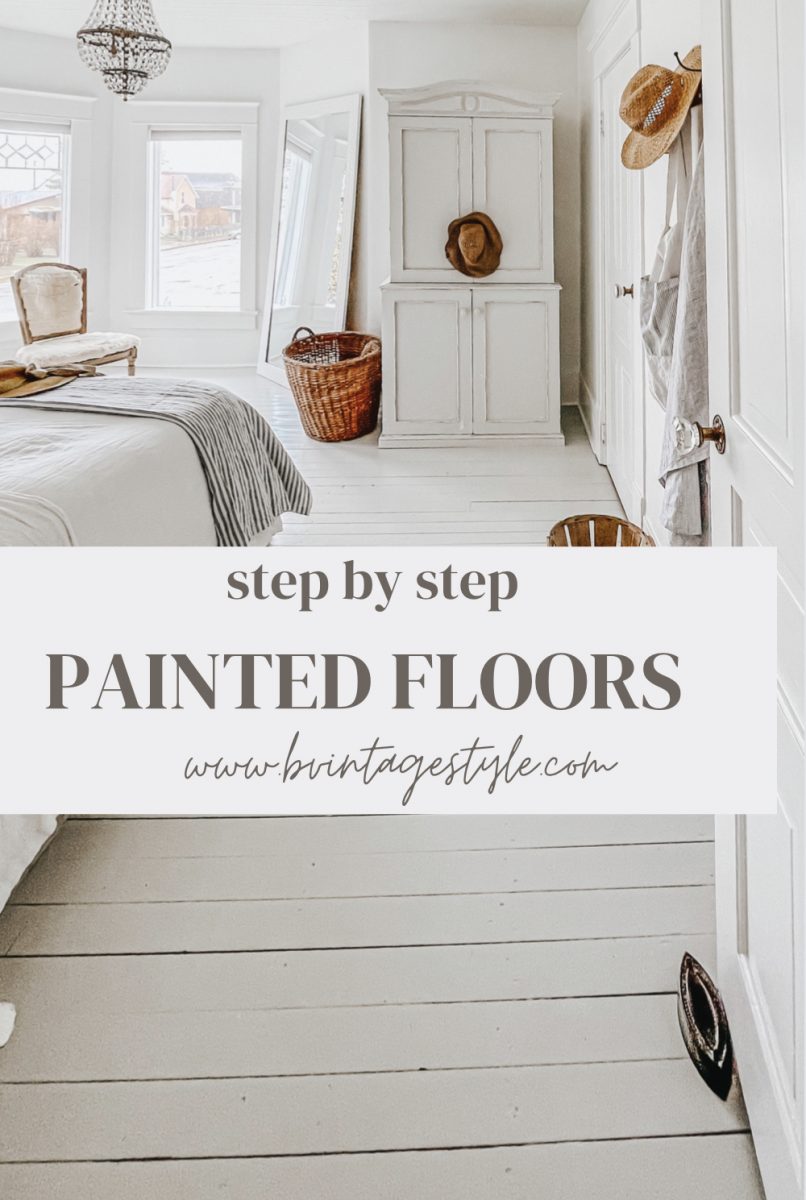
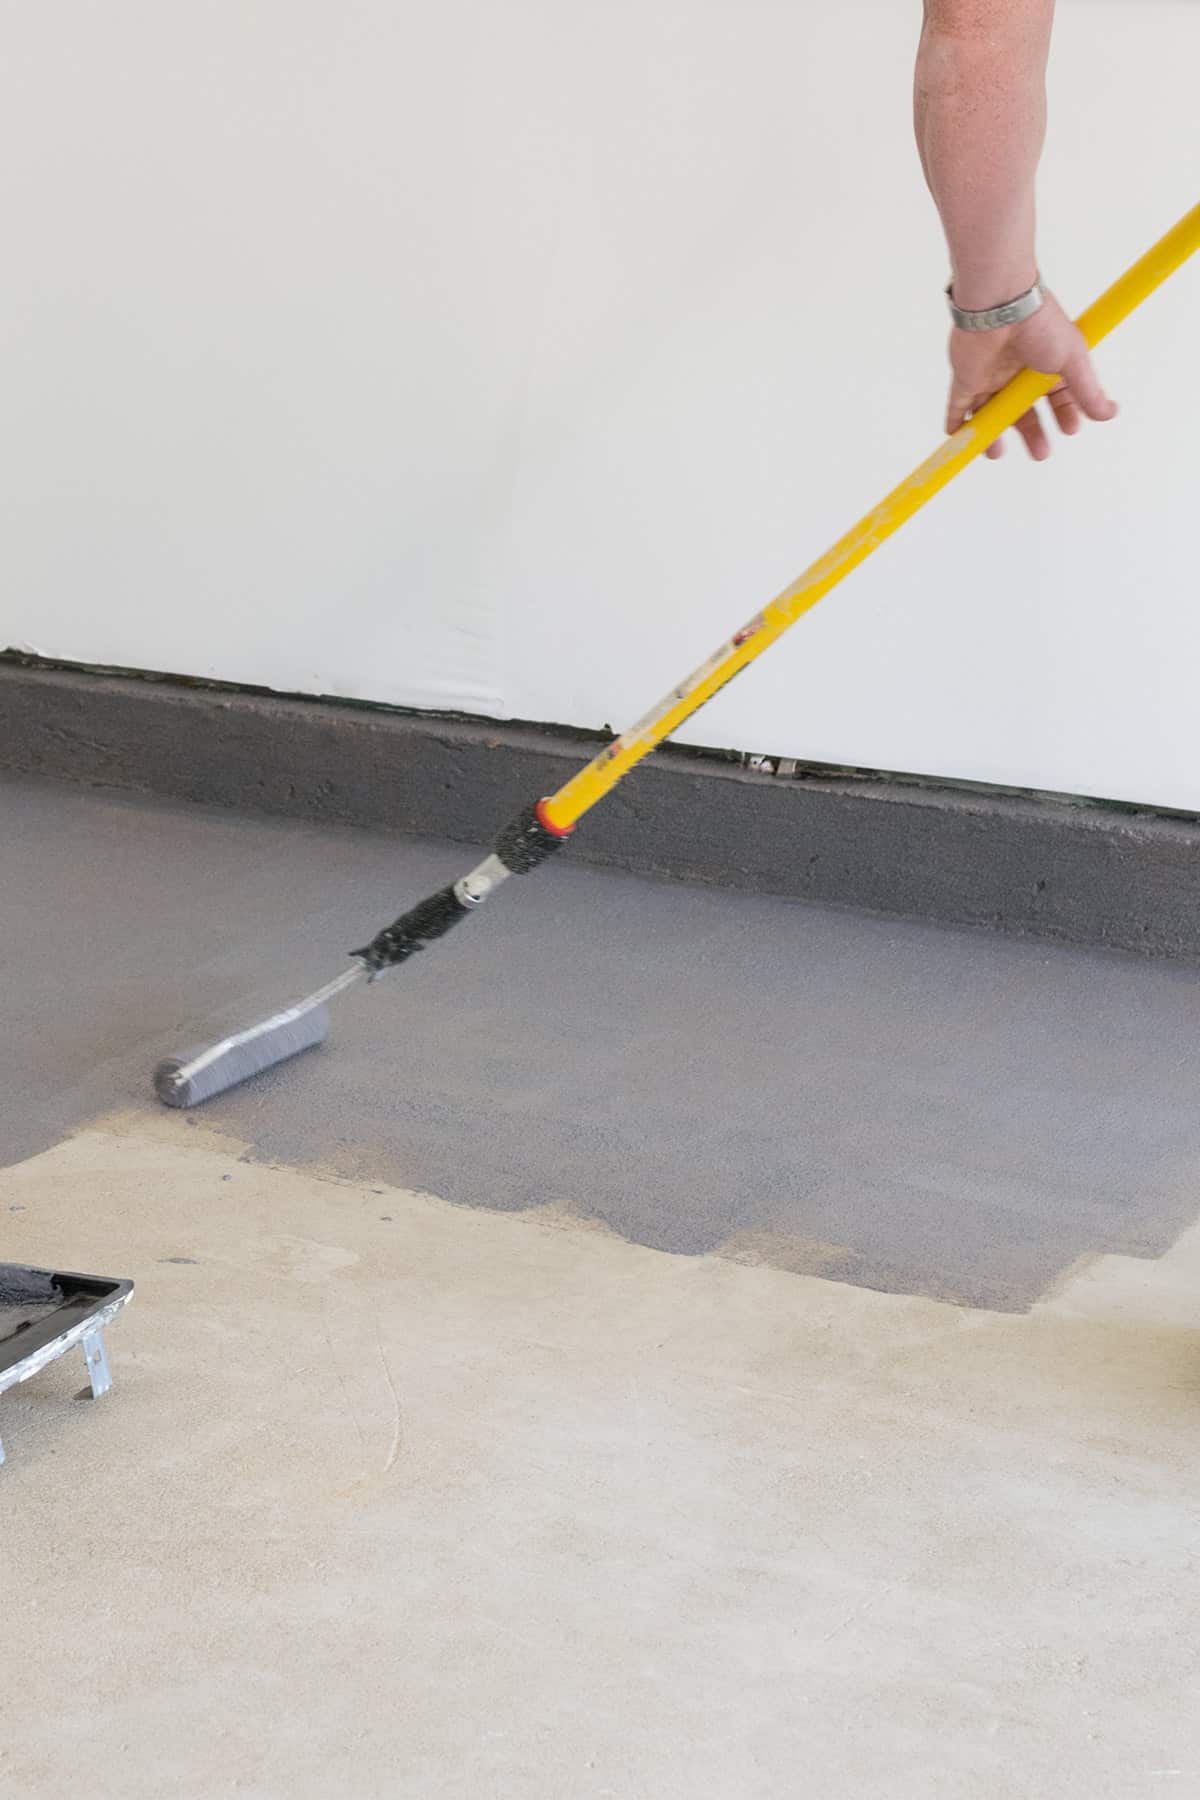
How To Paint Wood Floors
bvintagestyle.com
Your folders
 104 views
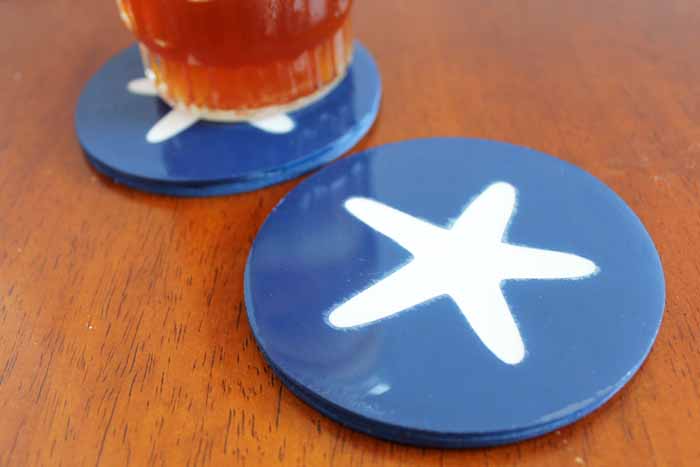
How to Make DIY Wood Coasters with ...
thecountrychiccottage.net
Your folders
 114 views
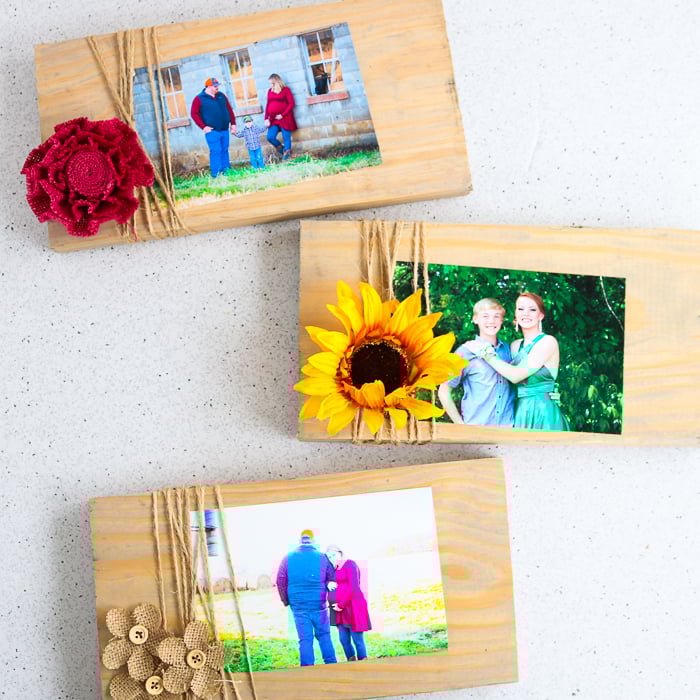
How to Make a Picture Frame from Sc...
thecountrychiccottage.net
Your folders
 315 views
Pumpkin Door Hanger
thecountrychiccottage.net
Your folders
 203 views
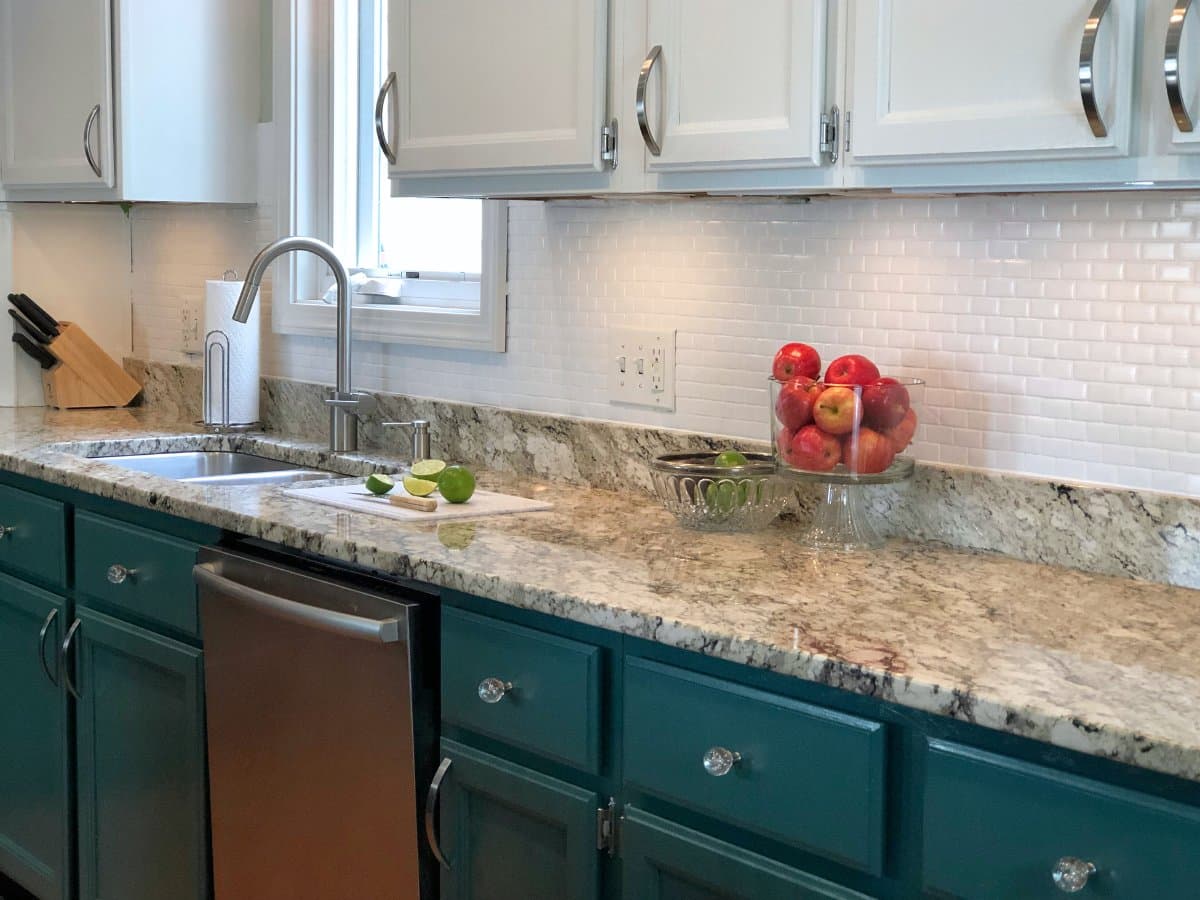
How To Paint A Kitchen Backsplash
thediynuts.com
Your folders
 57 views
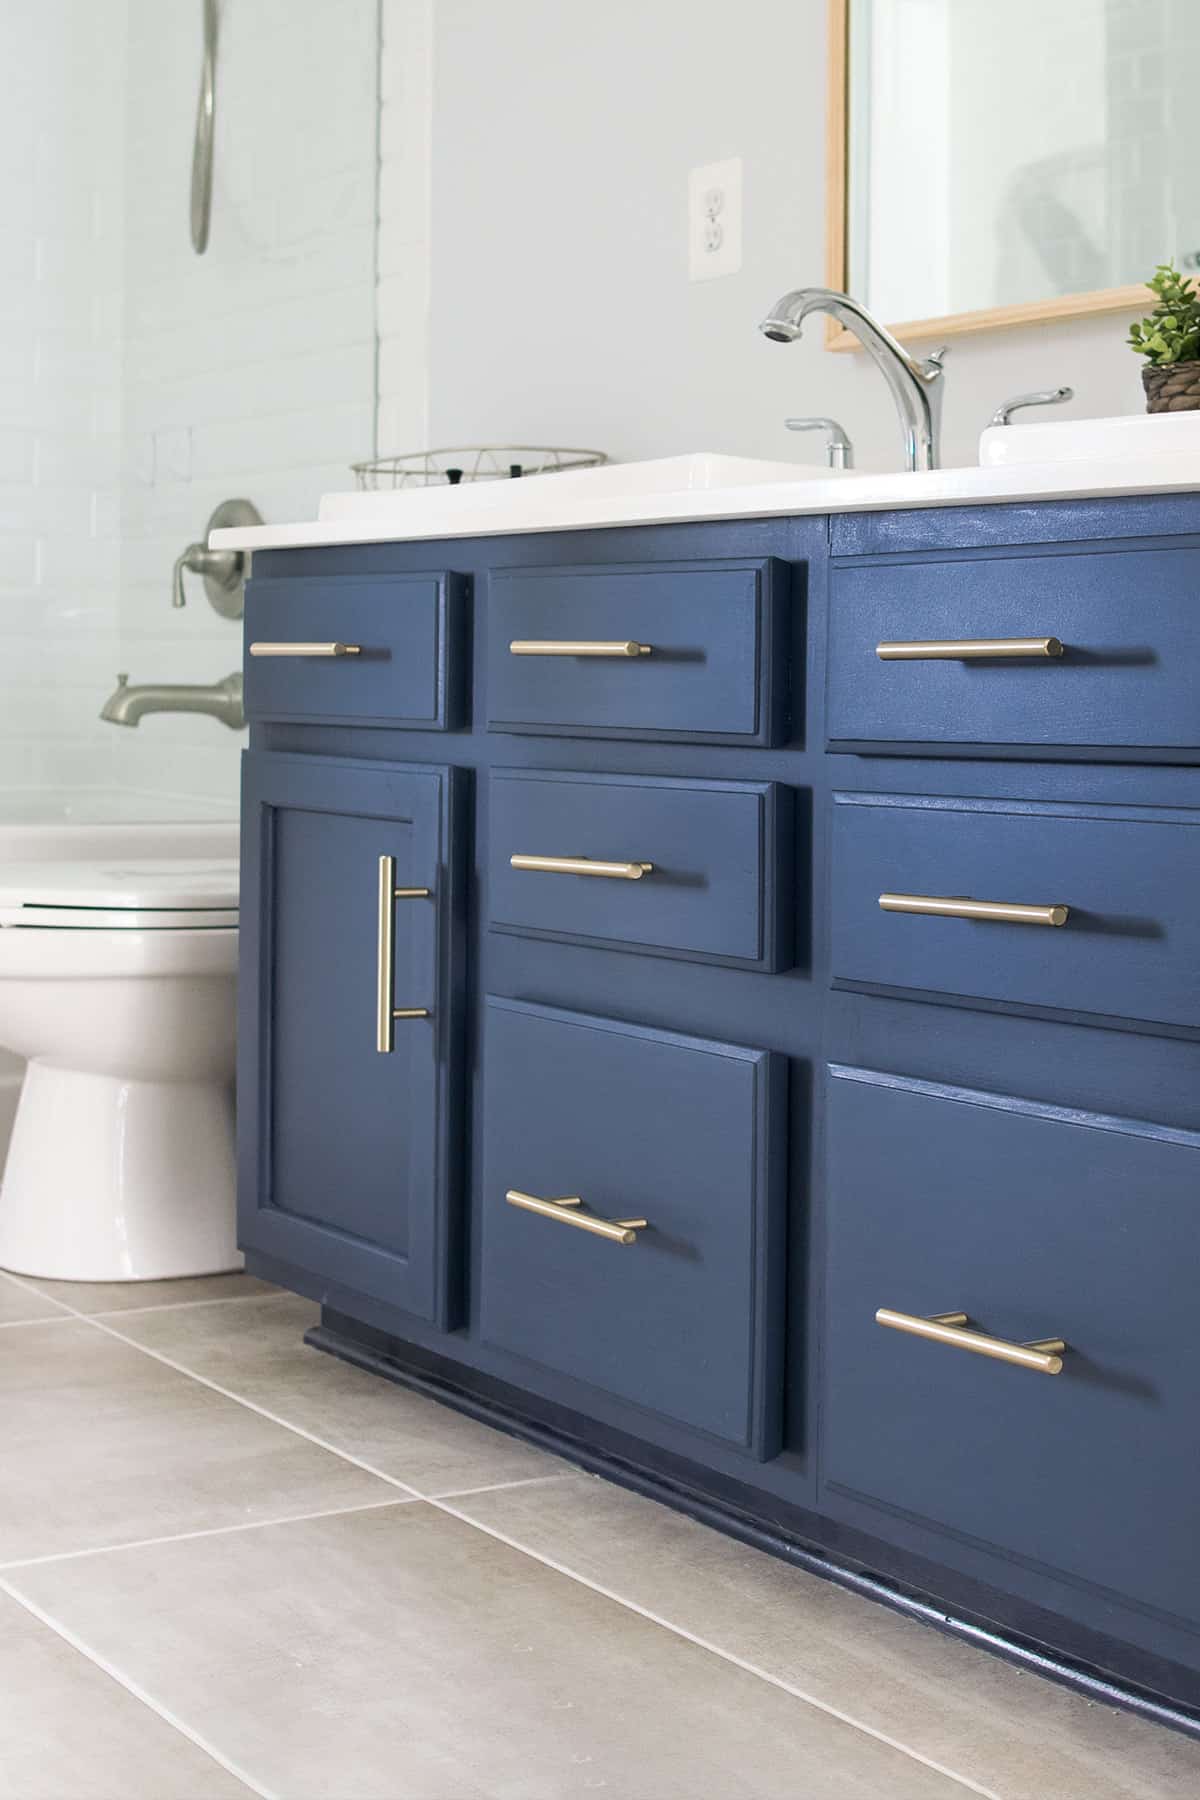
How To Paint a Bathroom Cabinet
cravingsomecreativity.com
Your folders
 56 views
How To Paint A Garage Floor
cravingsomecreativity.com
Your folders
 68 views
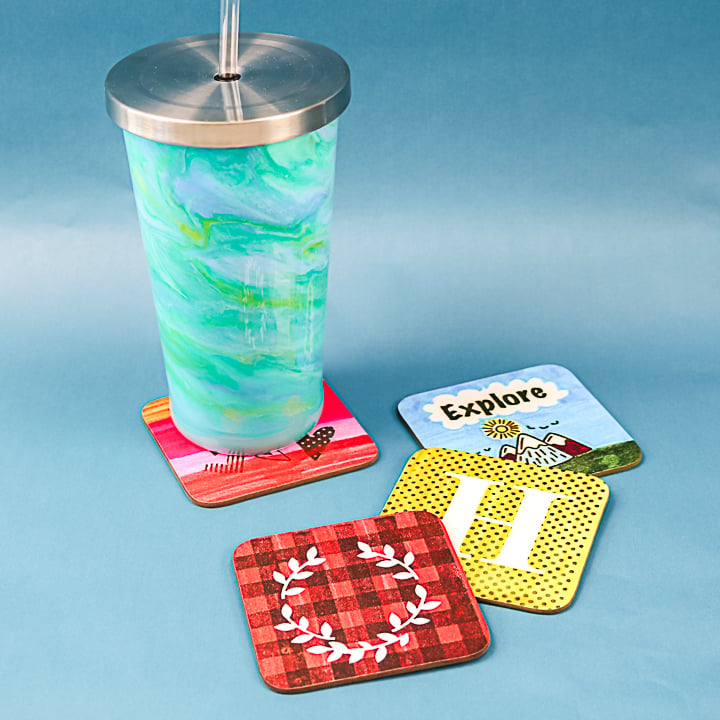
Sublimation Stamped Ink Coaster wit...
thecountrychiccottage.net
Your folders
 198 views
How to Make a Custom Hat with Cricu...
prettyprovidence.com
Your folders
 269 views
Growing a Kombucha SCOBY from store...
servingrealness.com
Your folders
 249 views
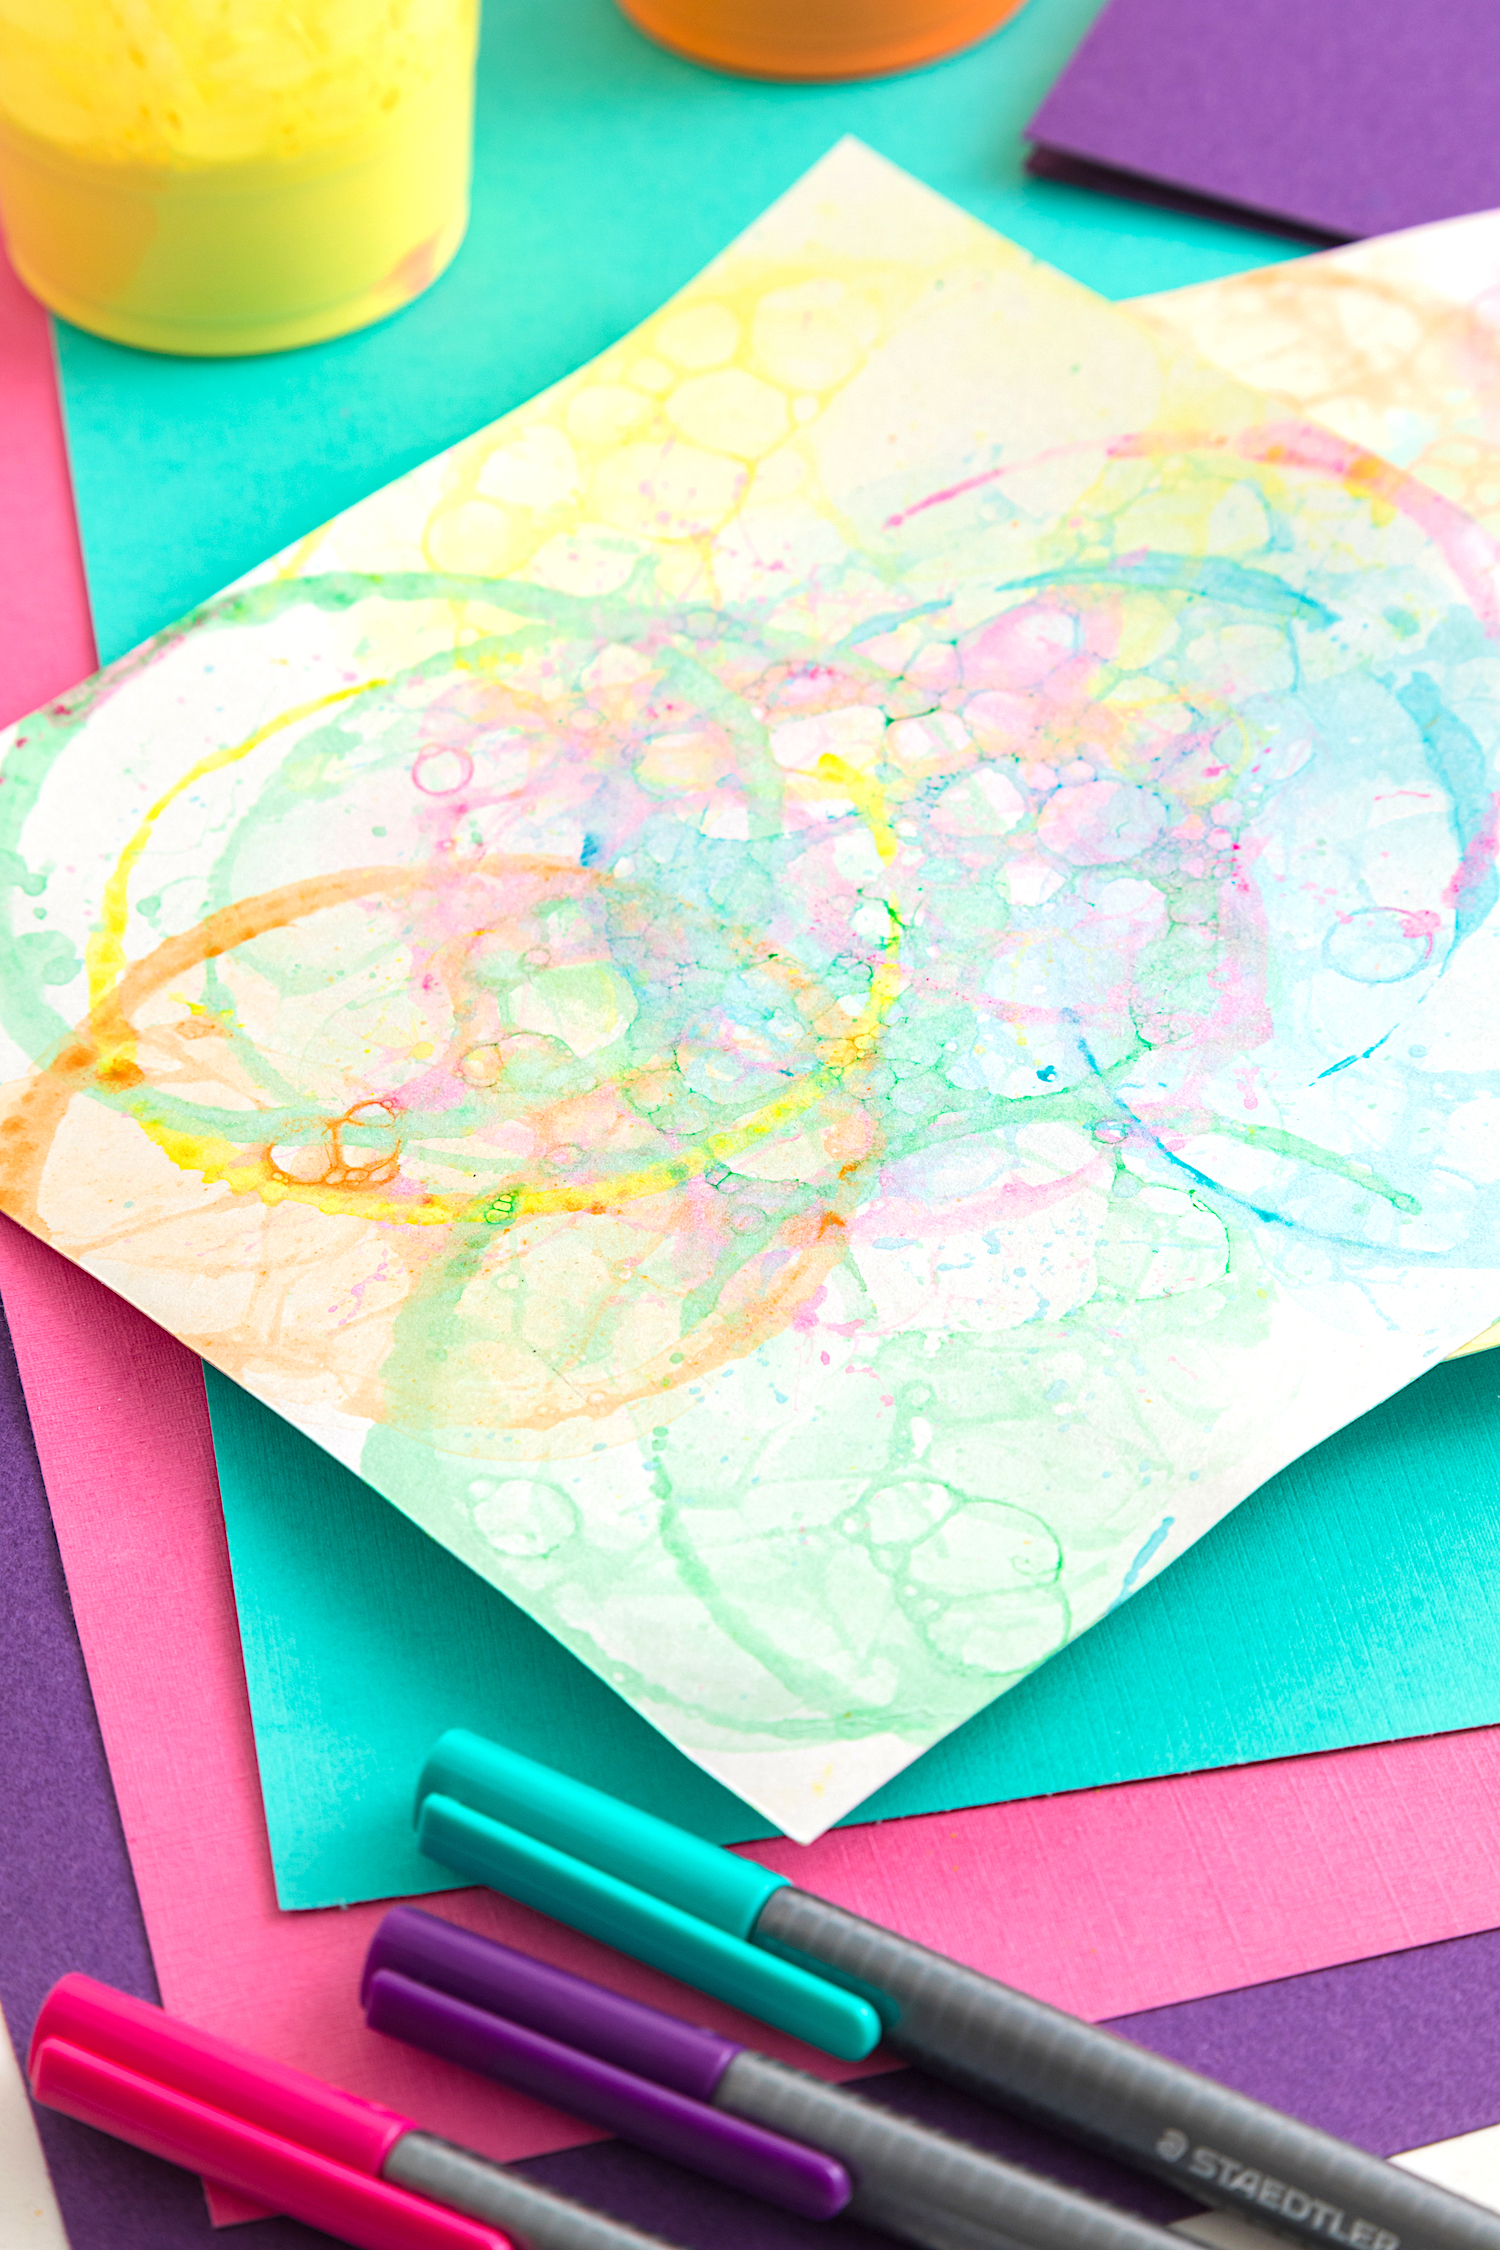
How to Paint with Bubbles
karacreates.com
Your folders
 52 views
How to Etch Glass with a CricutHow ...
thecountrychiccottage.net
Your folders
 132 views
How to Refinish a Vintage Shelf wit...
buythiscookthat.com