Sublimation Stamped Ink Coaster with WordsMaking Coasters with Sublimation Ink and a CricutCustom Dollar Store Baby BlanketsHow to Add Iron-on to Baby SocksMatching Shirts for Mommy and BabyCricut Maker Engraving AcrylicEngraved Wood Earrings
Your folders
Your folders
Total: 30
Ingredients
Export 14 ingredients for grocery delivery
Instructions
Step 1
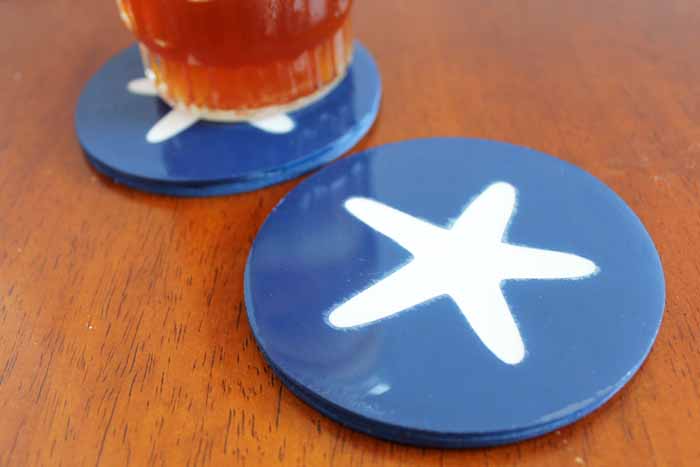
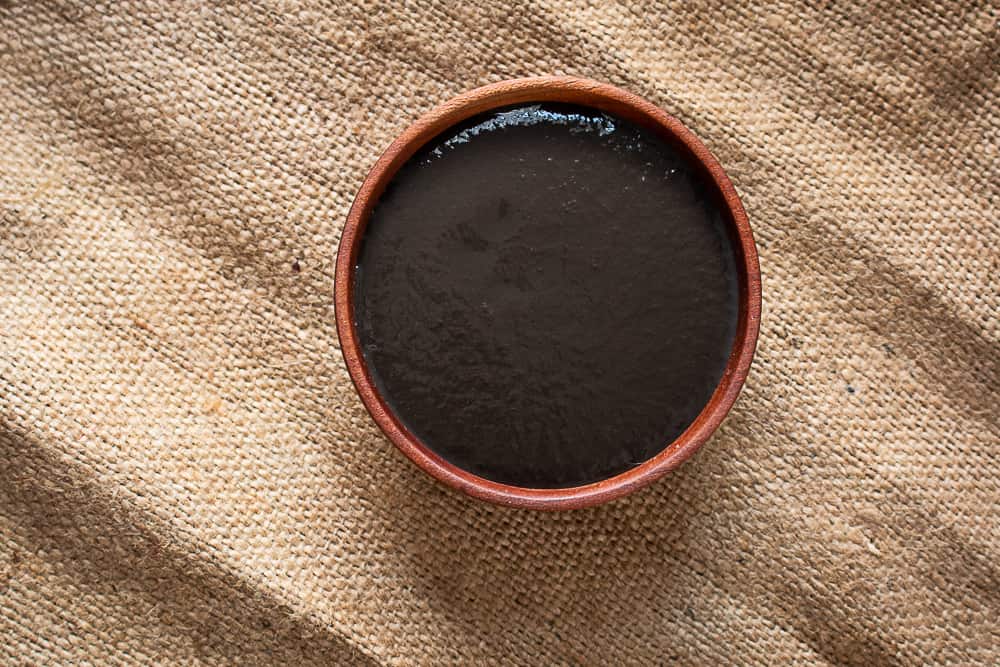
To begin, remove the cover just like any ink pad. It does have a protective plastic piece which I leave in place to offer up additional protection.
Step 2
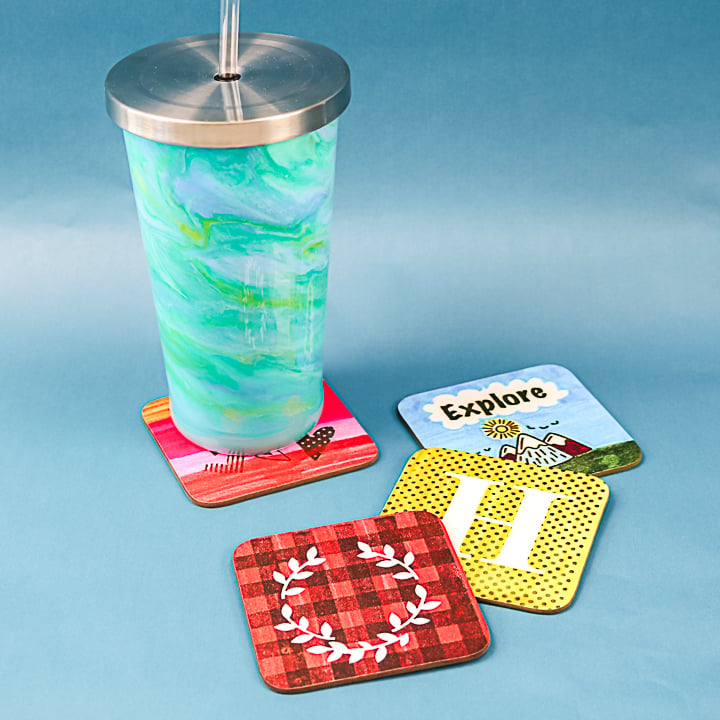
Take one of the coasters and, using a pencil, trace around it onto the copy paper. The pencil gives you a guideline for adding your stamps. If you want a background color, now's a great time to do that. Or you can stamp and then color around the outside, either way. Use an acrylic block almost the same size as your coaster and add whatever stamps you are going to use. Ink up your stamps just as if you were stamping regular paper with a regular ink pad.
Step 3
Center the design on the outline of the coaster and press down really well. Make sure you get all the areas. If you have text in your design, the words will be backwards, but when we turn it over onto the coaster to press, it will be the correct way.
Step 4
If there is something that isn’t as dark as you want it to be or you want to add more colors, you can color things in and go over the top. It’s a lot like a coloring book at this point! Use as many colors as you like. The colors are pretty vibrant when coloring with them but I do want to note that it will be even more vibrant once you press it. You can color outside of the pencil line you made earlier, but the design that goes on your coaster will be just to the edge of the pencil line.
Step 5
Please note that you will need to clean your stamps with a damp cloth when you're finished with your design.
Step 6
Now it's time to press your design onto the coaster! Cut around the design, but not on the line to give a little extra space around the outside. Center the paper onto the coaster. Apply the heat resistant tape. Put the coaster face up and place another piece of protective paper over the top. Heat the EasyPress to 400 degrees and press for 90 seconds. Allow to cool and pull back the paper to reveal the design!
Step 7
As with the first project we made, trace around the coaster onto the copy paper. This time we'll do the entire coaster in color with the sublimation markers. Just use the broad tip to color over the entire surface.
Step 8
For this design, I'm going to take a stamp, that's an all-over pattern, like dots. Attach it to the acrylic block and press it in the sublimation ink. Line up on the copy paper and press down really well and lift up. You'll end up with a polka dot pattern on paper with sublimation ink.
Step 9
Allow to dry a few minutes then use your Cricut to cut out a mirrored design. I made a monogram as well as a wreath design using two different patterns. Tip for cutting: Use SnapMat on iOS to locate your design or use the markers on your mat to locate. Once cut, remove all of those inside pieces before pressing.
Step 10
When you press this design on the coaster, the monogram or design will show through white and everything around it will be the pattern. Once again, you will want to cut around the outer edge of your design but not on the line. Add protective paper on your mat, then the coaster, then your design face down.
Step 11
Apply the heat resistant tape around the outer edge as well as holding the design down in the center.
Step 12
Add protective paper over the top and heat with the EasyPress to 400 degrees and press for 90 seconds.
Step 13
Allow to cool and pull back the paper to reveal the design!
Top similar recipes
Curated for youYour folders
 47 views
How to Add Iron-on to Baby SocksHow...
thecountrychiccottage.net
Your folders
 40 views
How to Do Sublimation on Mugs in an...
thecountrychiccottage.net
Your folders
 149 views
HOW TO MAKE SUBLIMATION FLIP FLOPSH...
heyletsmakestuff.com
Your folders
 130 views
How to Make Sublimation Photo Blank...
thecountrychiccottage.net
Your folders
 422 views
Spaghetti with Mussels, Squid Ink, ...
foodandwine.com
Your folders
 197 views
Squid Ink Pasta With Squid And Wine
whiskanddine.com
5.0
(1)
15 minutes
Your folders
 252 views
Squid Ink Pasta with Seafood
somebodyfeedseb.com
4.9
(16)
15 minutes
Your folders
 100 views
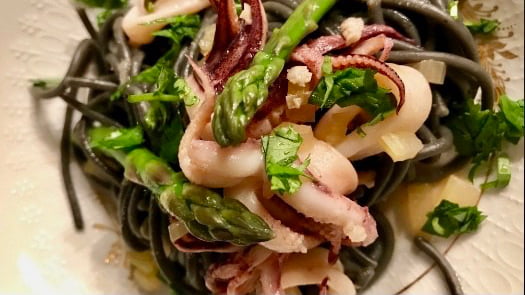
Squid Ink Pasta with Shrimp
platingsandpairings.com
5.0
(120)
20 minutes
Your folders
 237 views
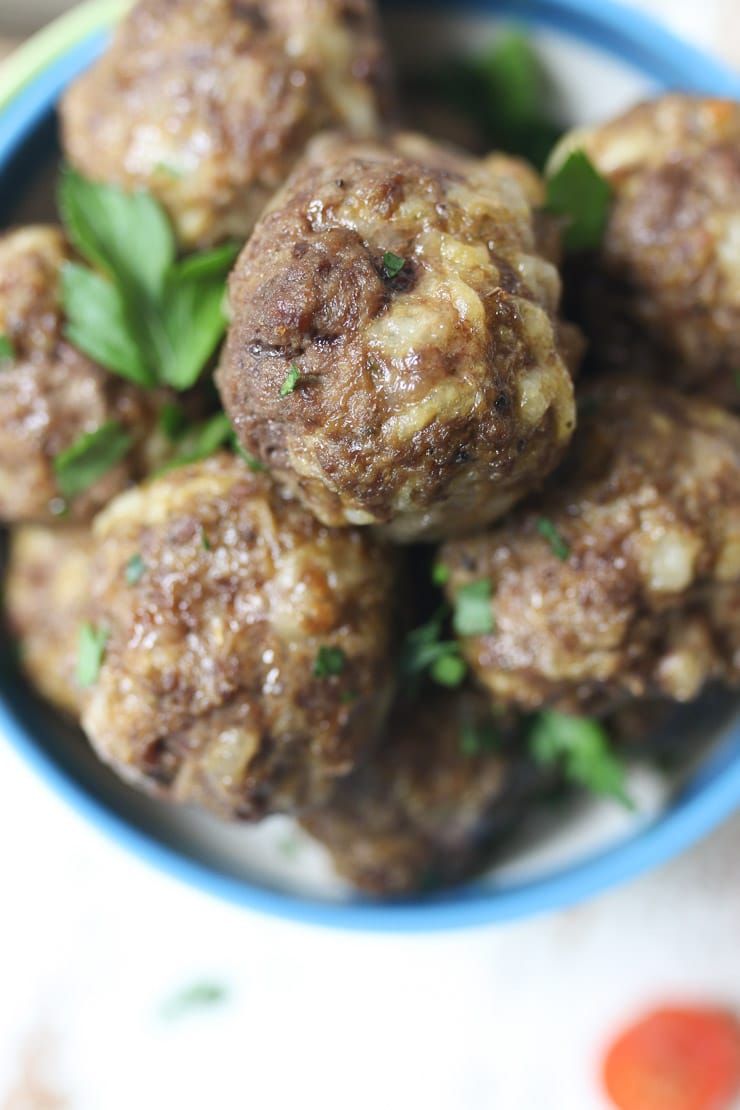
Baby Meatballs for Baby Led Weaning...
abbeyskitchen.com
5.0
(56)
20 minutes
Your folders
 104 views
How to Make DIY Wood Coasters with ...
thecountrychiccottage.net
Your folders
 191 views
Shaggy Mane Ink
foragerchef.com
Your folders
 239 views
Squid Ink Paella
myrecipes.com
Your folders
 186 views
Spicy Squid Ink Fettuccine with Shr...
loveandoliveoil.com
Your folders
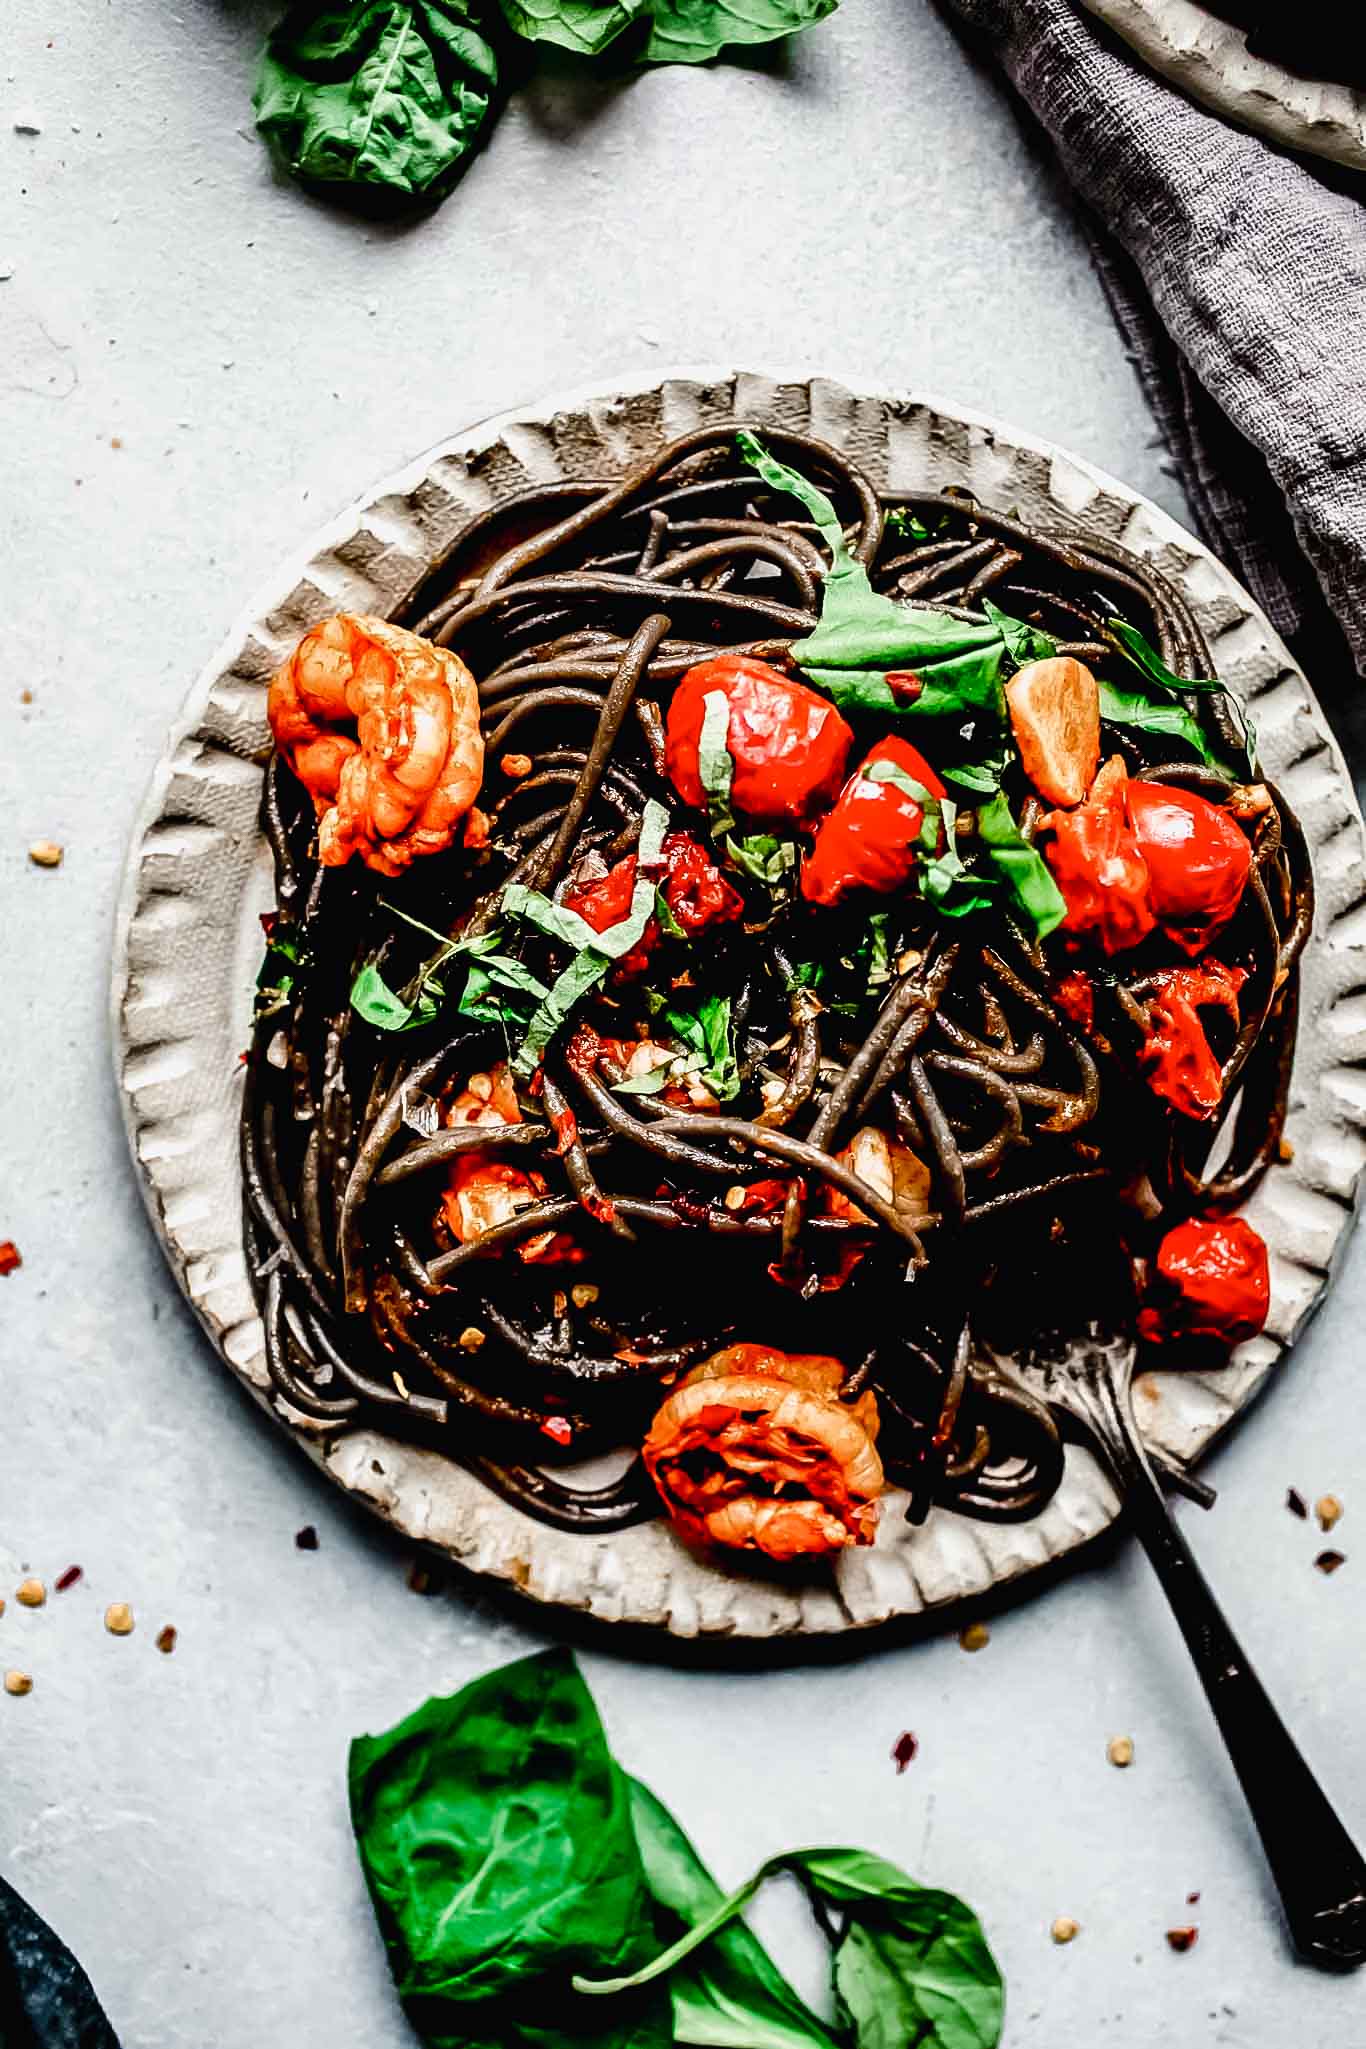
 510 views
Squid Ink Pasta with Shrimp, Nduja,...
bonappetit.com
4.3
(59)
Your folders
 159 views
Pumpkin Door HangerDIY Lantern from...
thecountrychiccottage.net
Your folders
 202 views
How to Crochet a Baby Hat
blog.treasurie.com
Your folders
 198 views
Squid Ink Pasta with Mussels Recipe
kitchenswagger.com
10 minutes
Your folders
 155 views
Creamy Squid Ink Pasta with Shrimp
cookwithchopsticks.com
5.0
(1)
20 minutes
Your folders
 179 views
Ways To Prepare And Cook Butternut ...
thrivingnest.com