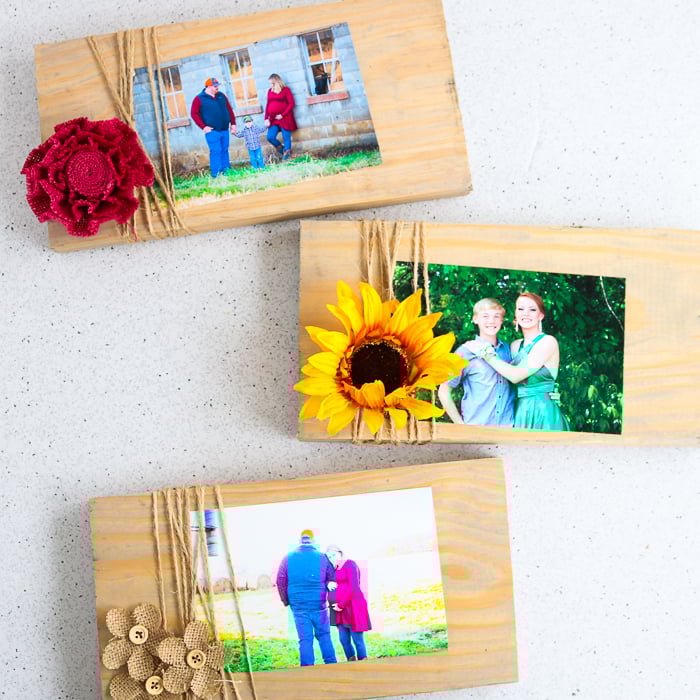
How to Make a Picture Frame from Scrap Wood
Your folders
Your folders
Total: 60
Ingredients
Export 8 ingredients for grocery delivery
Instructions
Step 1
Trim boards to whatever size you wish. Mine were actually the ends from a project and the perfect size for making picture frames. You can also sand your boards if needed.
Step 2
Clean the boards well before continuing.
Step 3
Then stain the boards in the color of your choice. I am using a grey stain for a weathered look but you can use any stain that matches your home for this project. Just paint on the stain with a paintbrush, allow to sit a few minutes, then wipe away any excess with a rag.
Step 4
Once completely dry, wrap twine around one end of the board several times. Tie in a knot in the back to hold in place.
Step 5
Then complete your project by adding on some embellishments with hot glue. I chose sunflowers, burlap flowers, and even some seasonal decorations for my rustic frames but you can use anything you like now that you know how to make a picture frame from scrap wood.
Top similar recipes
Curated for youYour folders
 130 views
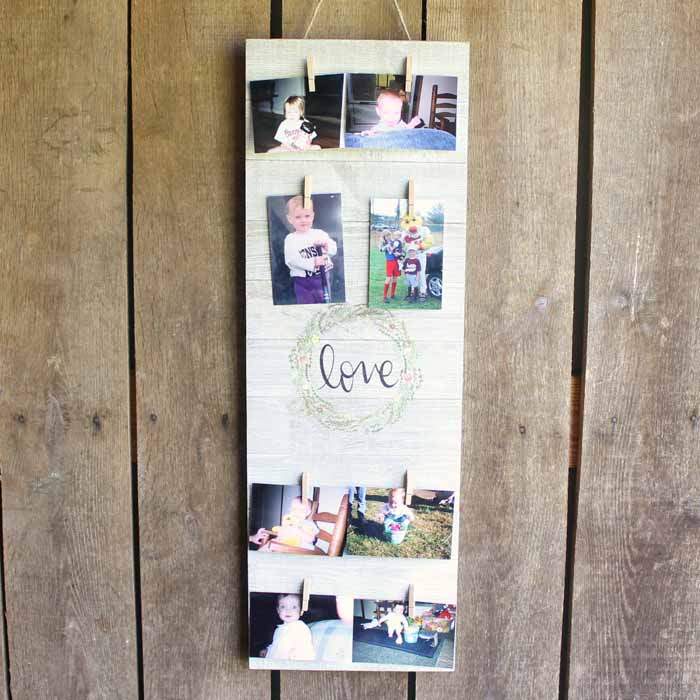
Clothespin Picture Frame
thecountrychiccottage.net
Your folders
 105 views
How to Upcycle an Old Picture Frame...
firstdayofhome.com
Your folders
 166 views
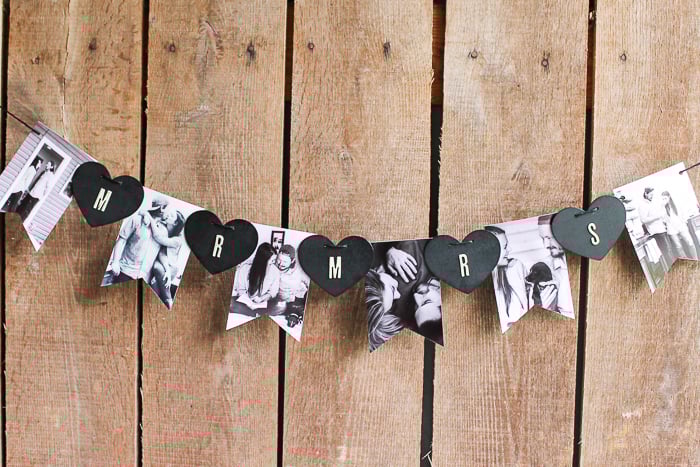
How to Make a Banner from Photos
thecountrychiccottage.net
Your folders
 261 views
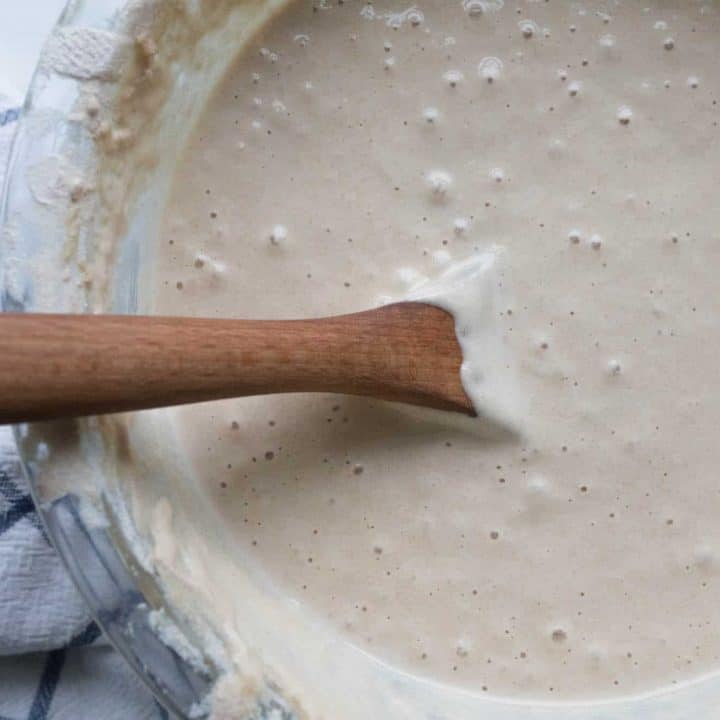
How To Make A Sourdough Starter Fro...
farmhouseonboone.com
4.4
(126)
Your folders
 90 views
How to make new wood look old
blog.jennasuedesign.com
Your folders
 291 views
How To Make Apple Cider Vinegar (+ ...
alphafoodie.com
Your folders
![How To Make A DIY Wood Sign [Reversible, Cheap, and Easy]-image](https://missourigirlhome.com/wp-content/uploads/2021/11/diy-reversible-wood-sign.jpg) 120 views
120 viewsHow To Make A DIY Wood Sign [Revers...
missourigirlhome.com
Your folders
 635 views
How To Make a Basic Butter Cake fro...
thekitchn.com
4.4
(38)
Your folders
 633 views
How To Make a Pan Sauce from Steak ...
thekitchn.com
5.0
(1)
Your folders
 154 views
How To Make Chicken Stock From A Ro...
katiescucina.com
5.0
(7)
50 minutes
Your folders
 98 views
How to Make Mini Cupcakes from a Ca...
cookingwithcarlee.com
4.8
(38)
15 minutes
Your folders
 143 views
How to Make A Yogurt Starter Cultur...
texasfarmsteadliving.com
1.0
(1)
Your folders
 331 views
How to Make Seitan from Scratch
wikihow.com
98.0
(25)
Your folders
 440 views
How to Make Cruffins from Scratch
cookingwithmanuela.com
20 minutes
Your folders
 236 views
How to Make Hummus From Scratch
minimalistbaker.com
4.7
(52)
60 minutes
Your folders
 83 views
How to Make Lard From Scratch
thethingswellmake.com
4.4
(5)
45 minutes
Your folders
 372 views
How To Make Meatloaf from Scratch
thekitchn.com
5.0
(3)
Your folders
 247 views
How to Make Cream from Milk
wikihow.com
69.0
(47)
Your folders
335 viewsHow To Make Lemonade from Scratch
thekitchn.com
4.7
(66)