Sandwich Bread
4.8
(510)
Your folders
Your folders
Prep Time: 3 hours, 20 minutes
Cook Time: 32 minutes
Total: 4 hours
Servings: 1
Author : Sally

Ingredients
Export 3 ingredients for grocery delivery
Instructions
Step 1
Whisk the warm water, warm milk, yeast, and sugar together in the bowl of your stand mixer fitted with a dough hook or paddle attachment. Cover and allow to sit for 5 minutes.
Step 2
Add the butter, salt, and 1 cup flour. Beat on low speed for 30 seconds, scrape down the sides of the bowl with a rubber spatula, then add another cup of flour. Beat on medium speed until relatively incorporated (there may still be chunks of butter). Add the remaining flour and beat on medium speed until the dough comes together and pulls away from the sides of the bowl, about 2 minutes. *If you do not own a mixer, you can mix this dough with a large wooden spoon or rubber spatula. It will take a bit of arm muscle!*
Step 3
Keep the dough in the mixer and beat for an additional 3 minutes or knead by hand on a lightly floured surface for 3 minutes. (See video tutorial above if you need a visual of kneading dough by hand.)
Step 4
Lightly grease a large bowl with olive oil or nonstick spray. Place the dough in the bowl, turning it to coat all sides in the oil. Cover the bowl with aluminum foil, plastic wrap, or a clean kitchen towel. Allow the dough to rise in a relatively warm environment for 1-2 hours or until double in size. (I always let it rise on the counter. Takes about 2 hours. For a tiny reduction in rise time, see my answer to Where Should Dough Rise? in my Baking with Yeast Guide.)
Step 5
Grease a 9×5 inch loaf pan.
Step 6
When the dough is ready, punch it down to release the air. Lightly flour a work surface, your hands, and a rolling pin. Roll the dough out into a large rectangle, about 8×15 inches. It does not have to be perfect– in fact, it will probably be rounded on the edges. That’s ok! Roll it up into an 8 inch log and place in the prepared loaf pan.
Step 7
Cover shaped loaf with aluminum foil, plastic wrap, or a clean kitchen towel. Allow to rise until it’s about 1 inch above the top of the loaf pan, about 1 hour. (See video and photo above for a visual.)
Step 8
Adjust oven rack to a lower position and preheat oven to 350°F (177°C). (It’s best to bake the bread towards the bottom of the oven so the top doesn’t burn.)
Step 9
Bake for 30-34 minutes or until golden brown on top. If you gently tap on the loaf, it should sound hollow. For a more accurate test, the bread is done when an instant read thermometer reads the center of the loaf as 195°F (90°C). If you notice the top browning too quickly, loosely tent the pan with aluminum foil. (I usually add aluminum foil over the loaf around the 20 minute mark.) Remove from the oven and allow bread to cool for a few minutes before slicing and serving. Feel free to let it cool completely before slicing, too.
Step 10
Cover leftover bread tightly and store at room temperature for 2-3 days or in the refrigerator for up to 10 days.
Top similar recipes
Curated for youYour folders

 1124 views
Sandwich Bread
sallysbakingaddiction.com
4.9
(183)
32 minutes
Your folders

 180 views
Sandwich Bread
plantbasedredhead.com
5.0
(1)
Your folders
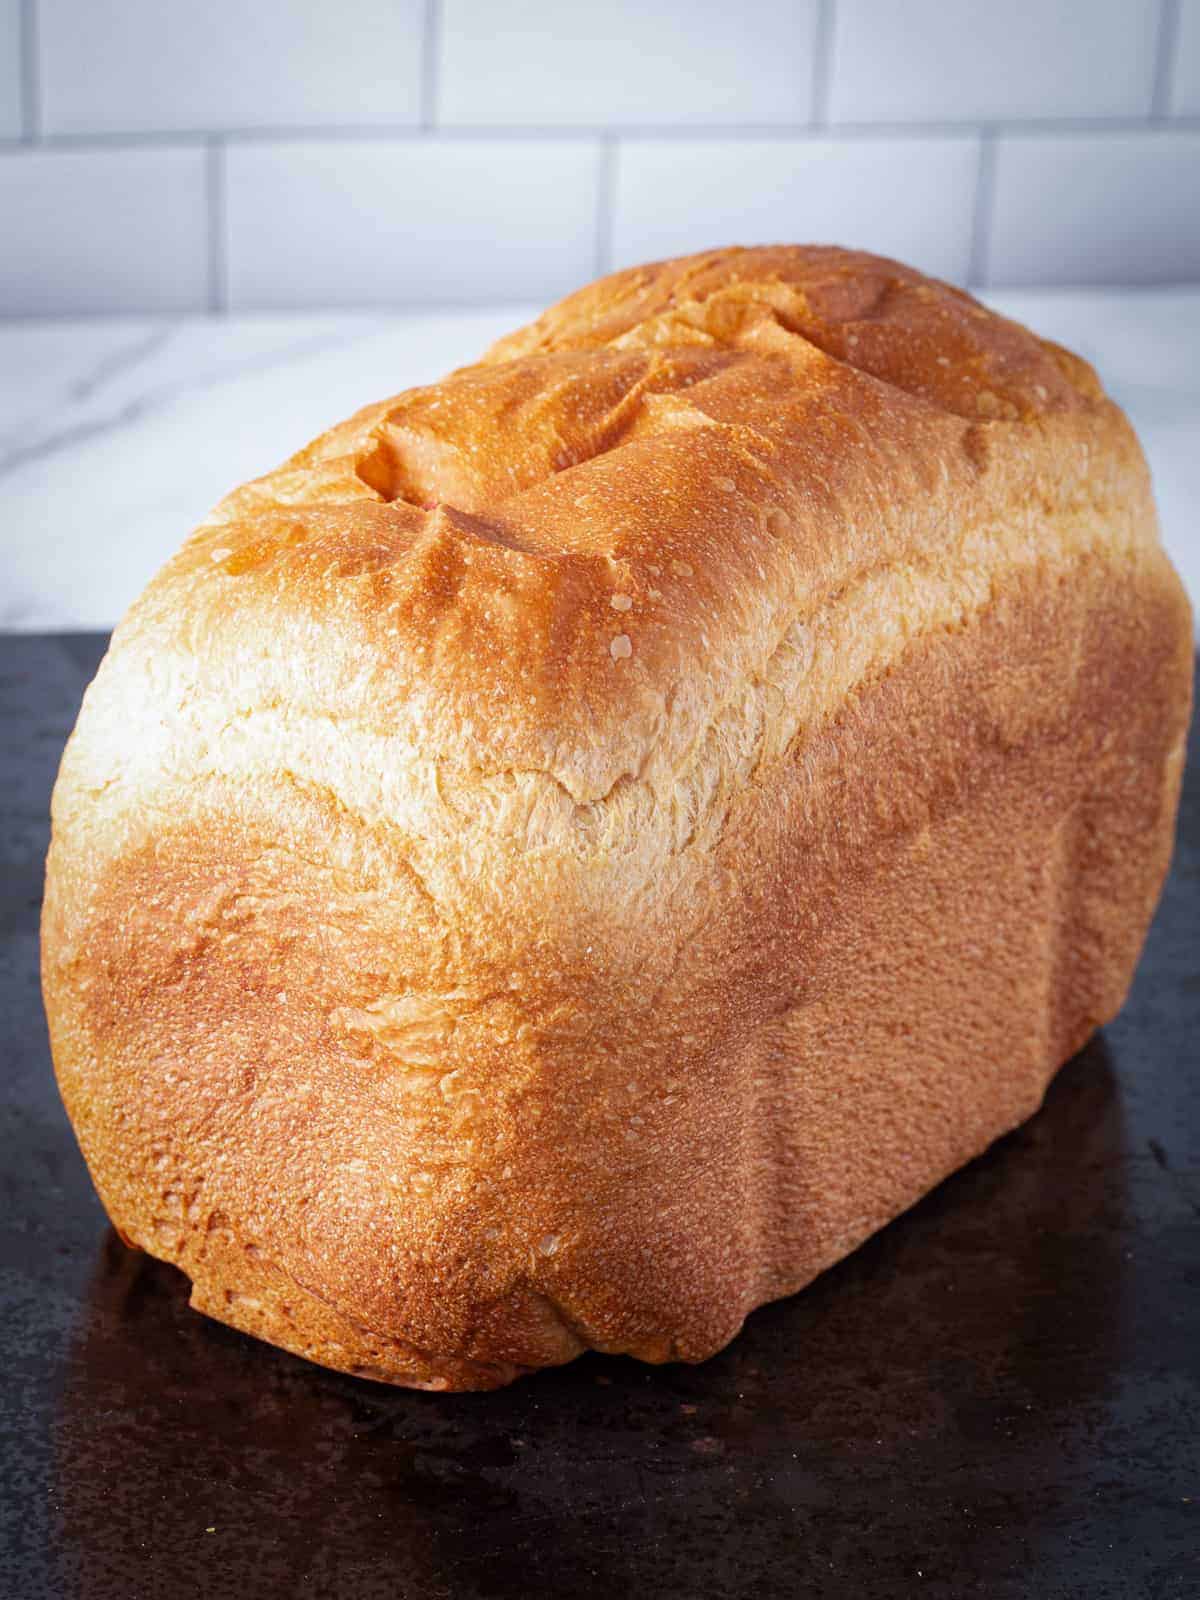
 546 views
Bread Machine Sandwich Bread
cookfasteatwell.com
5.0
(9)
210 minutes
Your folders

 272 views
White Sandwich Bread
foodnetwork.com
4.7
(124)
30 minutes
Your folders
 855 views
Classic Sandwich Bread
kingarthurbaking.com
4.6
(464)
40 minutes
Your folders
 627 views
Sourdough Sandwich Bread
kingarthurbaking.com
4.8
(112)
35 minutes
Your folders
 515 views
White Sandwich Bread
kingarthurbaking.com
4.4
(84)
40 minutes
Your folders
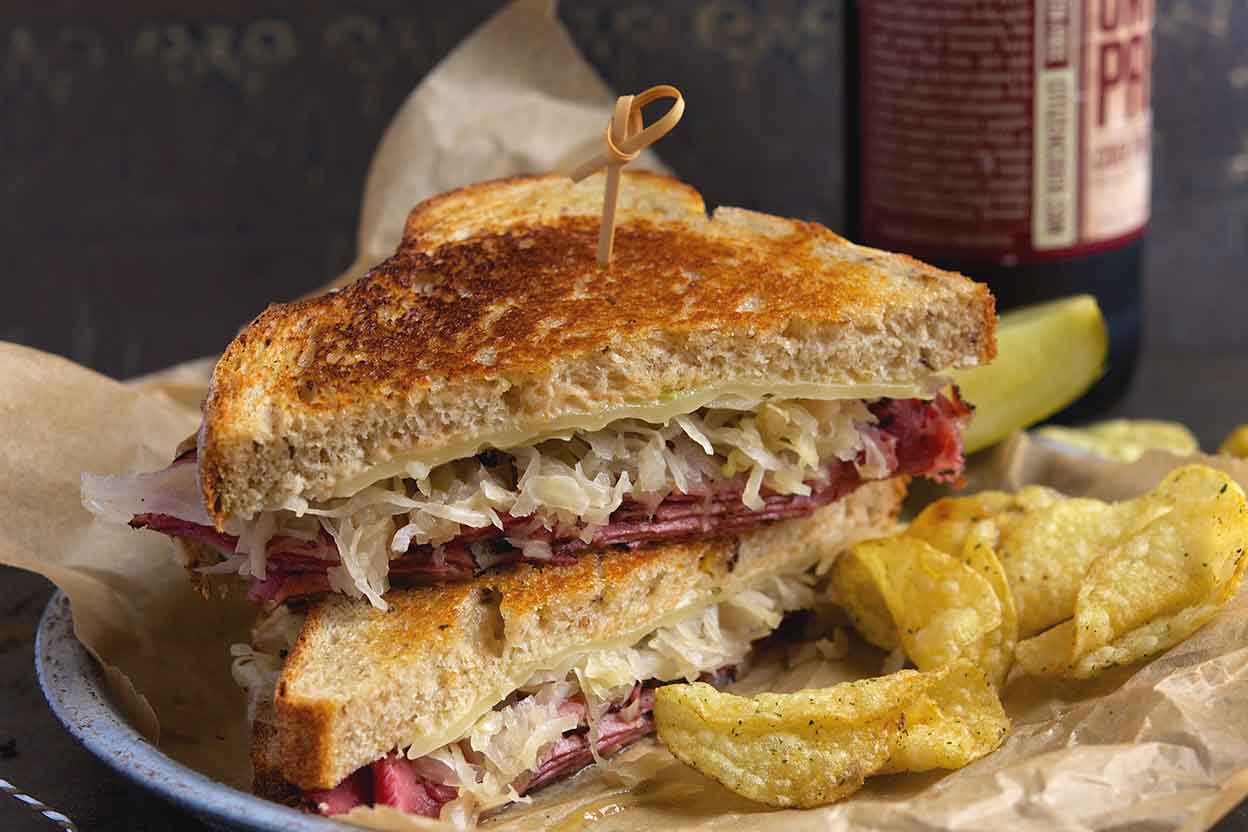
 620 views
Sandwich Rye Bread
kingarthurbaking.com
4.6
(159)
40 minutes
Your folders

 593 views
Sourdough Sandwich Bread
foodgeek.dk
4.5
(14)
100 minutes
Your folders
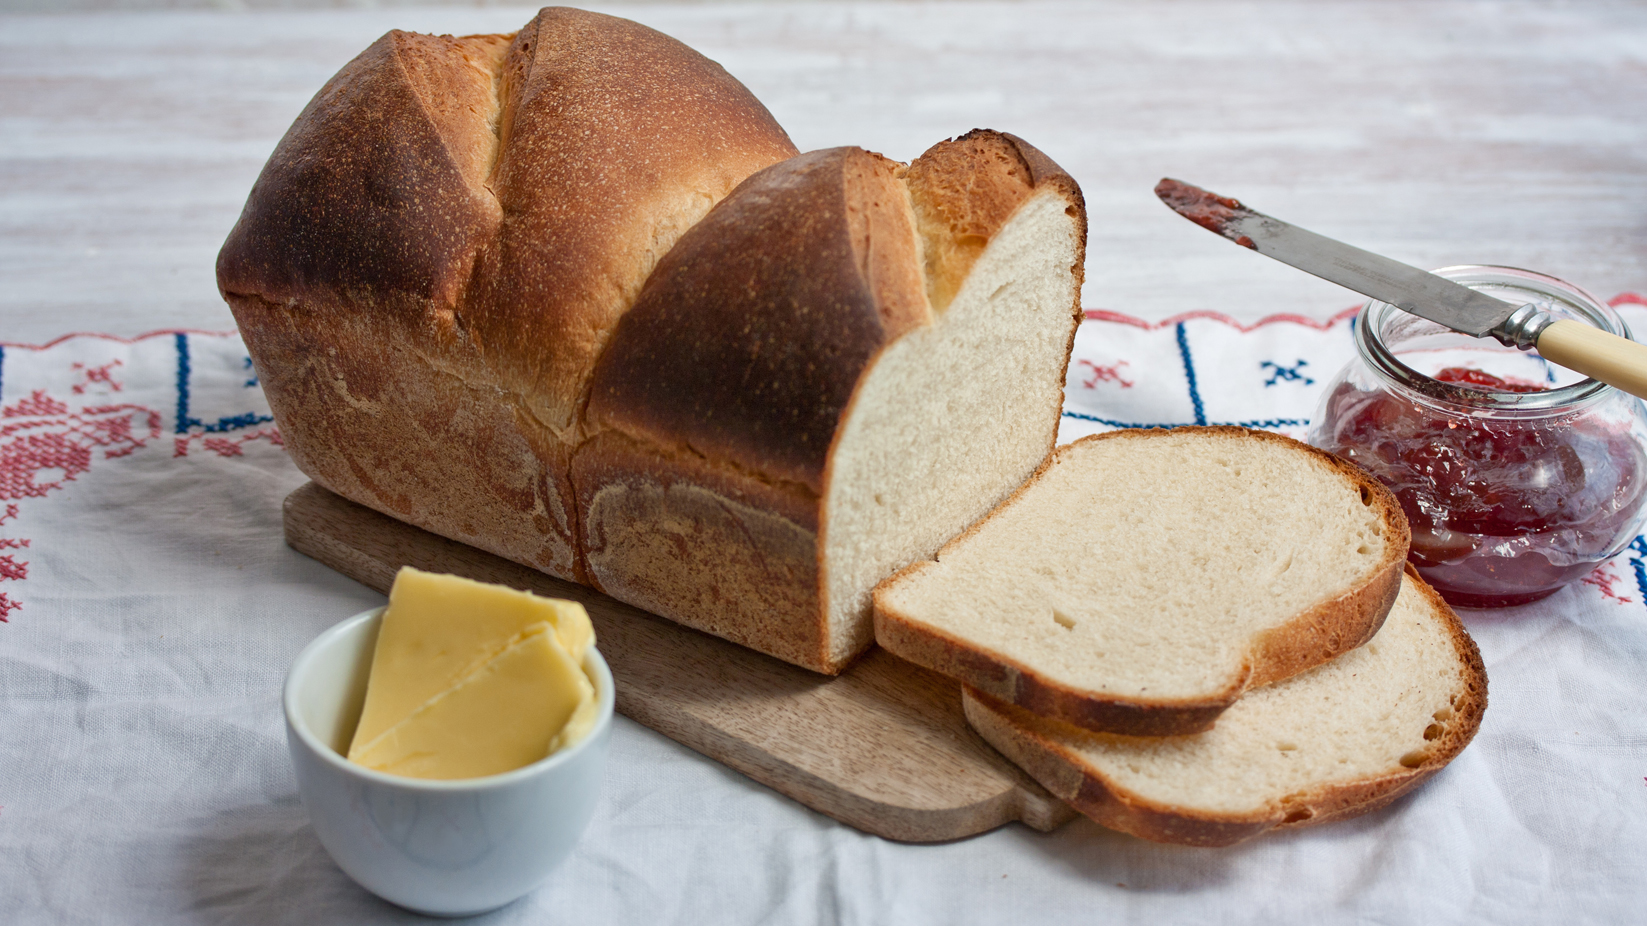
 348 views
Sandwich bread loaf
bbc.co.uk
4.8
(20)
1 hours
Your folders
 311 views
Easy Sandwich Bread
americastestkitchen.com
4.4
(21)
Your folders

 254 views
Bread Omelette Sandwich
indianhealthyrecipes.com
4.9
(40)
5 minutes
Your folders

 206 views
Oatmeal Sandwich Bread
kingarthurbaking.com
4.5
(92)
40 minutes
Your folders
 237 views
Sourdough Sandwich Bread
farmhouseonboone.com
4.6
(551)
45 minutes
Your folders
 197 views
Sourdough Sandwich Bread
farmhouseonboone.com
4.6
(1.6k)
45 minutes
Your folders
 375 views
Semolina Sandwich Bread
kingarthurbaking.com
4.0
(53)
40 minutes
Your folders
 386 views
Sourdough Sandwich Bread
baking-sense.com
4.6
(270)
35 minutes
Your folders
 399 views
Challah Sandwich Bread
veenaazmanov.com
5.0
(1)
30 minutes
Your folders

 260 views
Perfect Sandwich Bread
foodandwine.com
1.5
(2)