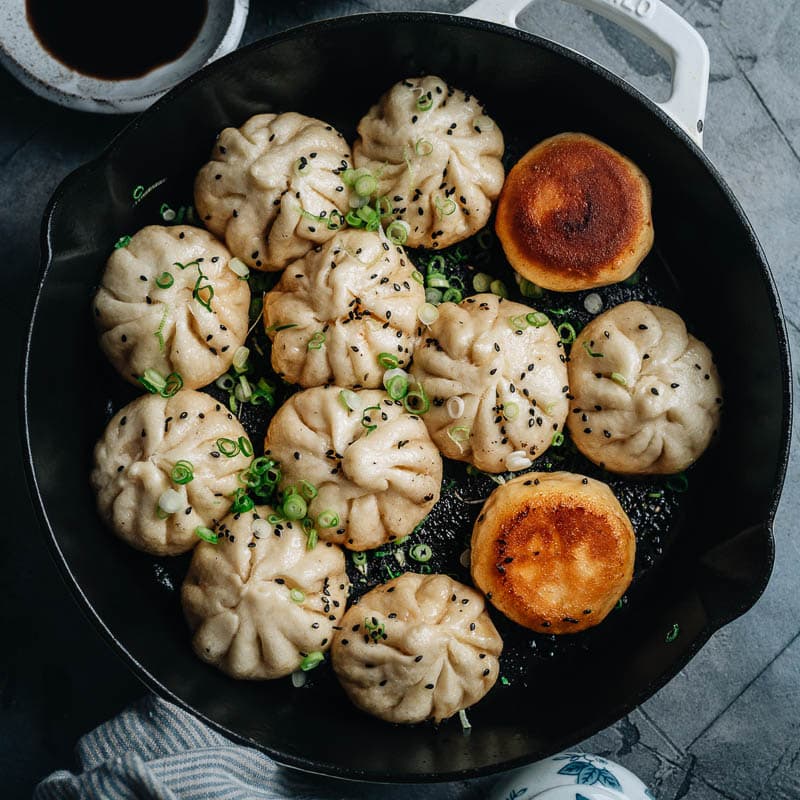
Sheng Jian Bao (生煎包, Shanghai Pan-Fried Pork Buns)
5.0
(10)
Your folders
Your folders
Prep Time: 60 minutes
Cook Time: 30 minutes
Total: 150 minutes
Servings: 24
Author : Maggie Zhu

Ingredients
Export 15 ingredients for grocery delivery
Instructions
Step 1
Combine the minced ginger and hot water in a small bowl. Stir to mix well and set aside.
Step 2
In a large tall plate or a big bowl, combine the all-purpose flour, cornstarch, instant yeast and sugar. Stir to mix well.
Step 3
Slowly pour in the warm water, a few tablespoons at a time, and mix with a pair of chopsticks (or a fork). Once all the water has been added, keep mixing and scrape off the dry flour on the side of the bowl, until it forms many small dough flakes.
Step 4
Pour in the vegetable oil. Keep mixing with the chopsticks until the oil is absorbed.
Step 5
Start kneading by hand while further incorporating the dry flour, until there’s no dry flour left in the bowl.
Step 6
Transfer the dough onto a working surface. Knead for 15 to 20 minutes, until the dough is quite smooth and elastic and there’s no dry flour left in the bowl. It’s OK if there’s some unevenness in the dough, which will smooth out after resting. The dough should be quite tough and not sticky to the touch. Cover and seal the bowl with plastic wrap. Let rest until it doubles in size, 1 hour or so.
Step 7
Add the ginger water, light and dark soy sauce, Shaoxing wine, salt, sugar, and white pepper to the ground pork in a large bowl. Beat with a pair of chopsticks or a wooden spatula in a circular motion, until all the liquid is absorbed and the meat is sticky. This process might take a few minutes. (*Footnote 4)
Step 8
Add the green onions and sesame oil. Mix until they are incorporated. Cover the bowl with plastic wrap. Store in the fridge until ready to use.
Step 9
When the dough has rested, transfer to a work surface and punch it down. Knead for 1 minute to deflate the air out completely, then form it back into a ball.
Step 10
Cut the dough in half. Wrap half of the dough in plastic wrap and store in the fridge while working on the other half.
Step 11
Poke a hole in the center of the dough you’re working with. Stretch the dough into a large oval by running your fingers along the inside of the hole in a circular motion. Once the diameter of the dough is about 1” (2.5 cm), tear apart the ring so it creates a long, thin strip.
Step 12
Cut the dough strip into 12 even pieces by cutting it in half, then further cut each half into 6 pieces. Gently use a circular motion to round up each dough piece then flatten it with your palm. Cover them with plastic wrap to prevent drying out.
Step 13
Work on one piece of dough at a time - take one dough piece and place in front of you. Roll it with a rolling pin in one hand, using the other hand to rotate the dough while rolling, until the diameter reaches 5” (13 cm). You should keep the edges thinner than the center, so the wrapper of the bun will be even once you make the pleats.
Step 14
Place the rolled dough in your palm and add 1 tablespoon of filling in the center.
Step 15
Start wrapping the bun by folding and pinching the edge over itself, in one direction, until it is almost sealed. Then rotate and pinch the top of the pleats to fully seal the bun. (View my video for more details)
Step 16
Repeat with the remaining dough pieces to wrap all the buns. Keep the wrapped buns under a piece of plastic wrap to prevent drying out. Once done wrapping, let rest for 10 minutes. Once rested, you should cook the buns immediately. You can store the wrapped buns in a sealed container in the fridge for up to 1 hour before cooking.
Step 17
Repeat the wrapping steps to wrap the other half of the dough.
Step 18
Add 2 tablespoons of oil and carefully place 12 wrapped buns into a 9” or 10” skillet. Heat over medium-high heat until hot. Turn to medium heat. Cook, uncovered, for 3 minutes, until the bottoms are lightly browned.
Step 19
Pour about 1/4 cup hot water into the pan, just enough to cover the buns halfway up. Cover the pan and cook over medium heat for about 8 minutes, until the water is completely evaporated.
Step 20
Turn the heat to medium-low and cook for another 2 to 3 minutes. Turn the heat off and remove the pan from the stove. Let the buns rest with the lid on for an additional 2 minutes. Remove the lid and transfer to a plate. Repeat the steps to cook the rest of the buns.
Step 21
Serve hot immediately. (*Footnote Or you can store the cooked buns in an airtight container in the fridge for up to 4 days or in the freezer for up to 3 months.