Sitting Crochet Angel Pattern (Angelica)
Your folders
Your folders
Servings: 1

Ingredients
Export 28 ingredients for grocery delivery
Instructions
Step 1
Rnd 1 - 4sc in MR, pull ring tight. [4sc]
Step 2
Rnd 2 - 2sc in next 4-sts. [8sc]
Step 3
Rnds 3-16 - 1sc in next 8-sts. [8sc in each rnd]
Step 4
Rnd 17 - 1sc in next 8-sts, sl st into next st, ch1, cut yarn, leave a short tail, fasten off, and tuck yarn tail inside arm. [8sc ]
Step 5
Fill the arm with stuffing leaving the area above the last two rounds unfilled.
Step 6
This completes one arm.
Step 7
Repeat steps 1 -17 to make a second arm.
Step 8
Note: When making the second arm, bring the starting yarn tail (about 6 inches / 15cm long) to the front of the work - this yarn tail will be used for sewing later.
Step 9
Rnd 1 - 6sc in MR, pull ring tight. [6sc]
Step 10
Rnd 2 - 2sc in next 6-sts. [12sc]
Step 11
Rnd 3 - * 1sc in next st, 2sc in next, rpt from * 6 times. [18sc]
Step 12
Rnd 4 - * 1sc in next 2-sts, 2sc in next, rpt from * 6 times. [24sc]
Step 13
Rnd5 - * 1sc in next 3-sts, 2sc in next, rpt from * 6 times. [30sc]
Step 14
Rnd 6 - * 1sc in next 4-sts, 2sc in next, rpt from * 6 times. [36sc]
Step 15
Rnds 7-11 - 1sc in next 36-sts. [36sc in each rnd]
Step 16
Rnd 12 - * 1sc in next 4-sts, invdec, rpt from * 6 times. [30sc]
Step 17
Rnd 13 - * 1sc in next 3-sts, invdec, rpt from * 6 times. [24sc]
Step 18
Rnd 14 - * 1sc in next 2-sts, invdec, rpt from * 6 times. [18sc]
Step 19
Rnd 15 - * 1sc in next st, invdec, rpt from * 6 times. [12sc]
Step 20
Firmly fill the head with stuffing.
Step 21
Rnd 16 - * Invdec, rpt from 6 times. [6sc]
Step 22
Do not cut yarn, because you will now start to shape the body.Also, note in round 19 the arms will be crocheted to the body.
Step 23
Rnd 17 - Make 2sc in next 6-sts. [12sc]
Step 24
Rnd 18 - * 1sc in next st, 2sc in next, rpt from * 6 times. [18sc]
Step 25
When you attach the arms to the body, start by pressing the arm opening closed with your fingers, lining up the stitches on both sides. Then, use four single crochet stitches to secure the arm onto the body as you crochet round 19.
Step 26
Rnd 19 (joining arms to body) - Line an arm piece to the start of the round and make 1sc into each of the next 4-sts (going through all three layers), then make 1sc in each of the next 5-sts, then crochet the second arm to the body with 1sc each of the next 4-sts (going through all three layers), then make 1sc in each of the next 5-sts. [18sc]
Step 27
Rnd 20 - * 1sc in next 2-sts, 2sc in next, rpt from * 6 times. [24sc]
Step 28
Rnds 21 -32 - 1sc in next 24-sts. [24sc in each rnd]
Step 29
Rnd 33 - 1sc in next 24-sts, sl st into next st, ch1, cut yarn, leaving a short yarn tail, and fasten off. [24sc]
Step 30
- Flatten the body opening is closed and the arms are aligned on the sides. Mark the sides with a stitch marker on each end.- Tuck the yarn tail inside the body and firmly fill the body with stuffing. - Slip knot yarn to hook, leaving a long starting yarn tail, this is to be used for sewing later.- Take the body piece and hold the opening closed, so that the back on front pieces are together, and the stitch markers and the center side side seams of the body. - Insert the hook through both layers from the front to the back and a side seam, chain 1, then single crochet in the same space as the chain 1,- Make 11 more single crochet stitches (through both layers) along the bottom edge to close the opening, chain 1, cut yarn, leave a long yarn tail for sewing, and fasten off.
Step 31
(lower leg)Rnd 1 - 5sc in MR, pull ring tight. [5sc]
Step 32
Rnd 2 - 2sc in next 5-sts. [10sc]
Step 33
Rnds 3-14 - 1sc in next 10-sts. [10sc in each rnd]
Step 34
Rnds 15 (knee) - 1sc in next 5-sts, 1dc in next 5-sts. [5sc and 5dc]
Step 35
Lightly stuff the lower leg, leaving the round with the double crochet stitches unfilled.
Step 36
(upper leg)Rnd 16- 25 - 1sc in next 10-sts. [10sc in each rnd]
Step 37
When you have completed round 25 the leg is finished, but don't cut yarn just yet.
Step 38
Stuff the upper leg - Flatten the leg so the knee, the round with the 5 double crochet stitches is on top.- Insert your yarn needle across the double crochet stitches going through both layers of the leg, then firmly fill the upper leg with stuffing. The yarn needle will help keep the knee area unfilled.- Once filled remove the yarn needle from the knee section.Close the leg opening- Press the opening of the leg together, then crochet the two pieces together with 5 single crochets along the top, chain 1, cut yarn, cut yarn. fasten off and weave in the end.
Step 39
This completes one leg. Repeat steps 1 - 25 and the finishing instructions to complete the second leg.Once you have completed both legs, sew them to the body.
Step 40
Attaching the legs to the body- Sew each leg to the bottom of the angel along the seam line, using the yarn tails from each side of the body. - Make sure to line the side of each leg with the sides of the body. - To keep the angel in a seated position tack each thigh to the body.Sew the arms together - Use the yarn tail from the second arm to join the two arms at the tip.- Then tack the arms into place above and onto the bent knees.
Step 41
Note that both the wings are made the same, but at the end of round 7, the edging for the second wing is worked in a different direction.
Step 42
Rnd 1 - Ch14, 1sc in 2nd ch from hk, 1sc in next 12-sts, ch1, turn. [13sc]
Step 43
Rnd 2 - 1sc into each of the next 11-sts, leaving the last 2-sts unworked, ch1, turn. [11sc]
Step 44
Rnd 3 - 1sc in each of the next 11-sts, ch1, turn. [11sc]
Step 45
Rnd 4 - 1sc into each of the next 9-sts, leaving the last 2-sts unworked, ch1, turn. [9sc]
Step 46
Rnd 5 - 1sc in each of the next 9-sts, ch1, turn. [9sc]
Step 47
Rnd 6 - 1sc in next 6-sts, leaving the last 3-sts unworked, ch1, turn. [6sc]
Step 48
Rnd 7 - 1sc in next st, 1hdc in next, 1dc in next 2-sts, 1hdc in next, 2hdc in last st. Do not turn work, continue around the wing edge.Space the following evenly along the edge, 1dc, 1hdc, another 1hdc, and 1sc in the last st, then sl st around the edge of the wing, sl st in 1st sl st to join, cut the yarn, fasten it off, and weave in the loose ends.
Step 49
This completes one wing, repeat steps 1 - 7 for the second wing. However, when making the sl sts on the second wing, turn the wing so you are making sl sts in the opposite direction. By doing this you will have two opposite wings with a similar edging.
Step 50
Use pins to position the wings on the back of the angel, and when you are happy with the position stitch them into place.
Top similar recipes
Curated for youYour folders
 223 views
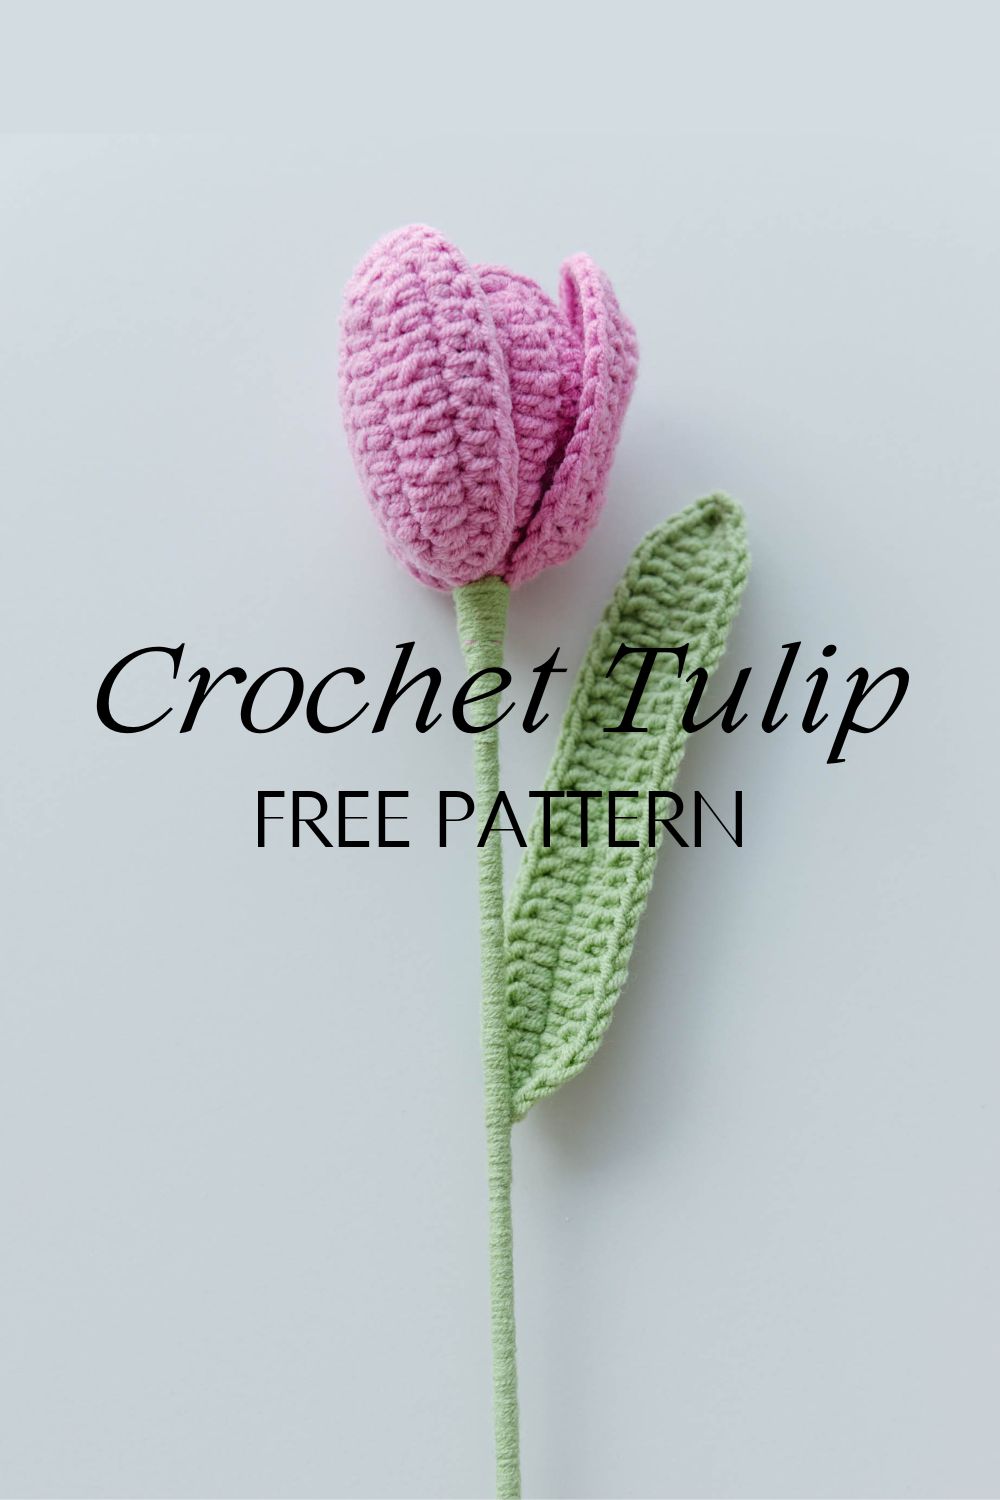
Crochet Tulip Pattern
hookok.com
Your folders
 66 views
Crochet Crow Pattern
thecaffeinatedsnail.com
Your folders
 254 views
Crochet Crow Pattern
thecaffeinatedsnail.com
Your folders
 170 views
Crochet Granny Rectangle Pattern
blog.treasurie.com
Your folders
 237 views
Crochet Dish Cloth Pattern
crochetncrafts.com
Your folders
 272 views
Crochet Fern Leaf Pattern
hookok.com
Your folders
 238 views
Crochet Potted Cactus Pattern
hookok.com
Your folders
 200 views
Crochet Fidget Toy Pattern
thecaffeinatedsnail.com
Your folders
 195 views
Crochet Large Leaf Pattern
hookok.com
Your folders
 184 views
Crochet Androsace flower Pattern
hookok.com
Your folders
 192 views
Single Crochet Beanie Pattern
crochetncrafts.com
Your folders
 80 views
Crochet Easy Rose Pattern
hookok.com
Your folders
 156 views
Crochet Floyd Rose – Free Pattern
hookok.com
Your folders
 91 views
Beginner Hooded Scarf Crochet Patte...
crochetncrafts.com
Your folders
 208 views
Crochet Lily Flower- Free Pattern
hookok.com
Your folders
 201 views
Lovely Arches Crochet Stitch Patter...
crochetkim.com
Your folders
 236 views
Granny Stitch Crochet Kerchief Patt...
crochetncrafts.com
Your folders
 210 views
Crochet Plaid Dishcloth- Free Patte...
hookok.com
Your folders
 252 views
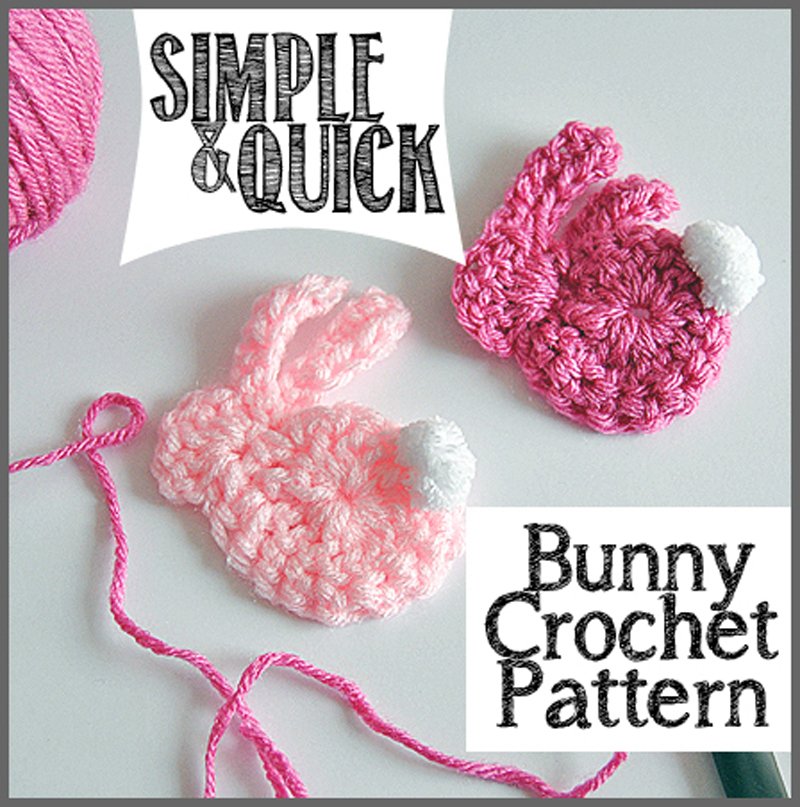
Simple & Quick Bunny Crochet Patter...
sparklesofsunshine.com