Stenciled Burlap Pillow CoversStenciled Burlap Pillow Covers
Your folders
Your folders
Author : Follow alongAngie HoldenBlogger at The Country Chic CottageAngie Holden is author of The Country Chic Cottage where she shares crafts, recipes, and DIY projects daily.She lives on a farm in rural Tennessee with her husband and three children.She loves creating and sharing her creations on her blog and social media.

Ingredients
Export 9 ingredients for grocery delivery
Instructions
Step 1
Start by washing your burlap pillow covers then iron them to remove any wrinkles.
Step 2
Then insert scrap paper or cardboard into the pillow cover to protect it if any paint seeps through.
Step 3
Set aside pillow cover and turn stencil over to the back side. Spray well with a stencil adhesive and allow to dry completely.
Step 4
Once dry, press down well into place on your pillow cover.
Step 5
Load up your sponge pouncer brush with your outdoor paint. NOTE: You can use an indoor paint or even fabric ink if you are going to be using these pillows inside.
Step 6
Then paint over the stencil making sure that all areas are covered with paint. You may have to go over some areas twice.
Step 7
Peel back stencil to reveal your design.
Step 8
For some stencils, you may want to use a regular paint brush at this point to fill in some of the stencil lines. This is especially true of words or letters.
Step 9
Allow to dry completely. Be sure to read the back of any paint that you are using to see if a heat set is required after drying.
Step 10
Remove the scrap paper from the inside of the pillow cover and add in an outdoor pillow form.
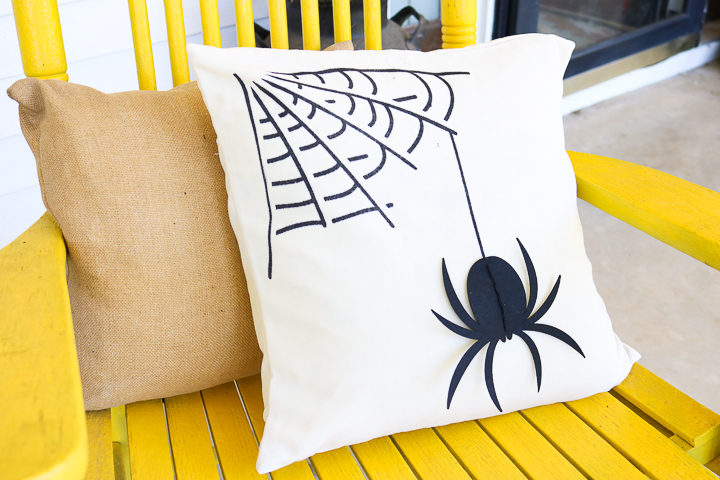
Step 11
These stenciled burlap pillow covers are ready for your porch or patio!
Step 12
Start by washing your burlap pillow covers then iron them to remove any wrinkles.
Step 13
Then insert scrap paper or cardboard into the pillow cover to protect it if any paint seeps through.
Step 14
Set aside pillow cover and turn stencil over to the back side. Spray well with a stencil adhesive and allow to dry completely.
Step 15
Once dry, press down well into place on your pillow cover.
Step 16
Load up your sponge pouncer brush with your outdoor paint. NOTE: You can use an indoor paint or even fabric ink if you are going to be using these pillows inside.
Step 17
Then paint over the stencil making sure that all areas are covered with paint. You may have to go over some areas twice.
Step 18
Peel back stencil to reveal your design.
Step 19
For some stencils, you may want to use a regular paint brush at this point to fill in some of the stencil lines. This is especially true of words or letters.
Step 20
Allow to dry completely. Be sure to read the back of any paint that you are using to see if a heat set is required after drying.
Step 21
Remove the scrap paper from the inside of the pillow cover and add in an outdoor pillow form.
Step 22
These stenciled burlap pillow covers are ready for your porch or patio!
Top similar recipes
Curated for youYour folders

 284 views
Burlap Wreath
thecountrychiccottage.net
Your folders
 378 views
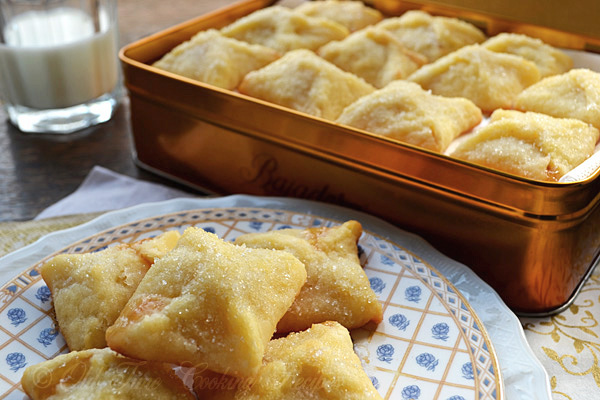
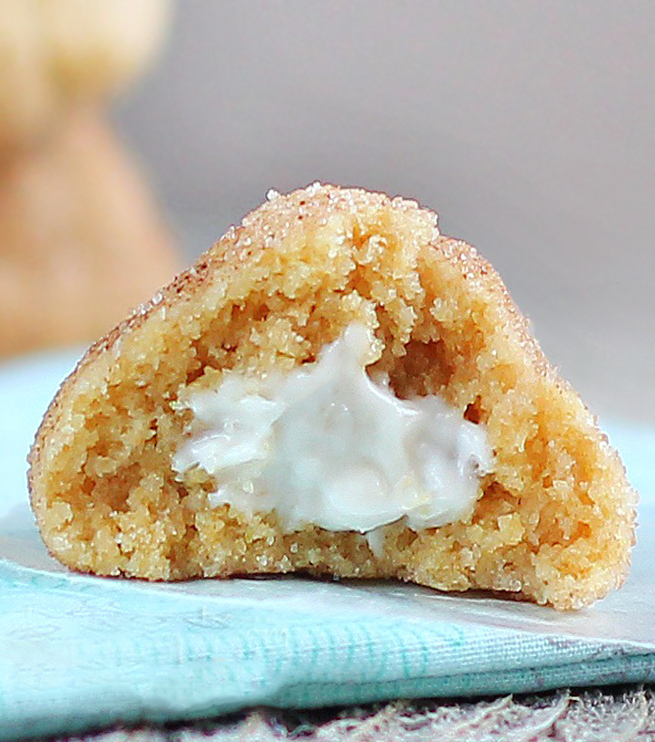
Apricot Pillow Cookies
kitchennostalgia.com
4.2
(5)
Your folders
 239 views
Bench Pillow Pattern
polkadotchair.com
Your folders
 205 views
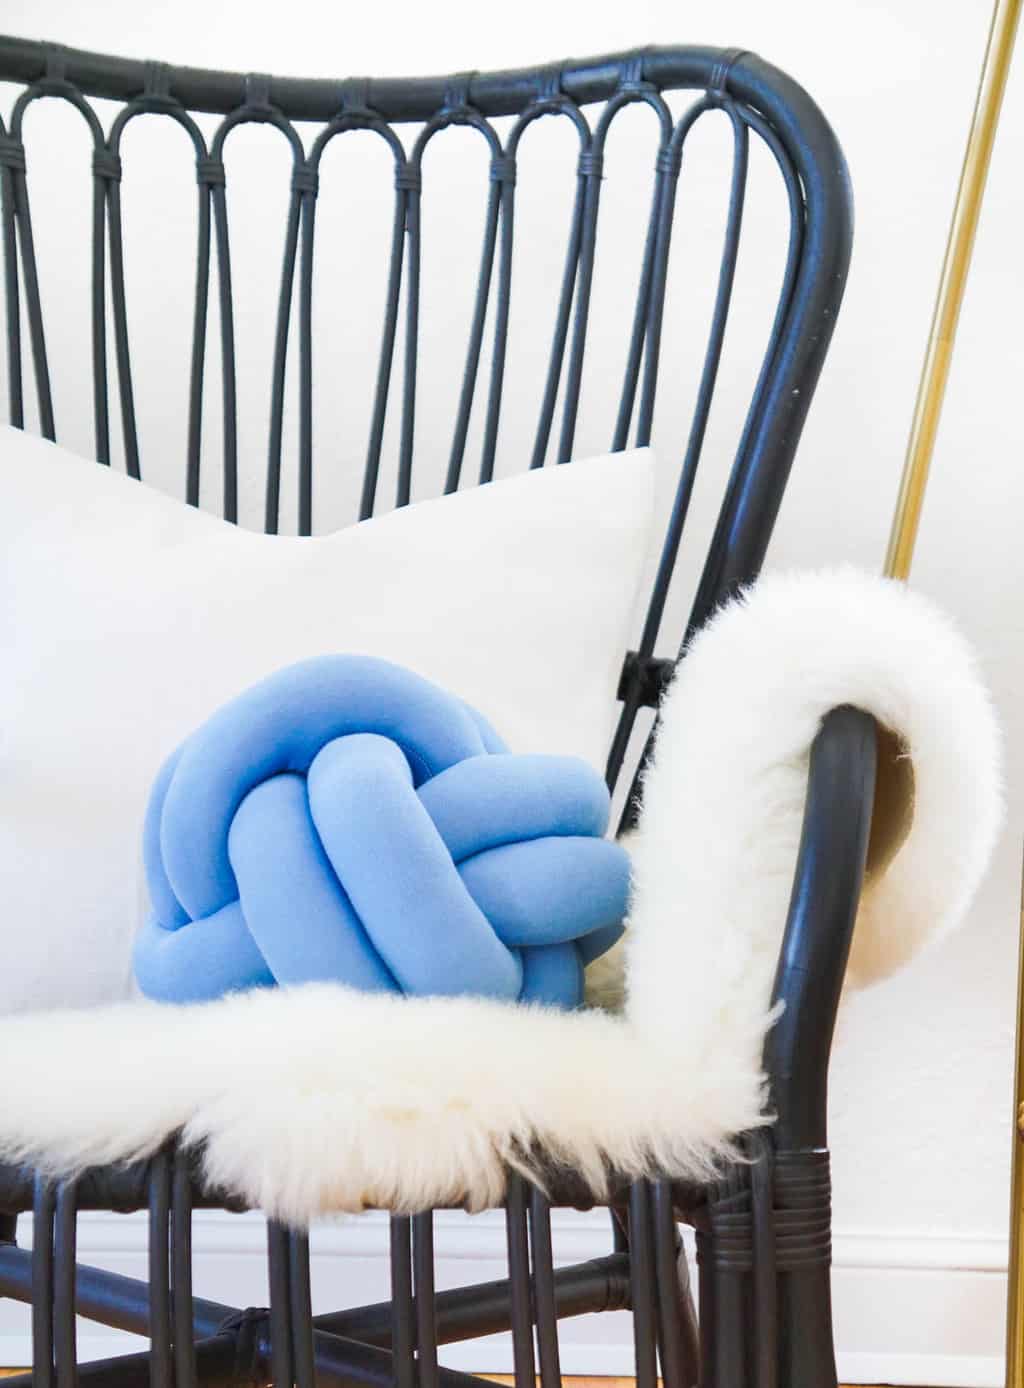
DIY Knot Pillow
sugarandcloth.com
Your folders
 217 views
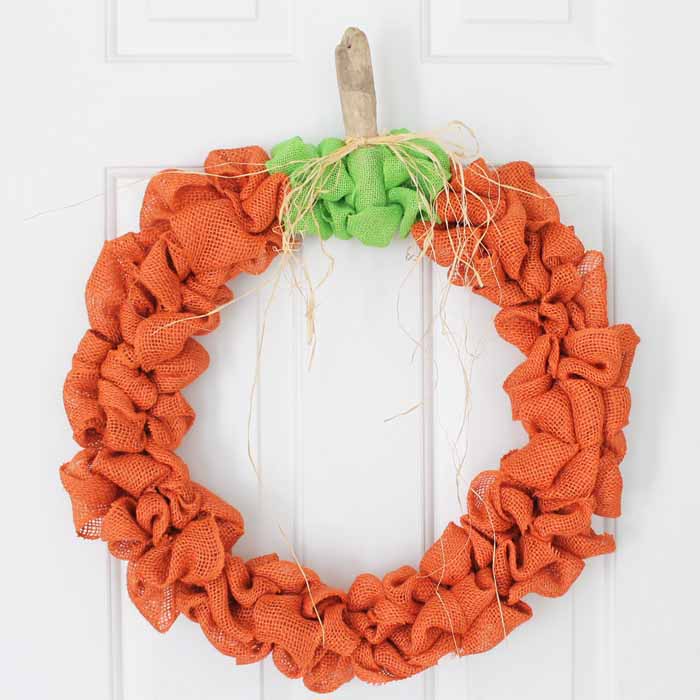
Fall Burlap Pumpkin Wreath
thecountrychiccottage.net
Your folders
 97 views
DIY Burlap LeavesRustic Burlap Pump...
thecountrychiccottage.net
Your folders
 147 views
Cinnamon Sugar Pillow Cookies
chocolatecoveredkatie.com
5.0
(34)
11 minutes
Your folders
 214 views
Holiday Pillow Shortbread Cookies
thecardswedrew.com
15 minutes
Your folders
 226 views
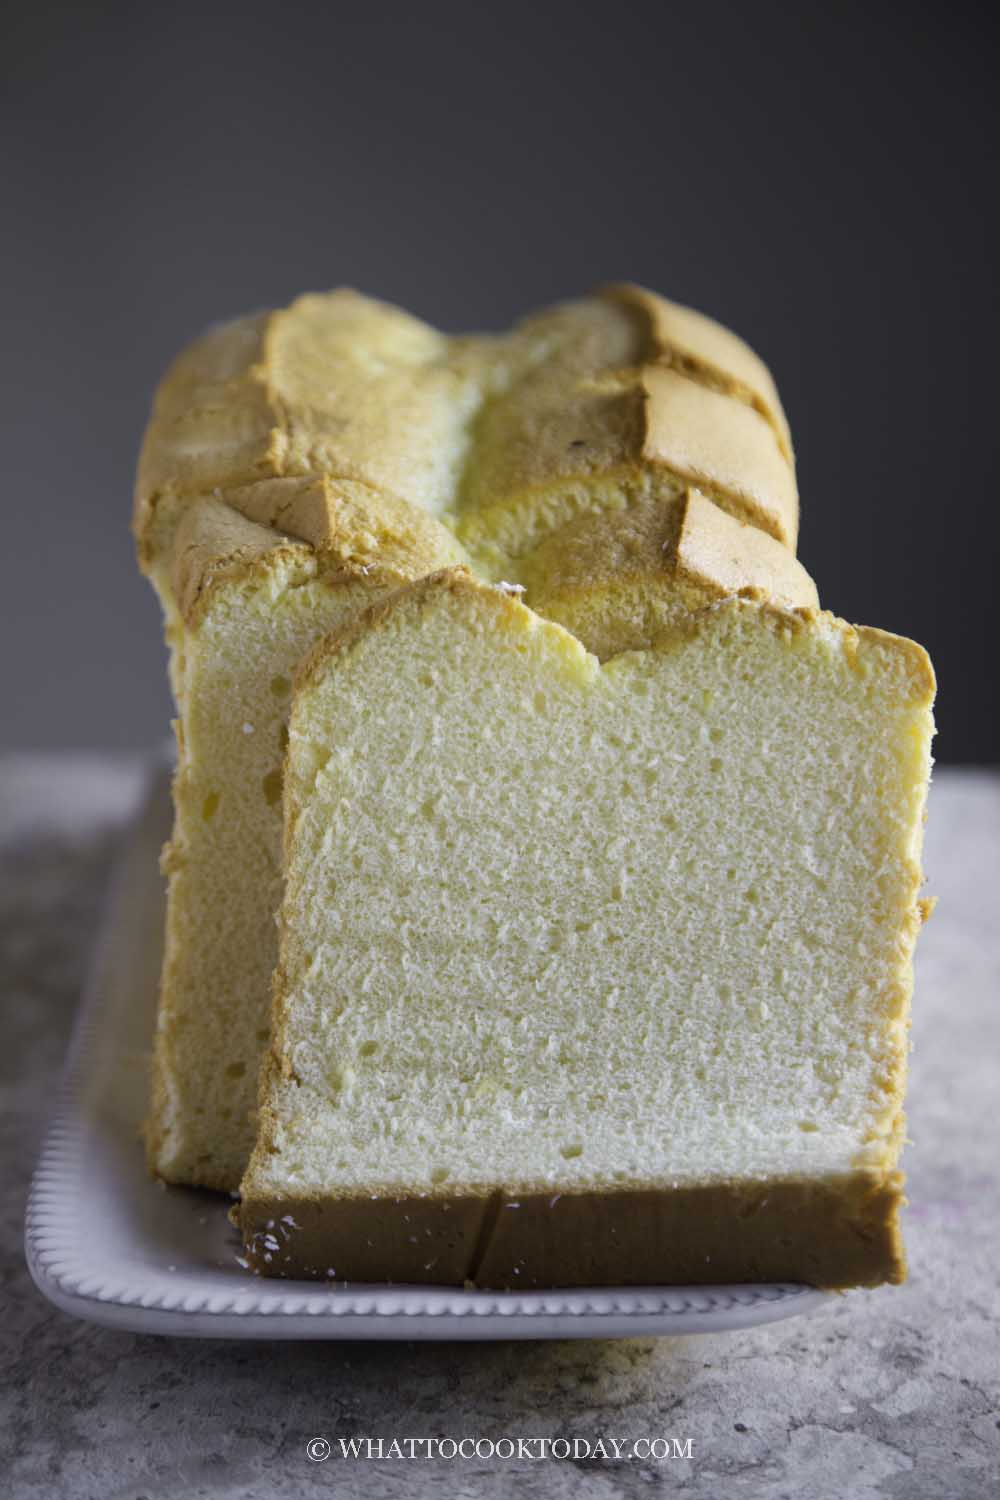
Orange Pillow Loaf Cake
whattocooktoday.com
73 minutes
Your folders
213 viewsPatchwork SLEEP Pillow Pattern
polkadotchair.com
Your folders
230 viewsJubilee Celebration Pillow Pattern
polkadotchair.com
Your folders
213 viewsPatchwork Heart Pillow Pattern
polkadotchair.com
Your folders
 190 views
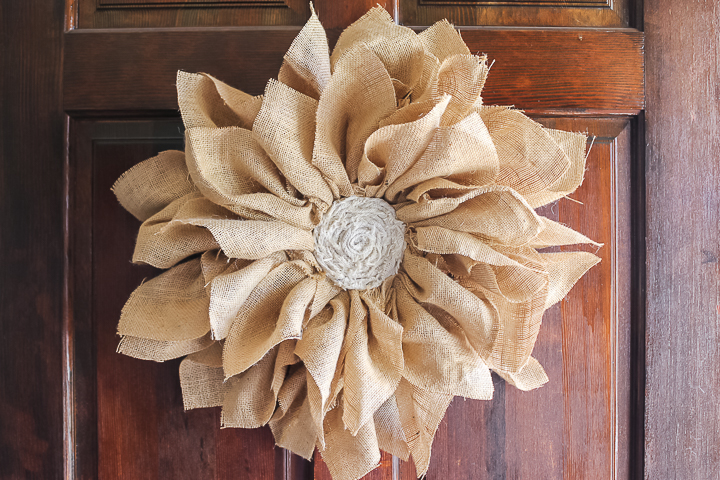
Flower Wreath Made from Burlap
thecountrychiccottage.net
Your folders
 265 views
Better Than Pillow Fluffy Naan
eckitchensg.com
Your folders
343 viewsPatchwork Plaid Quilted Pillow Tuto...
polkadotchair.com
Your folders
 152 views
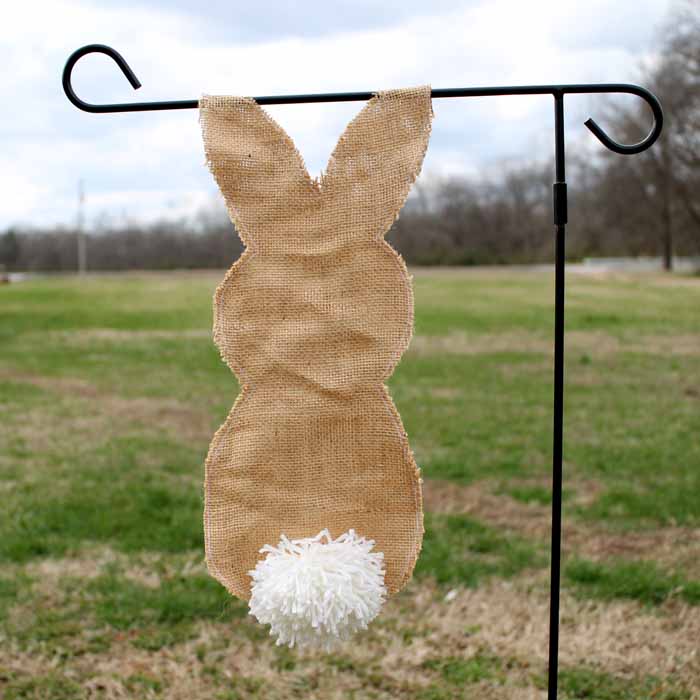
Burlap Bunny Garden FlagBurlap Bunn...
thecountrychiccottage.net
Your folders
 237 views
Chestnut Chocolate Italian Christma...
justapinch.com
5.0
(1)
20 minutes
Your folders
 302 views
DIY Halloween Pillow with a Spider
thecountrychiccottage.net
Your folders
278 viewsQuilted Flower Patchwork Pillow Cov...
polkadotchair.com