Quilted Flower Patchwork Pillow Cover Tutorial
Your folders
Your folders
Total: 510
Servings: 1
Author : <img src="https://www.polkadotchair.com/wp-content/uploads/2021/05/melissa-mortenson-headshot2021.jpg" width="100" height="100" alt="" itemprop="image">Melissa MortensonMelissa Mortenson is a blogger, designer, and content creator. She is the Polka Dot Chair blog founder and has been sharing fresh and creative ideas with readers since 2008. She is the author of “Project Teen, Handmade Gifts your Teen will Actually Love.” Her work and designs have been featured on HuffPost, TODAY, Pioneer Woman, HGTV, BuzzFeed, Better Homes & Gardens, and many other established publications. Her first fabric line, “Derby Style,” debuted in January 2015 through Riley Blake Designs. Additional fabric collections have followed it in subsequent years. A mom of 3, she considers herself lucky to be living in Kentucky.

Ingredients
Export 9 ingredients for grocery delivery
Instructions
Step 1
From Main Petals Fabric cut 6½” x 7½” (2) and 6½” square (2)
Step 2
From Secondary Petals Fabric cut 4½” square (4) and 2½” square (8)
Step 3
From Flower Centre Fabric cut 2½” square (1)
Step 4
From Flower Centre Border Fabric cut 2½” x 4½” (2) and 2½” x 1½” (2)
Step 5
From Background Fabric cut 6½” x 2½” (4), 2½” x 4½” (4) and 2½” square (12)
Step 6
From Cushion back fabric cut 18½” x 11½” (2)
Step 7
Mark all the 2½” squares with a corner to corner diagonal line on the wrong side of the fabric.
Step 8
Take one main petal 6½” x 7½” rectangle and pin two background 2½” squares to the two corners along the shorter edge, right sides together. Make sure the drawn diagonal lines match the orientation in the step photo.
Step 9
Sew a tiny bit above the drawn lines.
Step 10
Trim with ¼” seam allowance and press open.
Step 11
Repeat steps 1-4 for the second main petal 6½” x 7½” rectangle.
Step 12
Then repeat the whole process using secondary petal 2½” squares in the remaining corners.
Step 13
Now repeat again with the main petals 6½” squares. Set these units aside until later.
Step 14
Take one secondary petal 4½” square and pin one background 2½” square to the top right corner, matched the edges. Make sure the drawn diagonal line runs top left to bottom right.
Step 15
Sew a tiny bit above the drawn line, trim with ¼” seam allowance and press open.
Step 16
Repeat to make four in total.
Step 17
Take two units from step 10 and position them so the background corner triangle is at the top left and sew a background 2½” x 4½” rectangle to the left edge of each.
Step 18
Now take the other two units from step 10 and position them so the background corner triangle is at the top right and sew a background 2½” x 4½” rectangle to the right edge of each.
Step 19
Sew background 6½” x 2½” rectangles to the top edge of units made in steps 11-12. Set these units aside until later.
Step 20
Sew the two flower centre border 2½” x 1½” rectangles to the top and bottom edge of the flower centre 2½” square. Press. Then sew the background 2½” x 4½” rectangles to the sides and press.
Step 21
Sew the units from all the previous steps together into three rows using the photo as a guide for orientation and position.
Step 22
Then sew the three rows together. Press well.
Step 23
Now it’s time to make a quilt sandwich. Place your light backing square (right side facing down) with your batting on top, then add the patchwork flower block with the right side facing towards you. Make sure all the layers are smooth and flat then baste the layers together using your preferred method.
Step 24
Quilt as desired. I have used free motion quilting; a woodgrain motif on the main petals, a meander motif on the secondary petals, switchbacks in the centre border and finally a square spiral on the central square. Other quilting ideas; straight line quilted diagonal lines 3” spaced using the corners of the central square as your starting markers, or hand quilting just within the edges of the petals and following their shape.
Step 25
Once you have finished quilting, trim off excess backing fabric and batting and square up your cushion block if required.
Step 26
Take the two cushion back 18½” x 11½” rectangles and hem one long edge of each by pressing the raw edge to the wrong size by ¼” then again by another ¼”. Press well and sew.
Step 27
Pin or clip to the quilted blocks, right sides together, all around the four side. Make sure the cushion back piece you want to appear upper-most once the cushion is turned right side out is underneath by the second back piece.
Step 28
Sew around all four edges using a ¼” seam allowance, securing the start and finish with some back-stitching.
Step 29
Trim the corners, turn the cushion cover the right way out, carefully poke out the four corners and then press.
Step 30
Stuff with an 18” cushion pad and enjoy your new flower block cushion!
Top similar recipes
Curated for youYour folders
 359 views
Patchwork Plaid Quilted Pillow Tuto...
polkadotchair.com
Your folders
223 viewsPatchwork SLEEP Pillow Pattern
polkadotchair.com
Your folders
222 viewsPatchwork Heart Pillow Pattern
polkadotchair.com
Your folders
206 viewsMoroccan Tile Inspired Quilted Pill...
polkadotchair.com
Your folders
 76 views
Easy 10-Minute Envelope Pillow Cove...
thecraftingnook.com
Your folders
 328 views
Cover Up
lorealparisusa.com
Your folders
 110 views
Recipe Book Cover -
pimienta-api.oneflowcloud.com
Your folders
 81 views
Stenciled Burlap Pillow CoversStenc...
craftsbyamanda.com
Your folders
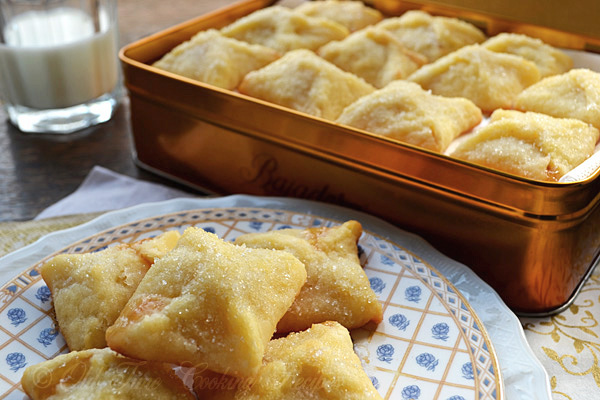 385 views
Apricot Pillow Cookies
kitchennostalgia.com
4.2
(5)
Your folders
250 viewsBench Pillow Pattern
polkadotchair.com
Your folders
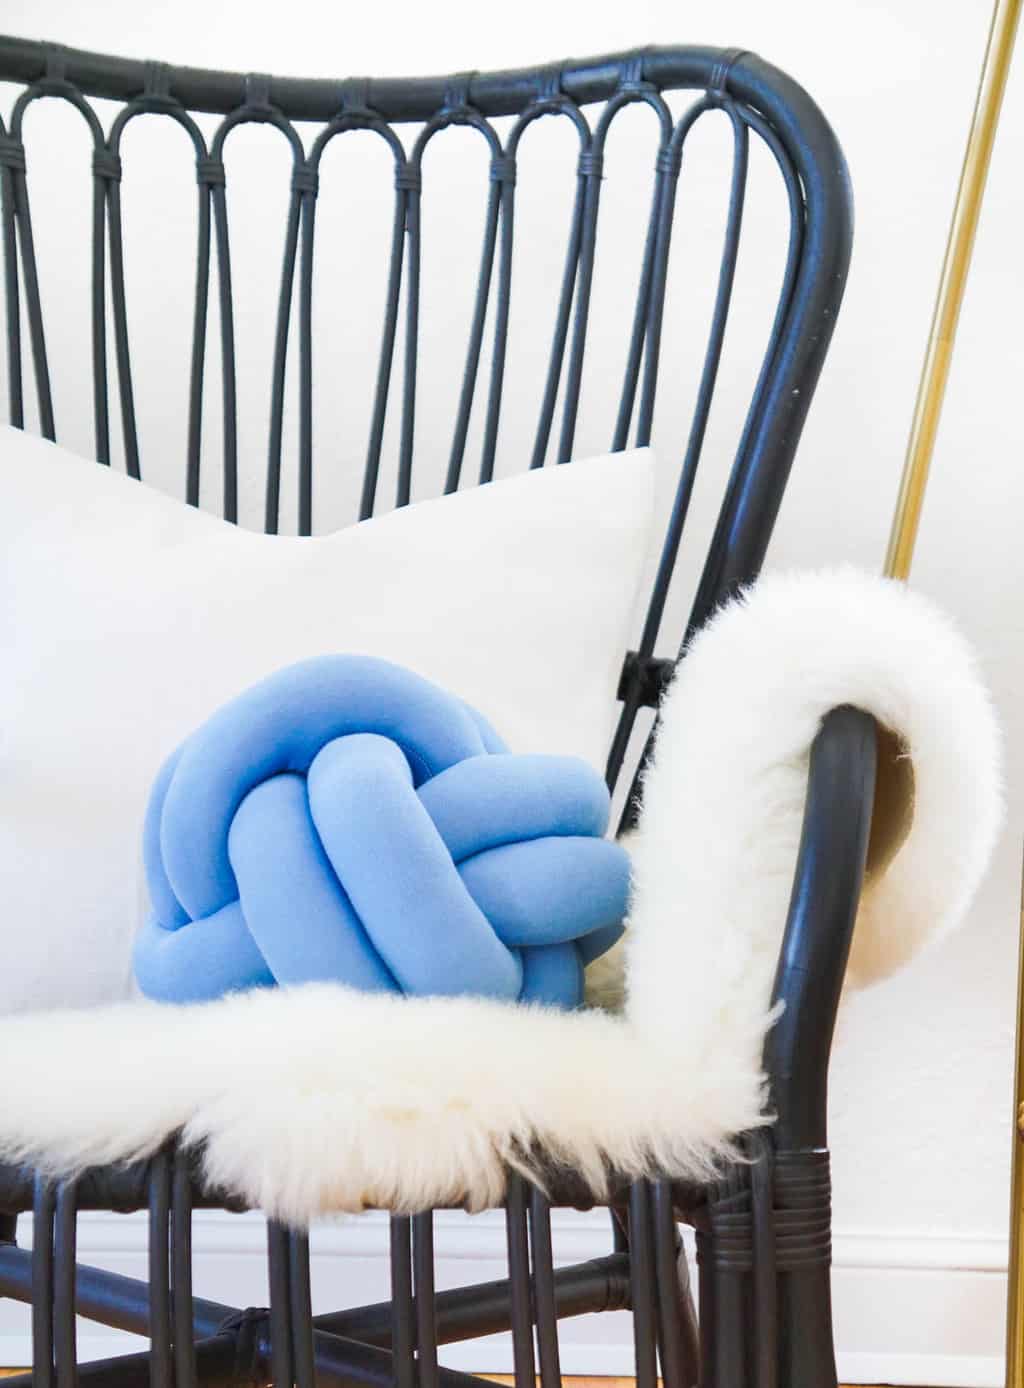 214 views
DIY Knot Pillow
sugarandcloth.com
Your folders
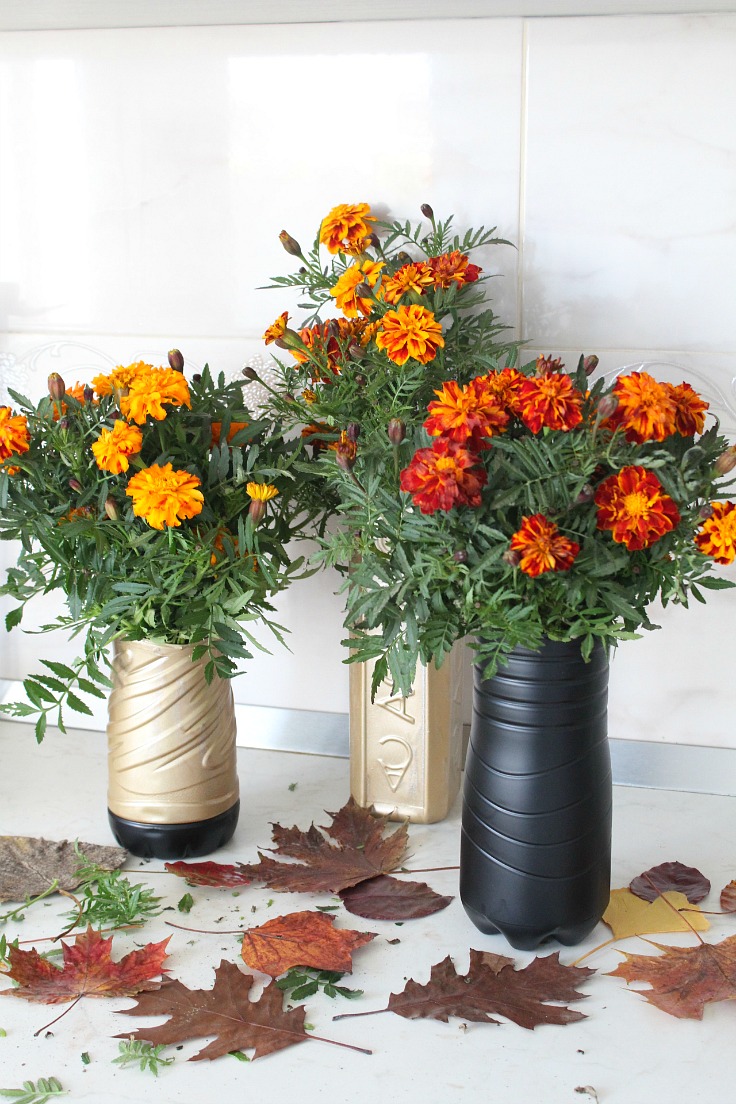 312 views
Plastic flower vasePlastic flower v...
theseamanmom.com
Your folders
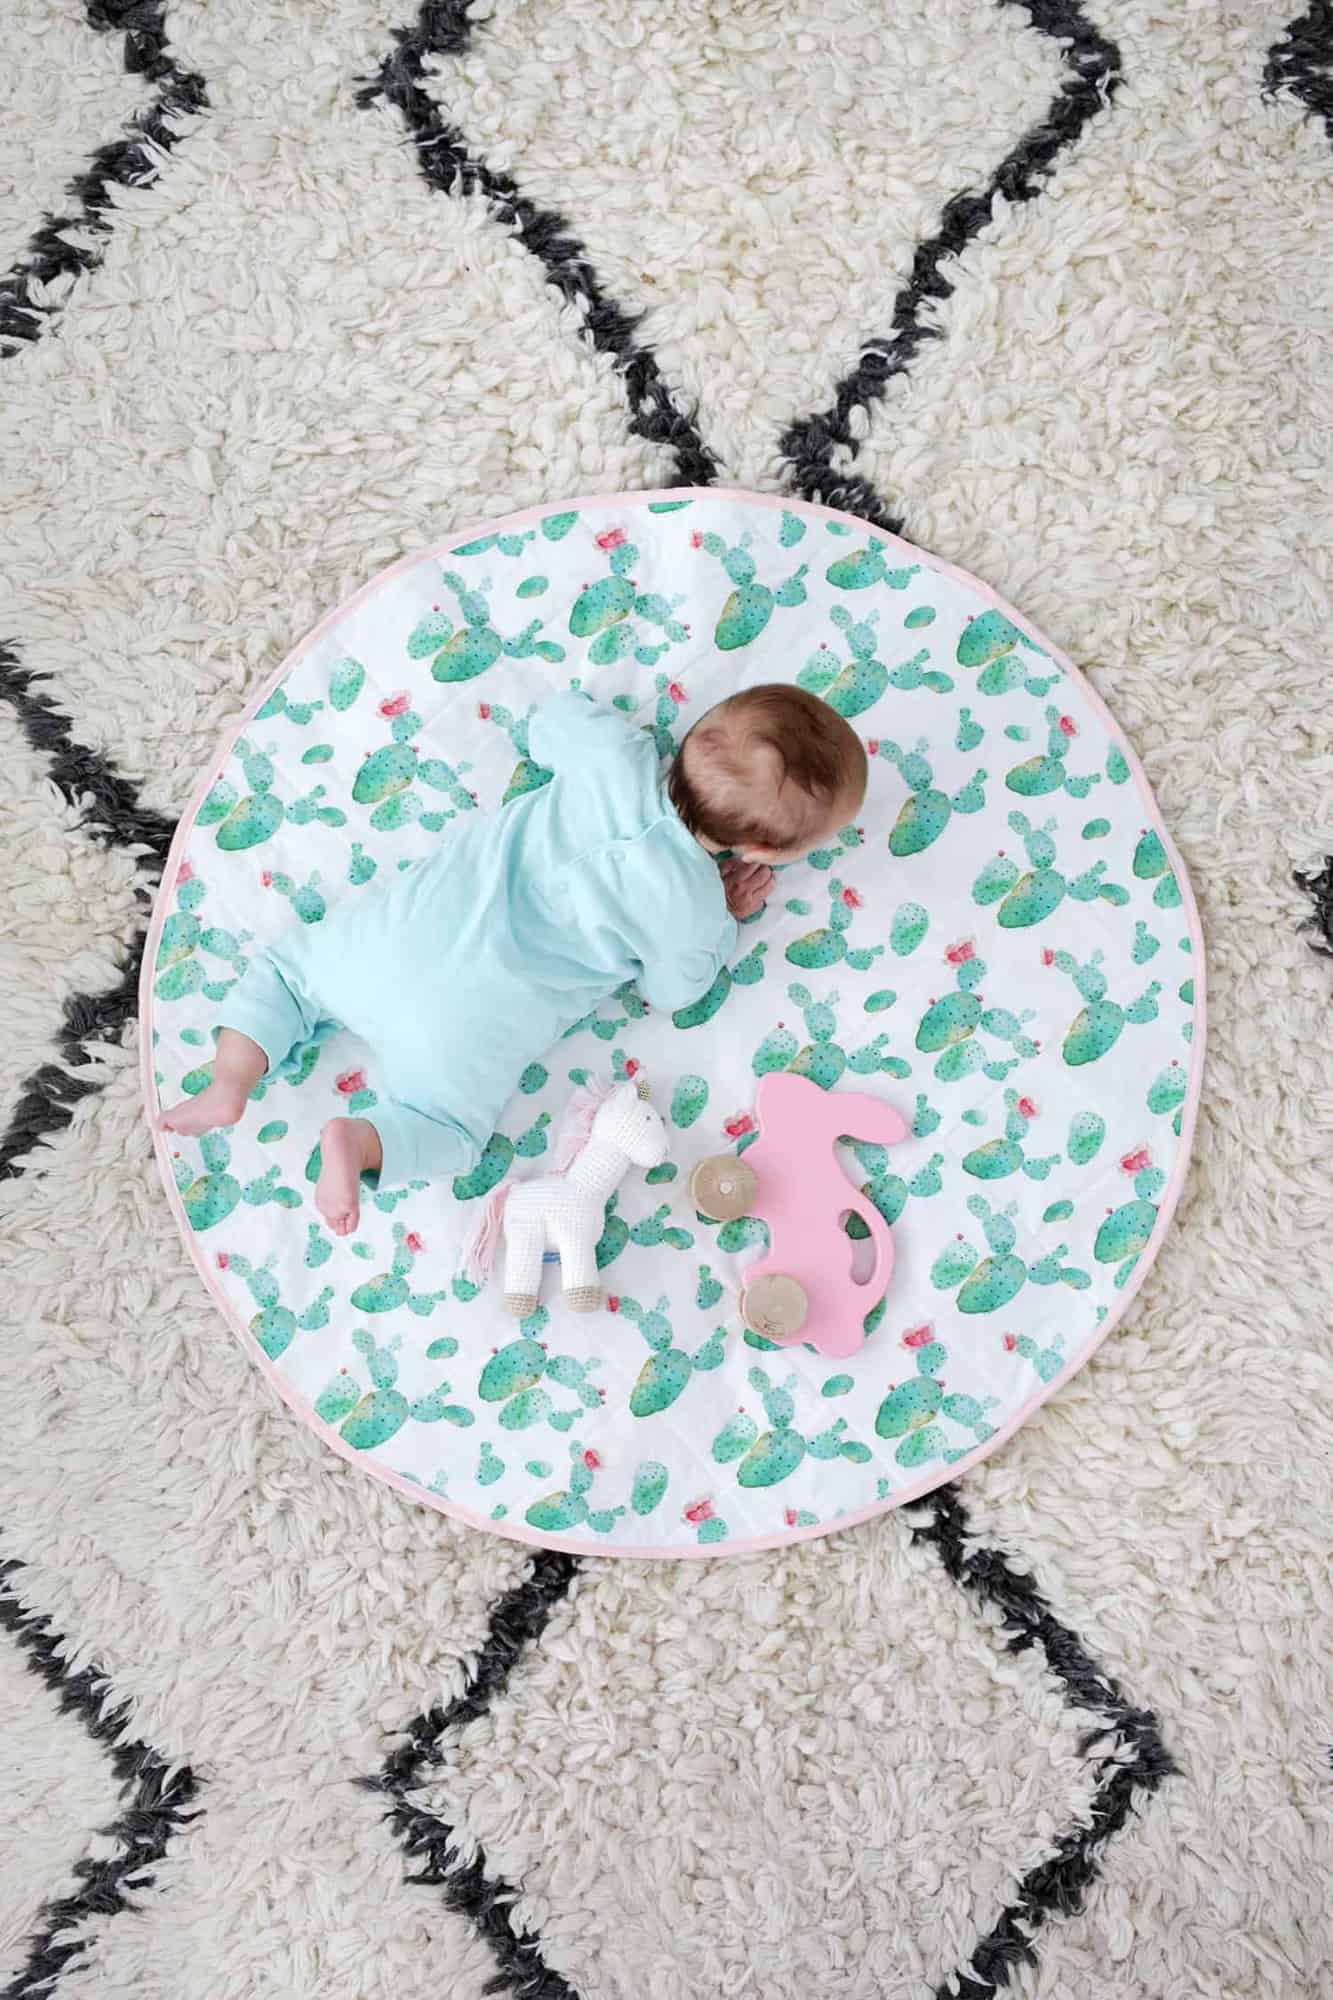 150 views
ROUND QUILTED PLAY MAT DIY
abeautifulmess.com
Your folders
 335 views
Night Flower
epicurious.com
Your folders
 312 views
Flower Cupcakes
foodnetwork.com
4.3
(85)
25 minutes
Your folders
 288 views
Ham Flower
justonecookbook.com
5.0
(3)
Your folders
 292 views
bath-tea-tutorial
apumpkinandaprincess.com
Your folders
 281 views
Mug Tutorial Handbrake.mp4
heyletsmakestuff.com
Your folders
 153 views
Cinnamon Sugar Pillow Cookies
chocolatecoveredkatie.com
5.0
(34)
11 minutes