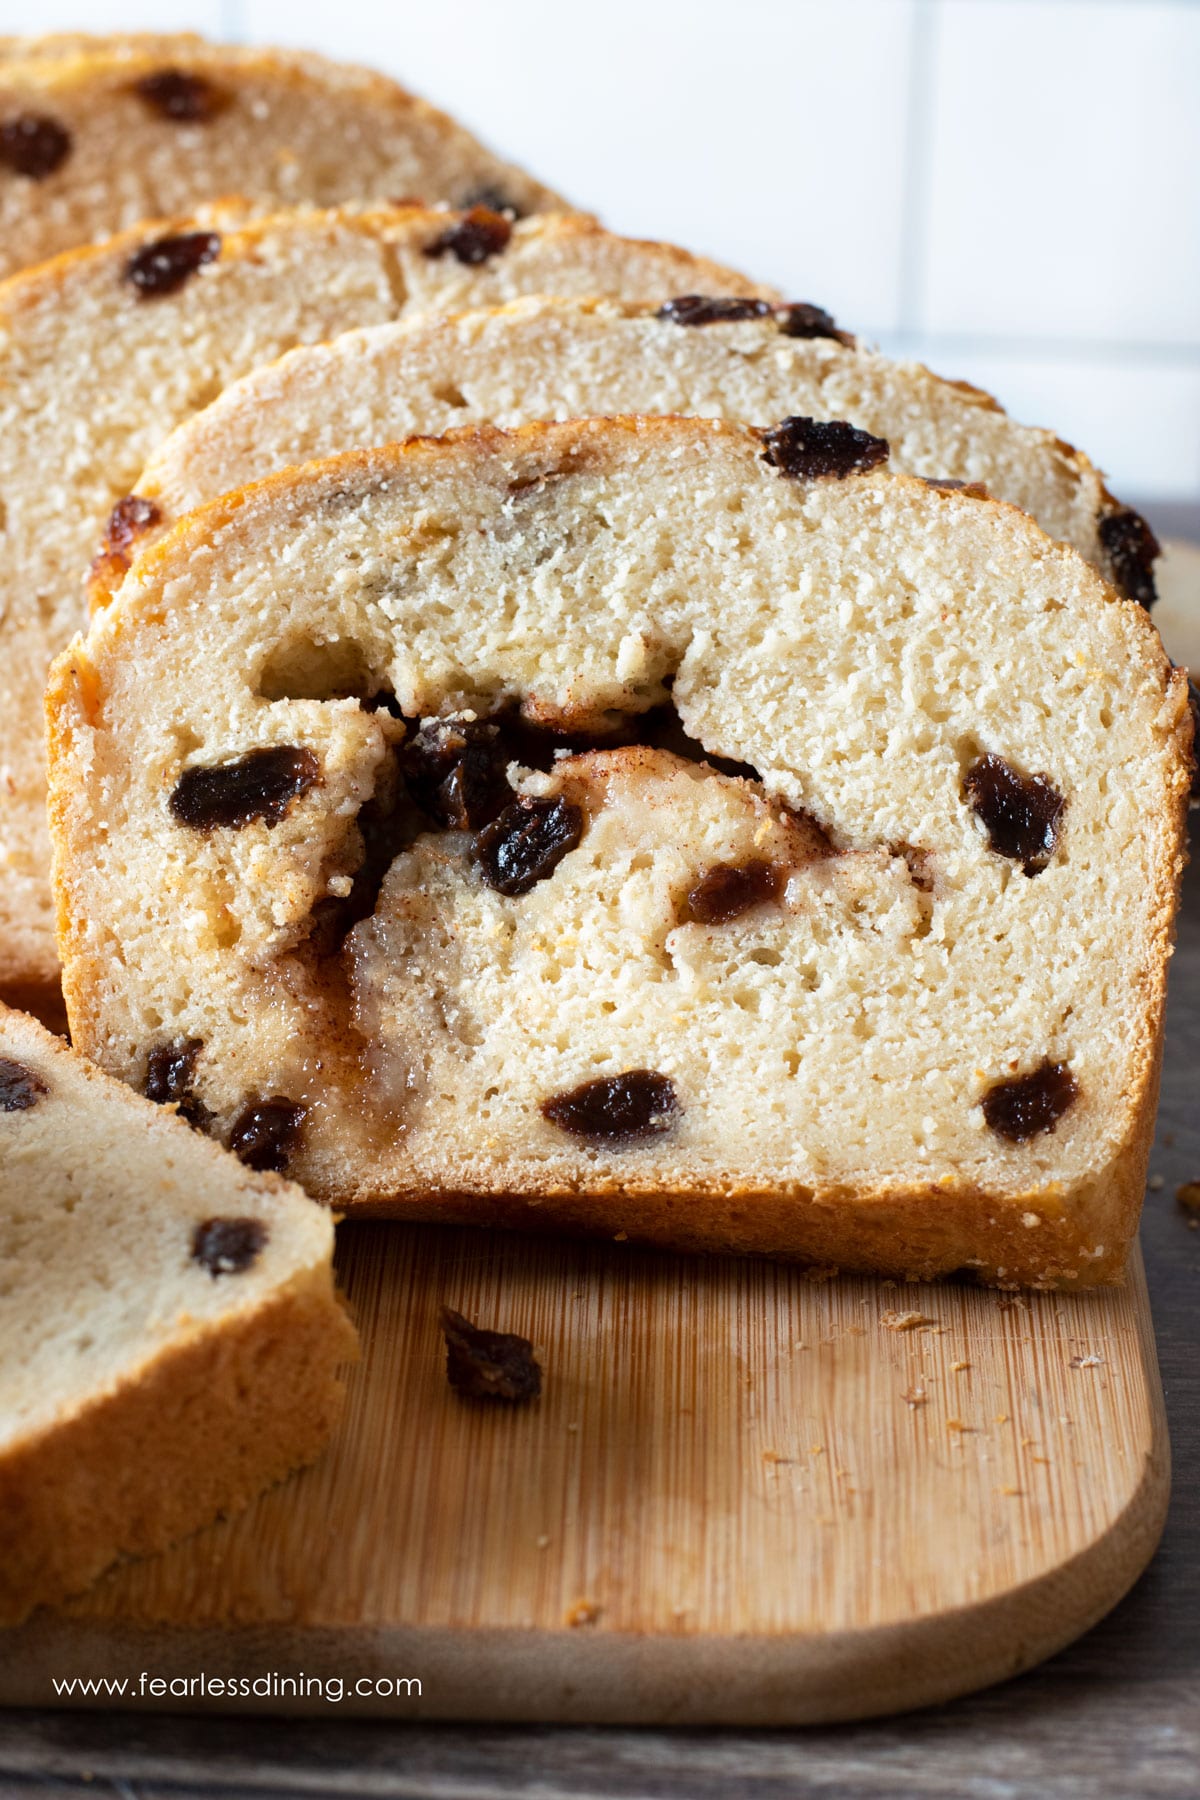
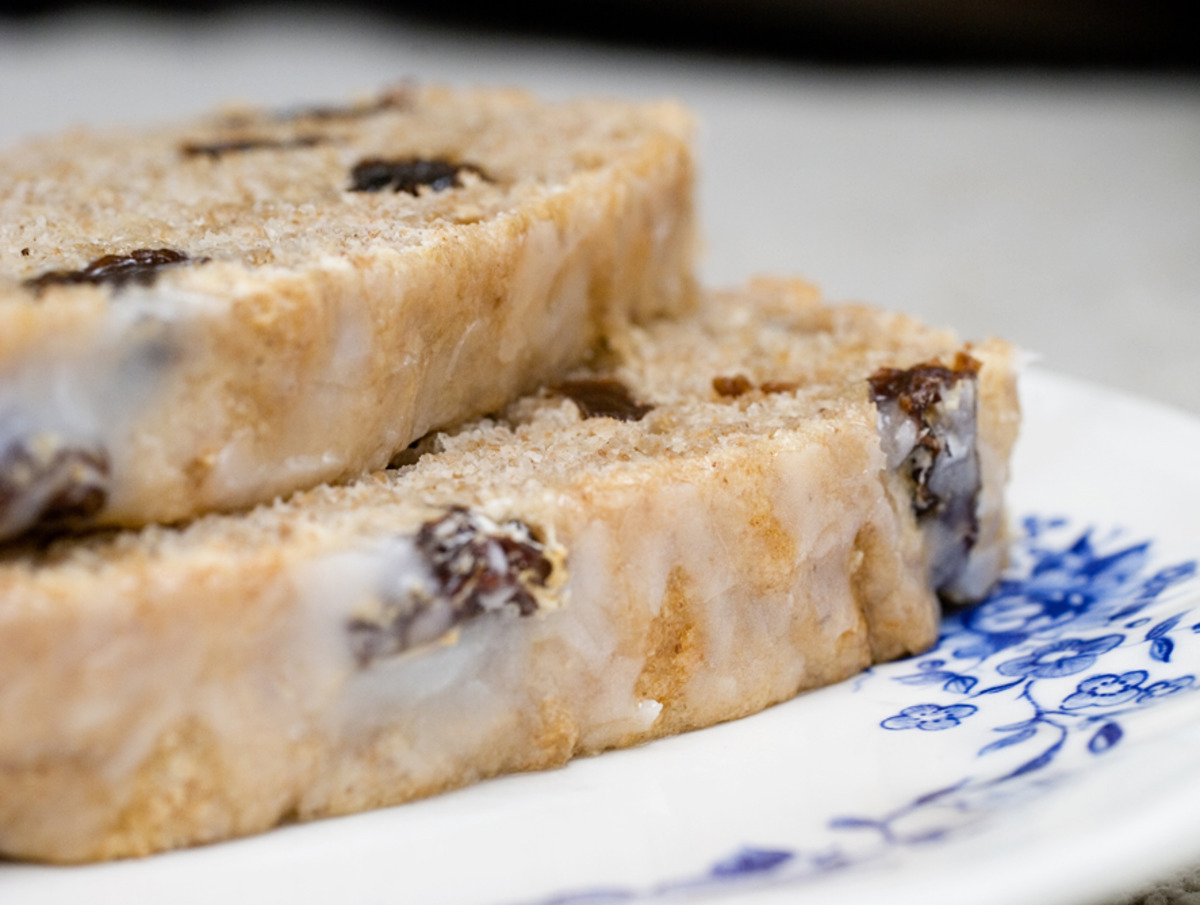
The Best Gluten Free Cinnamon Raisin Bread
5.0
(8)
Your folders
Your folders
Prep Time: 10 minutes
Cook Time: 50 minutes
Total: 150 minutes
Servings: 10
Ingredients
Export 9 ingredients for grocery delivery
Instructions
Step 1
The first thing you need to do to make this recipe is proof your yeast. Heat the milk, or non-dairy milk, to 110º F. I put mine into the microwave oven for 30 seconds. Use a thermometer to check the temperature of the milk. If your liquid is too hot, it will kill the yeast and the bread will not rise.
Step 2
Add in the honey and stir to help the honey dissolve into the milk. Add the yeast. Let these wet ingredients sit for 10 minutes until it is frothy. If your yeast doesn't get frothy, check the expiration date to make sure it is still good.
Step 3
Add the gluten free flour, salt, and raisins to the large mixing bowl of your standing mixer. Add in the rest of the liquid ingredients including the eggs, melted butter, and yeast mixture.
Step 4
HINT: It is important to measure your gluten free is to measure your gluten free flour, I recommend using the spoon method or leveling method. You can also use a spoon to fill the measuring cup. Use a knife to level along the top to remove the extra flour. Put the measuring scoop into the flour and fill. Do not pack the flour. Use a knife to scrape along the top to remove the extra flour.
Step 5
Mix the ingredients together at low speed with the paddle attachment. Gradually increase the speed as the flour gets mixed in.
Step 6
This is what your mixed gluten free cinnamon bread dough will look like when it is mixed. Move the bread dough to a bowl and cover it with plastic wrap. Put it into the warm oven and let it rise.
Step 7
If you are like me, it is often a struggle to rise gluten free dough. After many fails, I now only use my oven for rising my gluten free yeasted dough. See how puffy this dough got? Rise the dough for 1-2 hours. As the dough rises, it should double in size in the bowl.
Step 8
Remove the raisin bread dough from the mixing bowl and place the dough on a silicone mat or parchment paper. (Note: Don't use wax paper because it will stick to the dough!)
Step 9
GENTLY press down the dough into a rectangle. Try to match the width of your bread pan. You do not want to deflate your dough so do this step carefully. Gluten free dough doesn't do a big second rise so try to preserve as much air in your dough as you can!
Step 10
Mix the cane sugar (or brown sugar) and cinnamon together in a bowl. In another small bowl, melt the butter. Use a pastry brush to spread melted butter over the dough. Sprinkle the cinnamon-sugar mixture over the dough.
Step 11
This is how you will make the cinnamon sugar swirls in the bread! Also, don't worry there is too much sugar. Some of the sugar cooks into the bread so you need a lot to get the big swirls this bread is famous for.
Step 12
Gently roll the dough and place it into a greased prepared bread pan. I used a bottle with coconut oil to grease my pan. Cover with the loaf with plastic wrap and allow it to rise on the counter for 30 minutes.
Step 13
Preheat the oven to 350º F. Optional: If you would like your bread to have a golden top, whisk an egg in a small bowl and brush the egg over the top of the loaf. This will help the loaf get golden on top.
Step 14
Put your loaf tin into the preheated oven. Set a timer for 45 minutes baking time. Check the internal temperature of the bread without removing it from the oven. Push the digital instant-read thermometer all the way to the bottom of the bread. When your bread is ready, it will have an internal temperature of 190º F.
Step 15
Make sure your oven rack isn't too far up. I place my oven rack further down, closer to the bottom. If your rack is too close to the top of the oven, your bread will get very brown and the bottom will not cook all of the way through.
Step 16
Remove the gluten free cinnamon raisin bread from the oven. I cool the bread gradually. I put the pan on a wire rack and leave the bread in the pan for the first 20 minutes.
Step 17
Let the bread cool for 2 hours before slicing it. This helps the inside finish cooking and set up. This is going to be hard. Your whole house is going to smell incredible and everyone in your family will be circling to try to get some of the bread. Stay strong, it will be worth it if you wait.
Top similar recipes
Curated for youYour folders
 174 views
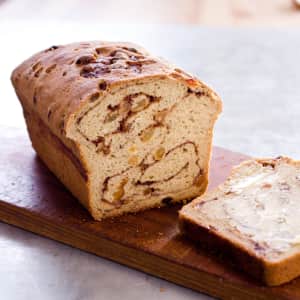
Gluten-Free Cinnamon-Raisin Bread
americastestkitchen.com
4.0
(2)
Your folders
 301 views
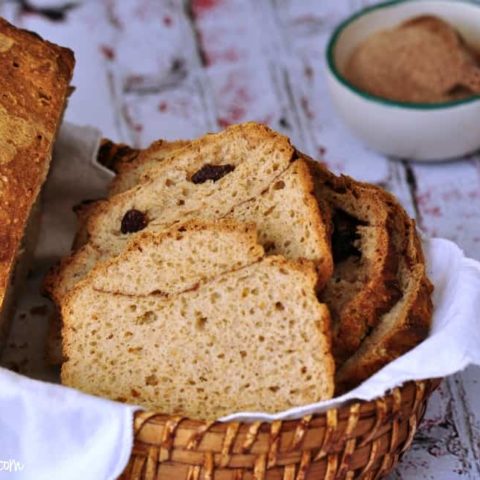
Gluten Free Cinnamon Raisin Bread
darngoodveggies.com
50 minutes
Your folders
319 viewsGluten Free Cinnamon Raisin Bread
darngoodveggies.com
50 minutes
Your folders
 75 views
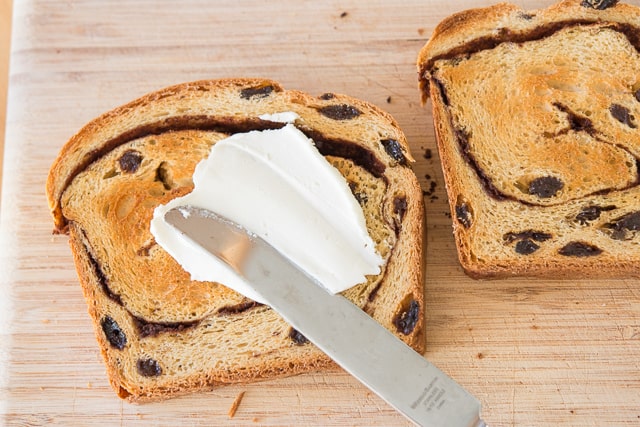
The Best Cinnamon Raisin Bread
pastrychefonline.com
4.8
(44)
45 minutes
Your folders
 210 views
Gluten Free Cinnamon Raisin Bread R...
gfjules.com
4.3
(23)
50 minutes
Your folders
 245 views
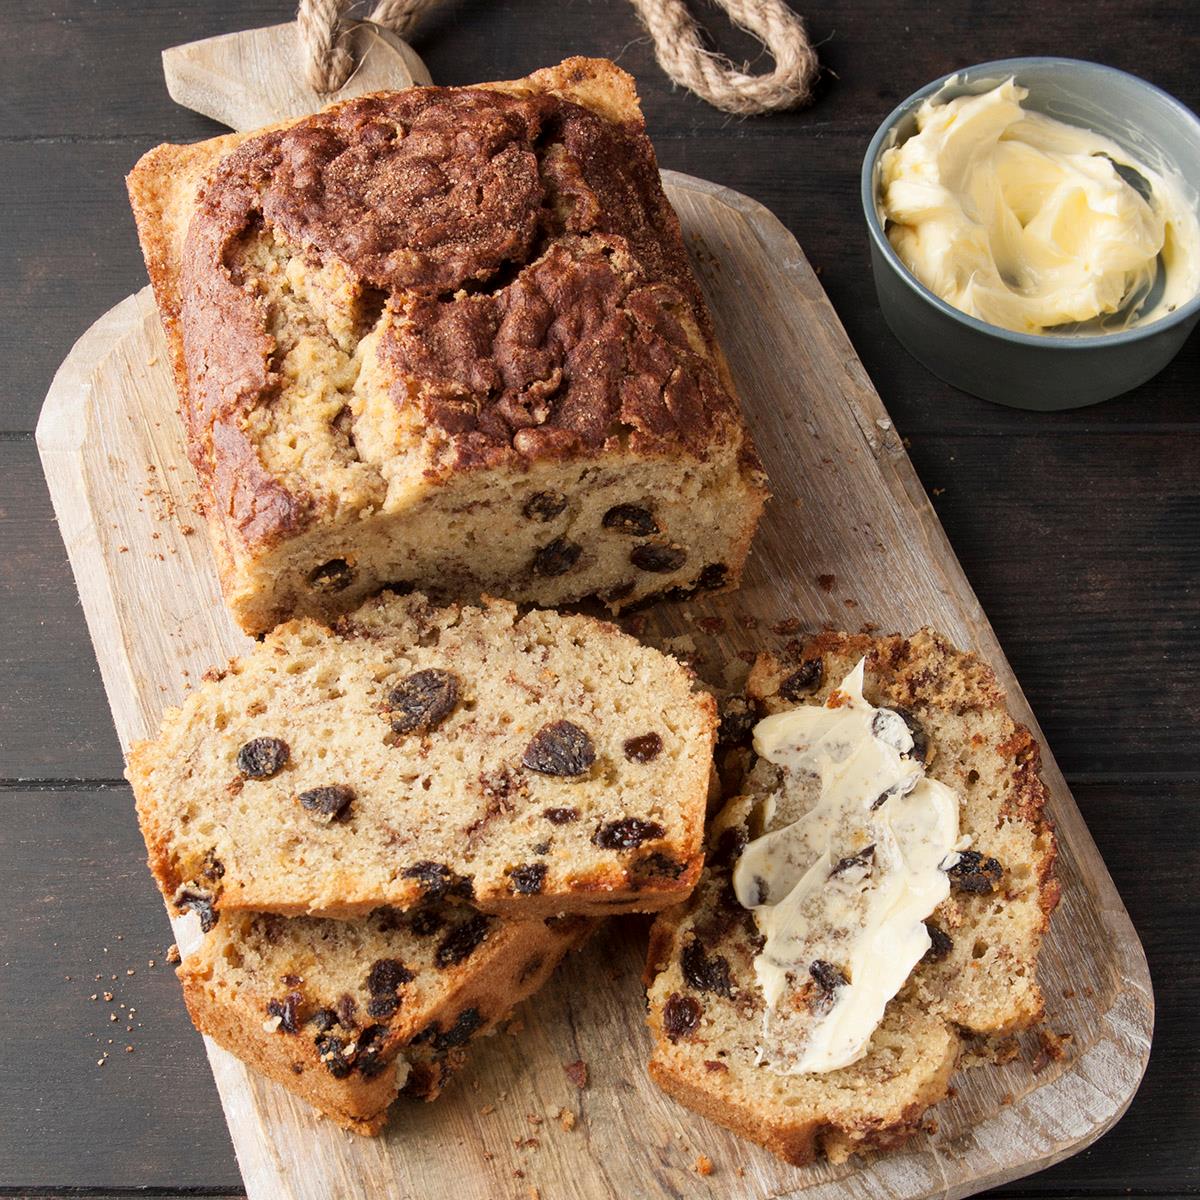
Gluten- and Dairy-Free Cinnamon Rai...
tasteofhome.com
3.4
(5)
45 minutes
Your folders
 188 views
The BEST Gluten Free Cinnamon Rolls
butternutbakeryblog.com
5.0
(117)
30 minutes
Your folders
 251 views
The Best Gluten Free Banana Bread
whattheforkfoodblog.com
4.6
(93)
55 minutes
Your folders
 240 views
The BEST Gluten Free Pumpkin Bread
letthemeatgfcake.com
4.3
(26)
60 minutes
Your folders
 161 views
The Best Gluten-Free Turkish Bread
natashashome.com
5.0
(9)
30 minutes
Your folders
 420 views
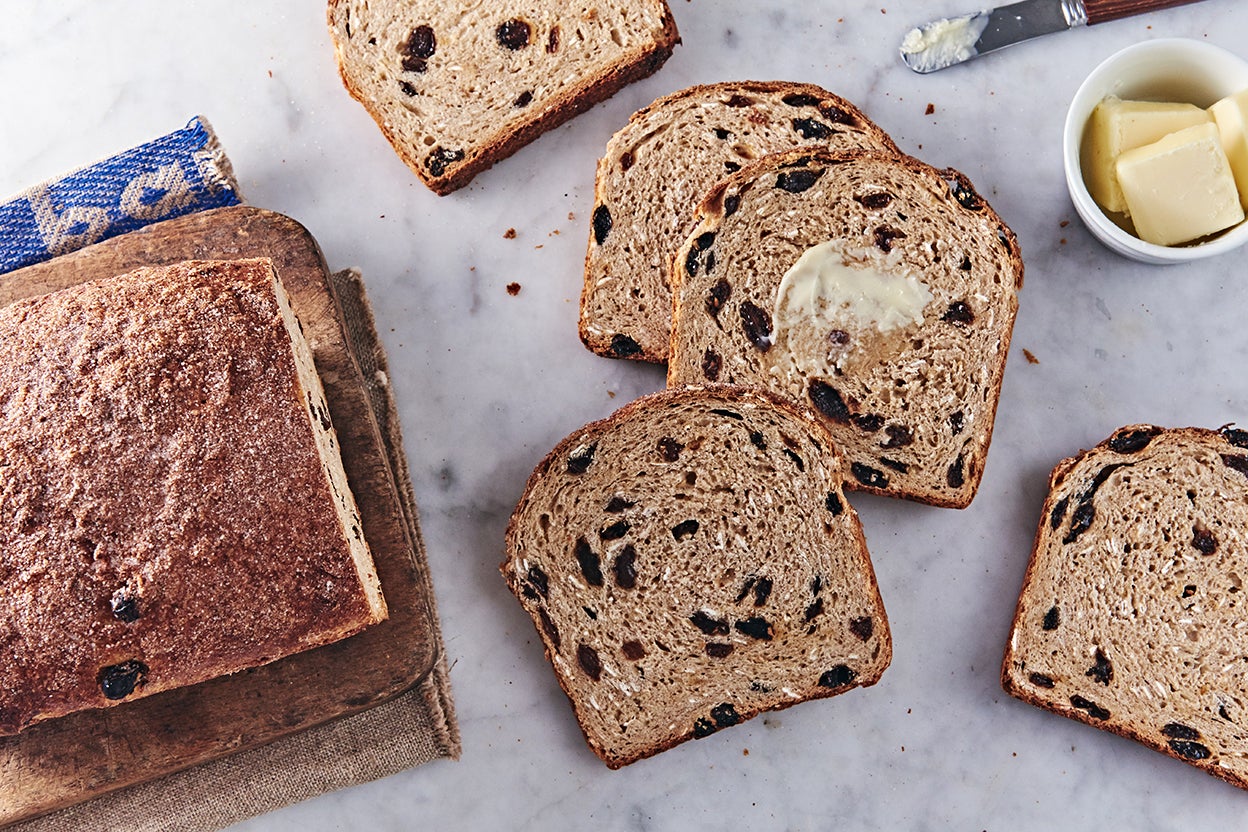
Cinnamon Raisin Bread
kingarthurbaking.com
4.1
(105)
45 minutes
Your folders
 702 views
Cinnamon Raisin Bread
fifteenspatulas.com
4.9
(27)
40 minutes
Your folders
 153 views
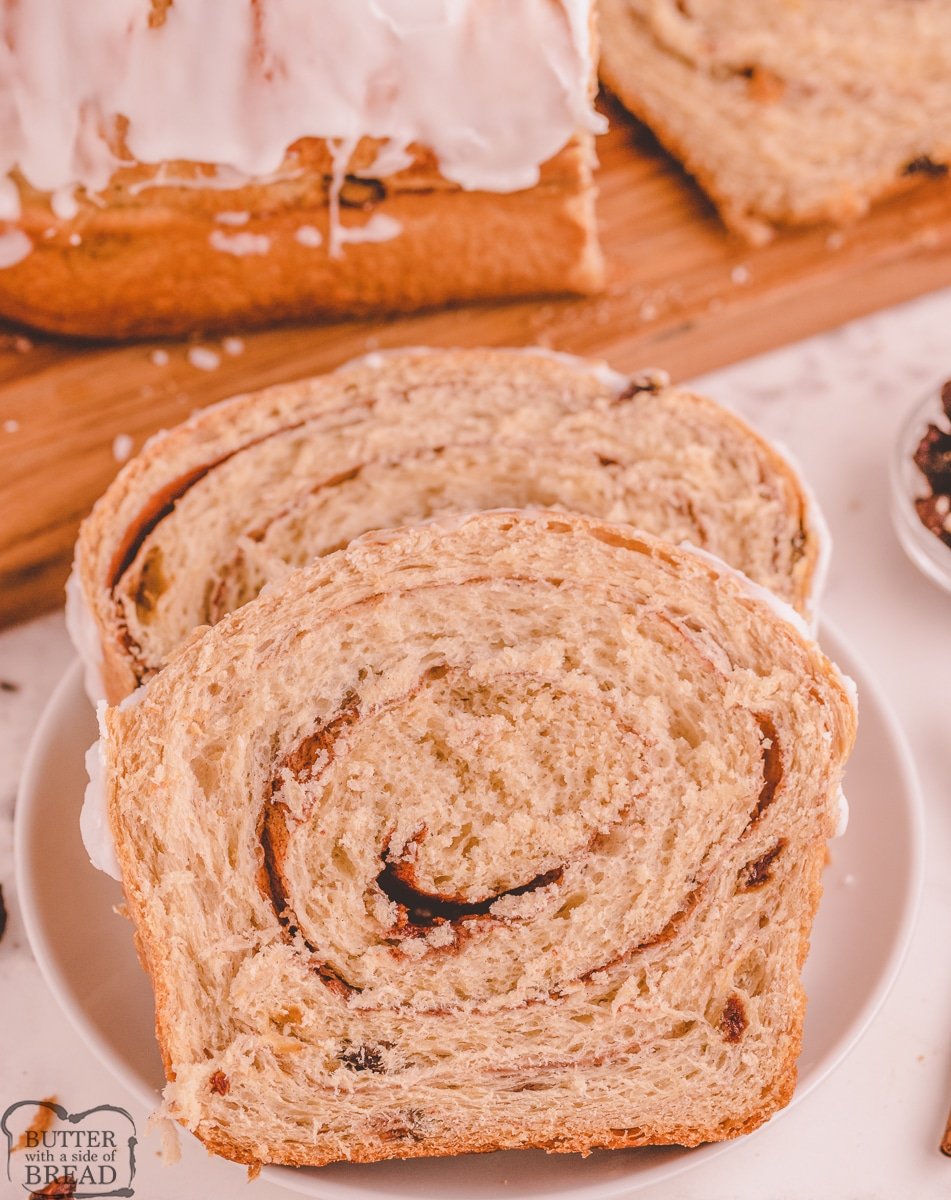
Cinnamon Raisin Bread
butterwithasideofbread.com
4.0
(1)
46 minutes
Your folders
 138 views
Cinnamon Raisin Bread
farmgirlgourmet.com
4.8
(13)
50 minutes
Your folders
 88 views
Cinnamon Raisin Bread
tasteofhome.com
4.5
(15)
30 minutes
Your folders
 375 views
The Best Gluten Free Cinnamon Rolls...
shelikesfood.com
4.8
(18)
30 minutes
Your folders
 665 views
Cinnamon Raisin Bread For The Bread...
food.com
5.0
(179)
3 hours
Your folders
 24 views
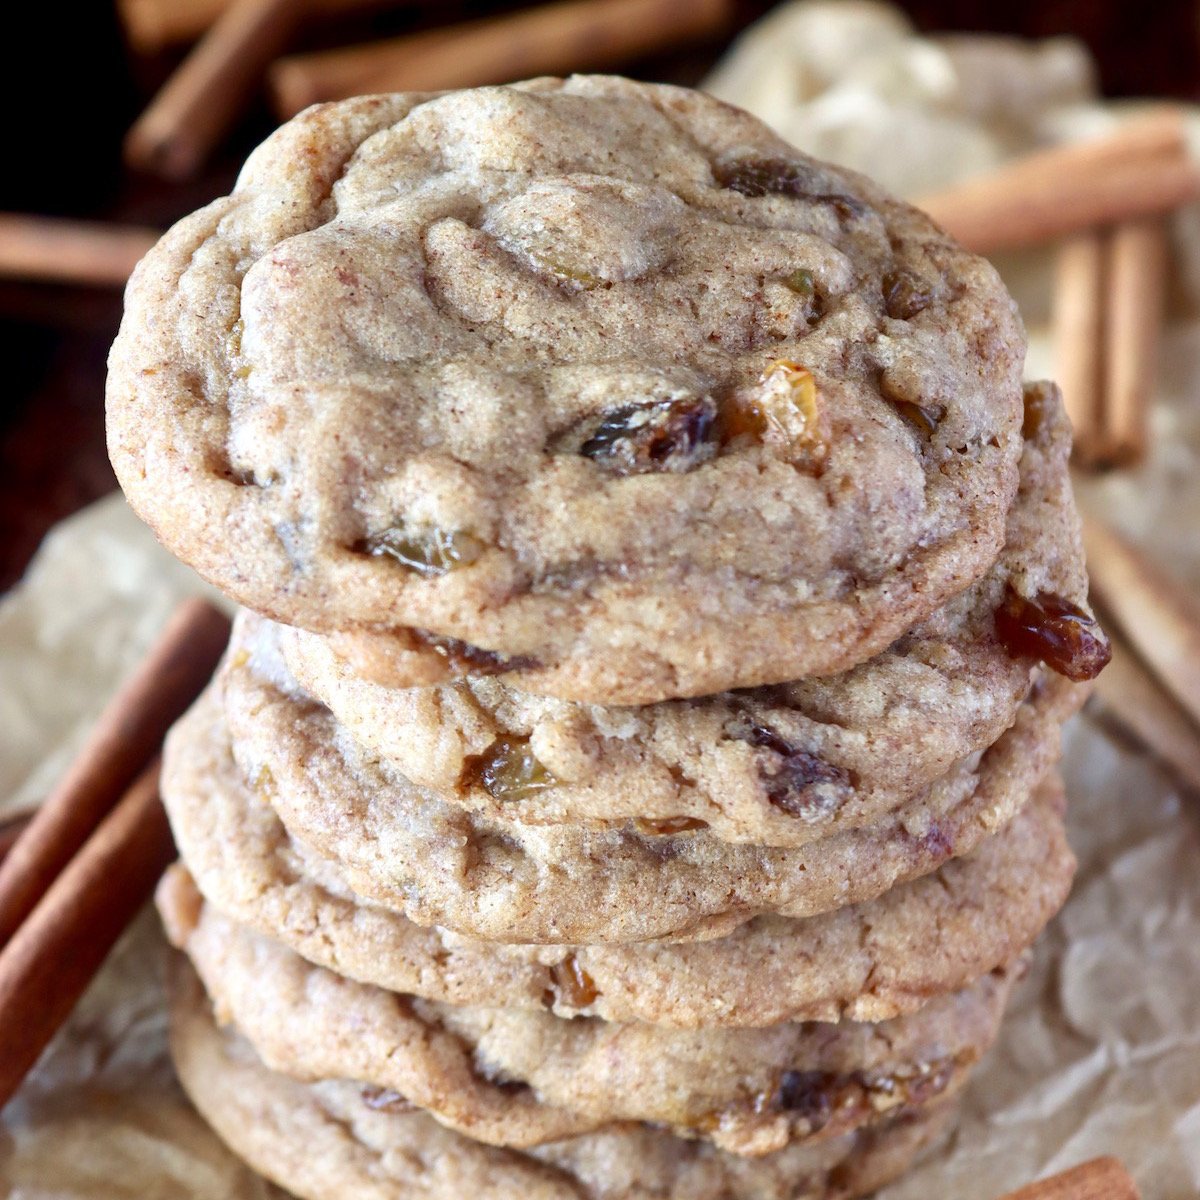
The Best Cinnamon Raisin Cookie Rec...
cookingontheweekends.com
5.0
(37)
12 minutes
Your folders
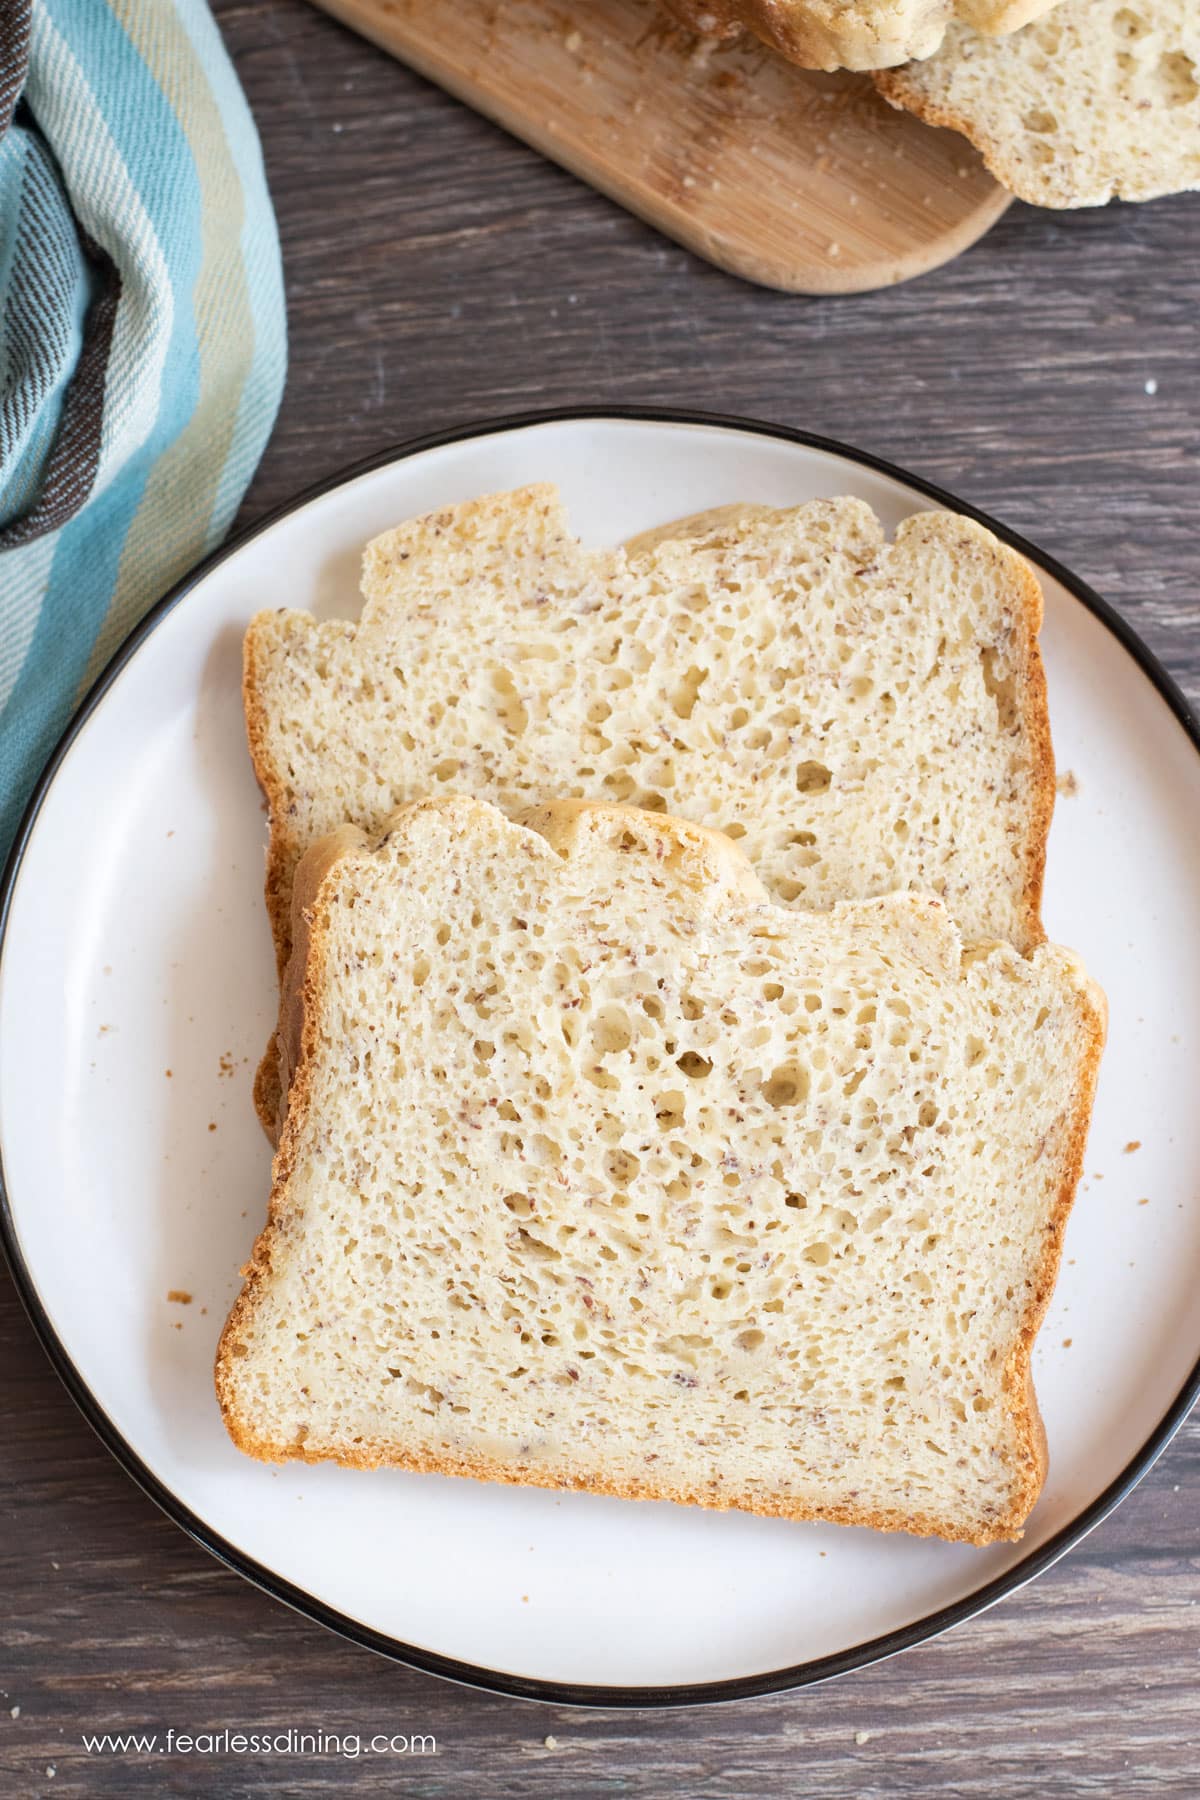 373 views
The Best Gluten Free Bread Machine ...
fearlessdining.com
4.9
(38)
74 minutes