The BEST Kombucha Ratio for a Tasty Brew
5.0
(4)
Your folders
Your folders
Prep Time: 30 minutes
Total: 20190 minutes
Servings: 5
Ingredients
Export 4 ingredients for grocery delivery
Instructions
Step 1
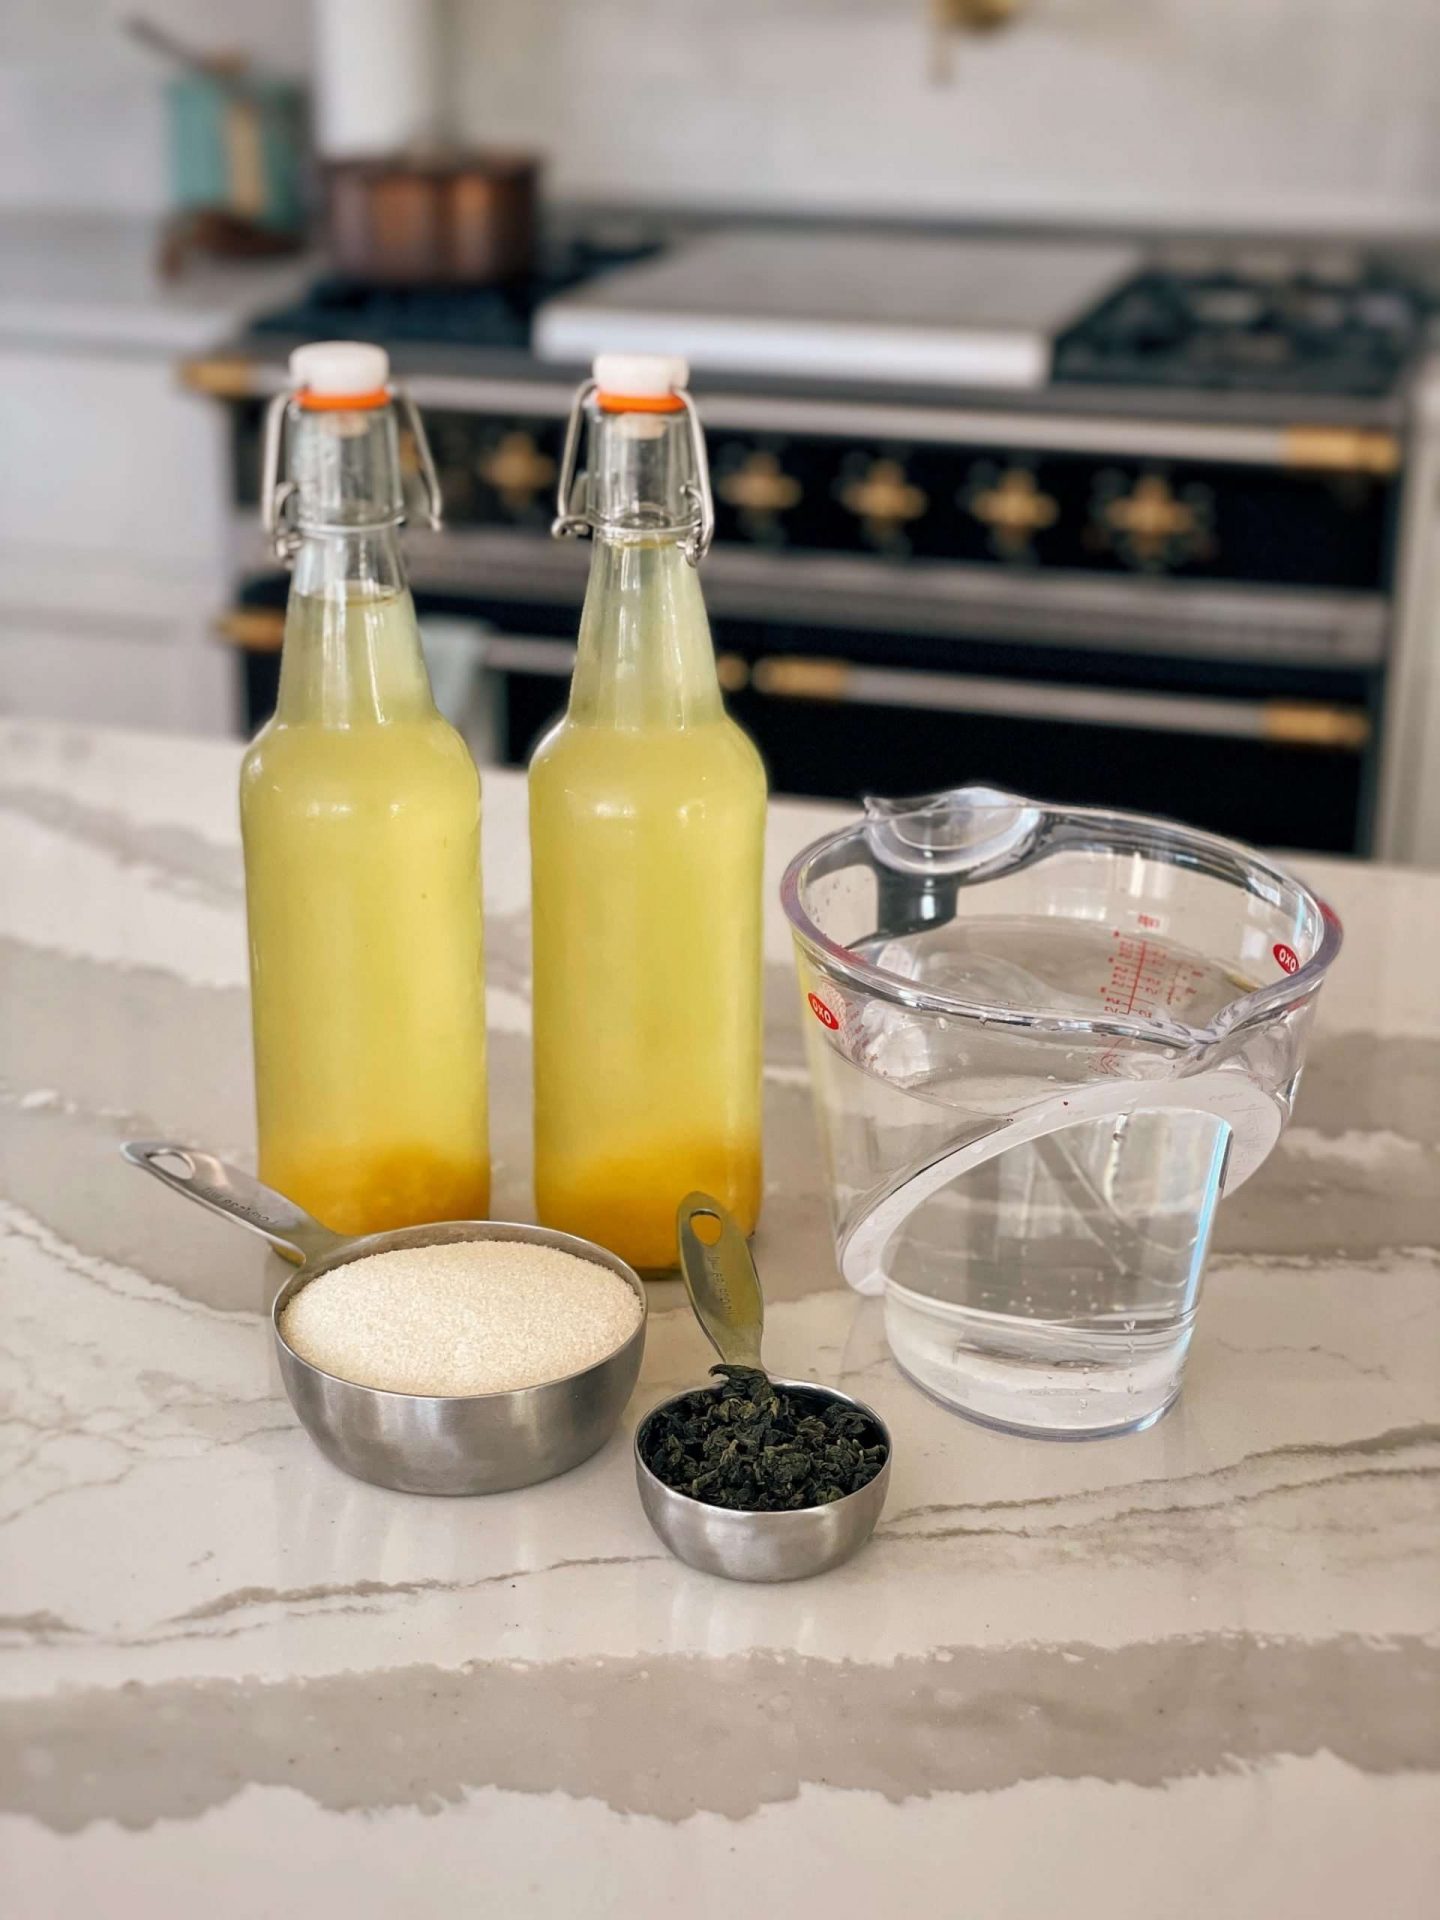
Boil 4 cups of water
Step 2
Add 3 Tbsp of loose leaf tea to a reusable tea bag (or use 9 tea bags).
Step 3
Once boiling, turn off the heat and add the tea bag(s). Let steep for 6 minutes.
Step 4
After 6 minutes, remove the tea bag(s) and stir in 1 cup of cane juice crystals. Set aside to cool.
Step 5
Next, fill your clean, empty 1 gallon brewing jar with the sugar-tea mixture
Step 6
Then, add 7 cups of ice water to dilute the sugar-tea mixture (ice water is necessary if the sugar-tea mixture is still hot. You don’t want to fry the active cultures that we're adding next!)
Step 7
Once the ice has melted and the solution is no longer hot, add 1 cup of kombucha starter tea and gently place the SCOBY on top (it's ok if it floats, sinks or flops sideways! Just let it do its thing).
Step 8
Cover kombucha jar with a piece of tightly woven cloth and secure with a rubber band
Step 9
Place your 1 gallon jar of kombucha in a dark, warm location where it will be undisturbed.
Step 10
At 1 week, do a taste test and see what you think. Still too sweet? Let it go for another week and test again. Most people brew in the timeframe of 1-3 weeks. It all depends on how active your SCOBY is, environmental factors and your taste preferences. The thicker your SCOBY becomes, the more active it will be. I've found that a thickness of about 1" is perfect for my brew, so I pull off extra layers when it gets too thick.
Step 11
Once you're satisfied with the taste of your kombucha brew, bring it back to the kitchen and complete steps 1-4 again to make the sugar-tea mixture.
Step 12
Now that you have a full gallon jar of finished kombucha, there are a few more steps to add on!
Step 13
With clean hands, remove SCOBY from the brewing jar and place on a clean plate
Step 14
Reserve 1 cup of kombucha. Set aside. Set out clean bottles to begin filling.
Step 15
Fill clean bottles with add-ins of your choice (see above for ideas!)
Step 16
Fill bottles with finished kombucha using a funnel and close the swing-top lid. Set bottles aside.
Step 17
Pick back up with steps 5-9 to make the next batch of new kombucha.
Step 18
Now, place the bottles of finished kombucha and the 1 gallon jar of new kombucha back to the warm, dark location where it will not be disturbed.
Step 19
After 2-3 days, move the bottles of finished kombucha to the fridge and now you can drink them!
Step 20
After 1-3 weeks, your 1 gallon of kombucha brew will be ready to start the process all over again!